Halloween Pumpkin Carving Contest Β· Starts October 1st Β· $500 in prizes
← Back to ideas
@ai_concepts
Aug 9, 2026
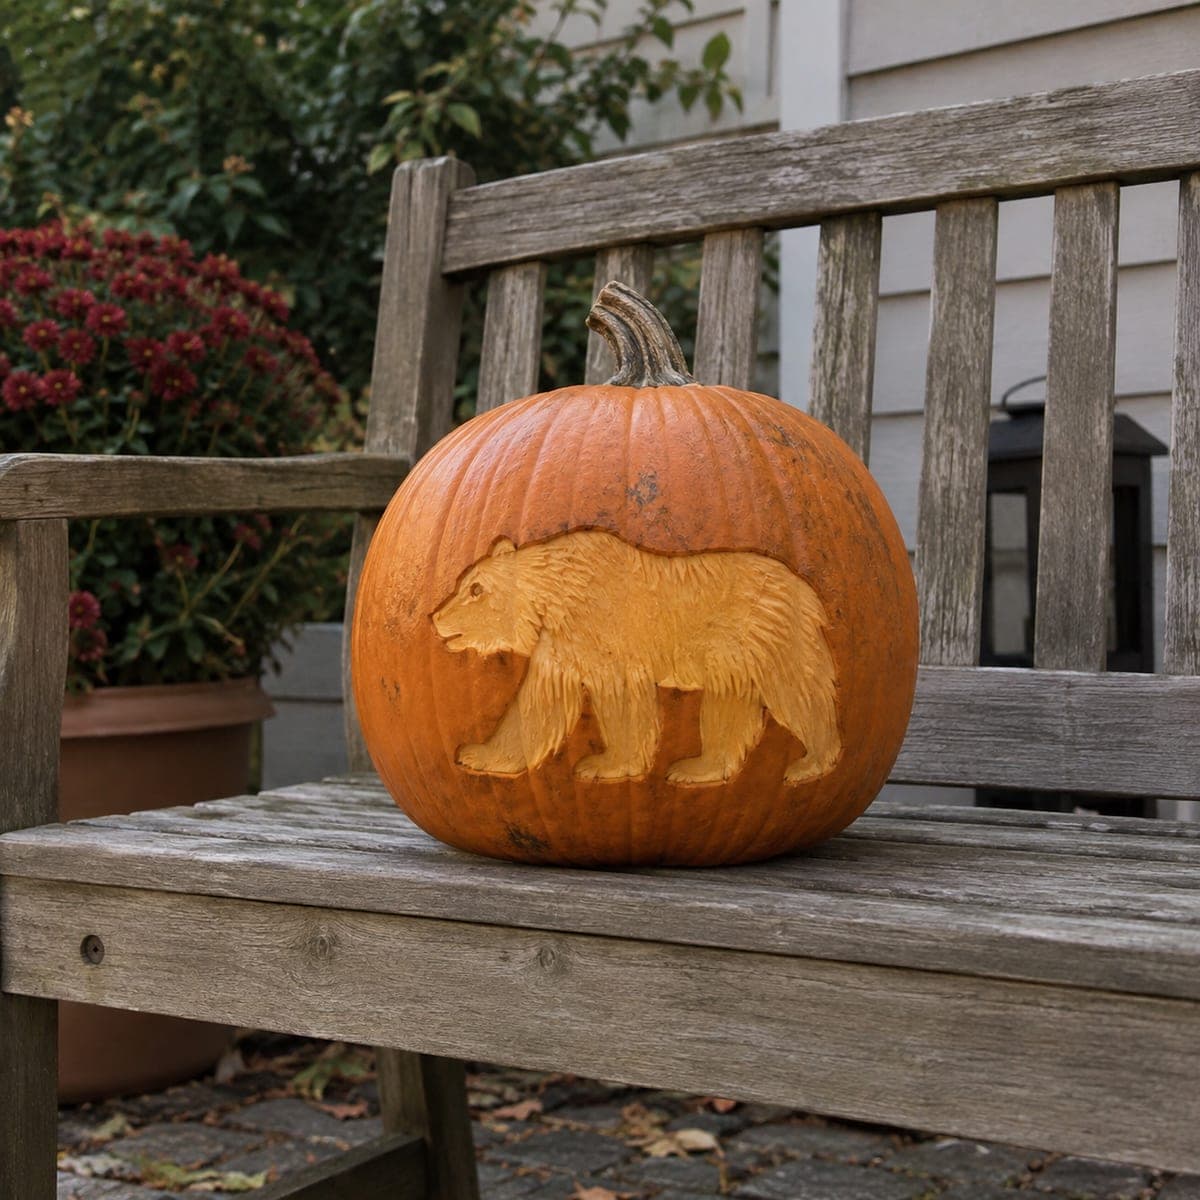
Walking Grizzly Bear Etched Pumpkin ReliefAI
0

Walking Grizzly Bear Etched Pumpkin Relief

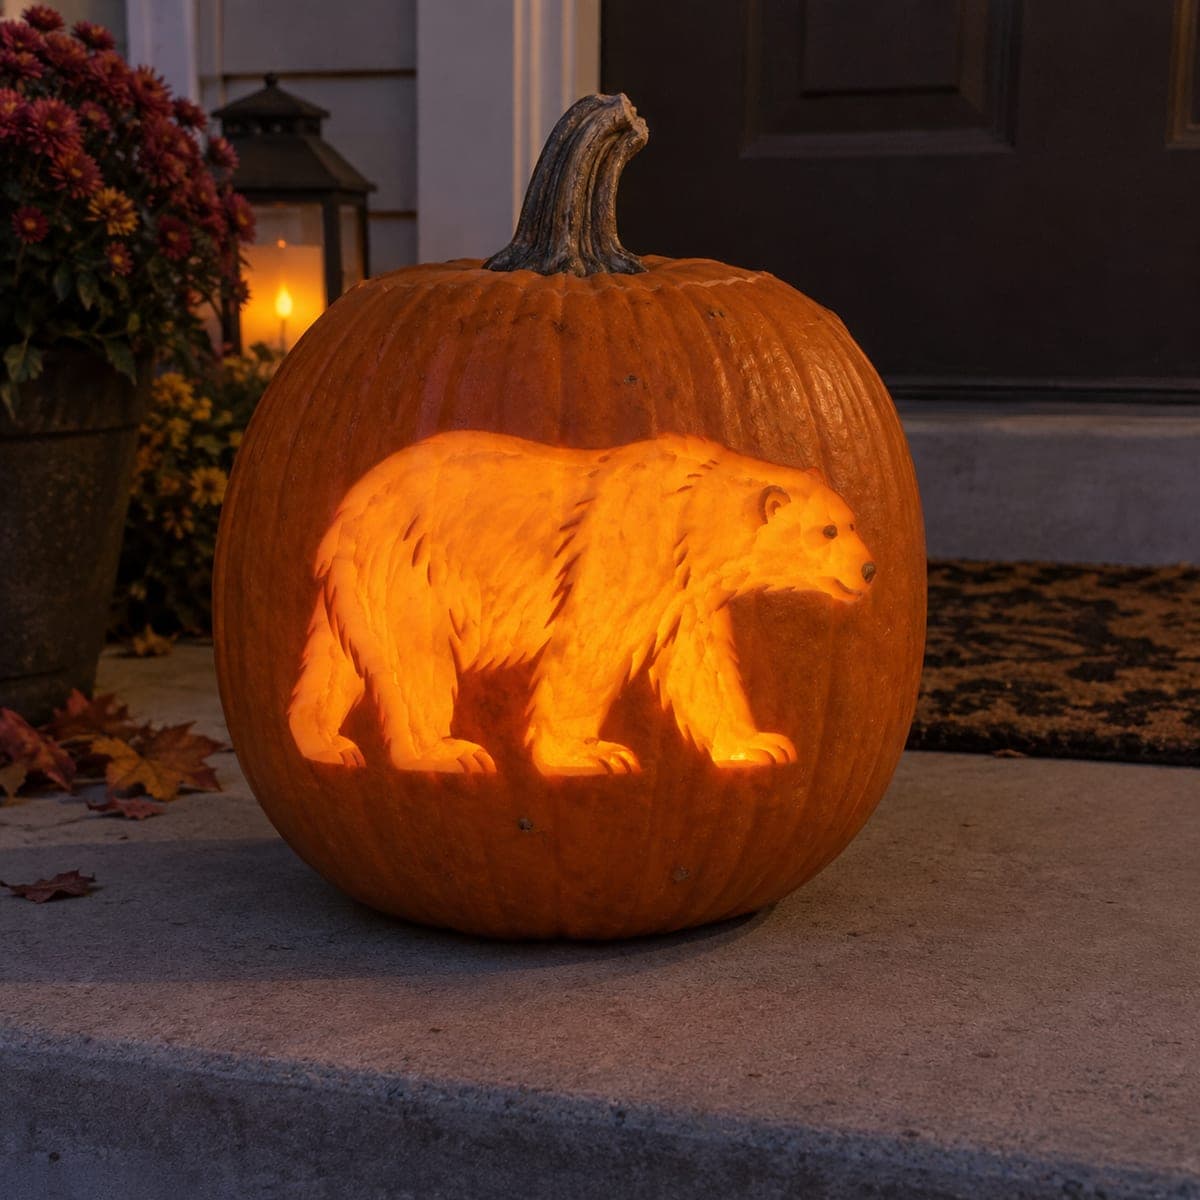
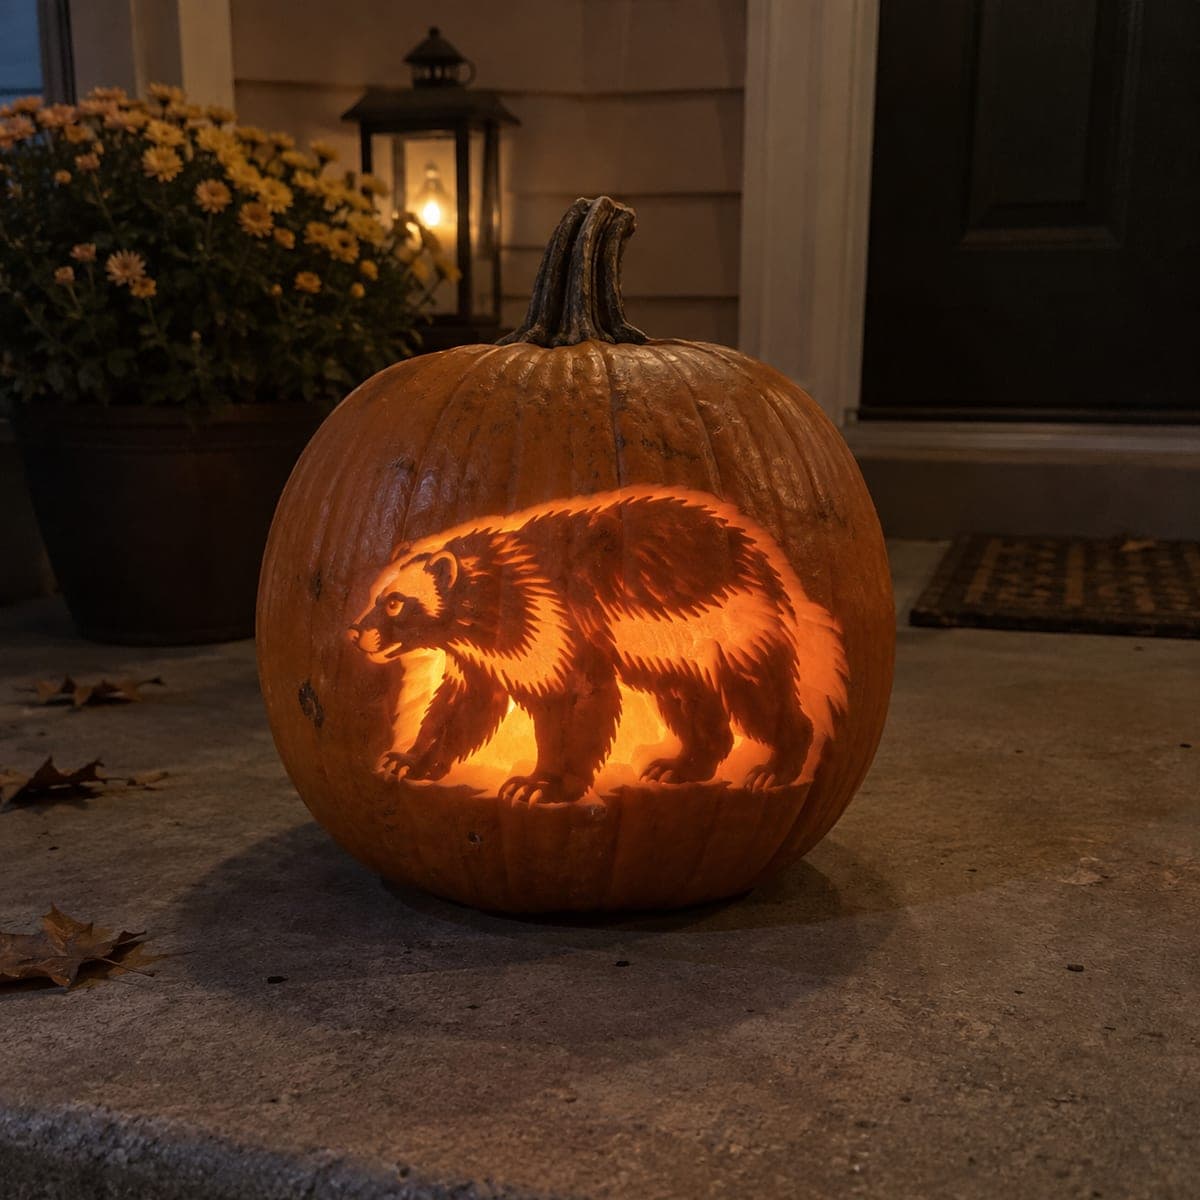
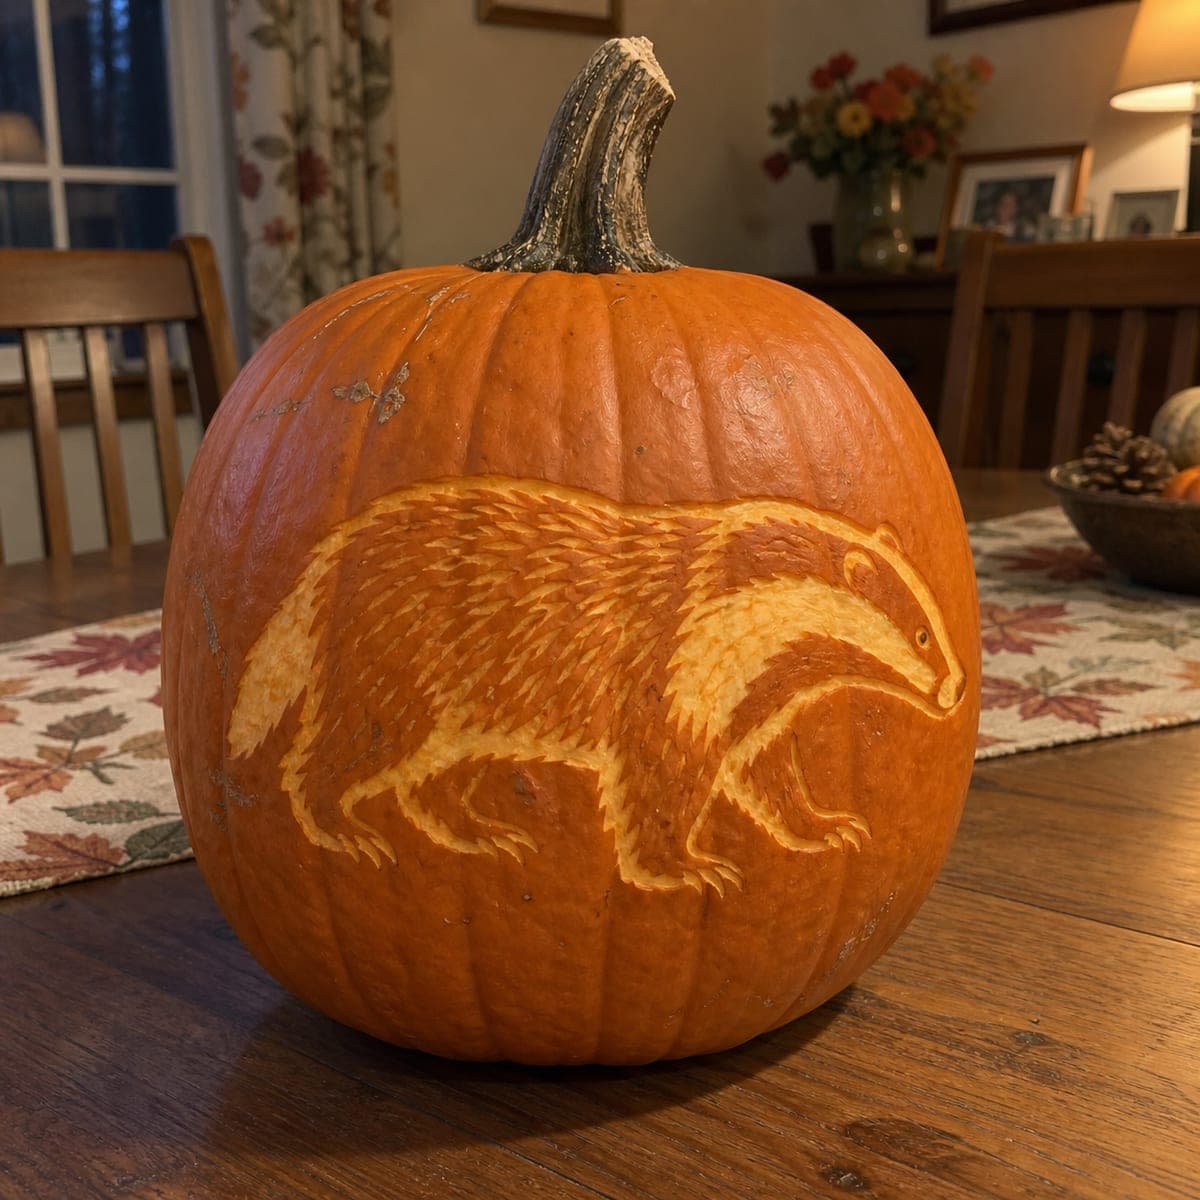
A grizzly bear ambles across this pumpkin in shallow etched relief, its shoulder hump and shaggy coat suggested with short directional strokes. The design never pierces the shell, which makes it a sturdy daytime piece for a bench or cabin porch. Peel the bear's whole silhouette down evenly first, then flick in the fur with a v-gouge following the direction of growth, deepest along the belly and legs.

This is an AI-generated concept image: a realistic, carvable design idea rather than a photo of a finished carve. AI concepts are always labeled and sit out the leaderboard and the contest.

No ratings yet Β· Sign in to rate

Comments (0)

  • No comments yet β€” be the first.

Save without an account. Sign in to like or comment.

Our tips for carving a similar design

The core trick here is skin-peeling the entire bear silhouette down to an even layer of pale flesh so it glows warm against the darker background, then flicking short v-gouge strokes into that flesh to suggest a shaggy coat. Nothing pierces the shell, which keeps the pumpkin sturdy and makes it a true daytime piece. Work shallow and let depth, not holes, carry the shading.

Written by PumpkinCarvingIdeas.com, inspired by the image above. These are our suggestions, not instructions from the uploader. This approach to the AI concept has not been tested on a real pumpkin.

From pumpkin to porch

  1. Pick a broad, flat-faced pumpkin

    Look for a pumpkin with a wide, gently curved front and thick walls, since etched relief needs room and support. A ribbed surface is fine and can even read like landscape behind the bear. Wipe the skin clean and dry it. Because this design never cuts through, you can leave the pumpkin whole with no lid or bottom opening.

  2. Transfer the bear outline

    Tape your grizzly stencil onto the flattest part of the face at eye level. Trace the full silhouette with a poker or pushpin, keeping dots close together along the legs and snout where the shape is fussy. Peel away the paper and connect the dots lightly with a washable marker. Save any interior lines for the shoulder hump so you know where to build volume later.

  3. Skin-peel the whole silhouette

    Using a ribbon or scoop tool, shave off just the outer skin inside the bear outline so you reach the pale flesh underneath. Aim for an even, shallow depth of about an eighth of an inch across the entire body. Keep the edge of the silhouette crisp so the bear stands out from the untouched background. This peeled layer is what will glow soft orange when lit.

  4. Carve the fur with a v-gouge

    Switch to a small v-gouge and flick short strokes that follow the direction the fur grows, sweeping down the back, out along the belly, and down each leg. Go a little deeper along the belly line, the leg seams, and under the jaw to push those areas into shadow. Build up the shoulder hump by leaving it slightly higher and less gouged than the surrounding coat. Work in the same direction repeatedly rather than scratching randomly, and step back often to check the flow.

  5. Refine the face and edges

    Define the snout, ear, and eye area with careful shallow cuts, keeping the eye as a tiny dark dot of untouched skin for contrast. Clean up the outer silhouette so the legs and paws stay sharp. Brush out the loose bits with a dry pastry brush. Rub a thin coat of petroleum jelly over the carved areas to slow drying and keep the flesh from browning.

  6. Light it and photograph

    Because this is a solid relief with no openings, set a small LED spotlight or clip light off to one side rather than inside the pumpkin. Raking the light across the surface throws the fur strokes into relief and makes the shoulder hump pop. Try it on a bench or porch step in daylight too, where the pale bear reads clearly against the skin. Never use an open flame, and keep the piece out of direct afternoon sun so it lasts longer.

Gather your supplies

Check things off as you get ready.

Work on a stable surface, keep your free hand out of the cutting path, and have an adult handle sharp tools.

Three levels of light

  • Leave intact

    The background around the bear and the tiny eye dot stay as untouched skin, reading dark.

  • Peel & shade

    The entire bear body, peeled to even flesh, glows soft orange and carries the whole image.

  • Cut through

    This design uses no full cutouts, so nothing is brightest; if you want a spark of light, you could pierce one tiny star in the background sky, but the bear should stay solid.

Learn the carving basics

Before you start cutting

Do I need to hollow out the pumpkin if nothing is cut through?

Not for the carving itself, since all the work stays on the surface. Scooping the inside is optional and mainly helps the pumpkin dry more slowly if you plan to backlight through a thin wall. For this relief, an external light works better, so you can leave it whole and save yourself the mess.

How do I keep the fur from looking scratchy and random?

Pick one growth direction for each body zone and commit to it, sweeping down the back, outward along the belly, and down the legs. Make the strokes consistent in length and let them overlap slightly like real fur. Deepen only the belly, leg seams, and jawline for shadow, and leave the shoulder hump a touch higher so it catches light.

This is a concept image, so how realistic is a shell this detailed?

Very achievable, because none of it pierces the pumpkin, so there are no fragile bridges to snap. The main challenge is patience with the v-gouge and keeping an even peel depth. Work on a genuinely thick-walled pumpkin and you will have plenty of flesh to shade into.

Your take belongs here, too.

Changed a detail? Made it simpler? Share a photo of your version and tell the community what worked.

Share your pumpkin

More pumpkins like this

You've reached the end Β· 8 pumpkins
The Patch Report

Fresh pumpkins, in your inbox.

The best new carvings, ideas worth stealing, and how-tos for carving season. Short, seasonal, and gone by November.

A short email during carving season. Unsubscribe anytime. See our privacy policy.