Similar pumpkin stencils
View all stencils →About this stencil
Download the Coming Soon Baby pumpkin stencil as a free printable PDF, then tape the pattern to your pumpkin and trace the lines. This pumpkin stencil spells out "COMING SOON" in chunky rounded letters across two rows, with a pair of baby footprints replacing the two O letters in the word SOON, and a small heart dotting the I above. The letters are each bold and thick, with the interiors of rounded letters like C, G, and the zero-like Os cut away while the outlines stay solid. When carved and lit, the baby-announcement message glows warmly across the pumpkin face. Cut the two enclosed letter counters in COMING first before moving to the footprint shapes, which have the most delicate toe-dot details. It works as a carving template for a Halloween jack-o'-lantern or a fall porch display. It is rated Advanced. Actual time varies with preparation, pumpkin size and experience. Fine details and narrow supports need careful planning. Follow the cutting and shading key in this design’s PDF.
Pumpkin size guide
- 🎃 Small (5 to 7"): print at 80%
- 🎃 Medium (7 to 10"): print at 100% (recommended)
- 🎃 Large (11 to 13"): print at 130%
- 🎃 Giant (14"+): print at 150% on tabloid paper
Frequently asked questions
Can I resize this stencil?▾
Yes. The PDF is vector so it scales cleanly. Print the pattern at 100% for a 7 to 10 inch pumpkin, 130% for 11 to 13 inch, or 150% for a giant. Use your printer's "Fit to page" or "Custom scale" setting.
What kind of paper works best?▾
Standard 20 lb letter or A4 printer paper is fine. Heavier paper is harder to bend around the pumpkin curve. If your printer supports it, set the quality to 'best' so the lines are crisp.
How long will the carved pumpkin last?▾
Usually 5 to 10 days. Coat all cut surfaces with petroleum jelly and store the pumpkin somewhere cool overnight. Avoid direct sun. Battery LED pumpkin lights produce no heat and help it last longer.
Can I sell pumpkins carved with this stencil?▾
Yes, the carved pumpkin you make is yours. The license covers personal and small-scale commercial carving (selling carved pumpkins, photographing them, posting on social). You may not resell the PDF file itself.
What if my printer doesn't print the whole stencil?▾
Set 'Page scaling' to 'Fit' in the print dialog and uncheck 'Auto-rotate'. If it still cuts off, the design includes 0.25" of safe-area margin so a small crop won't ruin it.
How to carve this stencil
- Transfer all letter outlines and the footprint toe dots carefully; the counters inside C, G, and O shapes must be separated from the outer ring by a thin bridge.
- Cut the small heart above the I and the enclosed counter of the G first, as these are the smallest isolated pieces.
- Cut the enclosed counters of the remaining rounded letters in COMING, leaving the letter outlines solid.
- Cut the two large baby footprint shapes that form the O-O in SOON, starting with the soles and working out to each toe dot.
- Cut the five toe dots on each footprint last; hold the surrounding skin steady to avoid cracking near the toe circles.
- Light with a warm LED so the baby-footprint centers glow distinctly from the surrounding letter shapes.
Tools you'll need
For a advanced carve like this you'll want a fine-detail pumpkin saw, spoon / scoop, pin transfer tool, and small gouge if the pattern includes shading. Here's the kit we reach for, but start with whatever you already own.

Elmchee Pumpkin Carving Kit
13-piece kit with carrying case
Saws for the larger cutouts, plus a scoop for hollowing. Covers both jobs in one kit.
View on Amazon ↗
HOME MOST LED Pumpkin Lights
4-pack, battery operated, with remote + timer
Orange glow made for jack-o'-lanterns. The remote and timer light the pumpkin every evening without reaching inside.
View on Amazon ↗
Speedball 4131 Lino Cutter Set
Handle + 5 interchangeable cutters
Interchangeable cutters for peeling and shading the face. Useful for the finer details.
View on Amazon ↗
Reviews from carvers
Every rating comes from a written review by someone who downloaded this stencil.
Carved this one?
Reviews are open to carvers who downloaded the stencil. Grab the free PDF, then come back and tell everyone how it went.
Community Pumpkin Carving Ideas
Carving ideas that use stencils like this one.


Related stencils
More patterns with a related subject. Compare their skill levels before you choose.
 Advanced
Its a Girl Pumpkin Stencil
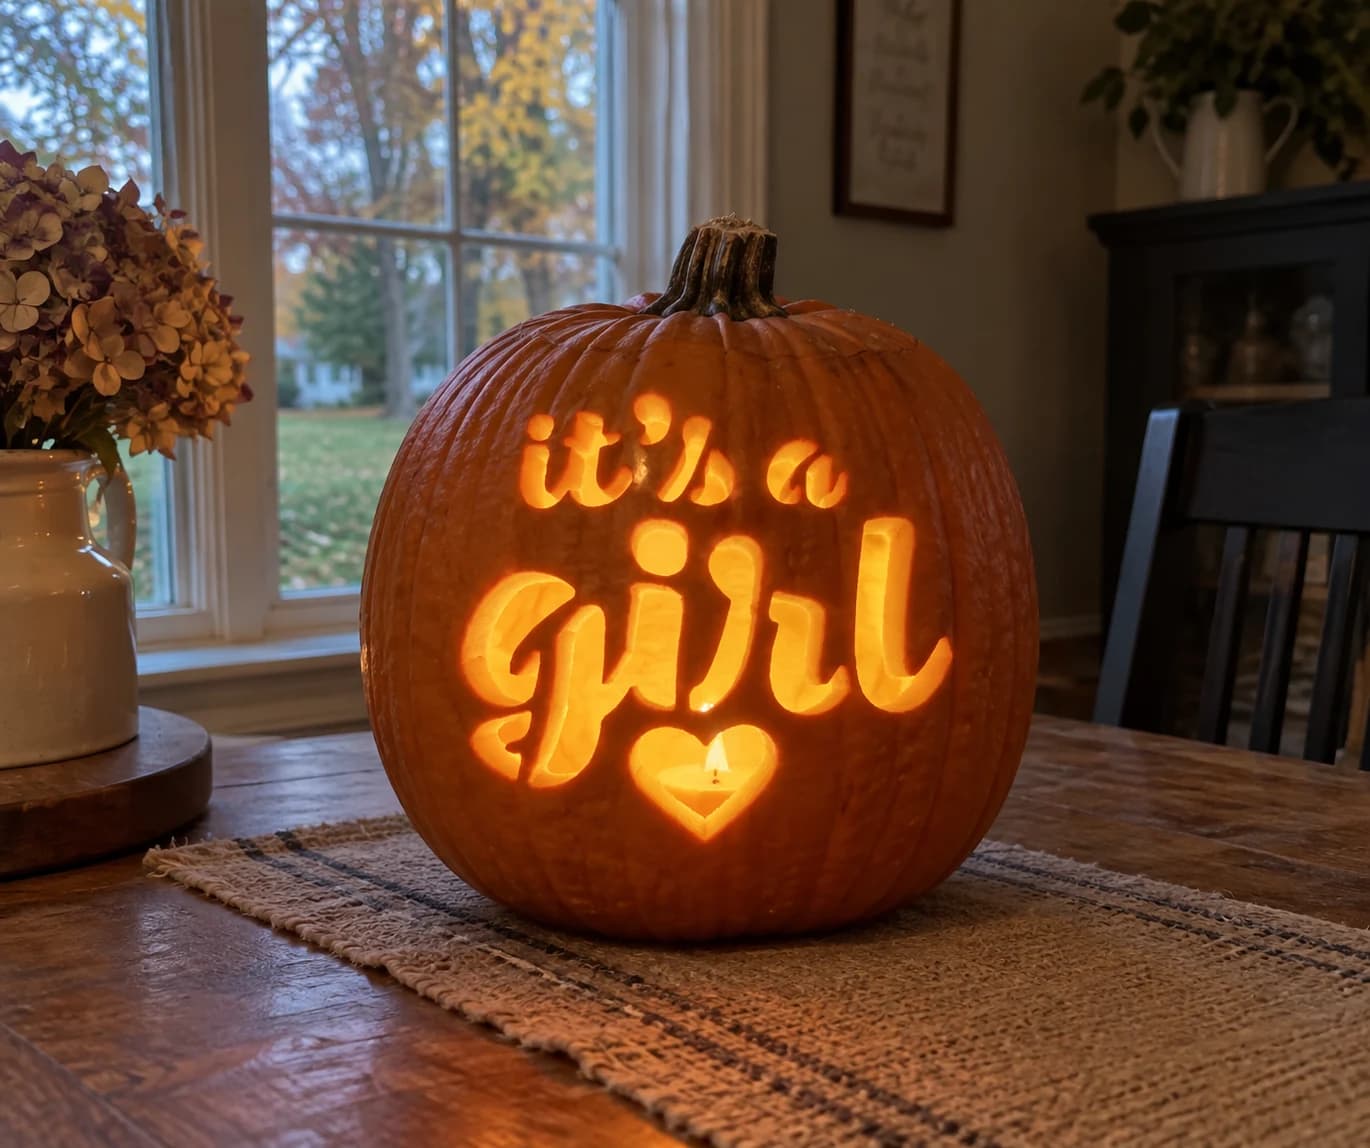
The phrase "it's a girl" in chunky lowercase lettering fills this pumpkin stencil, with a small heart shape tucked below the word "girl" to complete the baby announcement message. Each letter and the heart are cut-out shapes, many with enclosed counters that require careful handling. The interior dot of the letter i in "girl" is the trickiest floating island: cut around it last and keep the skin disc in place using a toothpick or small skewer pressed through the back of the pumpkin wall to hold it.
 Advanced
It's a Boy Pumpkin Stencil
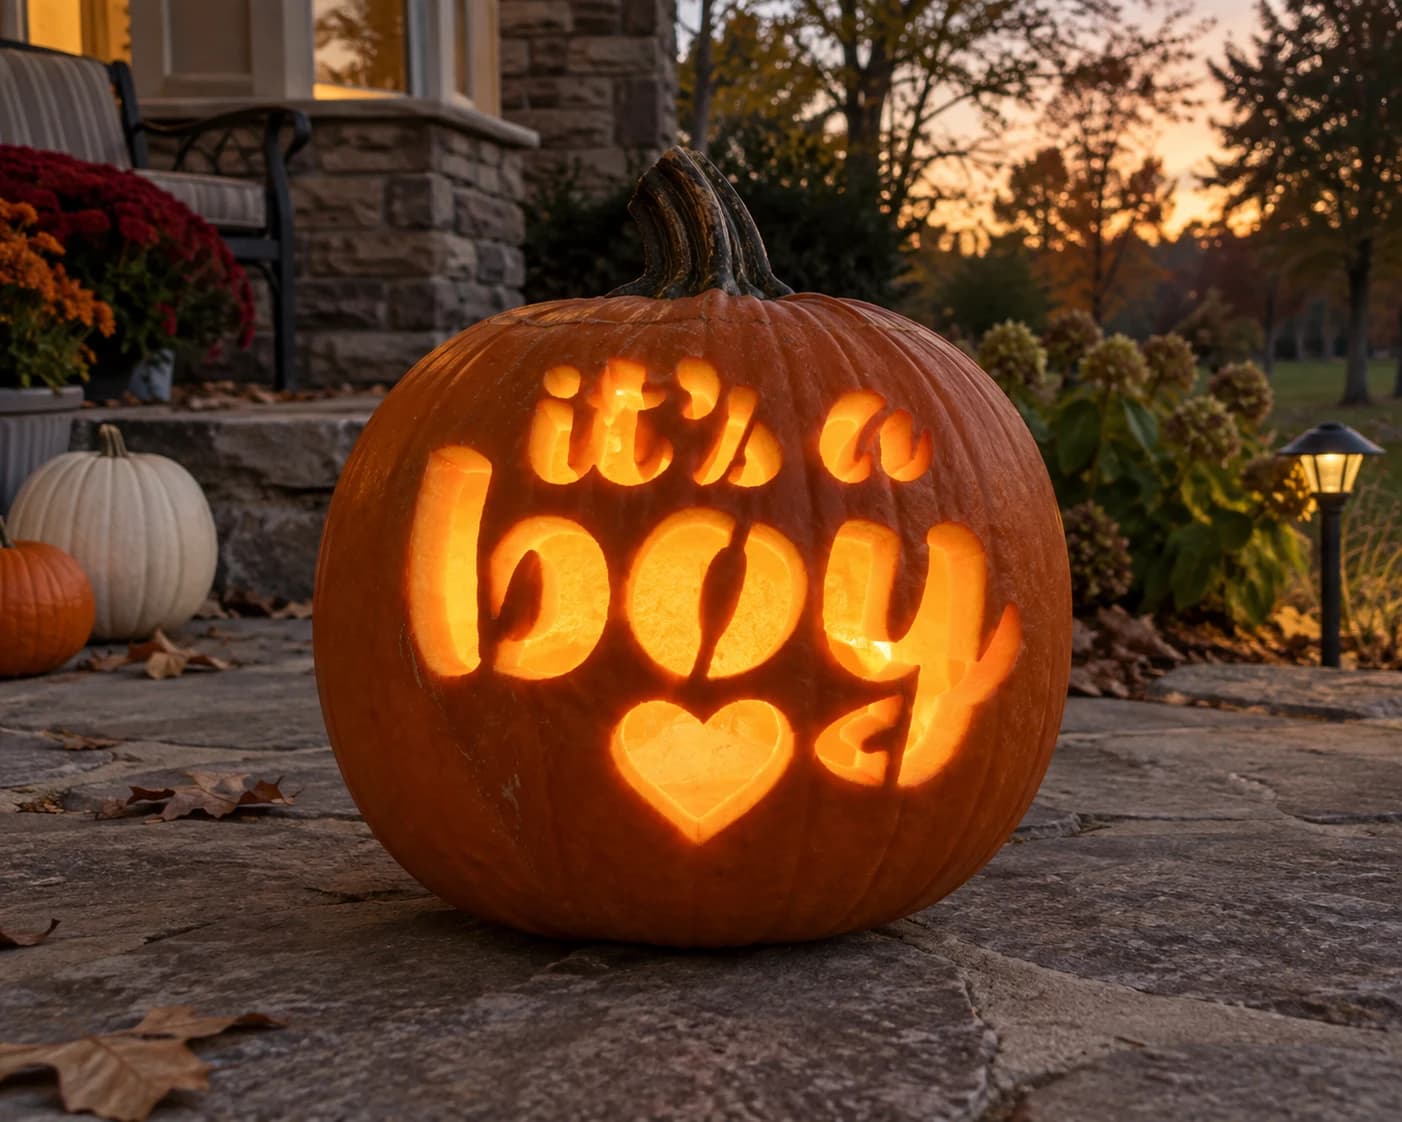
The phrase "it's a boy" is set in a bold, bubbly hand-lettered script across two lines, with a heart shape centered below the text. Every letter is cut as a solid shape: the rounded strokes of the lowercase letters, including the counter inside the "o" of "boy" and the enclosed loop of the "b," are all part of the carved-away design. Lit from within, the chunky letterforms glow against the pumpkin wall. Cut the enclosed counters of "b" and "o" before removing the main letter bodies so those small interior pieces don't become loose mid-carve.
 Advanced
Love-Struck Emoji Pumpkin Stencil
The heart-eyes emoji comes to life with two big heart-shaped eyes, arched brows, and a wide toothy smile, all surrounded by seventeen small hearts and diamond accents scattered across the shell. Every heart, brow, tooth gap, and diamond is pierced through, so the whole pumpkin twinkles. Carve the large central face first while the shell is strongest, then work outward through the border hearts from biggest to smallest.
 Advanced
Starry-Eyed Sweetie Pumpkin Stencil
Two huge sparkling anime-style eyes, each split by a vertical skin bar, beam above a tiny smile and heart-shaped cheeks, while dozens of little stars and dots twinkle across the whole pumpkin. The eyes, hearts, stars, and dots are all cut through, leaving the eye bars intact. The sheer number of small piercings makes this a hard carve; drill all the dots first, cut the stars with a fine detail saw, and save the big barred eyes for the very end.
 Advanced
Snowy Chick Pumpkin Stencil
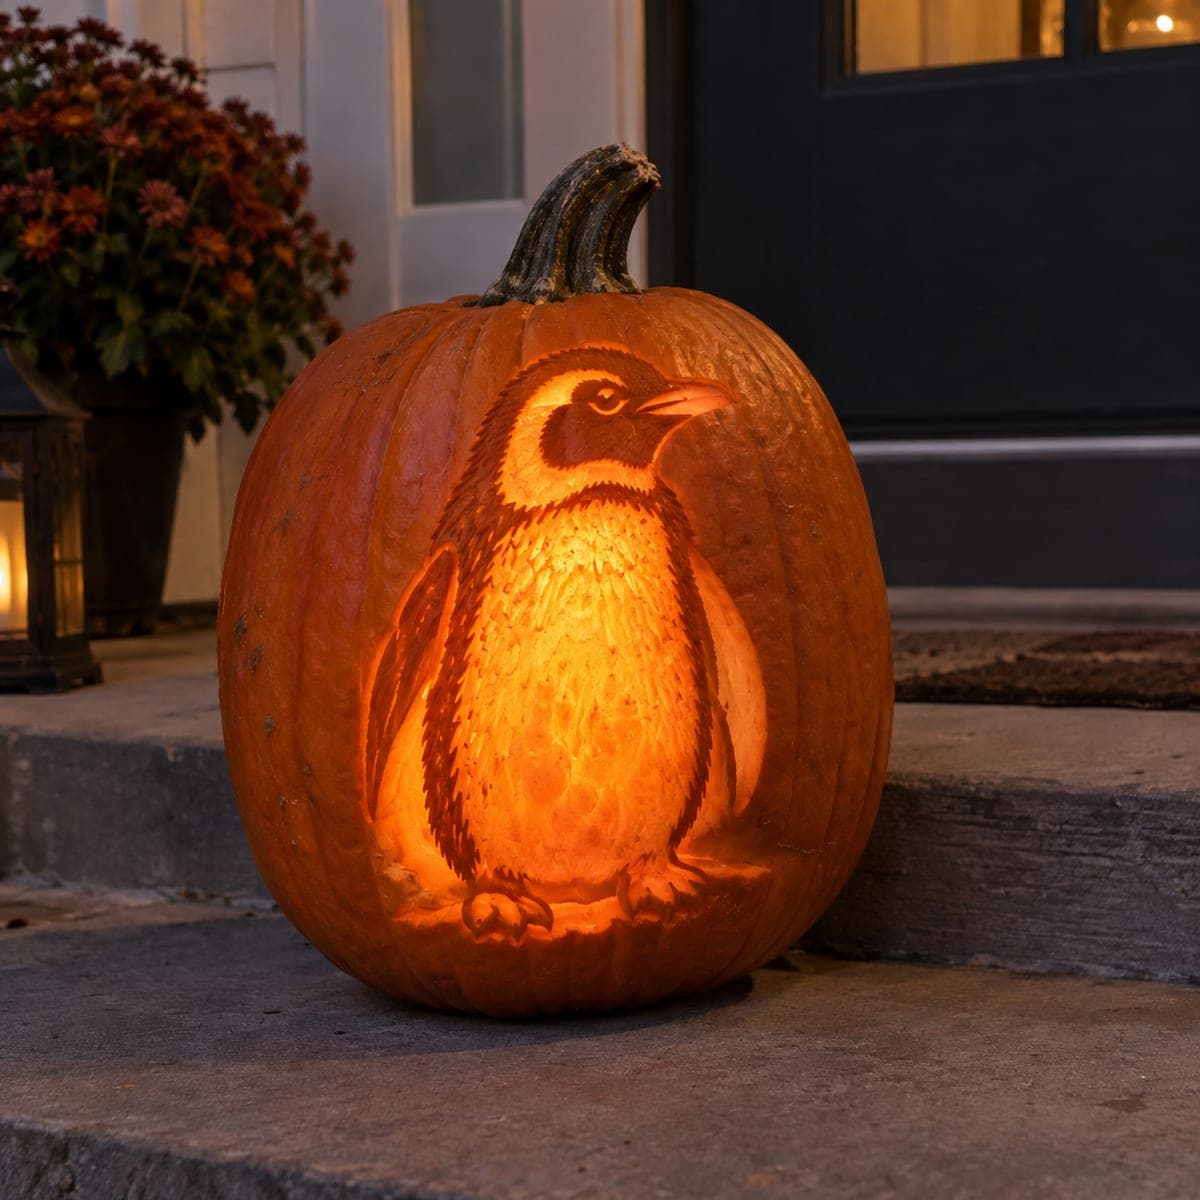
A plump baby penguin stands in profile facing right, with a dark head and back, a softly glowing belly, and tiny webbed feet. The design is shaded rather than pierced: you shave the belly and face patches thin so they shine brightly, leave the flipper and back skin dark, and feather the transition between them. Work the big belly area with broad shallow strokes and save the fine downy texture lines for the very end.
 Advanced
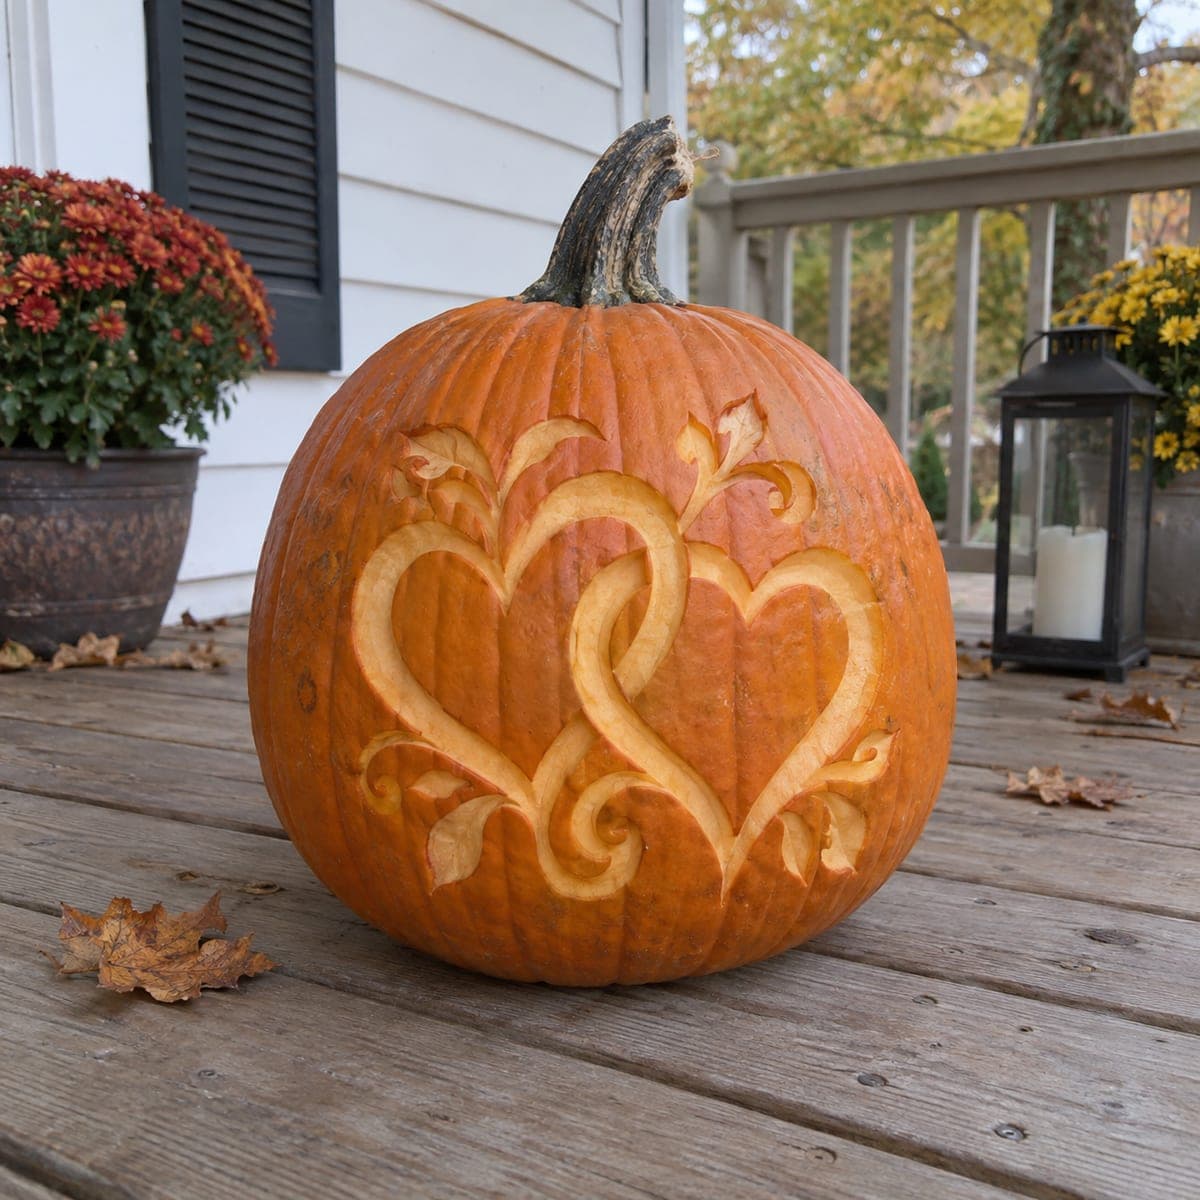
Entwined Hearts & Leafy Vines
Two interlocking hearts sit at the center of this romantic design, their looping outlines woven together and trailing off into curling vines and small leaves at each corner. The whole motif is shaved into the skin as pale relief lines, so the pumpkin wall stays intact and the pattern shows clearly by daylight or candlelight. Follow the vine curves in long continuous strokes to keep the linework flowing and even.