Similar pumpkin stencils
View all stencils →About this stencil
Download the Pirate Ship pumpkin stencil as a free printable PDF, then tape the pattern to your pumpkin and trace the lines. A pirate ship viewed broadside fills this expert pirate pumpkin stencil, with a large sail bearing a skull-and-crossbones cutout, a cartoonish pirate figure standing at the bow with a sword, a cannon on the stern deck, and decorative hull porthole hooks below. The design has many small isolated cut pieces, including the skull's eye sockets and crossbones, the cannon barrel, and the pirate's facial features. Carve the skull-and-crossbones details on the sail first, since they sit within a large solid background that holds them firmly while you work the tiny pieces. It works as a carving template for a Halloween jack-o'-lantern or a fall porch display. It is rated Expert / Pro. Actual time varies with preparation, pumpkin size and experience. Intricate details and fragile supports need patience. Technique depends on the design; follow its PDF rather than assuming multiple depth layers.
Pumpkin size guide
- 🎃 Small (5 to 7"): print at 80%
- 🎃 Medium (7 to 10"): print at 100% (recommended)
- 🎃 Large (11 to 13"): print at 130%
- 🎃 Giant (14"+): print at 150% on tabloid paper
Frequently asked questions
Can I resize this stencil?▾
Yes. The PDF is vector so it scales cleanly. Print the pattern at 100% for a 7 to 10 inch pumpkin, 130% for 11 to 13 inch, or 150% for a giant. Use your printer's "Fit to page" or "Custom scale" setting.
What kind of paper works best?▾
Standard 20 lb letter or A4 printer paper is fine. Heavier paper is harder to bend around the pumpkin curve. If your printer supports it, set the quality to 'best' so the lines are crisp.
How long will the carved pumpkin last?▾
Usually 5 to 10 days. Coat all cut surfaces with petroleum jelly and store the pumpkin somewhere cool overnight. Avoid direct sun. Battery LED pumpkin lights produce no heat and help it last longer.
Can I sell pumpkins carved with this stencil?▾
Yes, the carved pumpkin you make is yours. The license covers personal and small-scale commercial carving (selling carved pumpkins, photographing them, posting on social). You may not resell the PDF file itself.
What if my printer doesn't print the whole stencil?▾
Set 'Page scaling' to 'Fit' in the print dialog and uncheck 'Auto-rotate'. If it still cuts off, the design includes 0.25" of safe-area margin so a small crop won't ruin it.
How to carve this stencil
- Cut the skull's eye sockets and the crossbone shapes inside the sail first, using a fine blade and working from the smallest detail outward.
- Carve the open sail panels on either side of the skull centerpiece.
- Remove the large curved hull opening at the bow of the ship.
- Cut the pirate figure's facial details and sword outline, making short plunge cuts at the sword tip to avoid tearing.
- Finish with the stern cannon, deck railing slots, and the porthole hook shapes along the lower hull.
Tools you'll need
For a expert / pro carve like this you'll want a fine-detail pumpkin saw, spoon / scoop, pin transfer tool, and detail gouges if the pattern includes shading. Here's the kit we reach for, but start with whatever you already own.

Elmchee Pumpkin Carving Kit
13-piece kit with carrying case
Saws for the larger cutouts, plus a scoop for hollowing. Covers both jobs in one kit.
View on Amazon ↗
HOME MOST LED Pumpkin Lights
4-pack, battery operated, with remote + timer
Orange glow made for jack-o'-lanterns. The remote and timer light the pumpkin every evening without reaching inside.
View on Amazon ↗
Speedball 4131 Lino Cutter Set
Handle + 5 interchangeable cutters
Interchangeable cutters for peeling and shading the face. Useful for the finer details.
View on Amazon ↗
Reviews from carvers
Every rating comes from a written review by someone who downloaded this stencil.
Carved this one?
Reviews are open to carvers who downloaded the stencil. Grab the free PDF, then come back and tell everyone how it went.
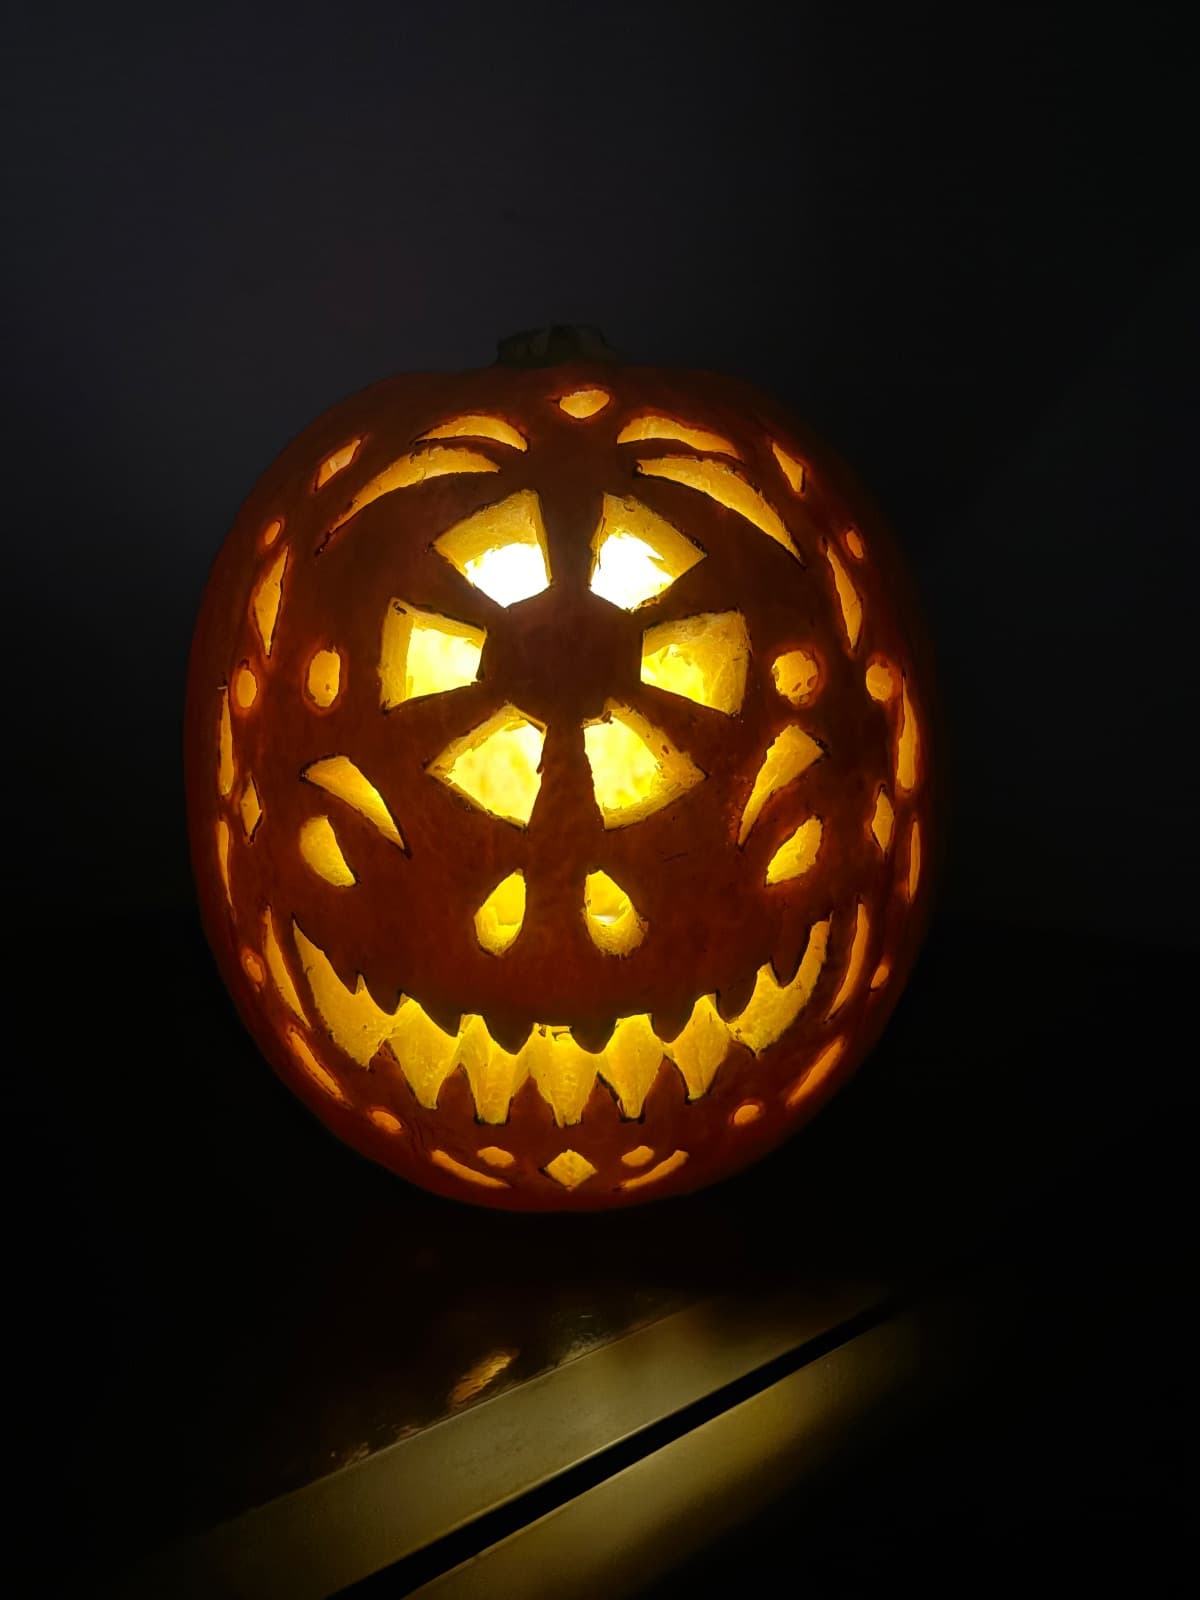
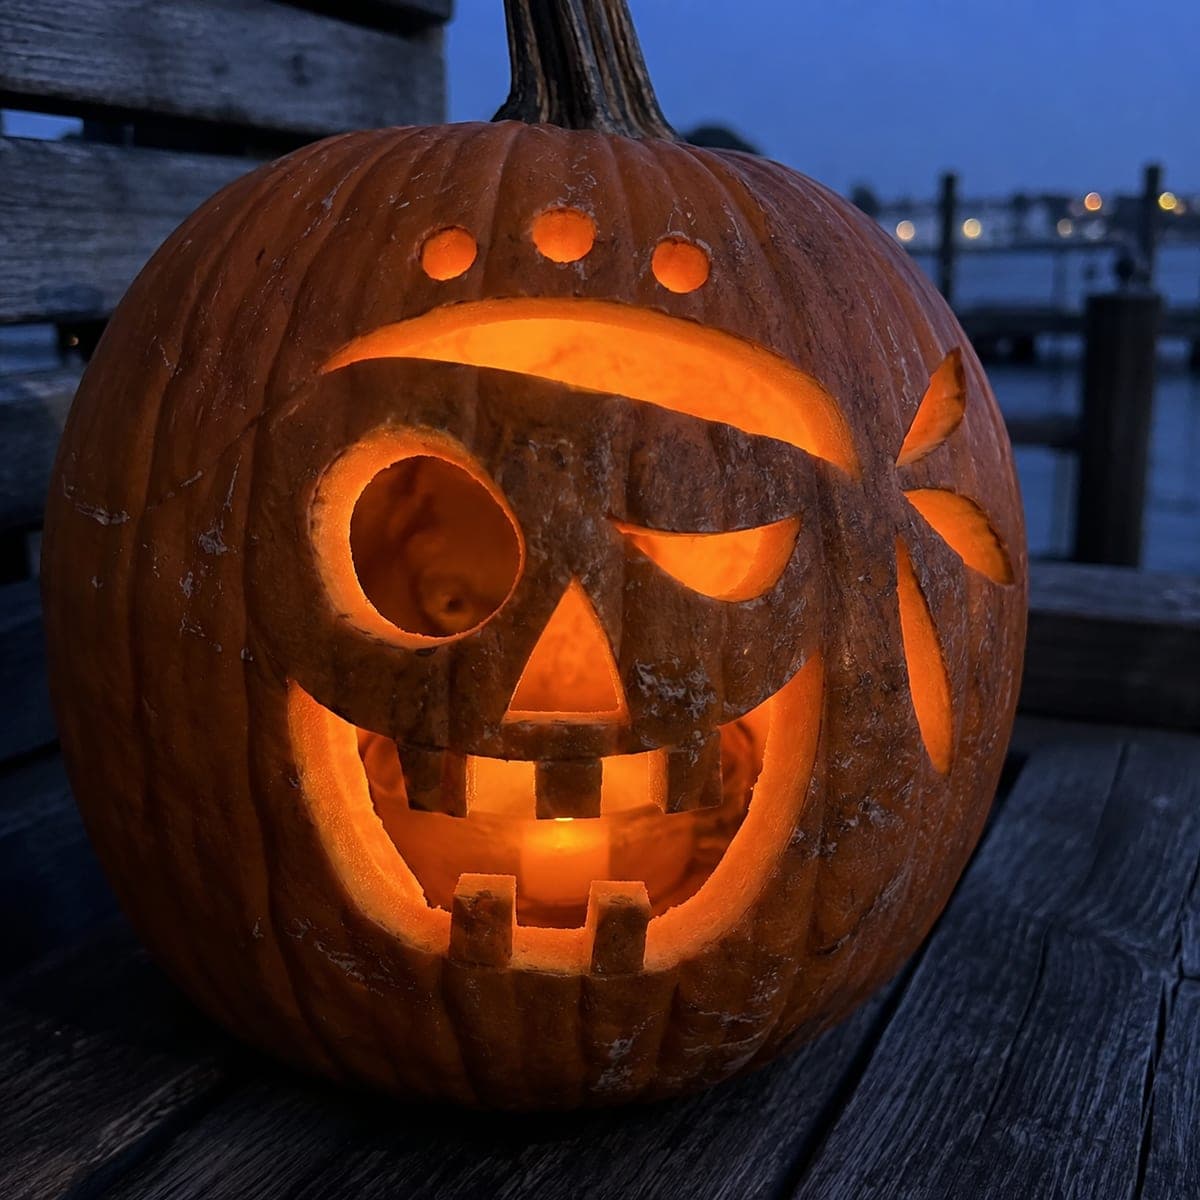
Community Pumpkin Carving Ideas
Carving ideas that use stencils like this one.


Related stencils
More patterns with a related subject. Compare their skill levels before you choose.
 Expert / Pro
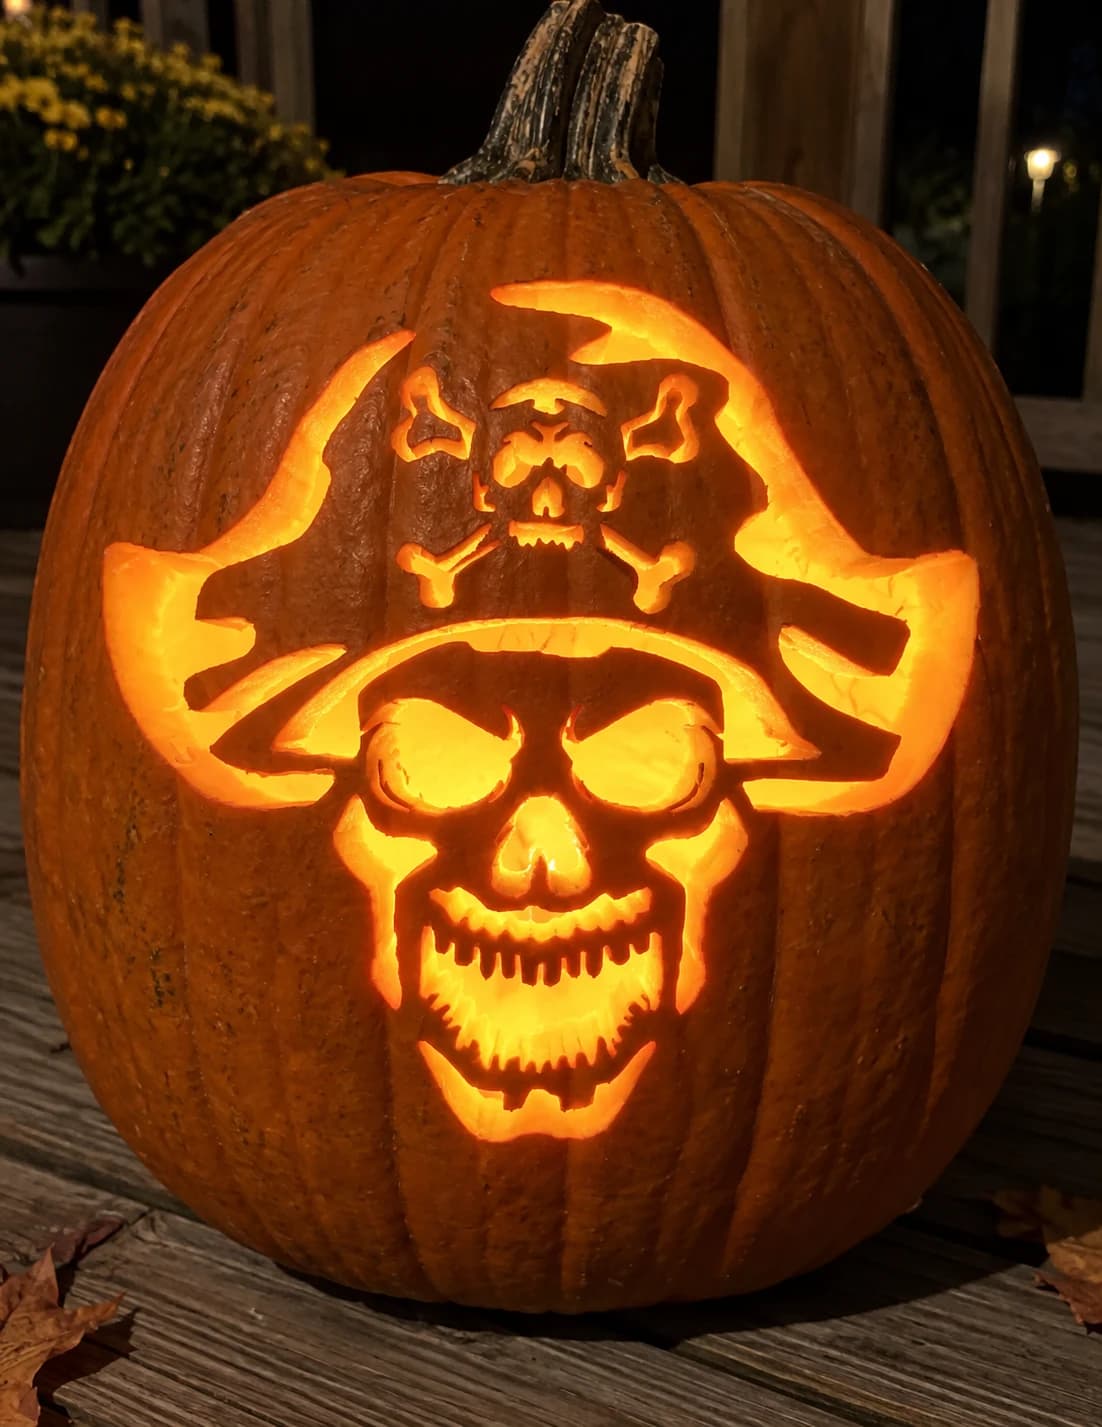
Pirate Skull Pumpkin Stencil
A grinning pirate skull wearing a broad tricorn hat dominates this expert-level pumpkin stencil, with a second miniature skull-and-crossbones badge emblazoned on the hat brim. Dense cutwork in the teeth row, eye sockets, and hat badge creates many small isolated pieces held together by narrow bridges of pumpkin flesh. Begin with the tiny crossbone details on the hat badge while your hands are freshest, then move to the eye sockets and finally the toothed lower jaw.
 Expert / Pro
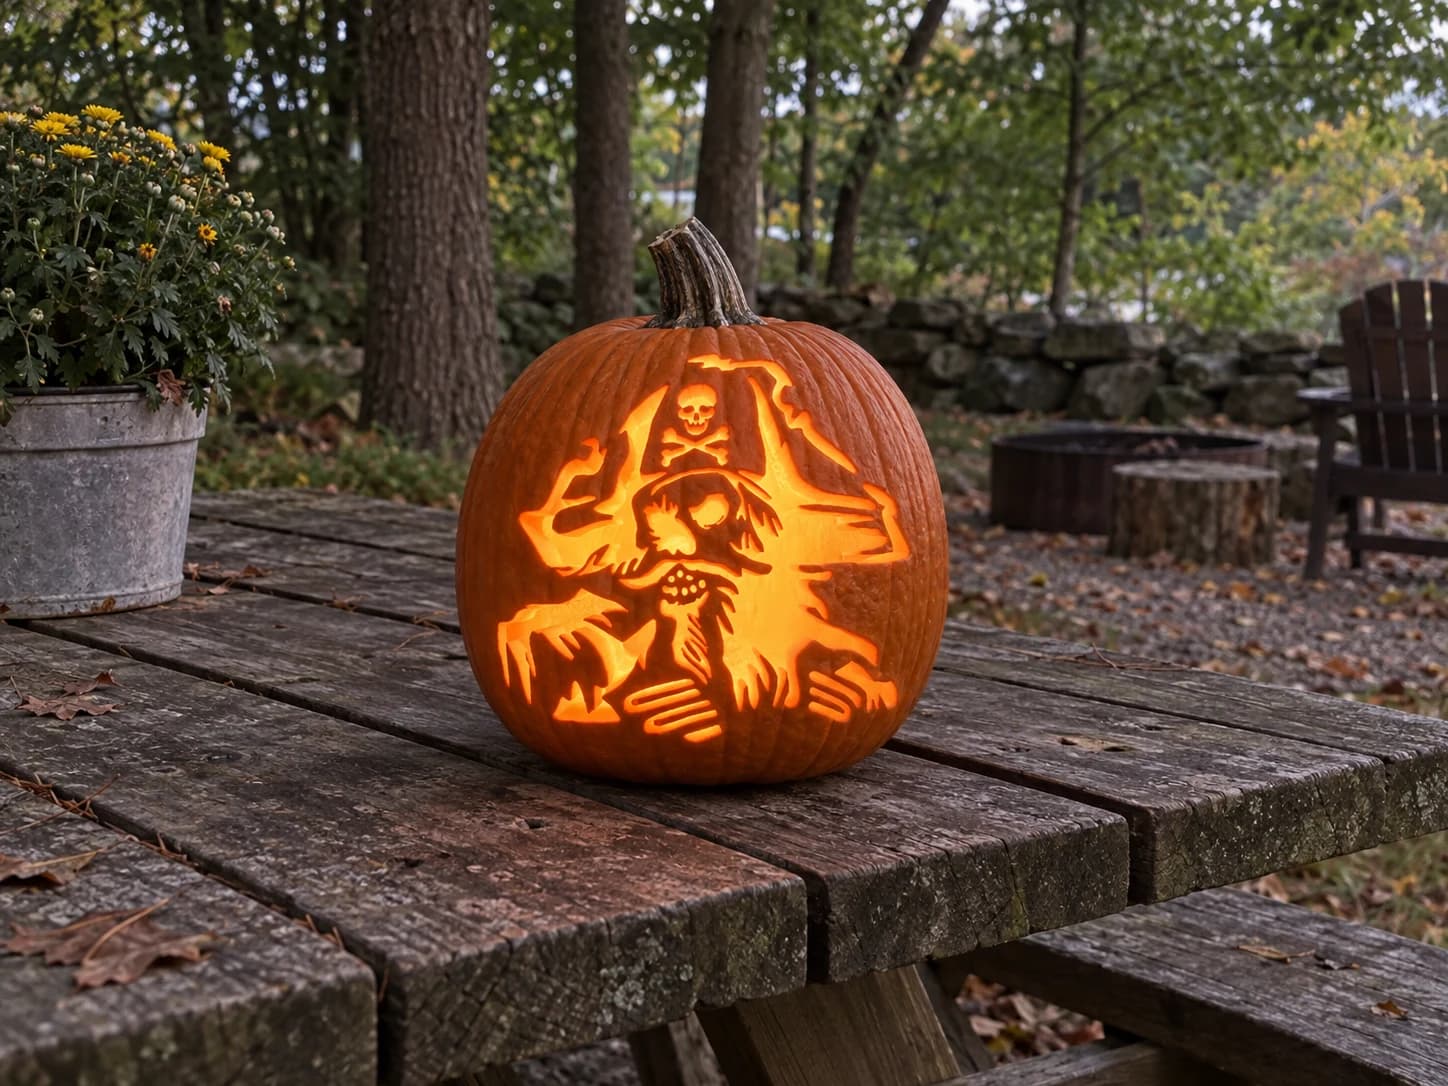
Captain Squawk Pumpkin Stencil
A weathered pirate skull in a battered tricorn hat stares out from this expert pumpkin stencil, a parrot perched on the skull's head and tattered coat lapels framing its hollow cheeks. The skull-and-crossbones badge on the hat, individual finger bones along the bottom, and ragged coat edges create dozens of intricate cut sections. Carve the small hat badge first, then the interior face hollows, before moving outward to the flowing coat edges where the thinnest bridges live.
 Advanced
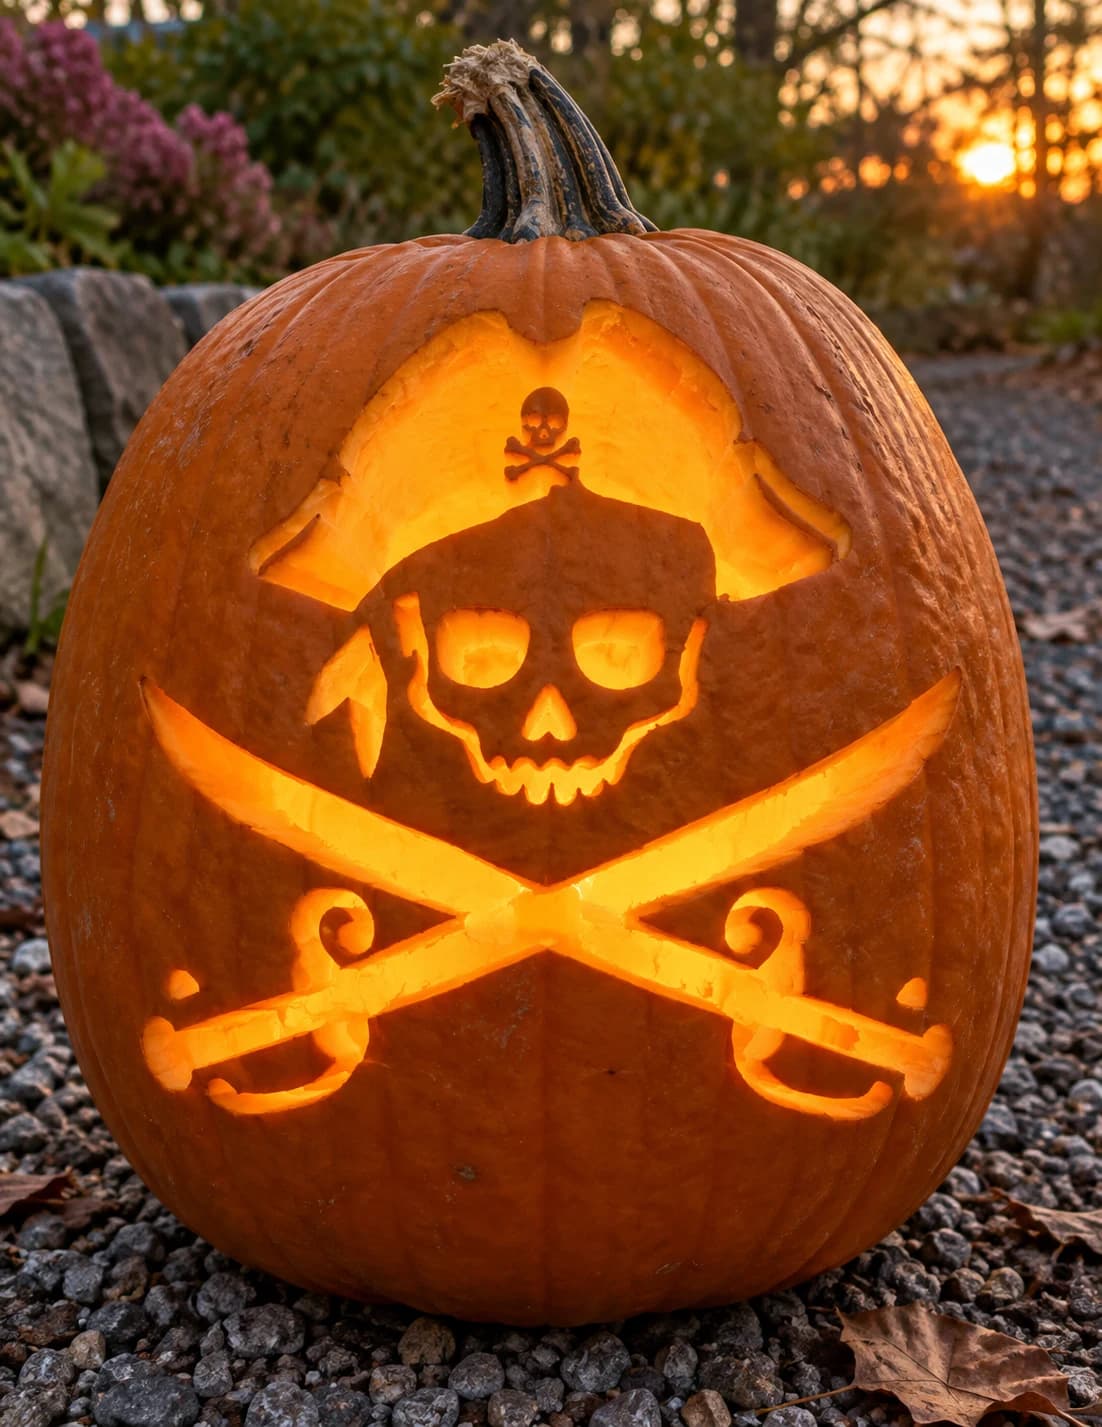
Jolly Roger Cutlass Pumpkin Stencil
A classic Jolly Roger design fills this pumpkin stencil: a grinning skull topped by a pirate hat bearing a tiny skull-and-crossbones badge sits above two crossed cutlass swords with curled hand-guards. The eye sockets, the hat badge, the small triangular nose cavity, and the gaps between the sword blades are all pierced through. Cut the miniature hat badge first since it is the most delicate isolated element, then the eye sockets and sword gaps, before finishing with the outer hat and blade silhouette.
 Advanced
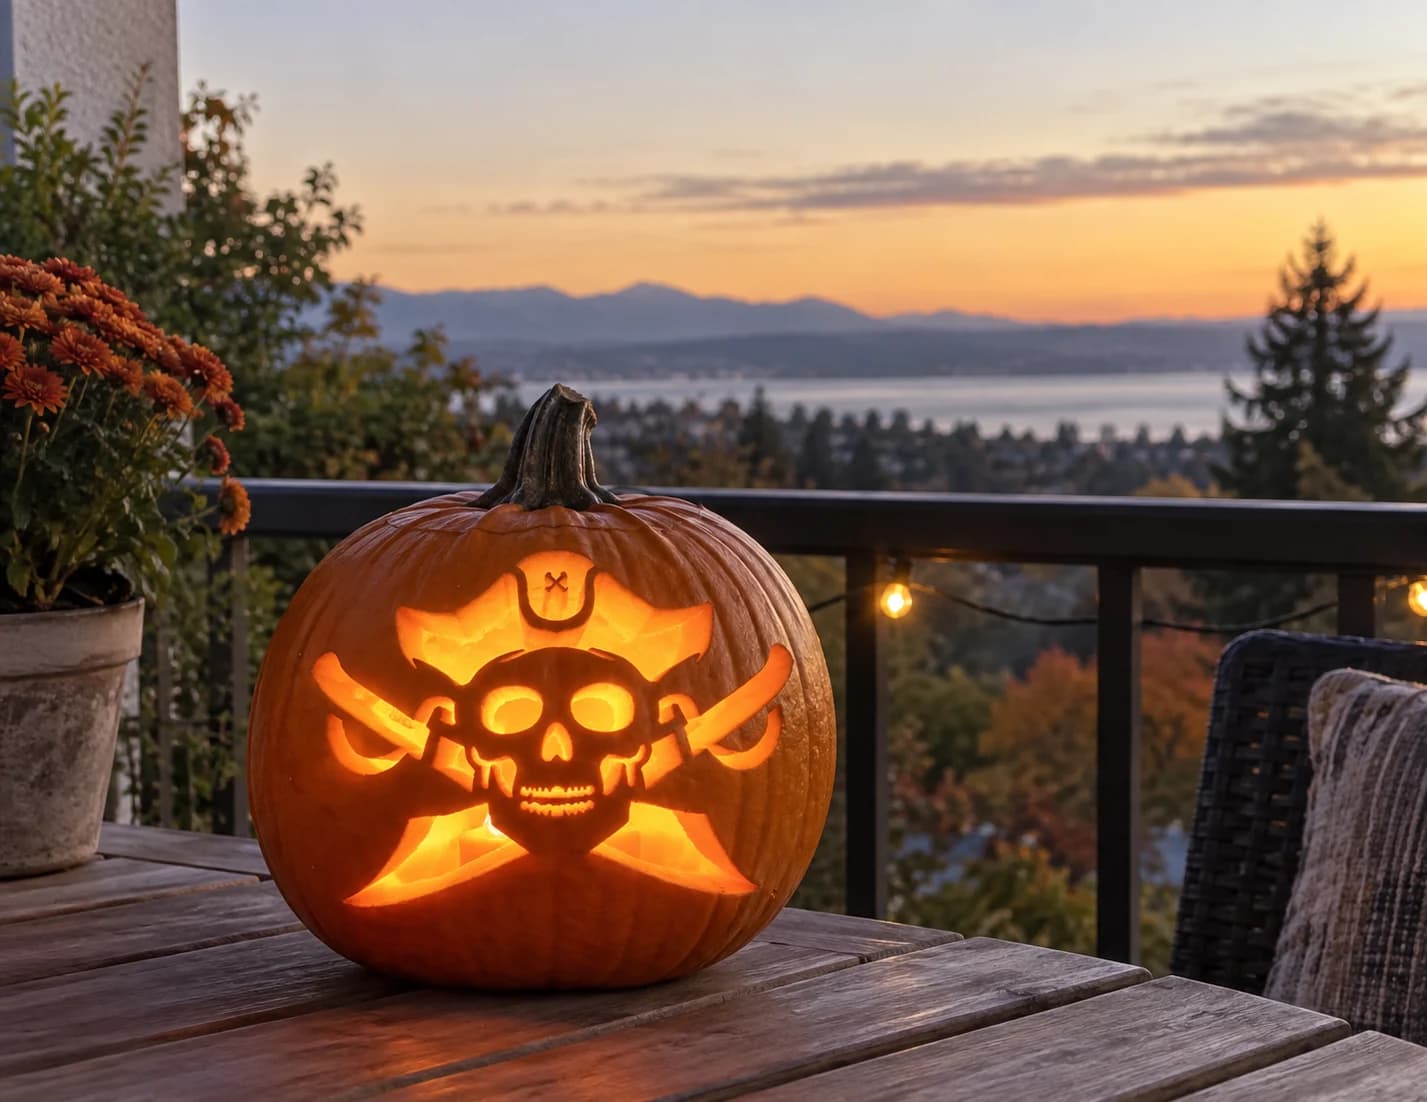
Jolly Roger Pumpkin Stencil
A classic Jolly Roger composition fills this hard pumpkin stencil: a large tricorn pirate hat at the top with an X emblem on its band, a grinning skull face below with oval eyes and a row of small separated teeth, and two crossed cutlass swords extending diagonally from behind the skull. The swords are cut as wide open shapes that frame the face, while the skull's eye sockets and the gaps between each tooth are the smallest, most fragile details. Carve the broad sword shapes first to release the large areas of pumpkin skin, then work inward to the fine tooth gaps using a narrow pointed blade.
 Advanced
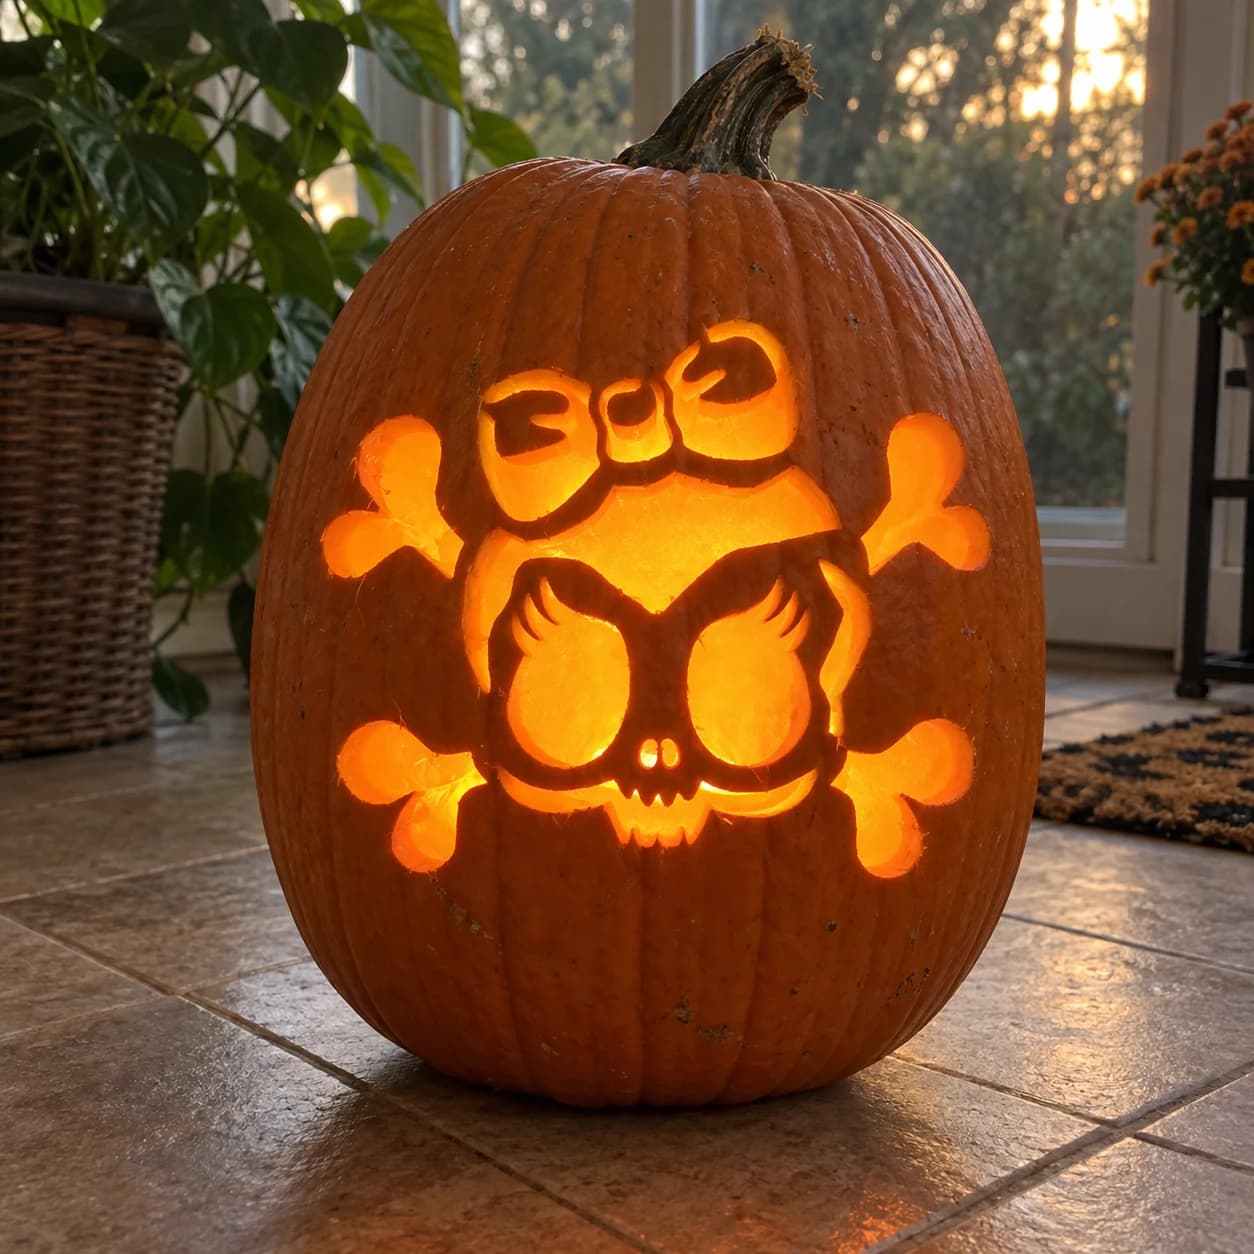
Skull and Crossbones Pumpkin Stencil
A skull-and-crossbones design with a feminine twist fills this pumpkin stencil: a small round skull wears a decorative bow on top, its large eye sockets rendered as open flame shapes, while a pair of crossed bones extends to the left and right behind it. The cut-out eye flames and a tiny tooth row are pierced through against the solid skull mass, and four rounded bone ends glow as separate openings at the corners. Cut the small decorative bow petals at the crown before opening the larger eye shapes, so the thin pumpkin wall connecting the bow to the skull doesn't flex and tear.
 Advanced
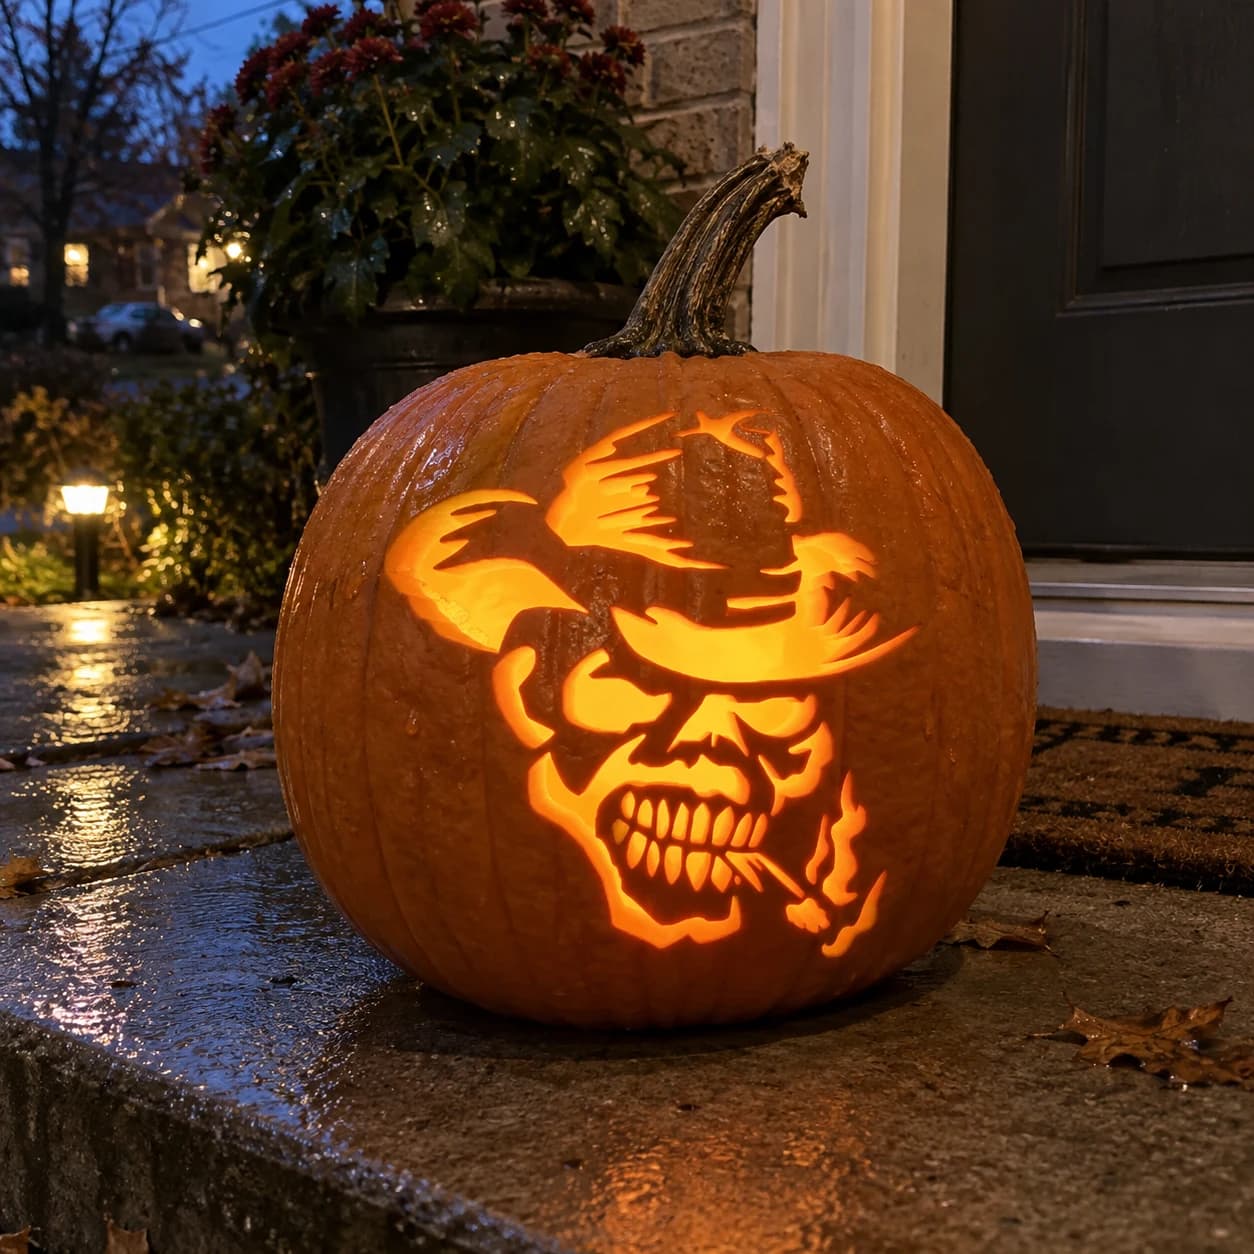
Cowboy Skull Pumpkin Stencil
A grinning cowboy-hat skull faces three-quarters toward the viewer, its wide-brimmed hat battered and torn along the crown. Hollow eye sockets and an open jaw with individually delineated upper and lower teeth are pierced through, while the hat brim, cheekbones, and nose cavity form a complex arrangement of solid bridges. Flame wisps curl at the chin. When lit, the teeth row and eye sockets glow against the dark skull mass, creating a hard-boiled undead outlaw look. Cut each tooth gap individually rather than sweeping through the whole row to keep the ridges crisp.