Similar to This
View all stencils →About this stencil
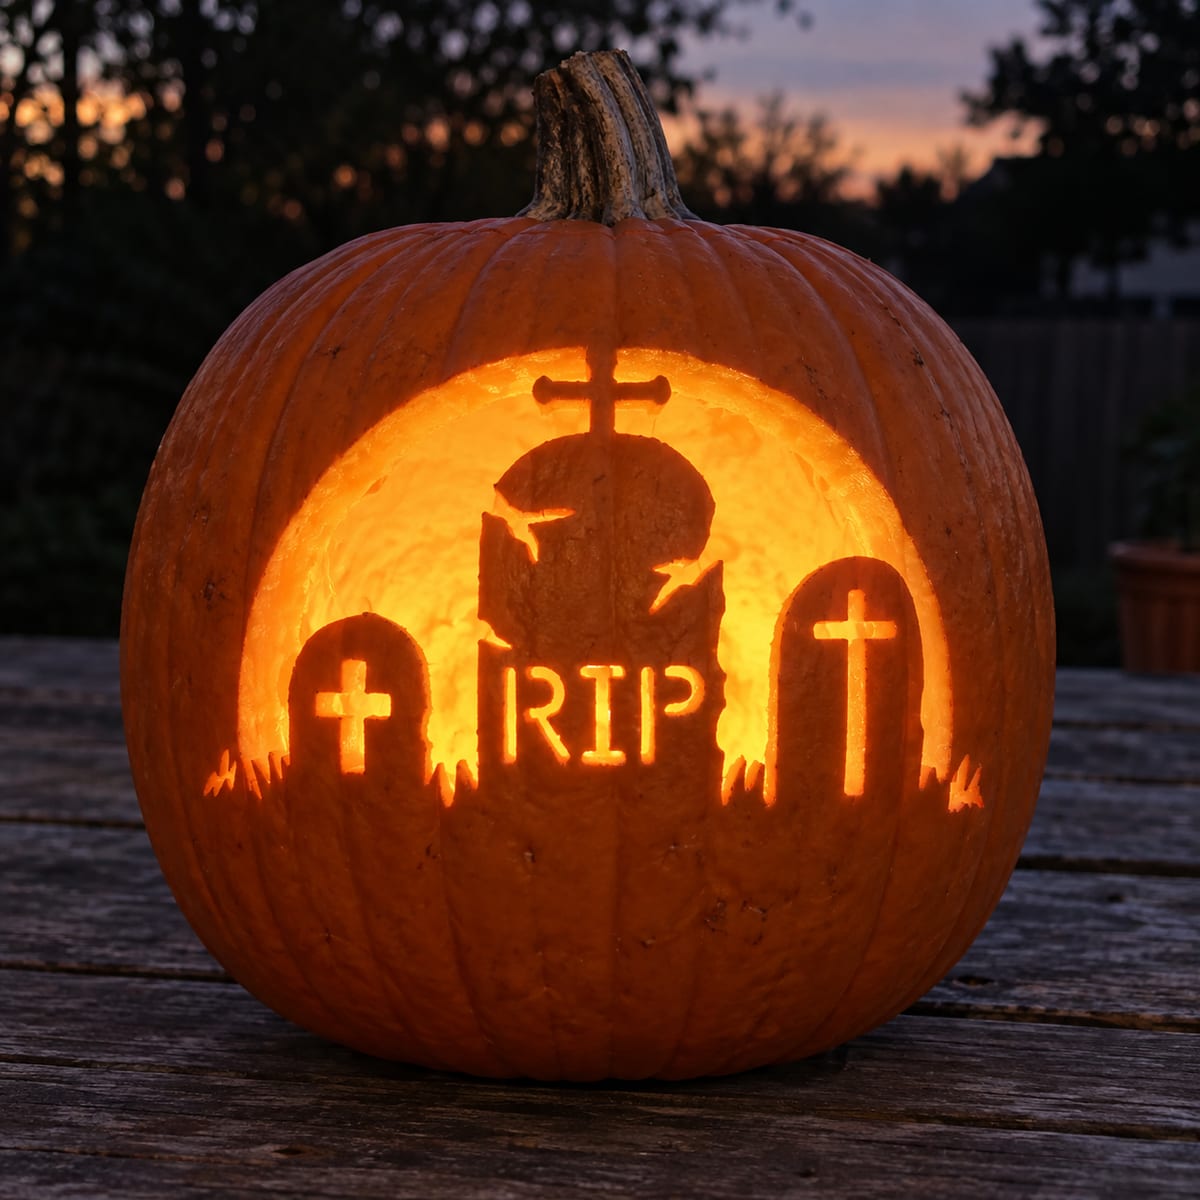
A moonlit cemetery scene: a huge glowing full moon fills the background while three headstones stand in silhouette, the tall center marker lettered RIP and flanked by two cross-topped stones rising from tufts of grass. The moon area is cut through and the graves are the pumpkin left in place. This is a hard pattern, so cut the big moon opening in several smaller sections to avoid snapping the thin grass blades along the bottom. This design is rated Advanced and takes most carvers around 150 minutes from trace to glow. Multi-layer cuts with skin-peel shading. Plan your cuts first.
Pumpkin size guide
- 🎃 Small (5–7") — print at 80%
- 🎃 Medium (7–10") — print at 100% (recommended)
- 🎃 Large (11–13") — print at 130%
- 🎃 Giant (14"+) — print at 150% on tabloid paper
Frequently asked questions
Can I resize this stencil?▾
Yes. The PDF is vector so it scales cleanly. Print at 100% for a 7–10 inch pumpkin, 130% for 11–13 inch, or 150% for a giant. Use your printer's "Fit to page" or "Custom scale" setting.
What kind of paper works best?▾
Standard 20 lb letter or A4 printer paper is fine. Heavier paper is harder to bend around the pumpkin curve. If your printer supports it, set the quality to 'best' so the lines are crisp.
How long will the carved pumpkin last?▾
Usually 5–10 days. Coat all cut surfaces with petroleum jelly and store the pumpkin somewhere cool overnight. Avoid direct sun. Battery LED pumpkin lights produce no heat and double the lifespan.
Can I sell pumpkins carved with this stencil?▾
Yes, the carved pumpkin you make is yours. The license covers personal and small-scale commercial carving (selling carved pumpkins, photographing them, posting on social). You may not resell the PDF file itself.
What if my printer doesn't print the whole stencil?▾
Set 'Page scaling' to 'Fit' in the print dialog and uncheck 'Auto-rotate'. If it still cuts off, the design includes 0.25" of safe-area margin so a small crop won't ruin it.
How to carve this stencil
- 1Print it
Download the PDF and print at 100% scale on letter or A4 paper.
- 2Prep the pumpkin
Cut the lid at an angle, scoop the guts, thin the wall to ~1 inch.
- 3Tape it on
Snip darts in the paper so it lies flat against the curve.
- 4Transfer the design
Poke along every line — about one dot every 1/8 inch.
- 5Carve it
Connect the dots with short straight cuts. Center first, work outward.
- 6Light it up
Drop in a battery LED pumpkin light and you're done.
Tools you'll need
For a advanced carve like this you'll want a linoleum cutter set, x-acto knife, peel tool, and pin transfer wheel. Here's the kit we reach for — start with whatever you already own.

Elmchee Pumpkin Carving Kit
13-piece kit with carrying case
Saws for the larger cutouts, plus a scoop for hollowing. Covers both jobs in one kit.
View on Amazon ↗
HOME MOST LED Pumpkin Lights
4-pack, battery operated, with remote + timer
Orange glow made for jack-o'-lanterns. The remote and timer light the pumpkin every evening without reaching inside.
View on Amazon ↗
Speedball 4131 Lino Cutter Set
Handle + 5 interchangeable cutters
Interchangeable cutters for peeling and shading the face. Useful for the finer details.
View on Amazon ↗
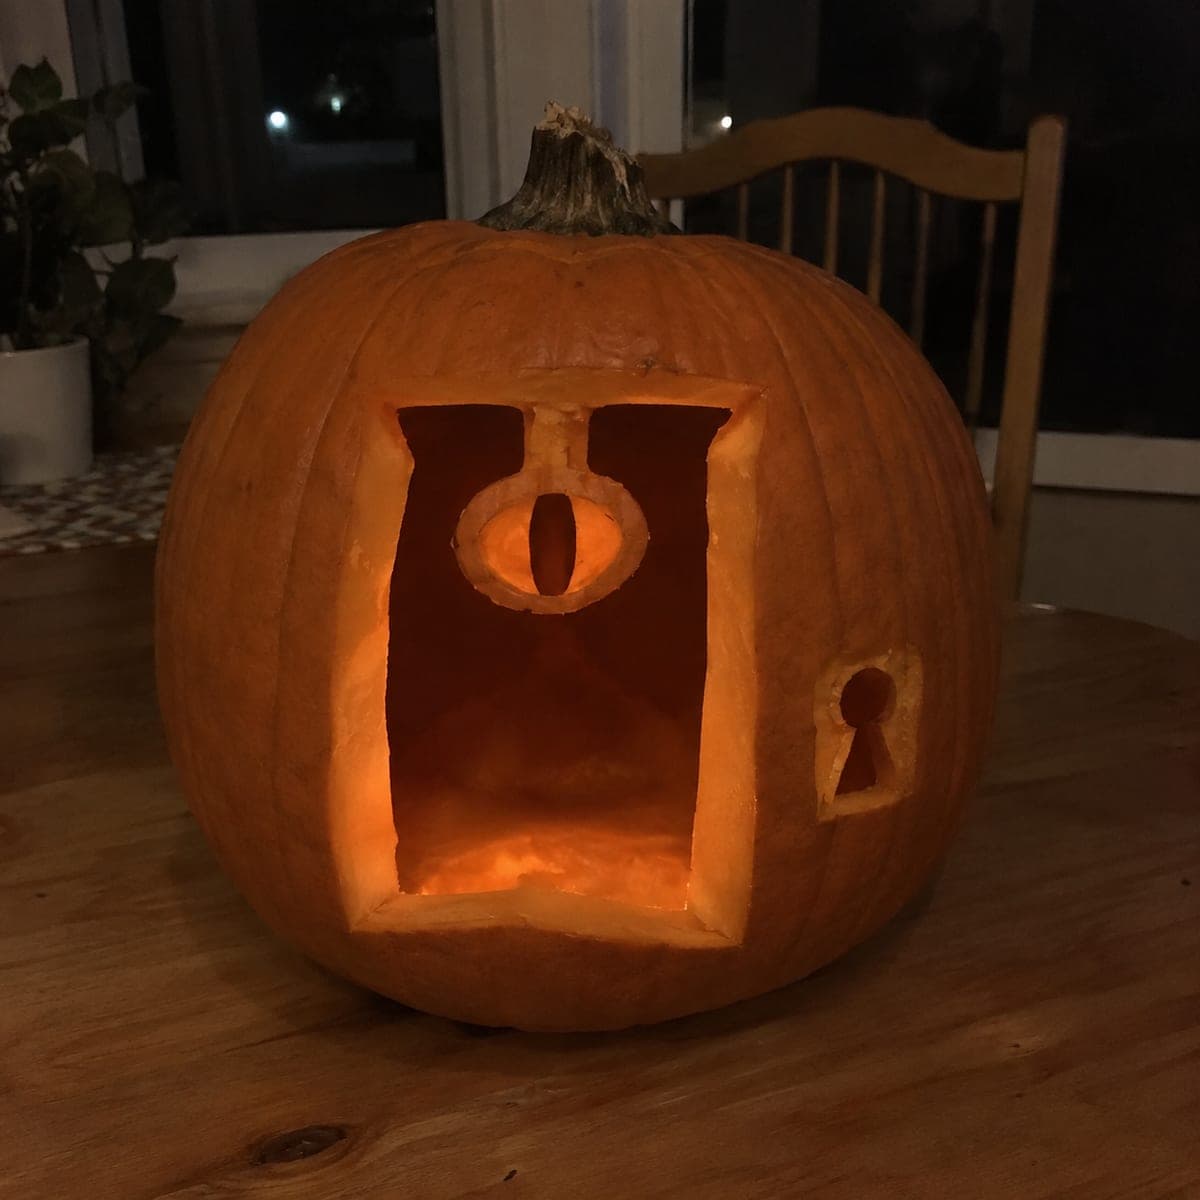
Community Pumpkin Carving Ideas
Carving ideas that use stencils like this one.


Related stencils
Carvers who liked this one also downloaded these.
 Beginner-friendly
Three Tombstones Under a Moon
A miniature midnight cemetery: three rounded tombstones of different heights glow along the bottom while a crescent moon and a scatter of small round stars shine above them. Every element is a simple cut-through, and the plain shapes make the scene read clearly from across the street. It is an easy carve; drill the little star dots first while the wall is still solid, then saw out the tombstones and moon.
 Advanced
Almond Eyes and Twenty Tears
Two huge almond eyes stare straight out, each ringed by fanned lash bars above and a spray of teardrop cuts below, with attached pupils floating in the centers. The eye whites, brow strokes, and roughly twenty teardrops are all pierced, leaving the pupils and lash ribs as connected shell. This one earns its hard rating on the thin lash bars, so cut every slot outward from the eye and support the wall with your palm.
 Beginner-friendly
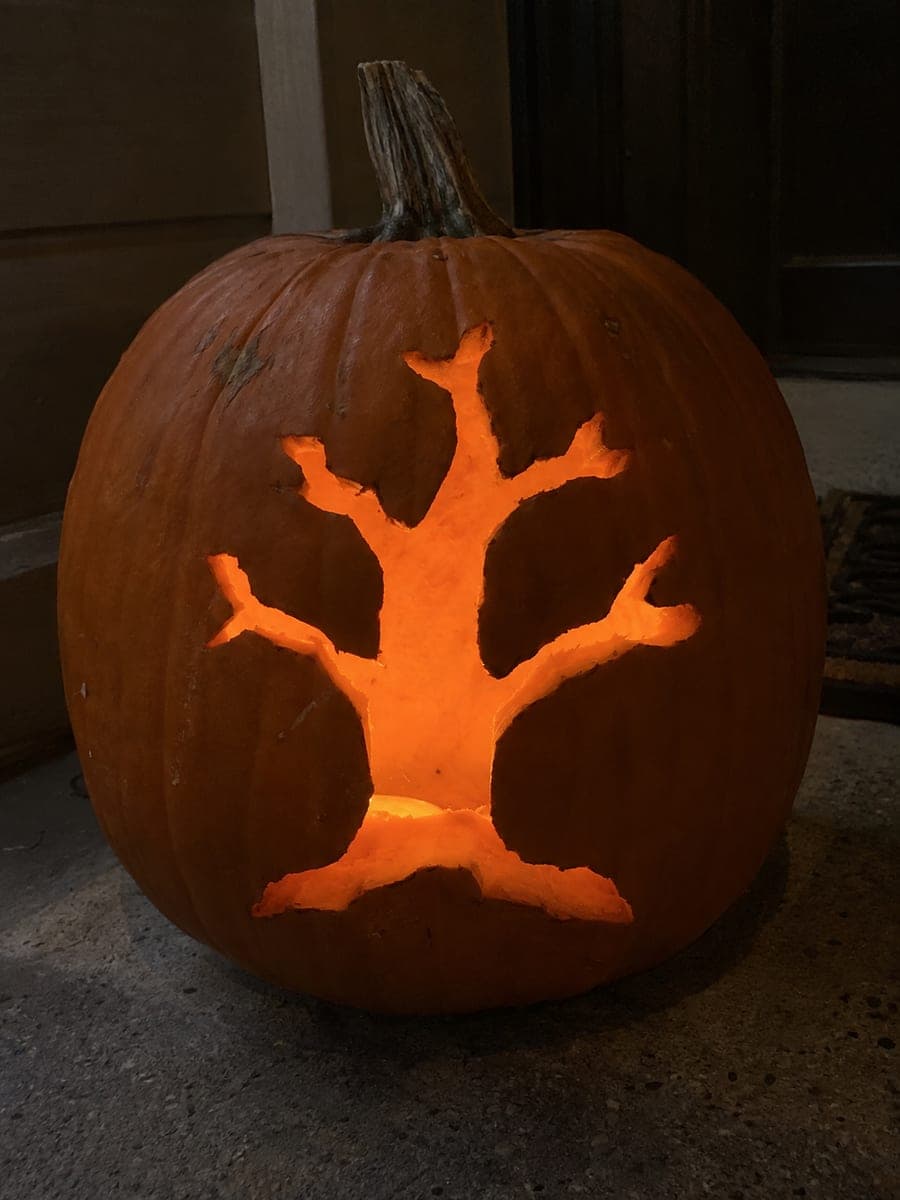
Bare Tree with Forked Branches
A gnarled bare tree glows from a wide split trunk up through forked, twisting branches, the classic haunted-forest silhouette in reverse. The entire tree shape is cut through as one connected opening, so light traces every crooked limb. It rates easy because the cuts are bold, but the branch tips narrow quickly; cut from each tip back toward the trunk and remove the waste in small pieces so no limb snaps off.
 Expert / Pro
Witch Profile & Clawed Hands
A wicked witch in profile fills a glowing full-moon circle, her pointed hat, hooked nose, jutting chin, and two gnarled clawed hands all left in silhouette against the light. The moon disc is cut through around her, so every detail depends on the pumpkin you leave behind. This expert design demands patience: remove the background in small wedges and never lever your blade against the thin fingers, which are the most fragile part.
 Advanced
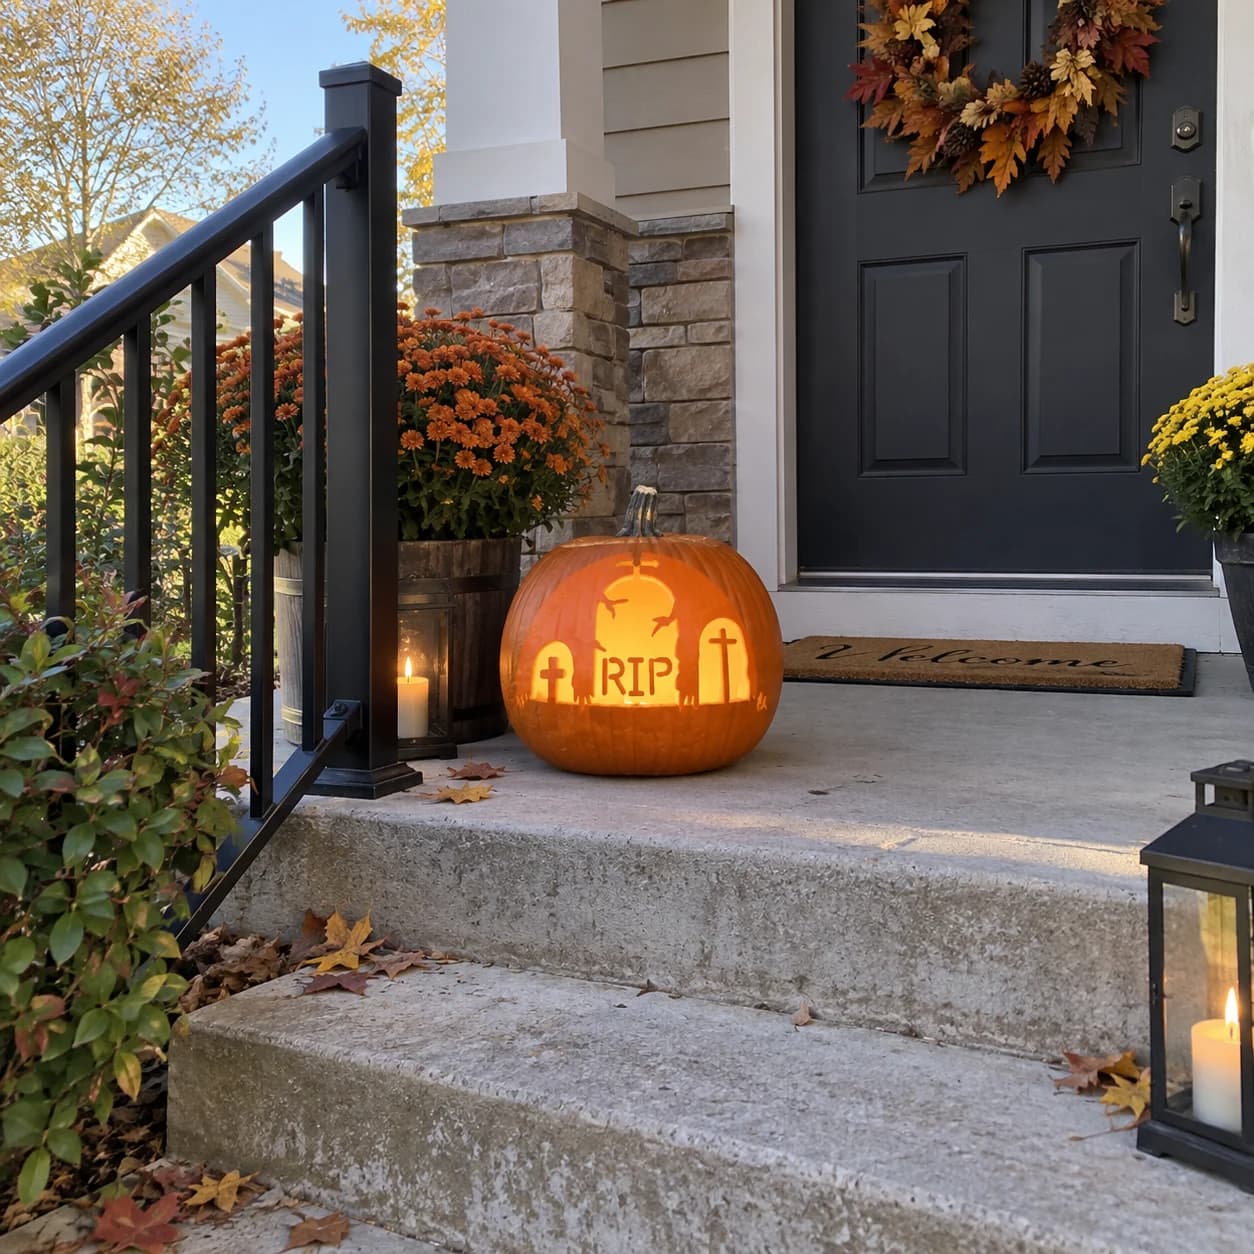
RIP Graveyard Pumpkin Stencil
A moonlit graveyard scene arches across this pumpkin stencil, with a large cracked tombstone bearing the letters RIP at center, flanked by two cross-topped stones and tufts of grave grass below, all framed inside a curved arch at the top. The composition is pierced so the entire scene cuts away from the pumpkin wall and glows as one large backlit picture. Cut the letter shapes inside RIP first with a detail blade, then work outward through the tombstone cracks, cross details, and grass tufts before removing the large arch framing area last.
 Expert / Pro
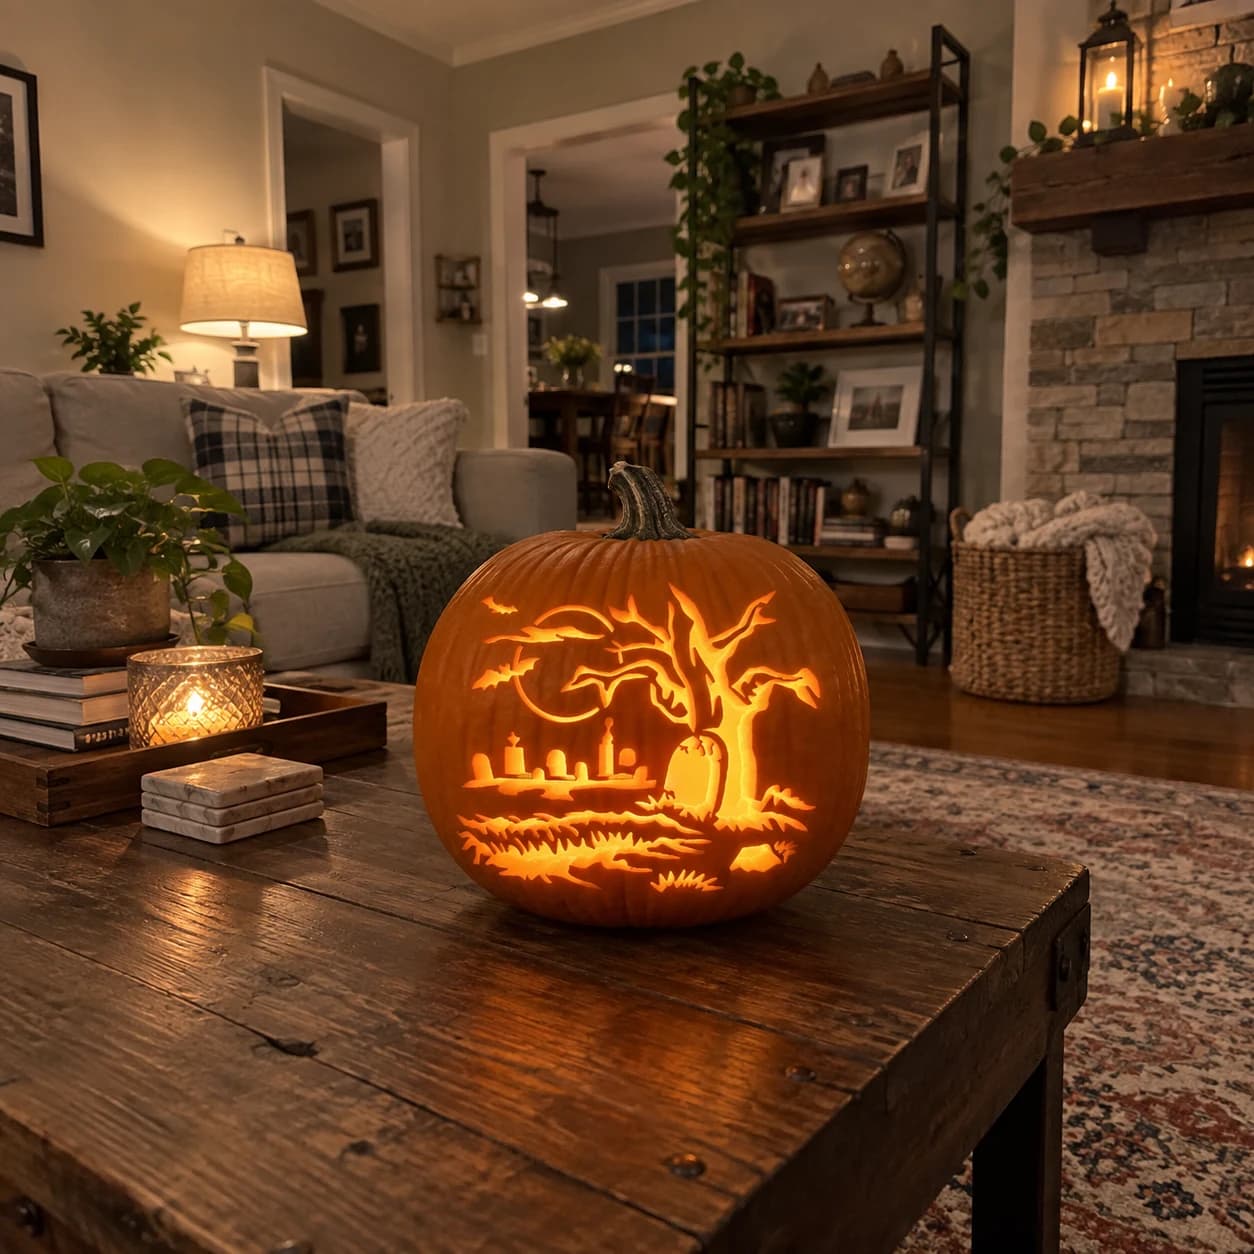
Graveyard Scene Pumpkin Stencil
A wide panoramic graveyard scene fills this pumpkin stencil from edge to edge: a gnarled bare tree dominates the right side with spidery branches, a crescent moon peeks above the tree line, two bats fly near the top left, a row of varied tombstones stretches across the middle ground, and a foreground of jagged dead grass and roots fills the bottom. All elements remain connected as a single cut sheet of pumpkin wall with the background space pierced away, so the entire scene glows in silhouette. Carve the bat shapes and moon sliver at the top first while the tall tree branches above them still anchor the upper wall.