20 free printable stencils
Expert Pumpkin Stencils
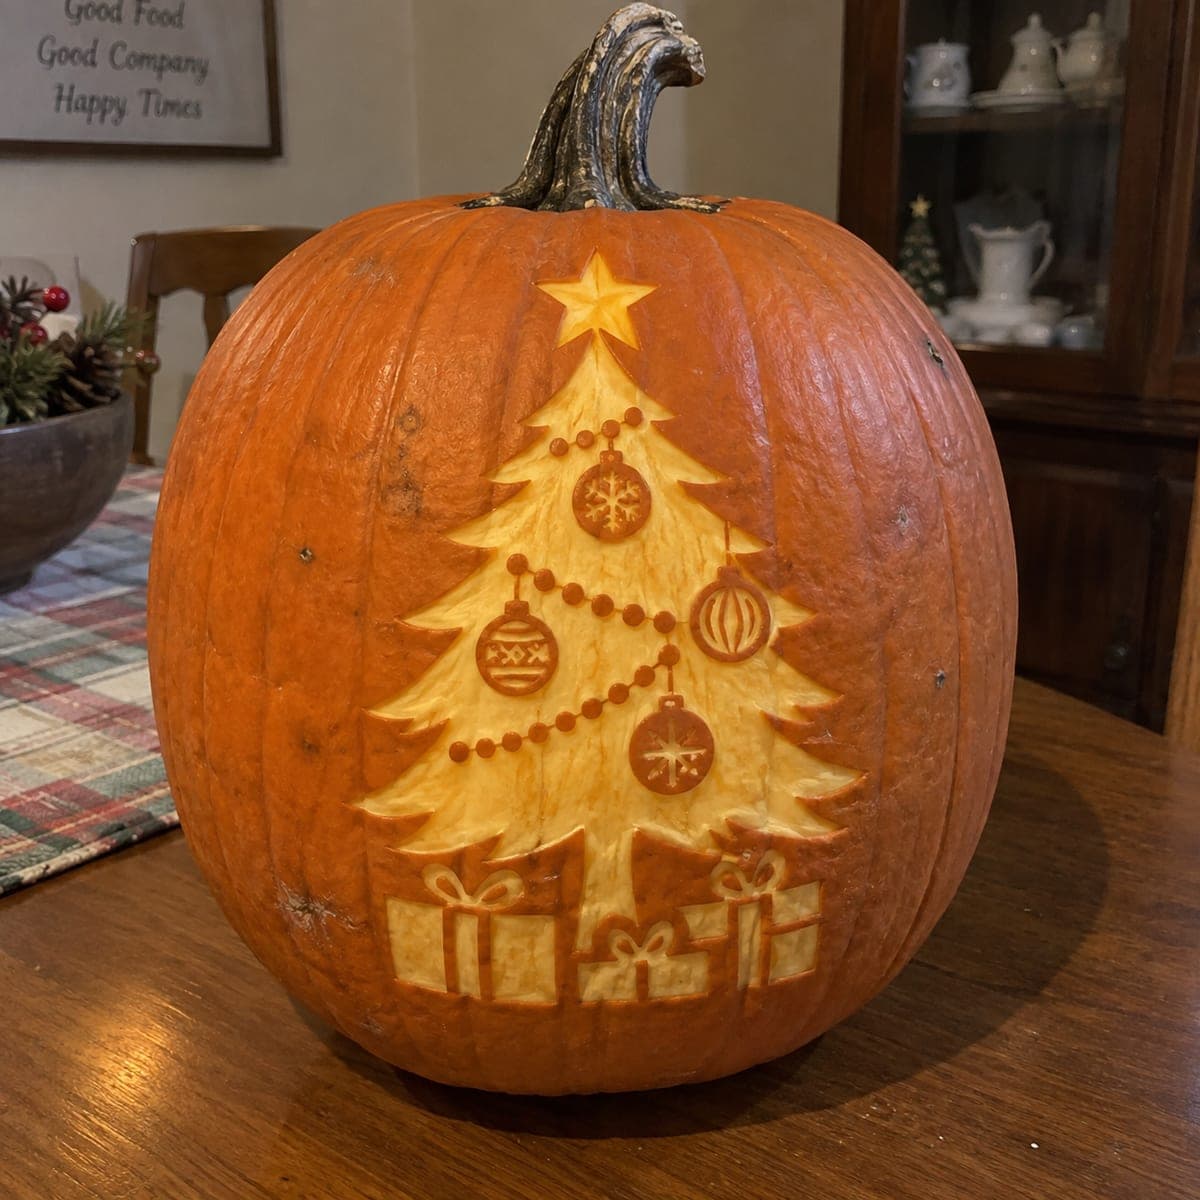
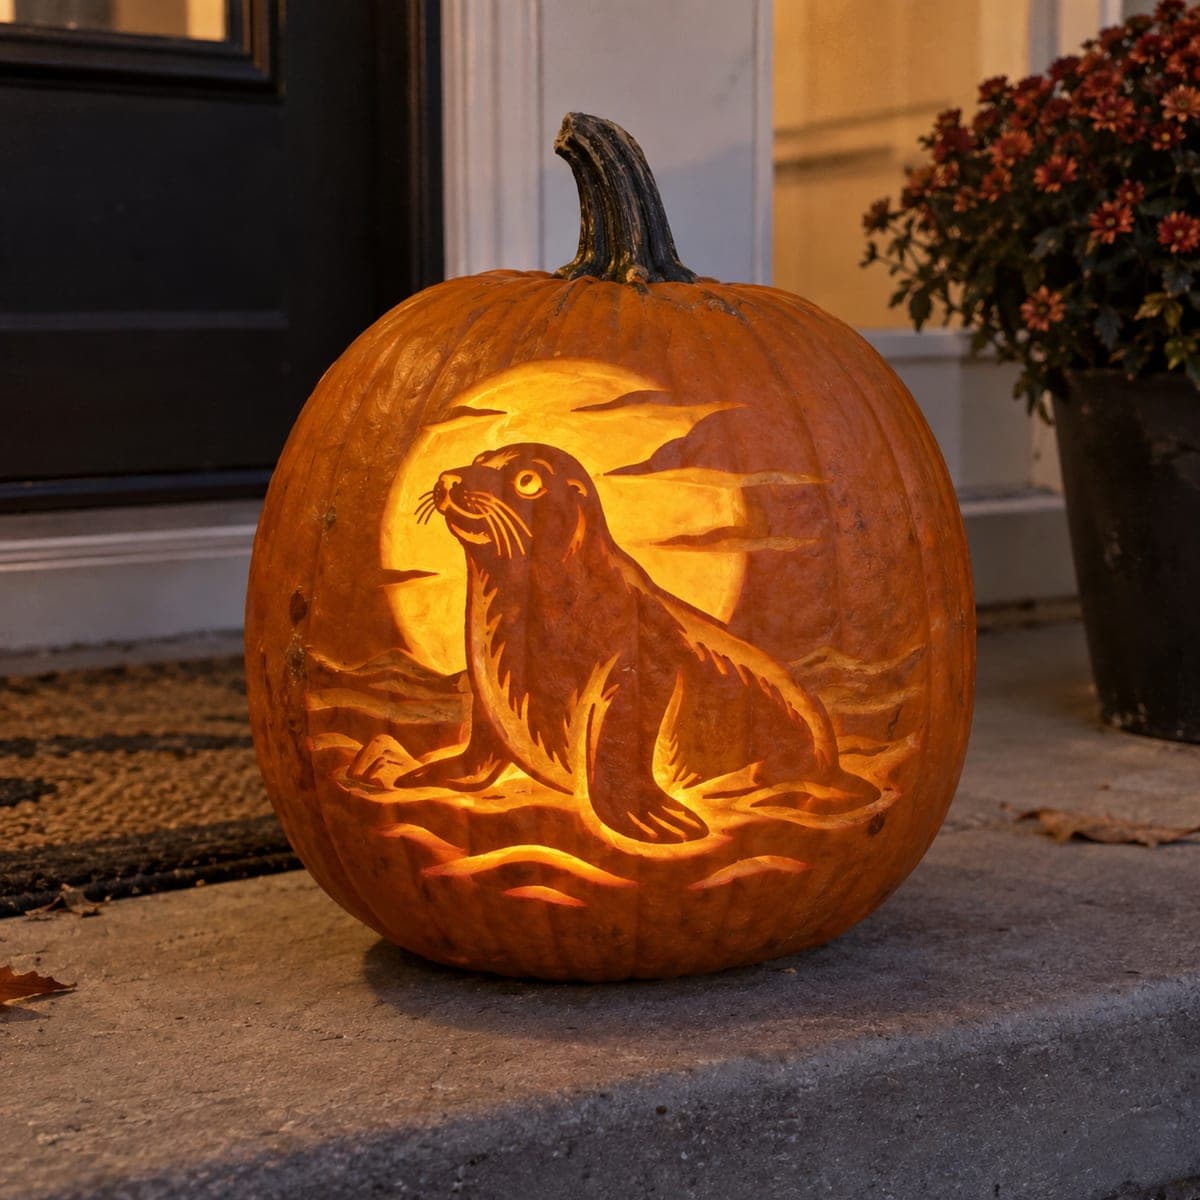
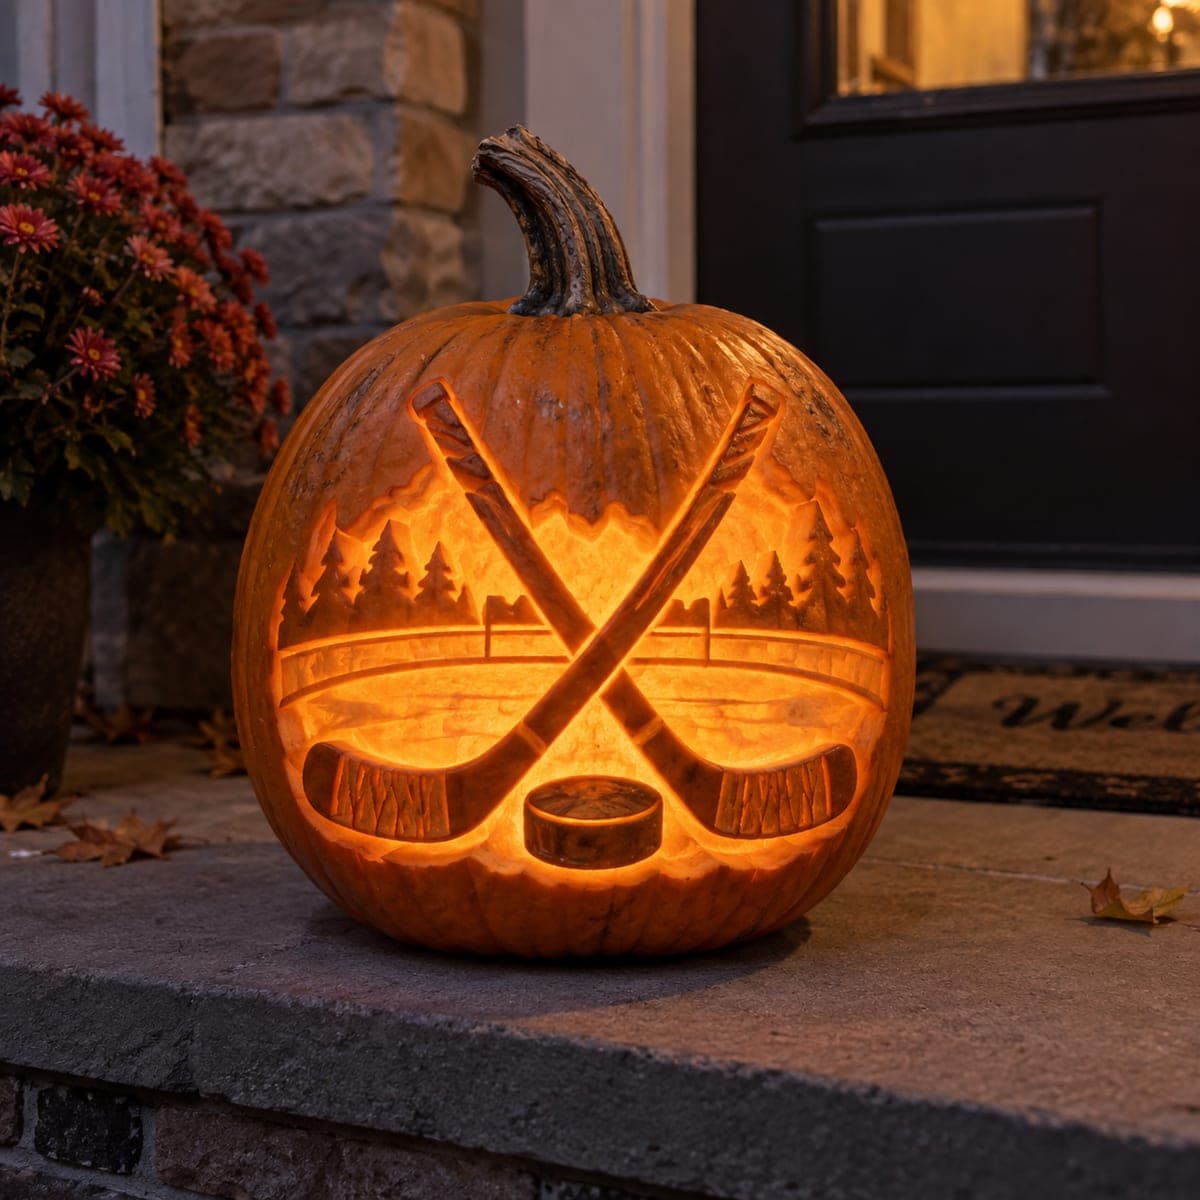
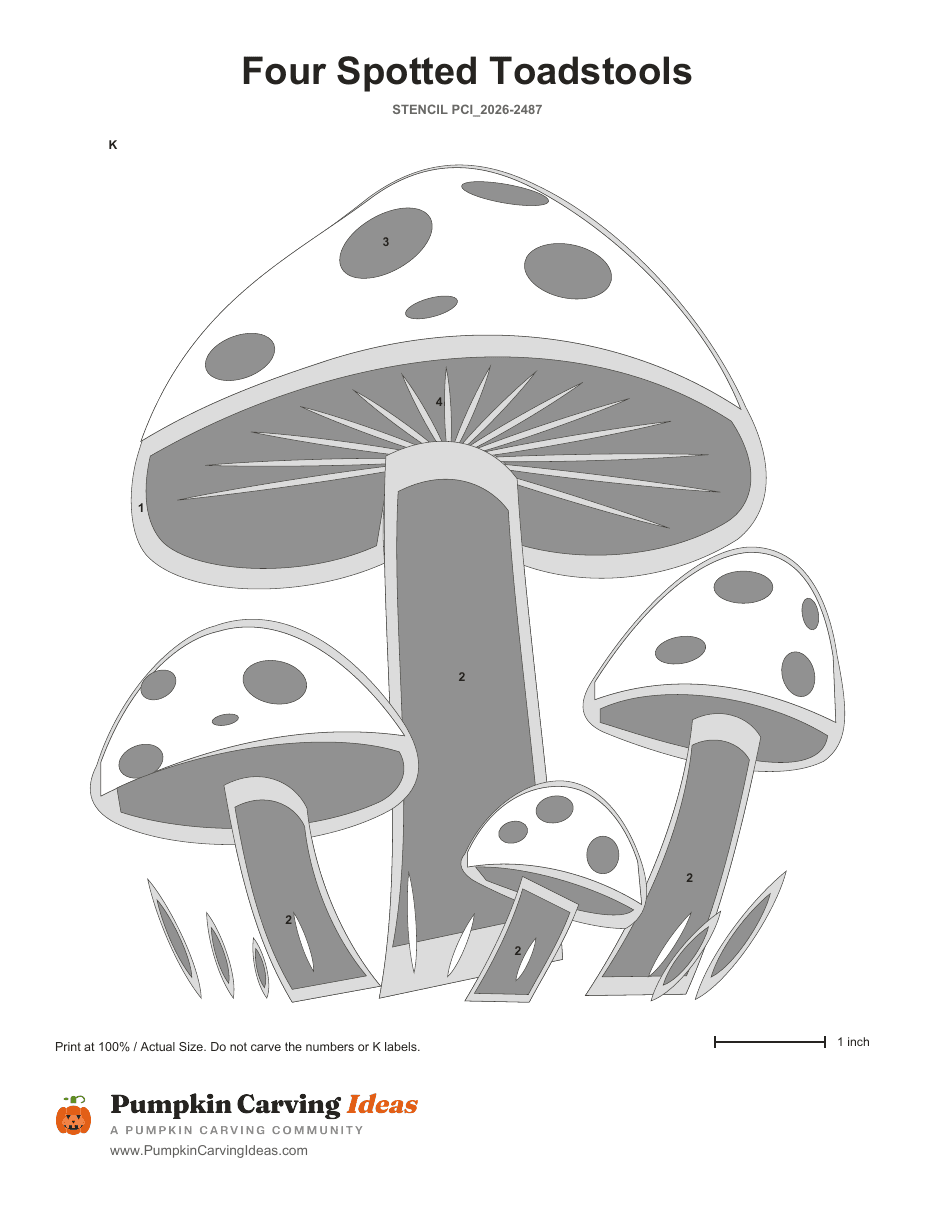
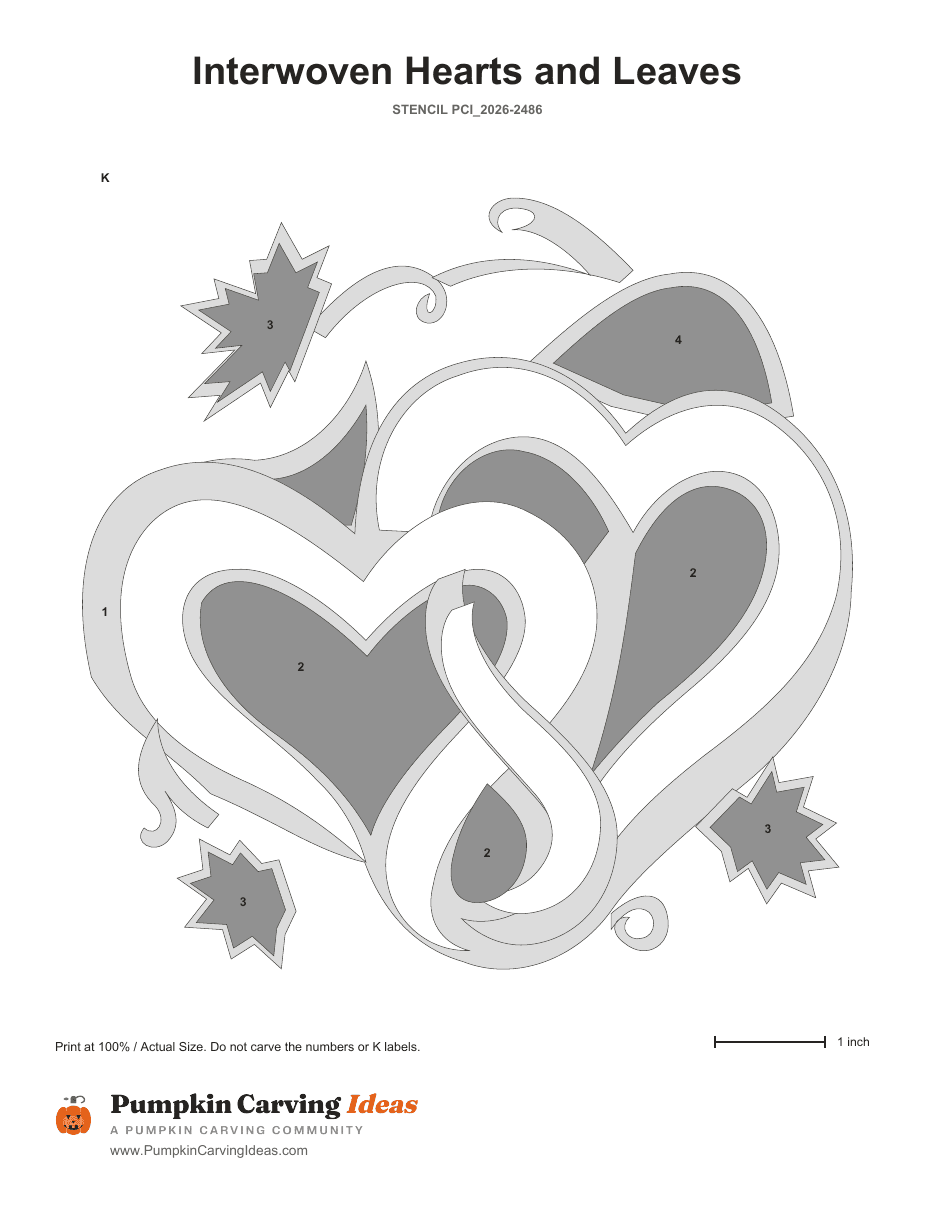
Expert pumpkin stencils are sculpting patterns. Rather than a picture cut through a wall, they map three or more depths into the flesh: full openings for highlights, deep scrapes for midtones, shallow scrapes for shadows, and untouched skin for the darkest areas. Carved well, the pumpkin becomes a lit relief portrait with real tonal range.
- Free PDF, no watermark
- Prints on letter or A4 at 100%
- Carving guide with every stencil
20 expert pumpkin stencils
Free PDF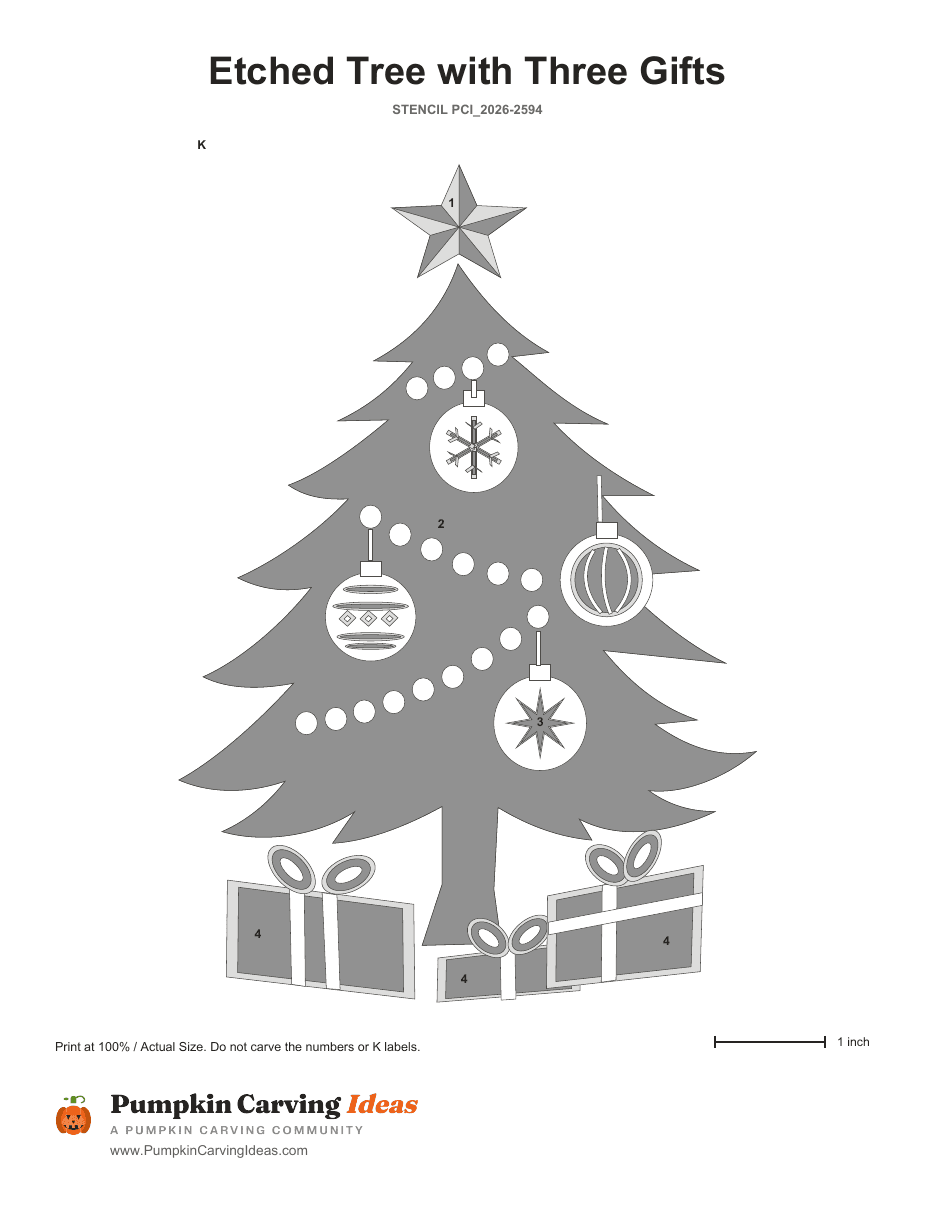
Christmas Morning Glow
Shaded
View stencilFree PDF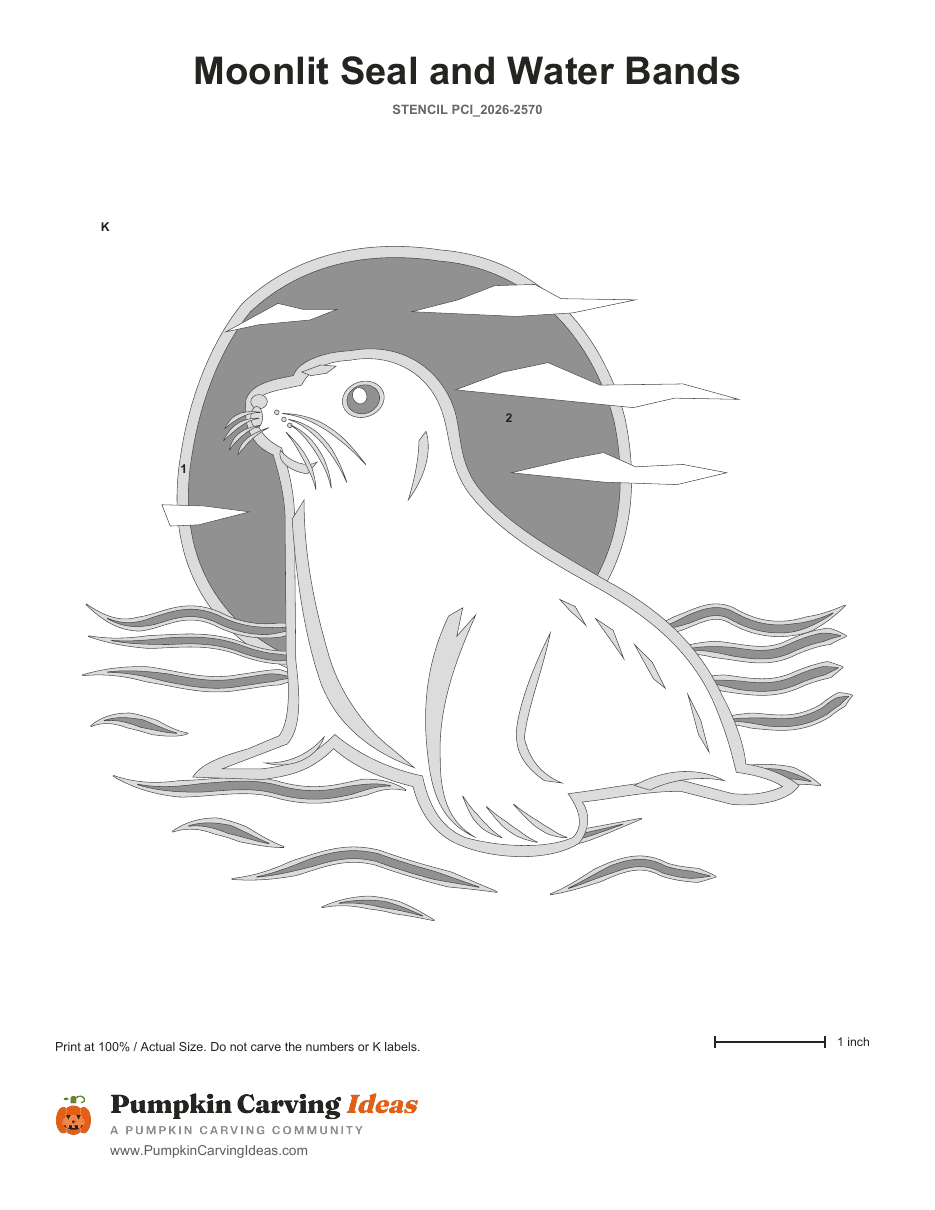
Harbor Moonbather
Shaded
View stencilFree PDF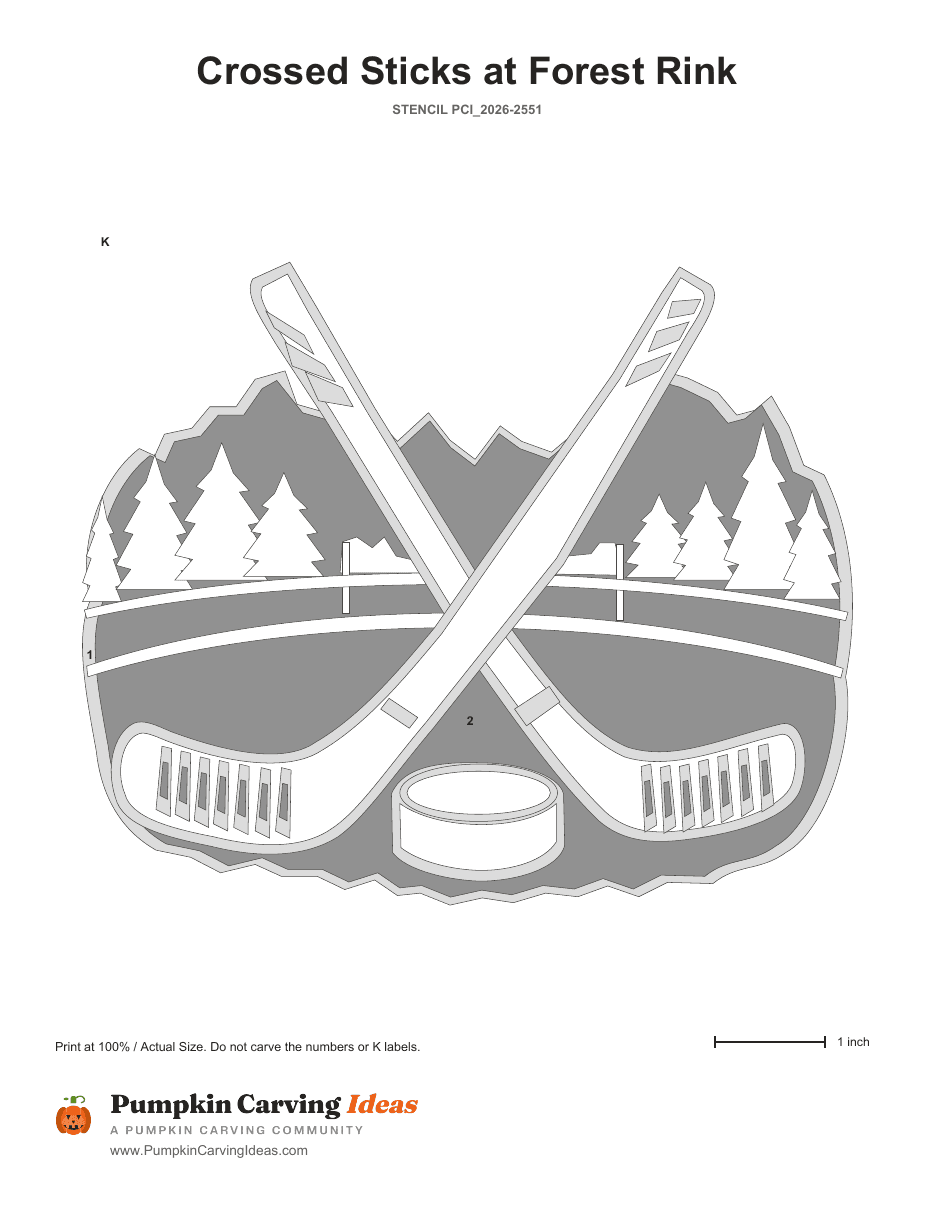
Pond Hockey Night
Shaded
View stencil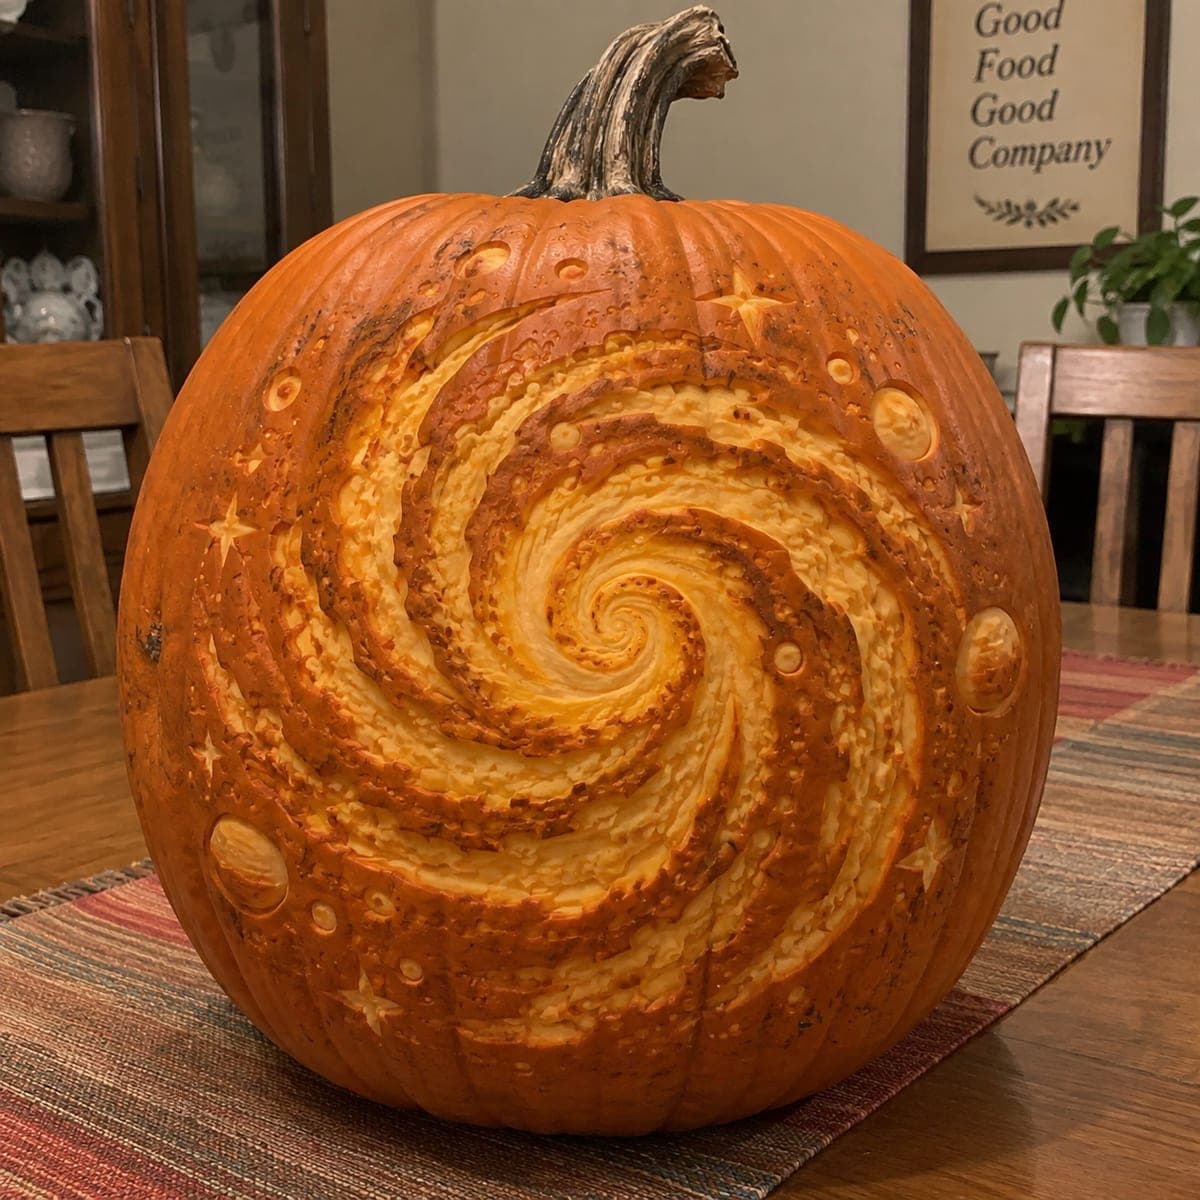 Free PDF
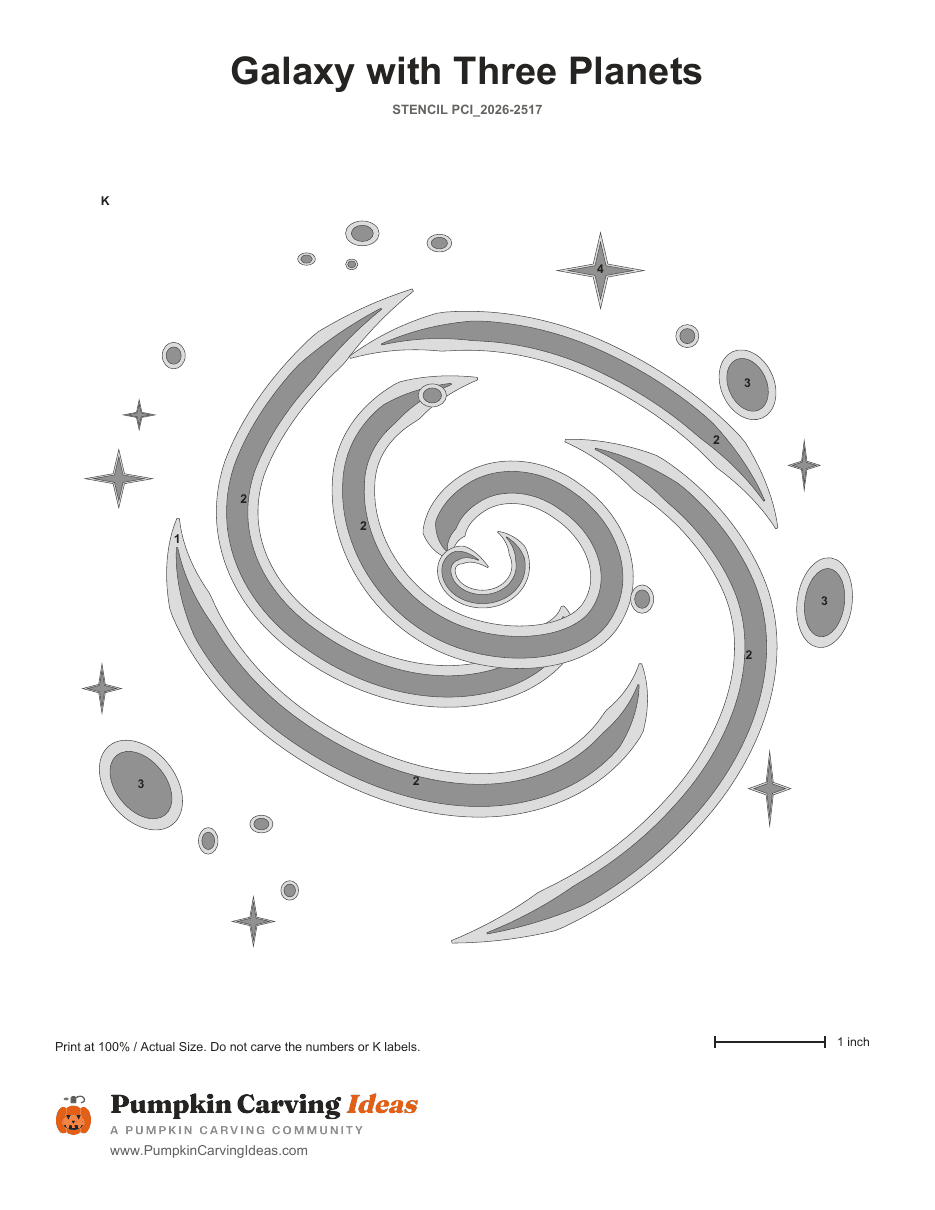
Deep Space Dream
Shaded
View stencil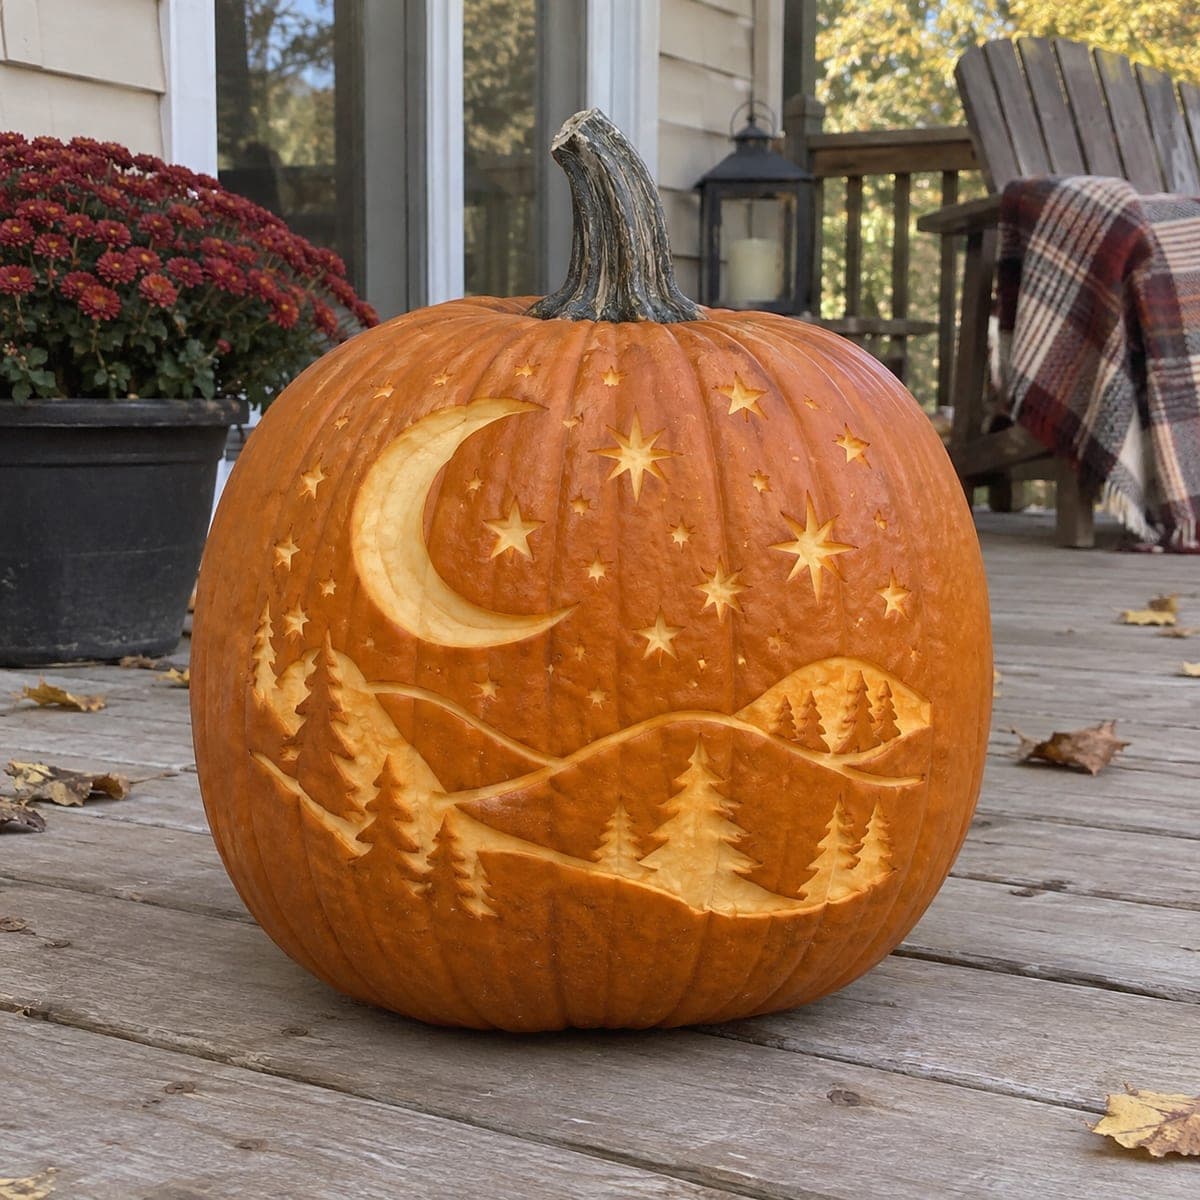 Free PDF
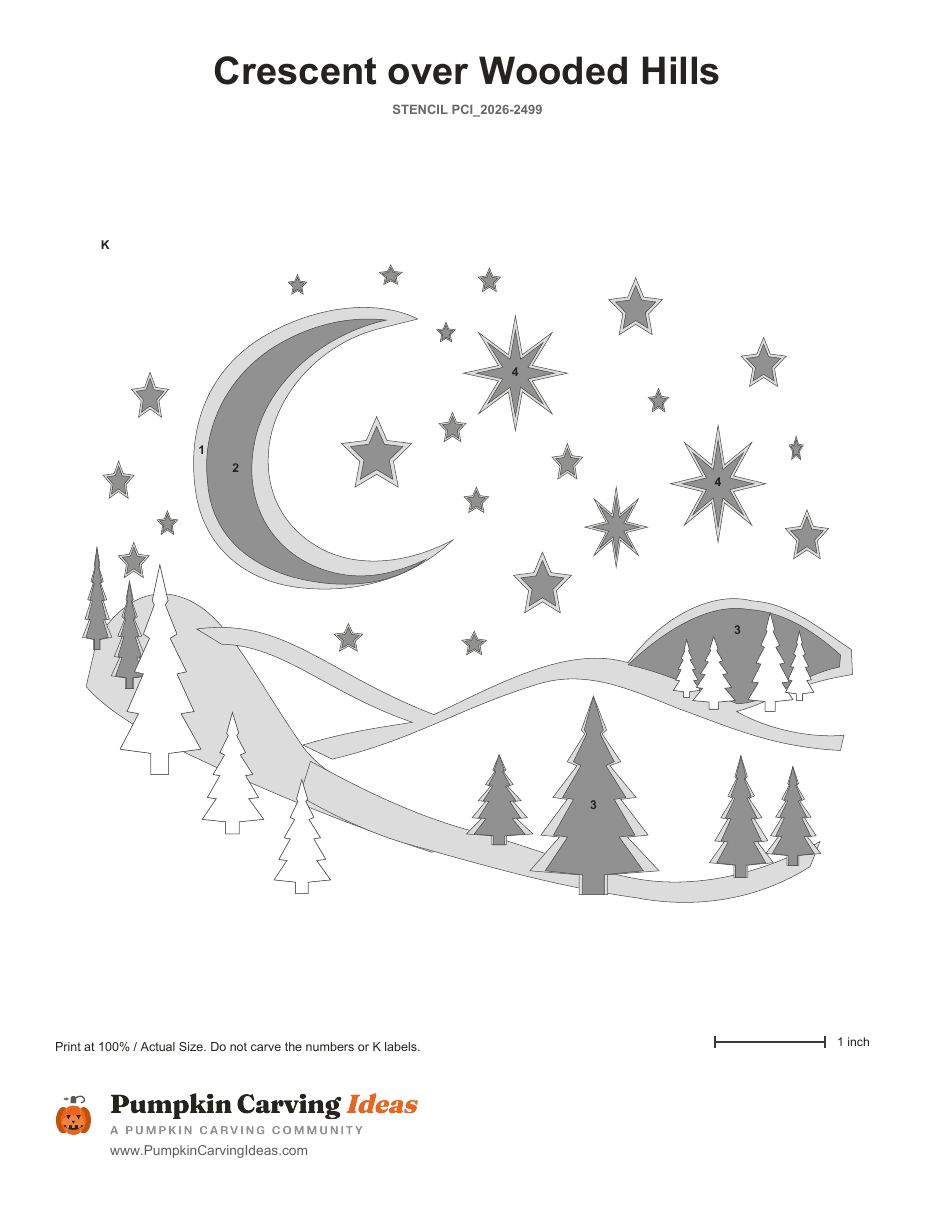
Moonlit Pines
Shaded
View stencil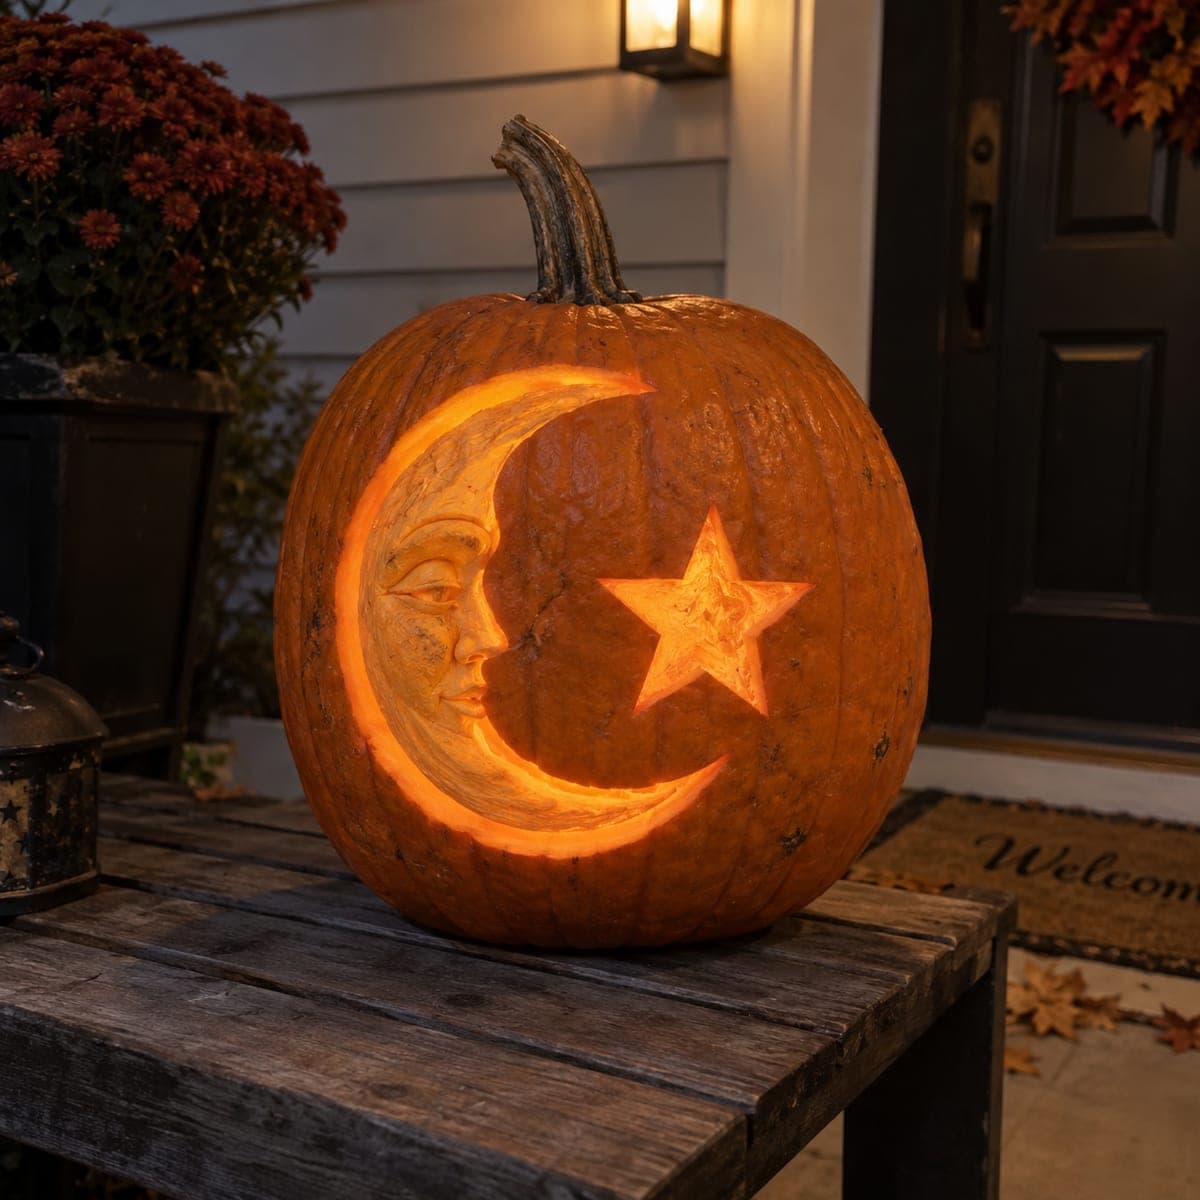 Free PDF
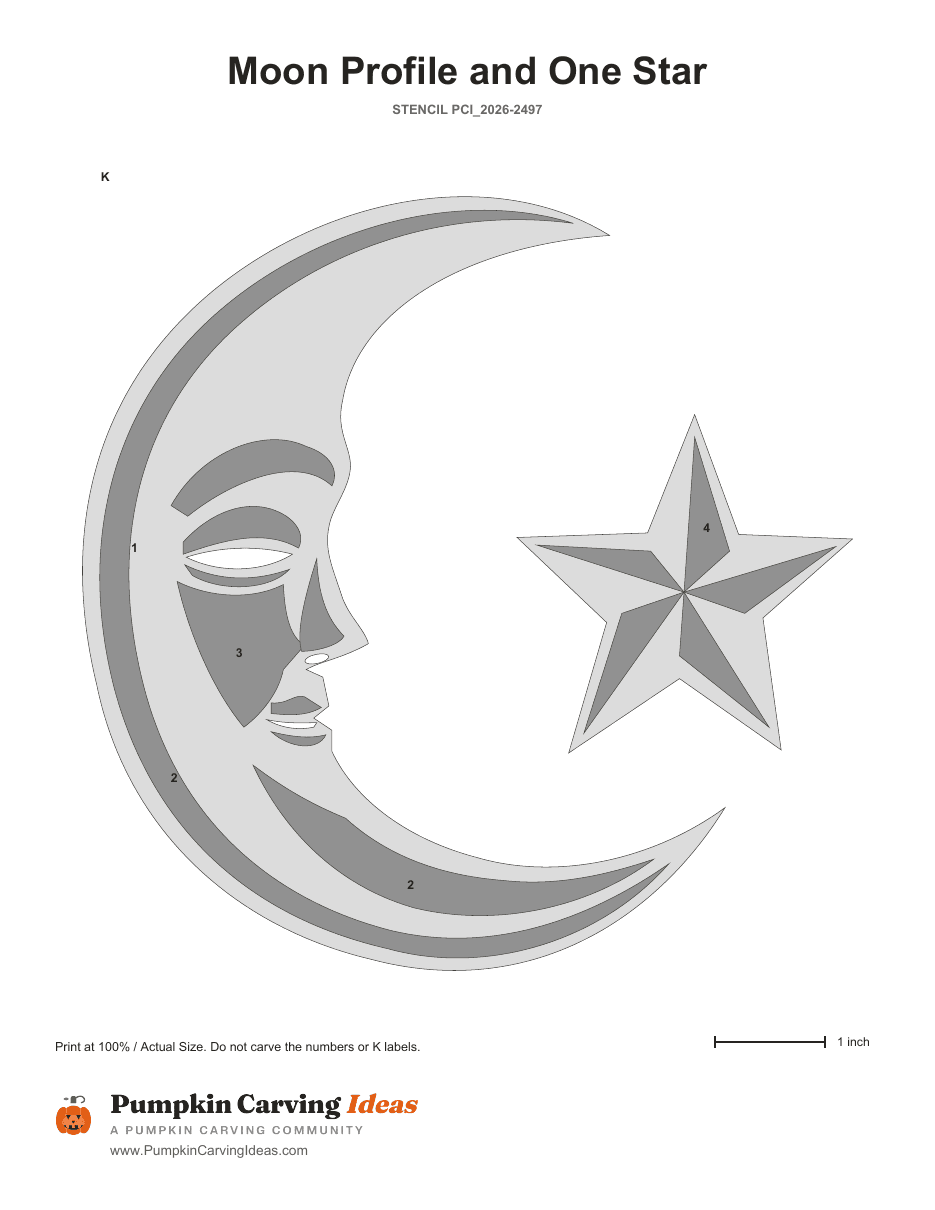
Man in the Moon
Shaded
View stencil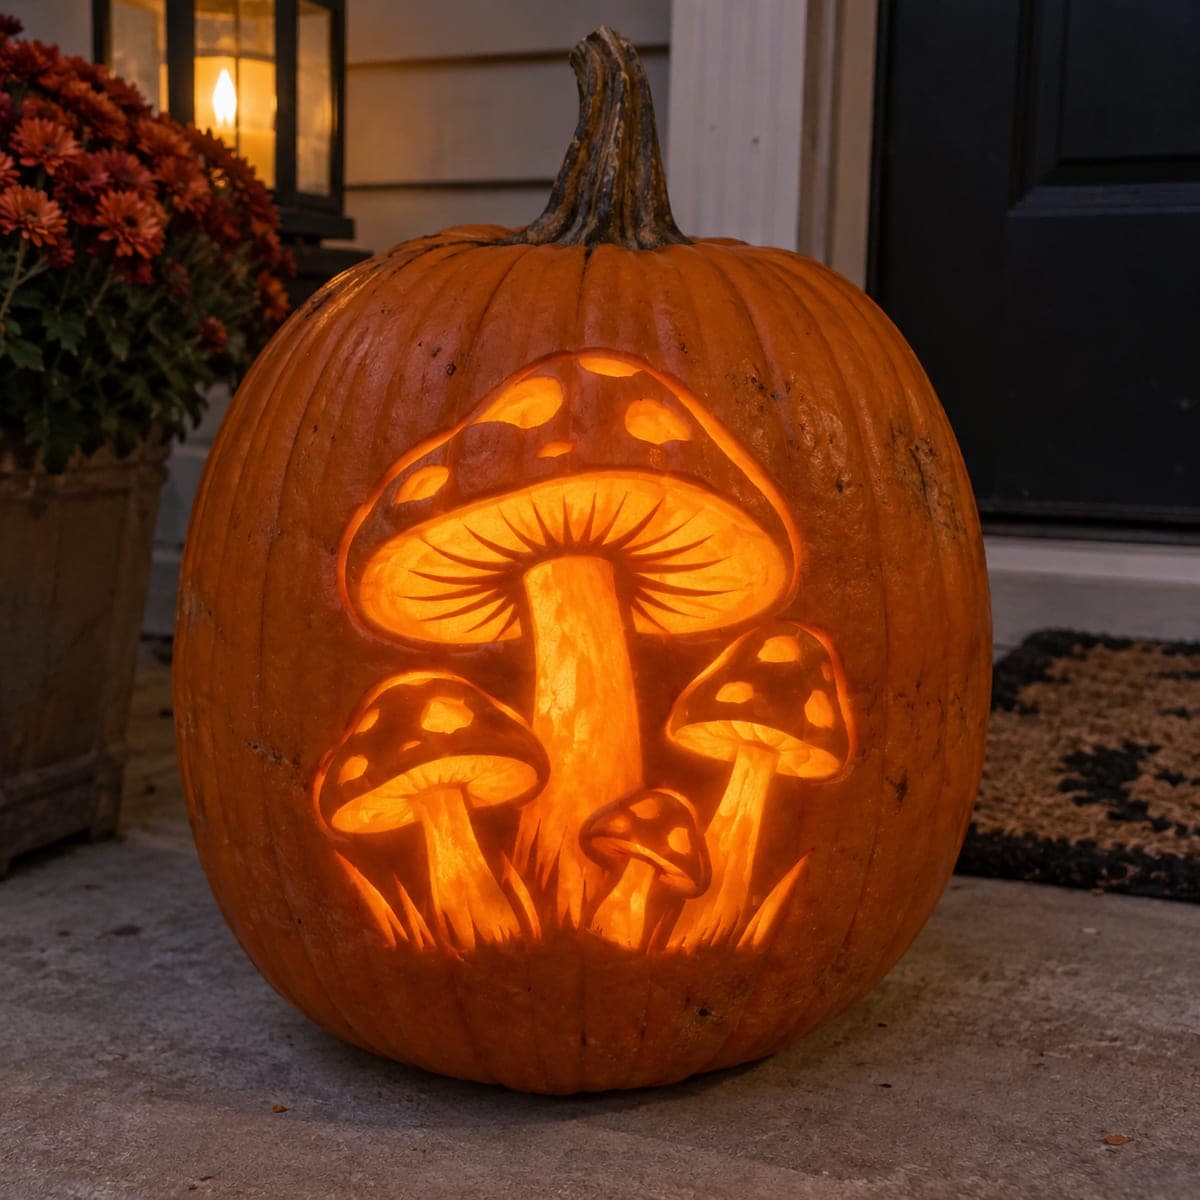 Free PDF
Four Spotted Toadstools
Shaded
View stencil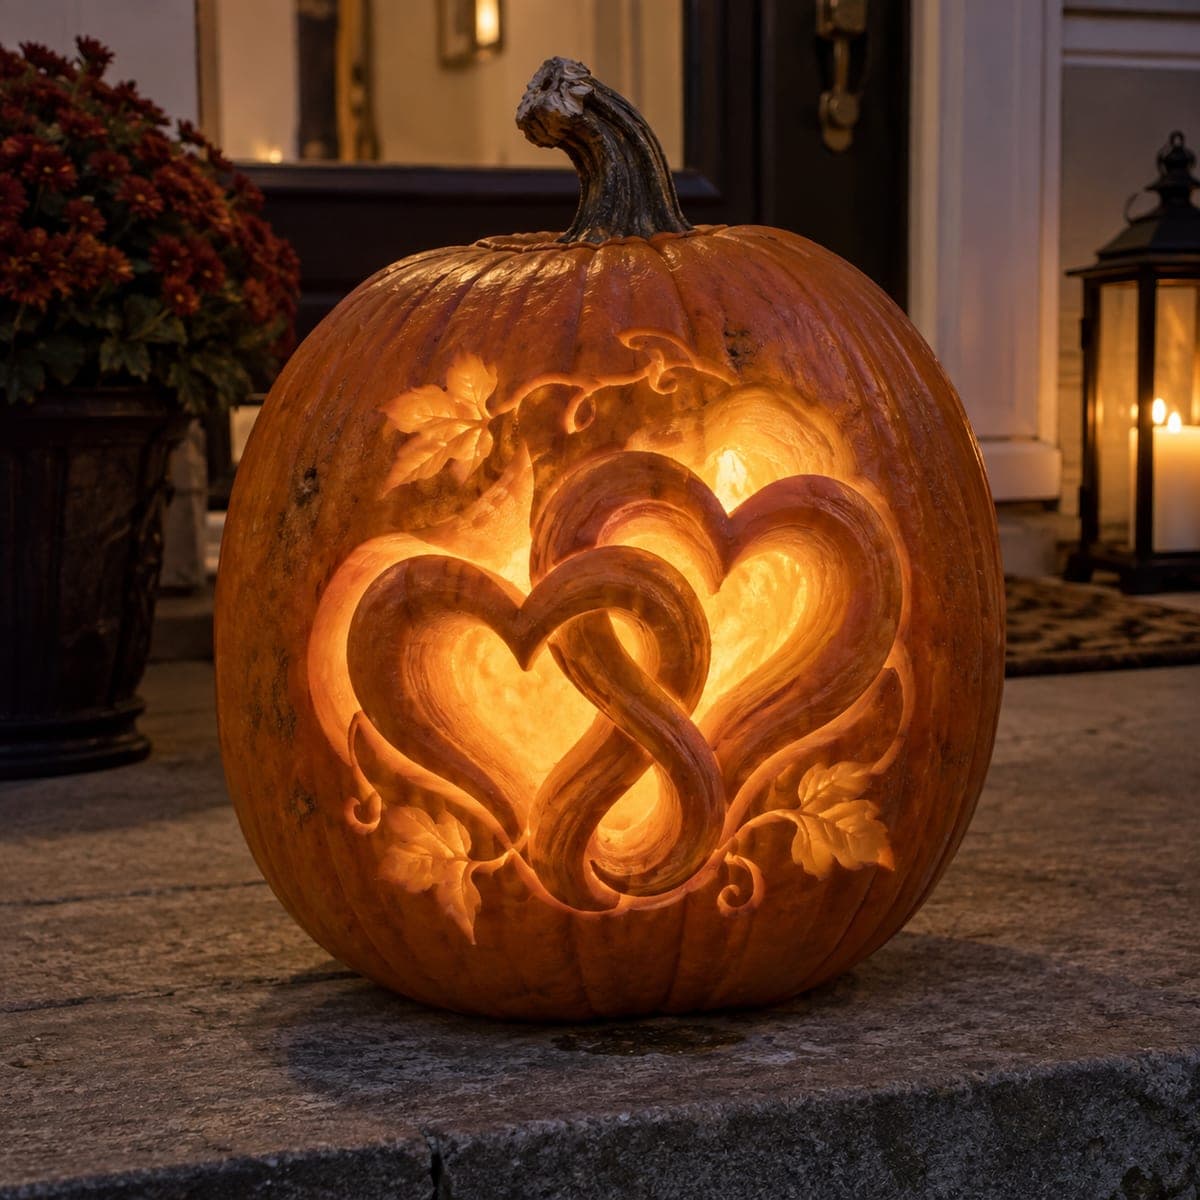 Free PDF
Interwoven Hearts and Leaves
Shaded
View stencil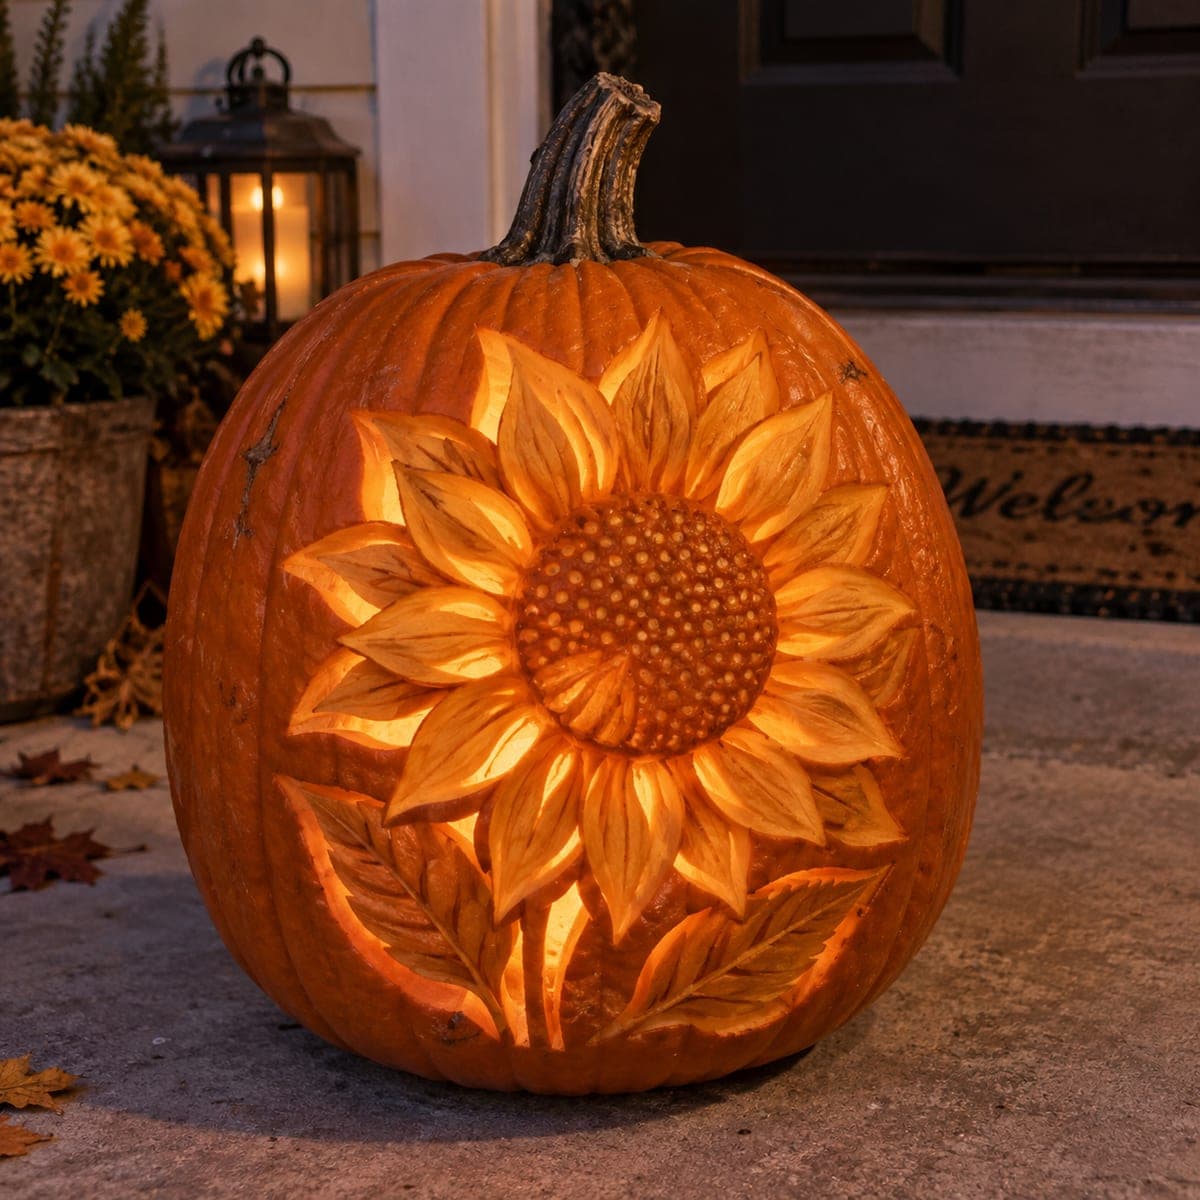 Free PDF
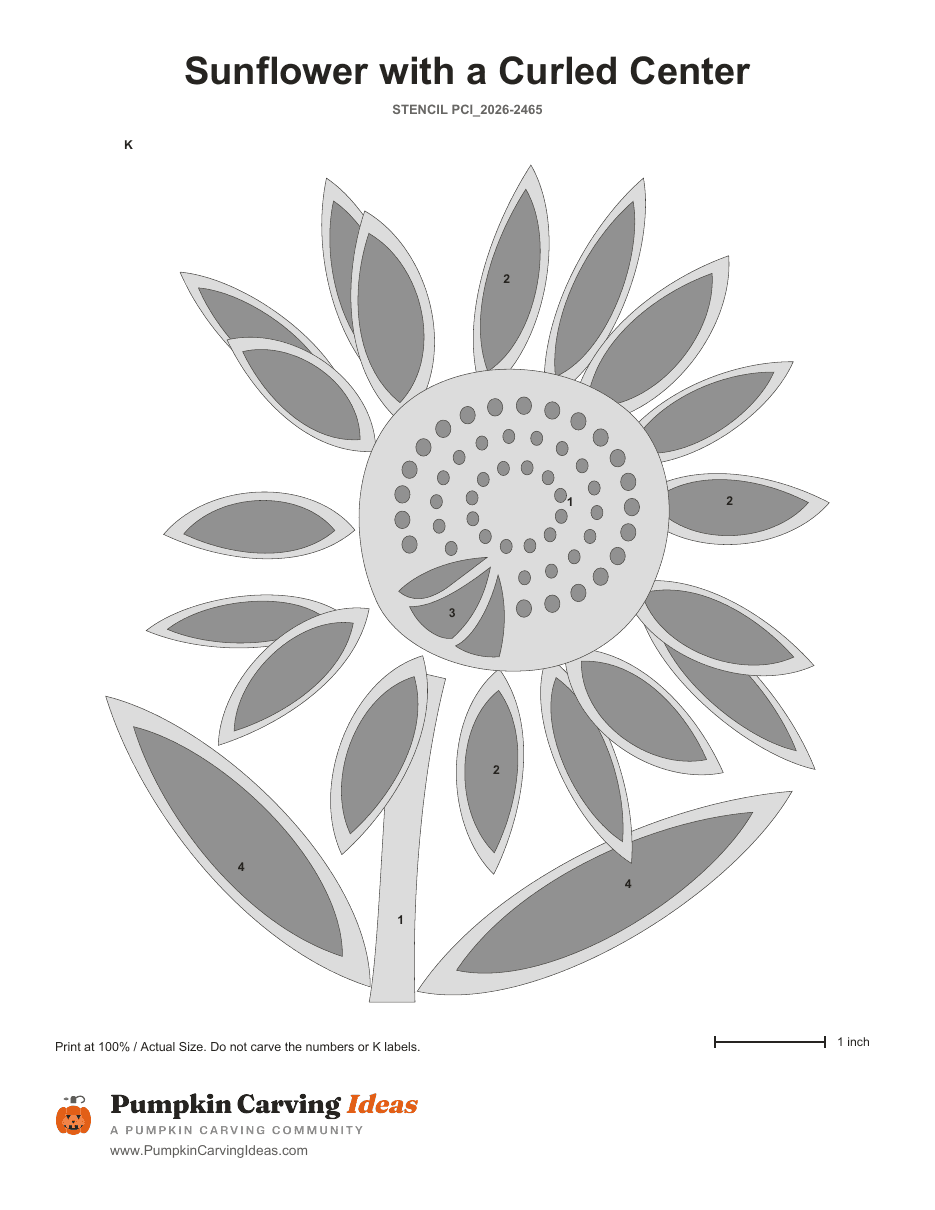
Golden Hour Sunflower
Shaded
View stencil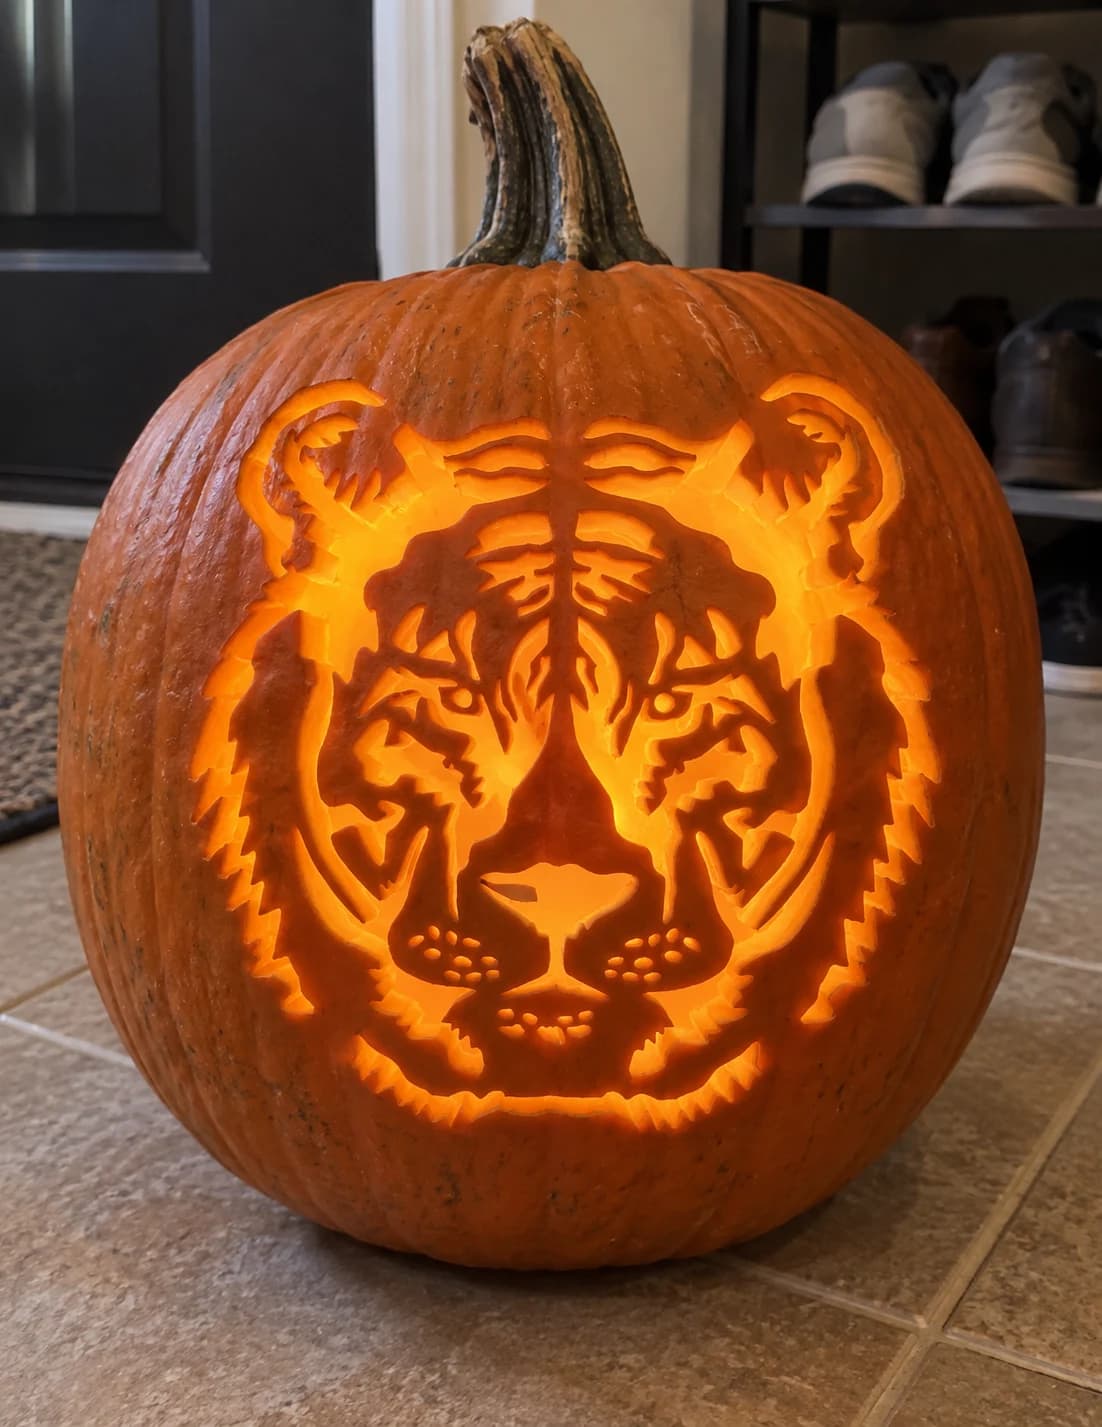 Free PDF
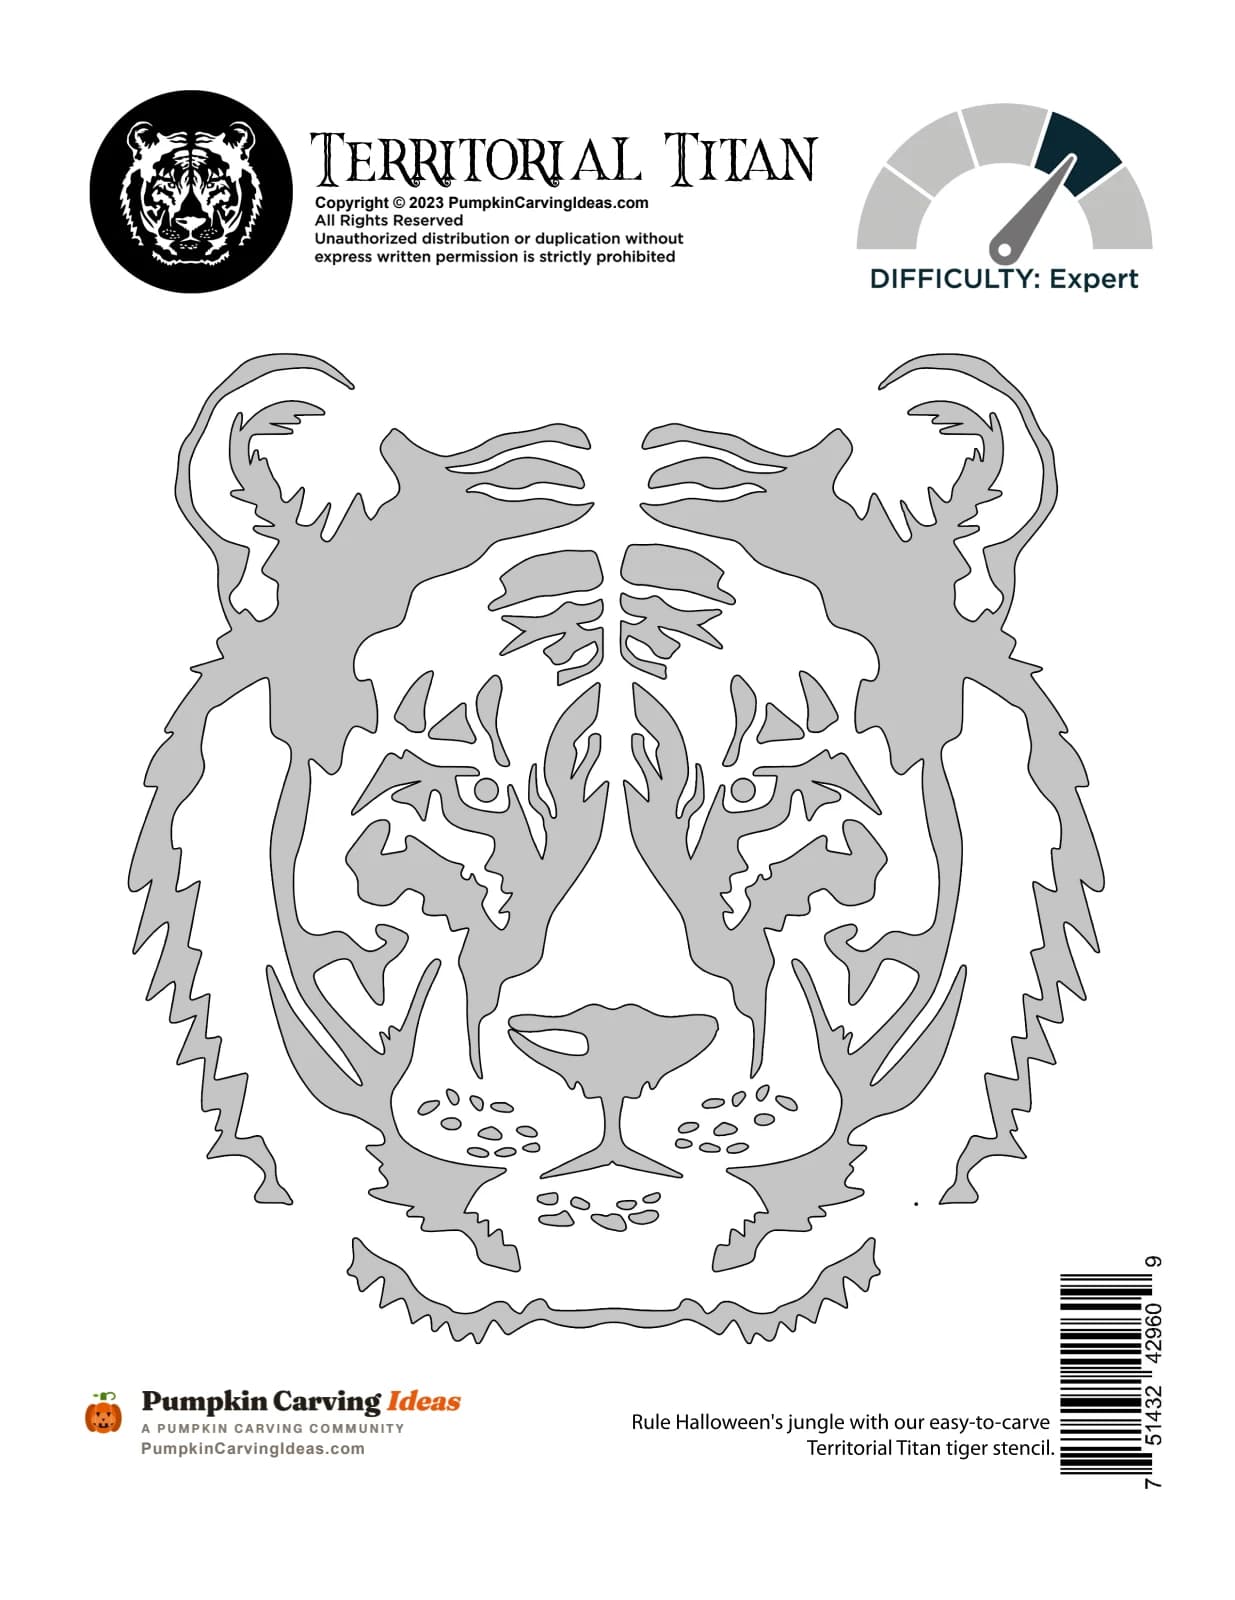
Tiger Face
Shaded
View stencil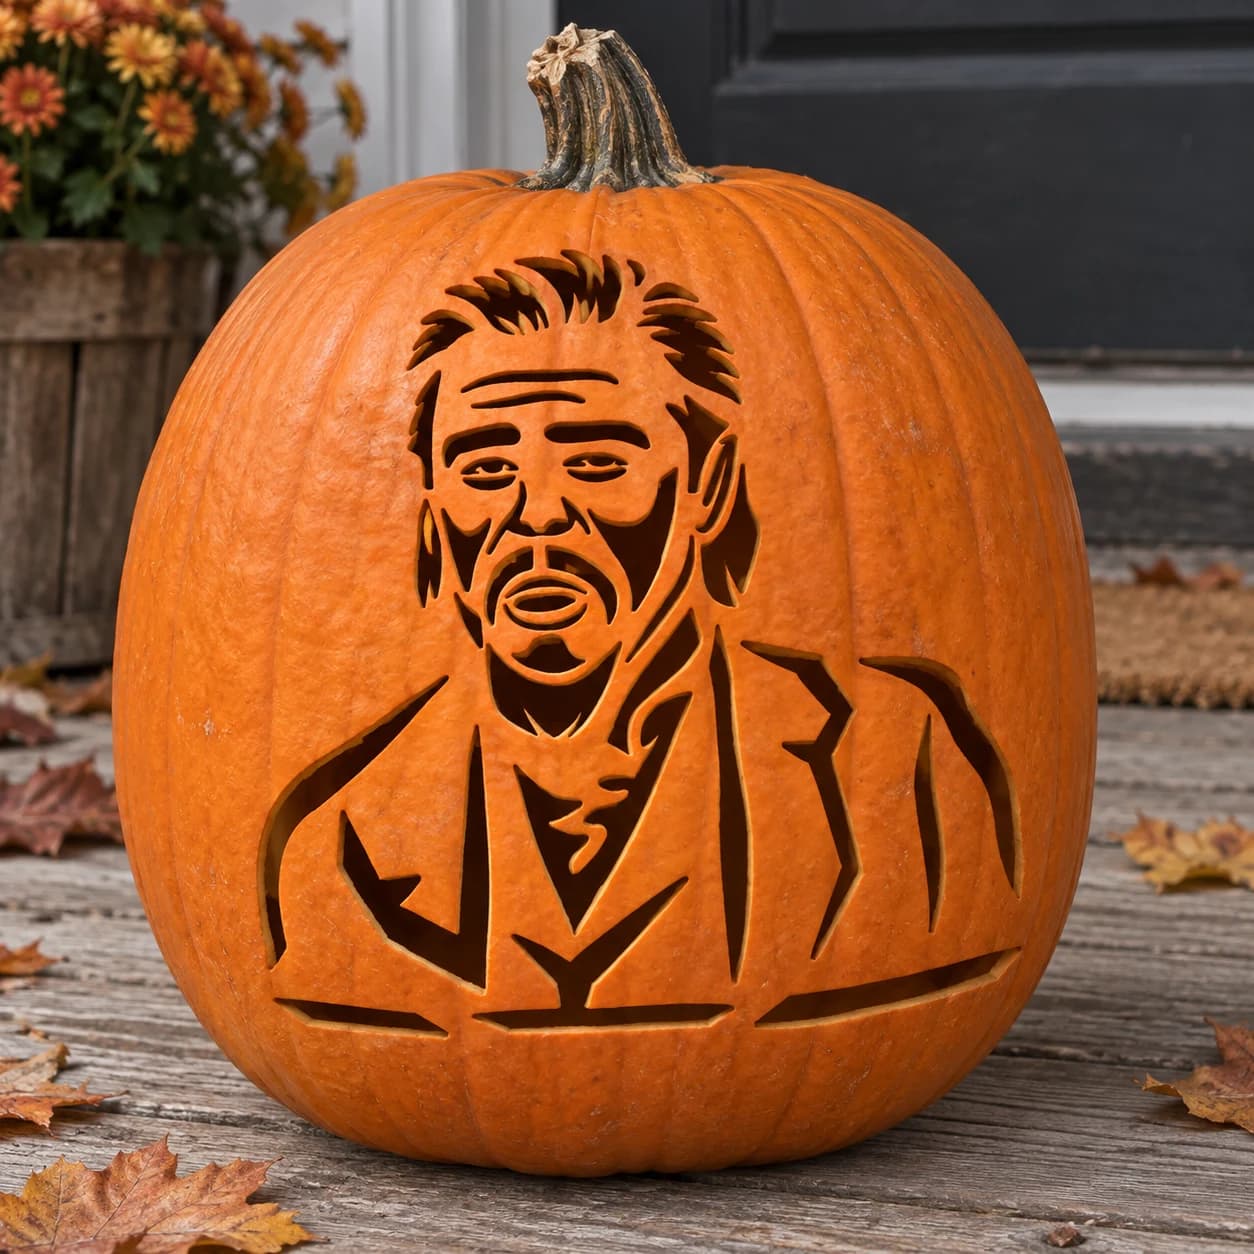 Free PDF
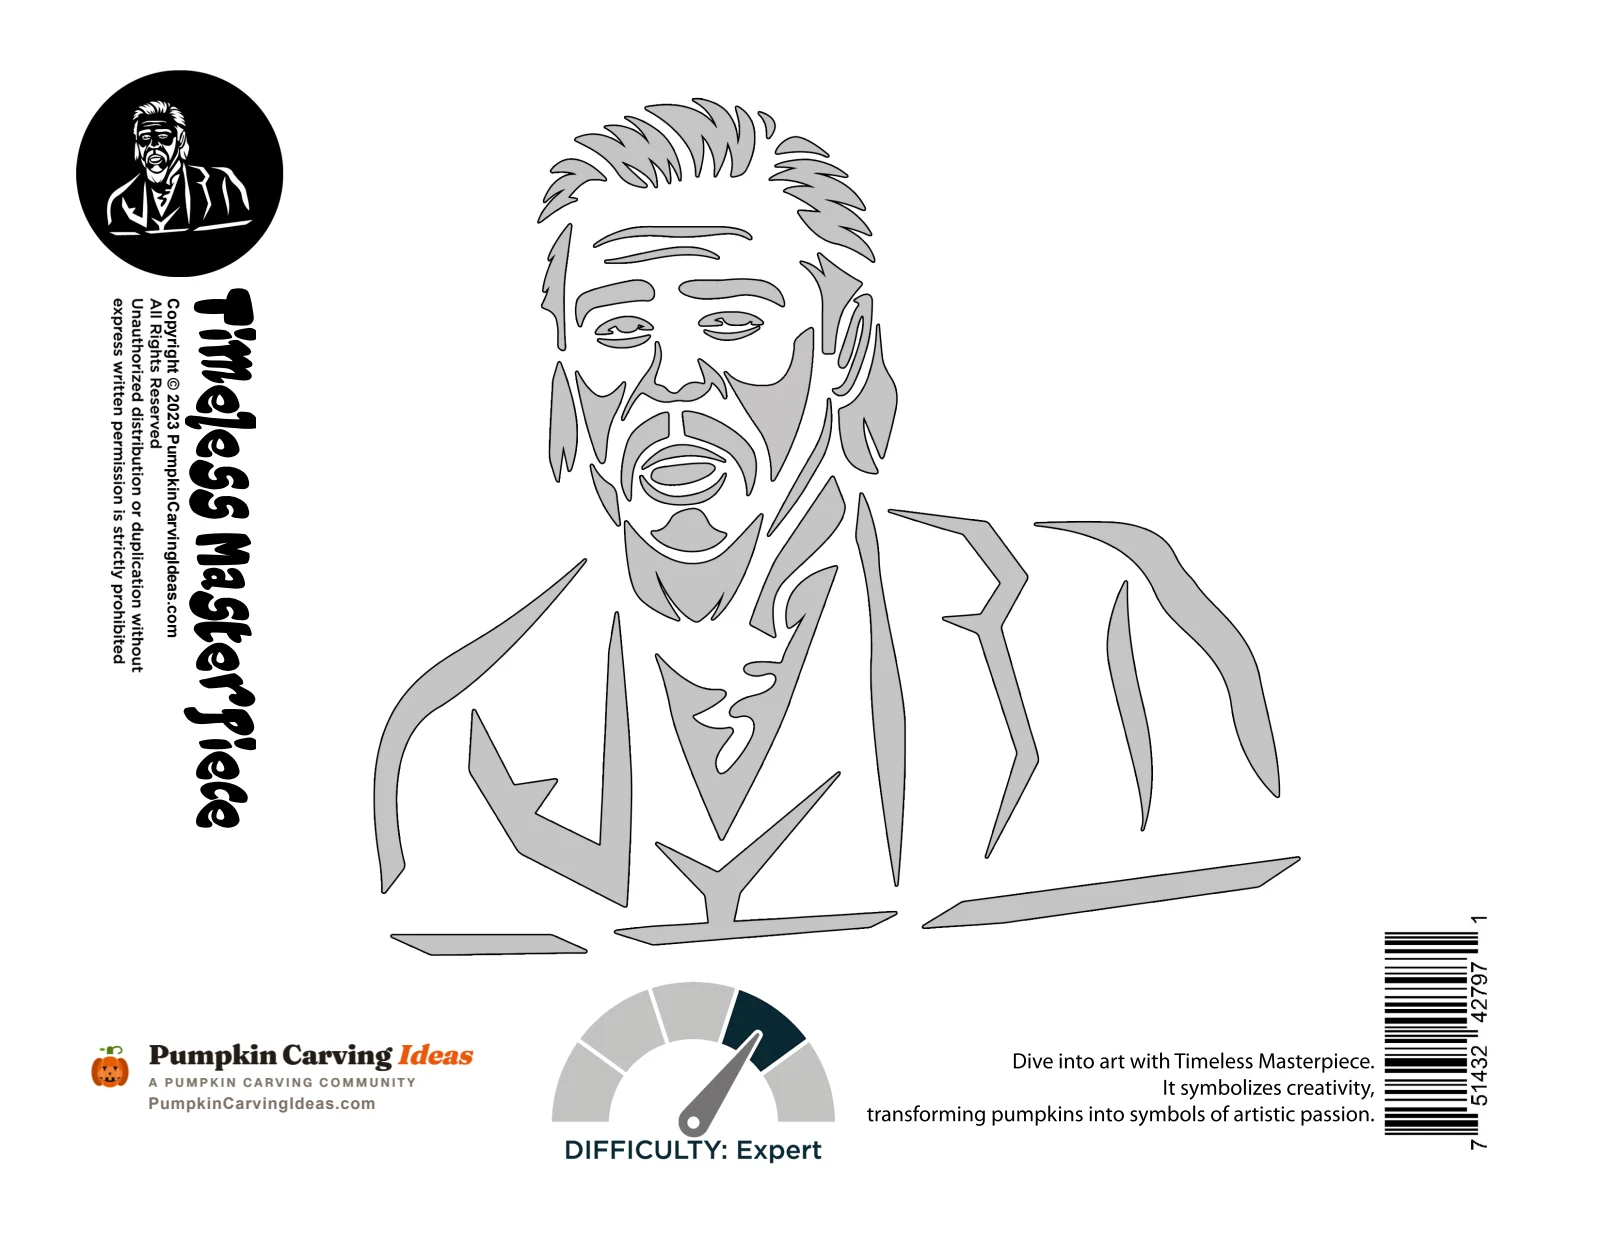
The Rugged Woodsman
Shaded
View stencil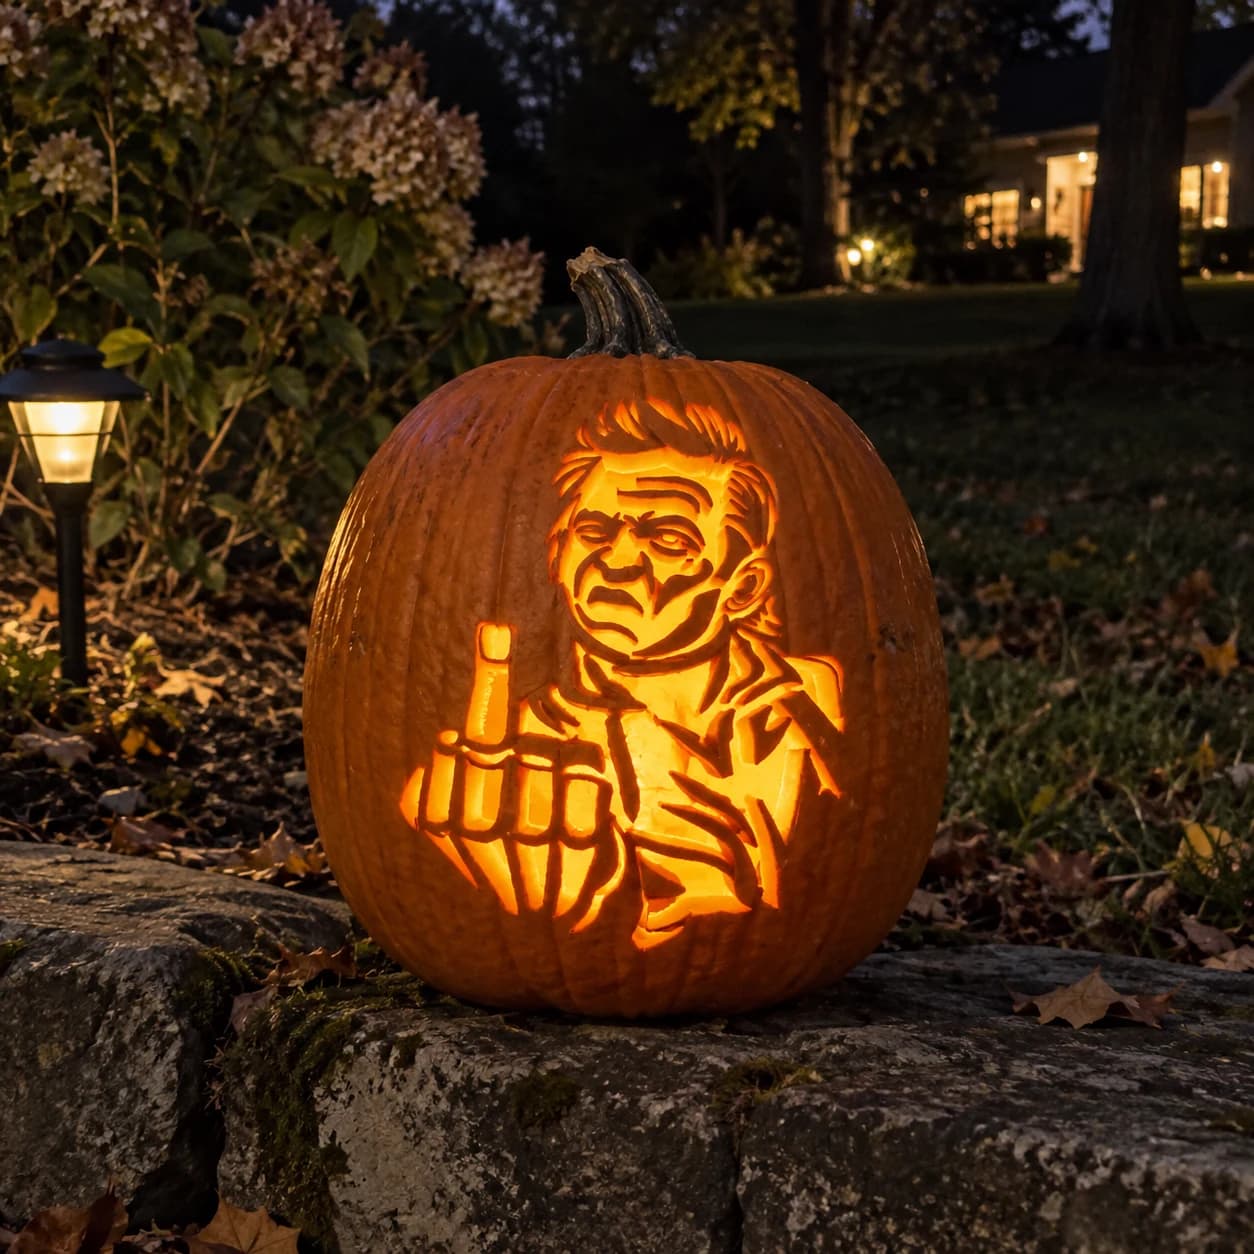 Free PDF
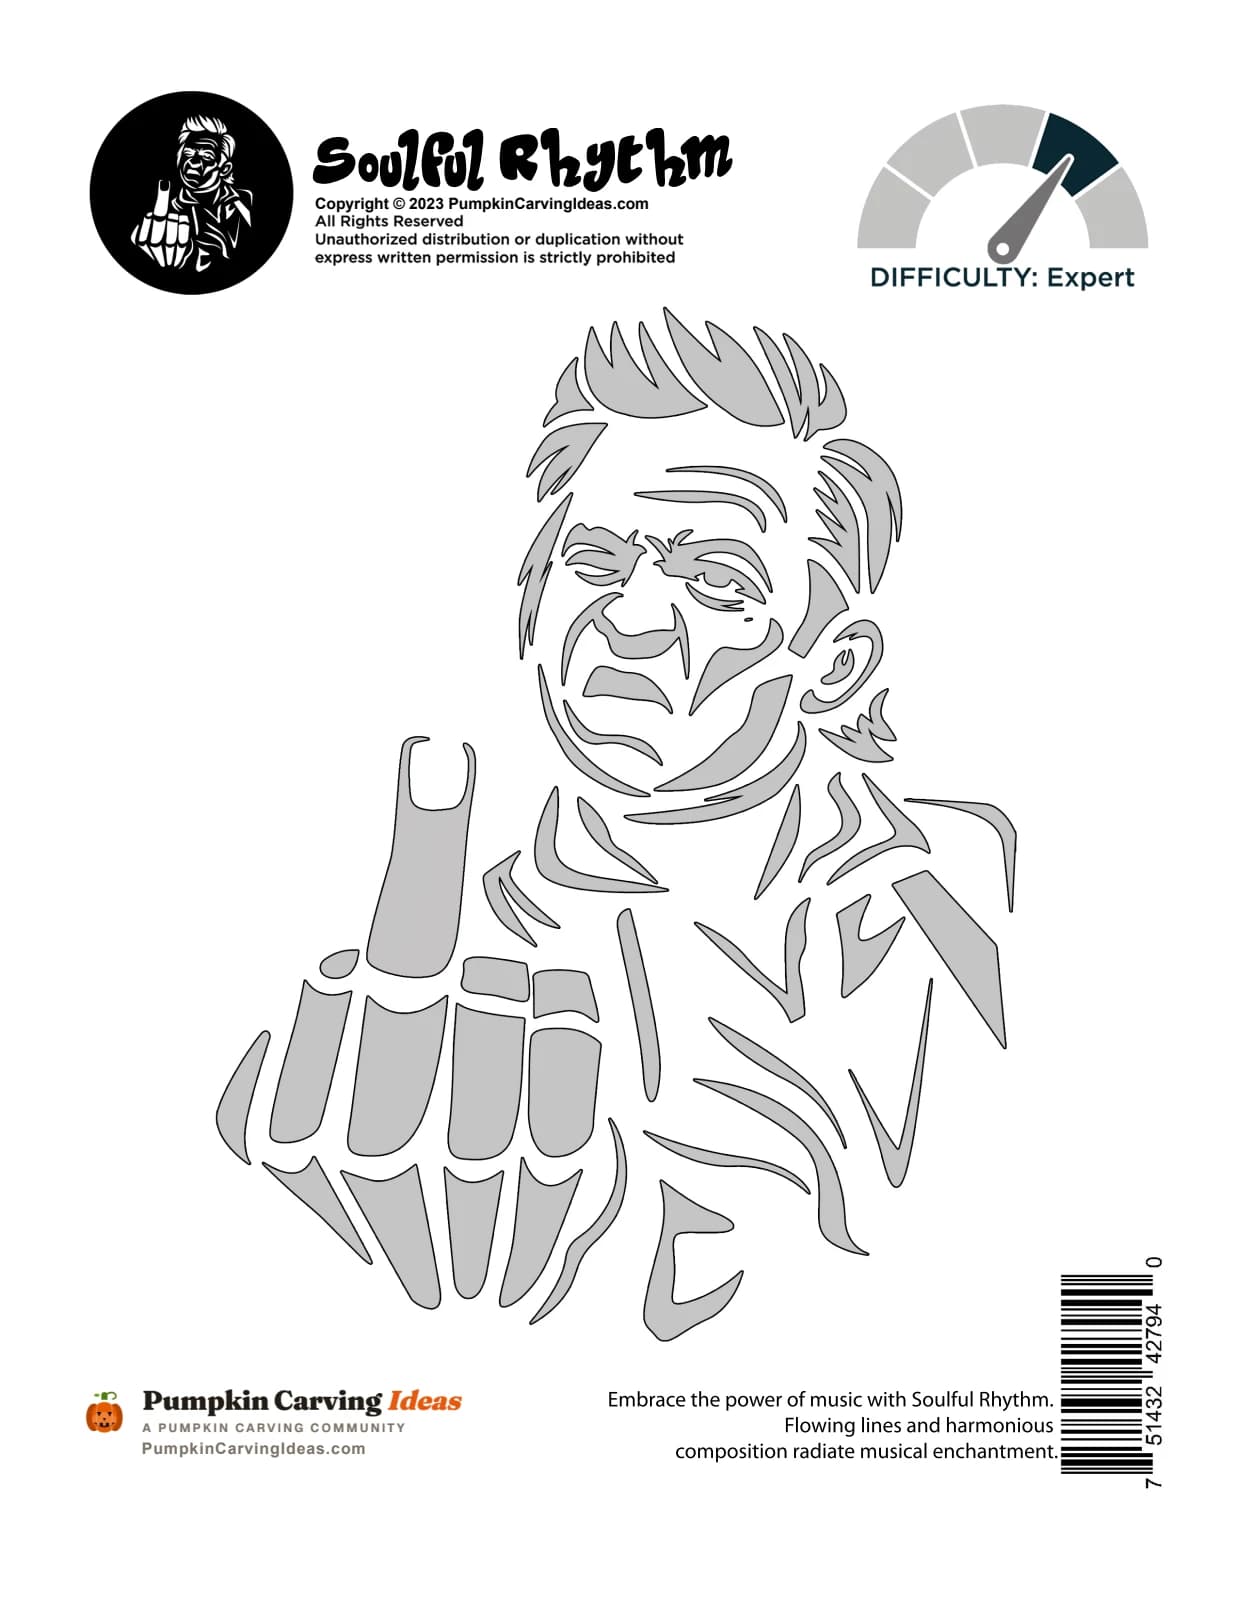
The Defiant Rebel
Shaded
View stencil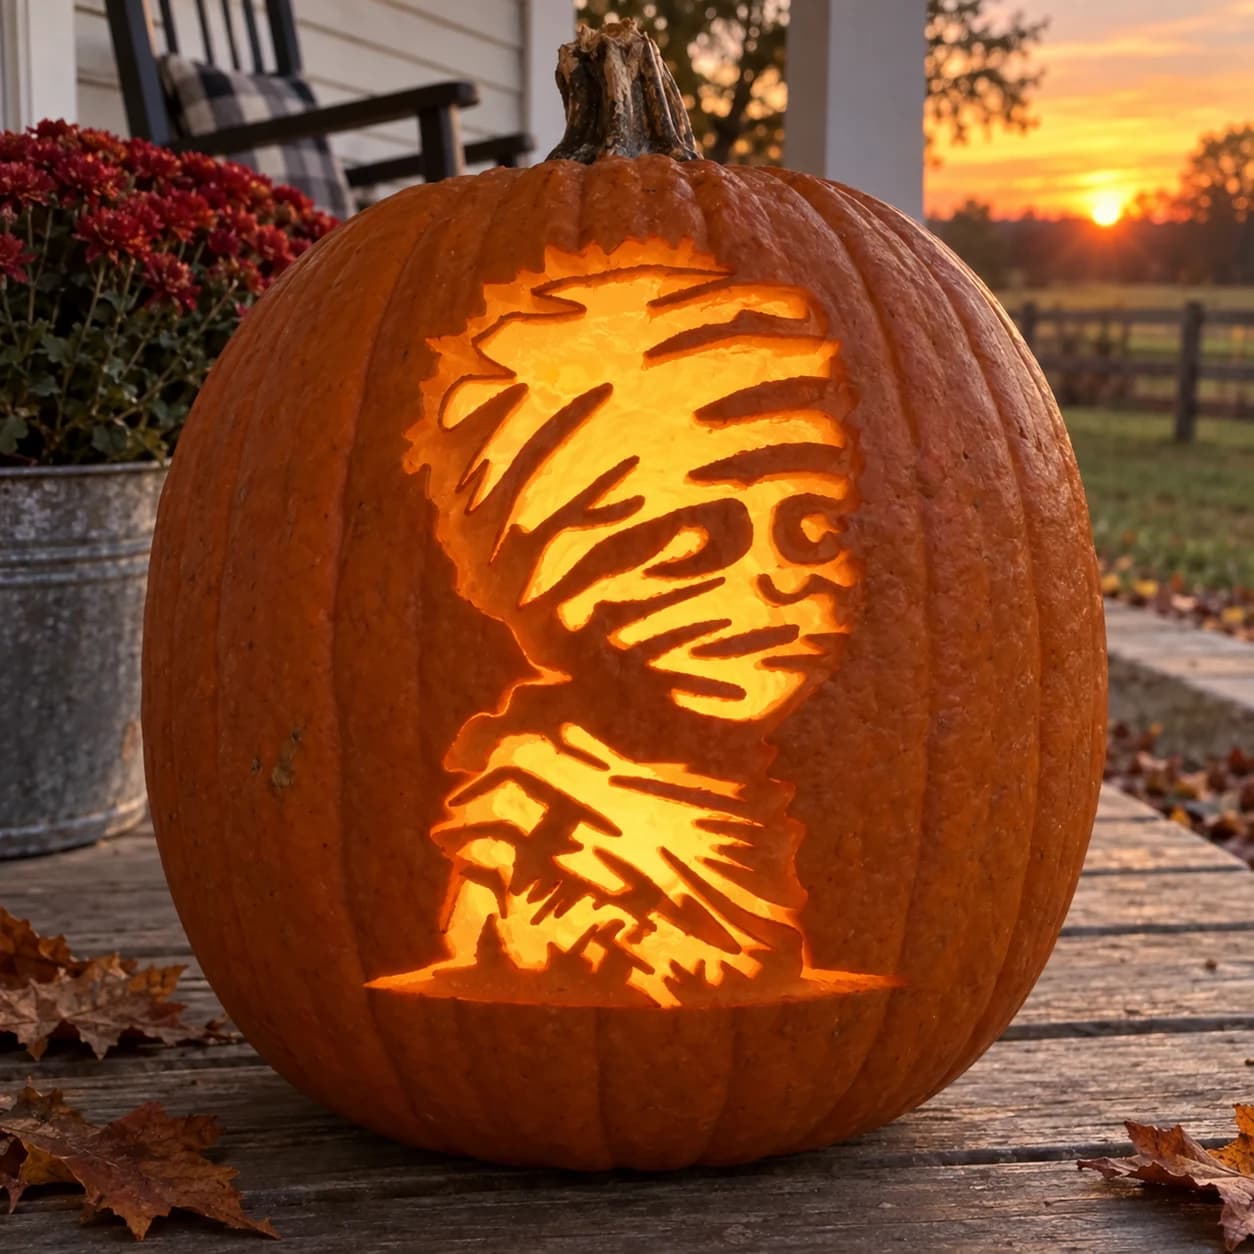 Free PDF
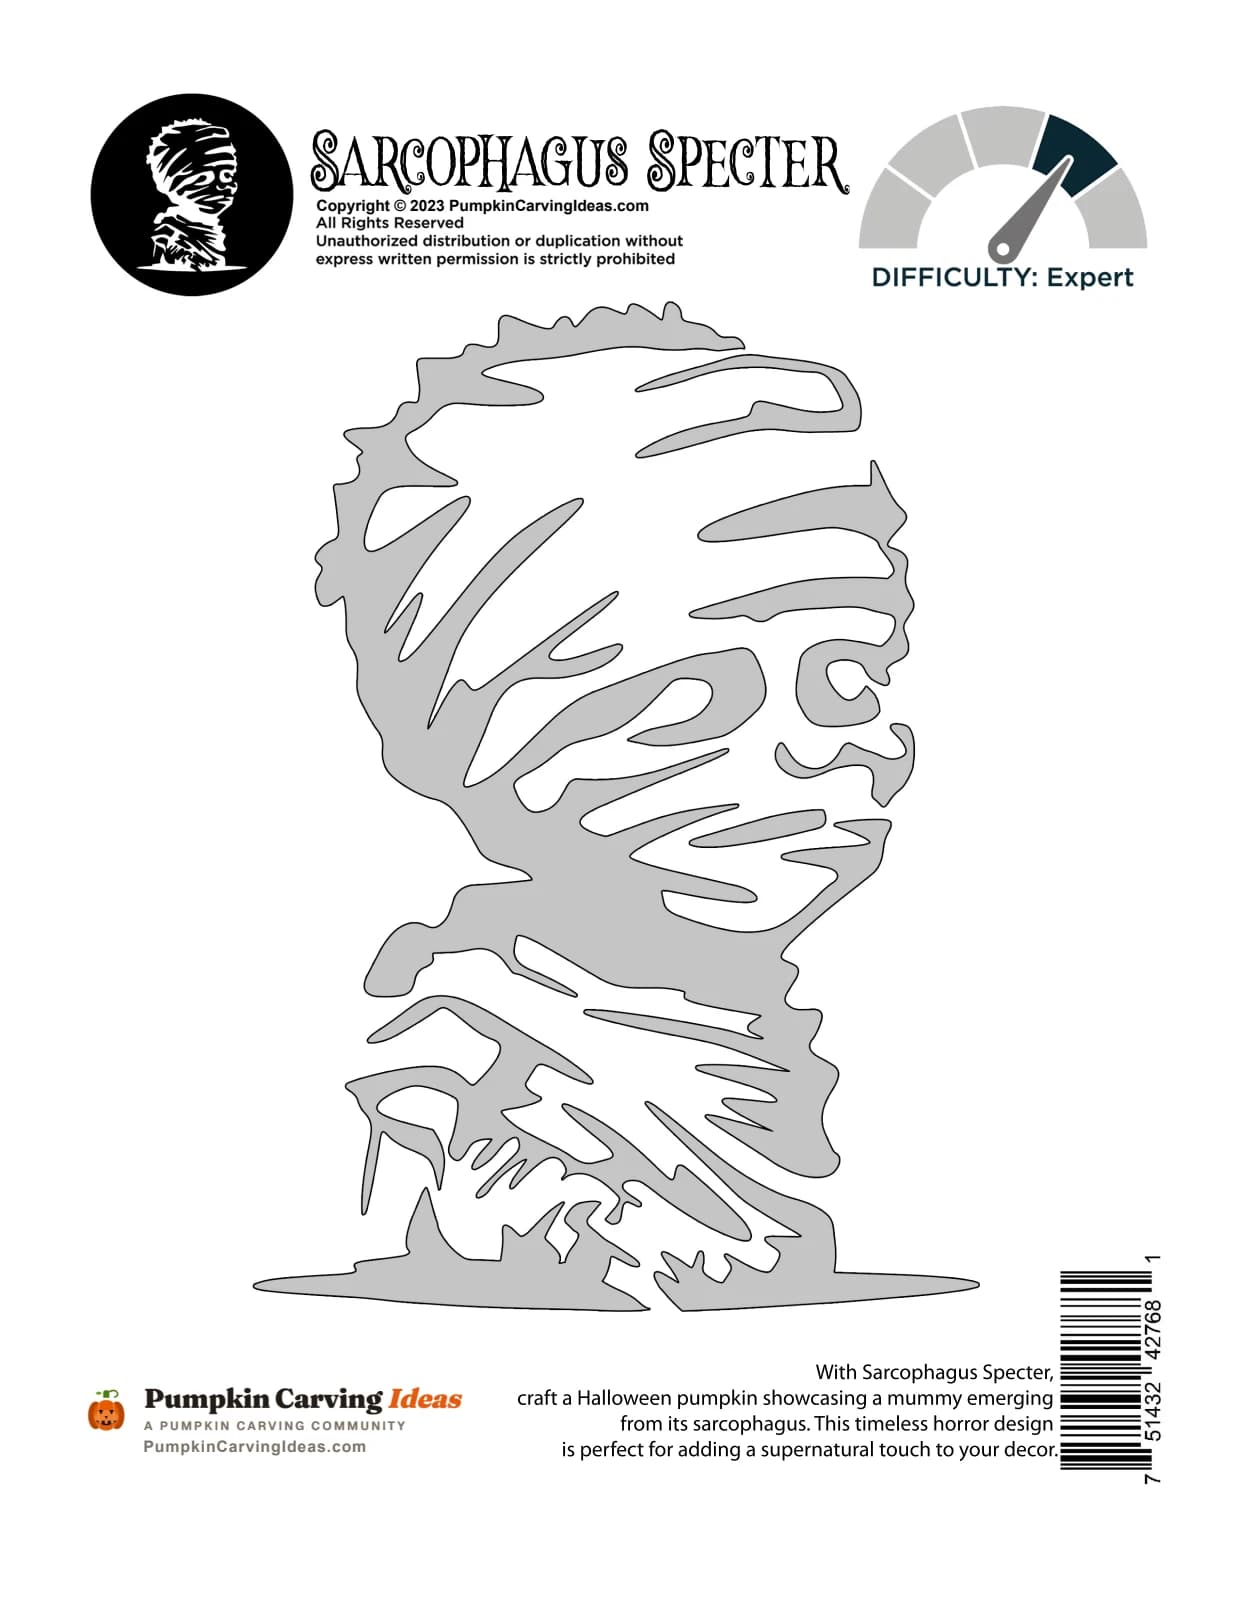
Mummy
Shaded
View stencil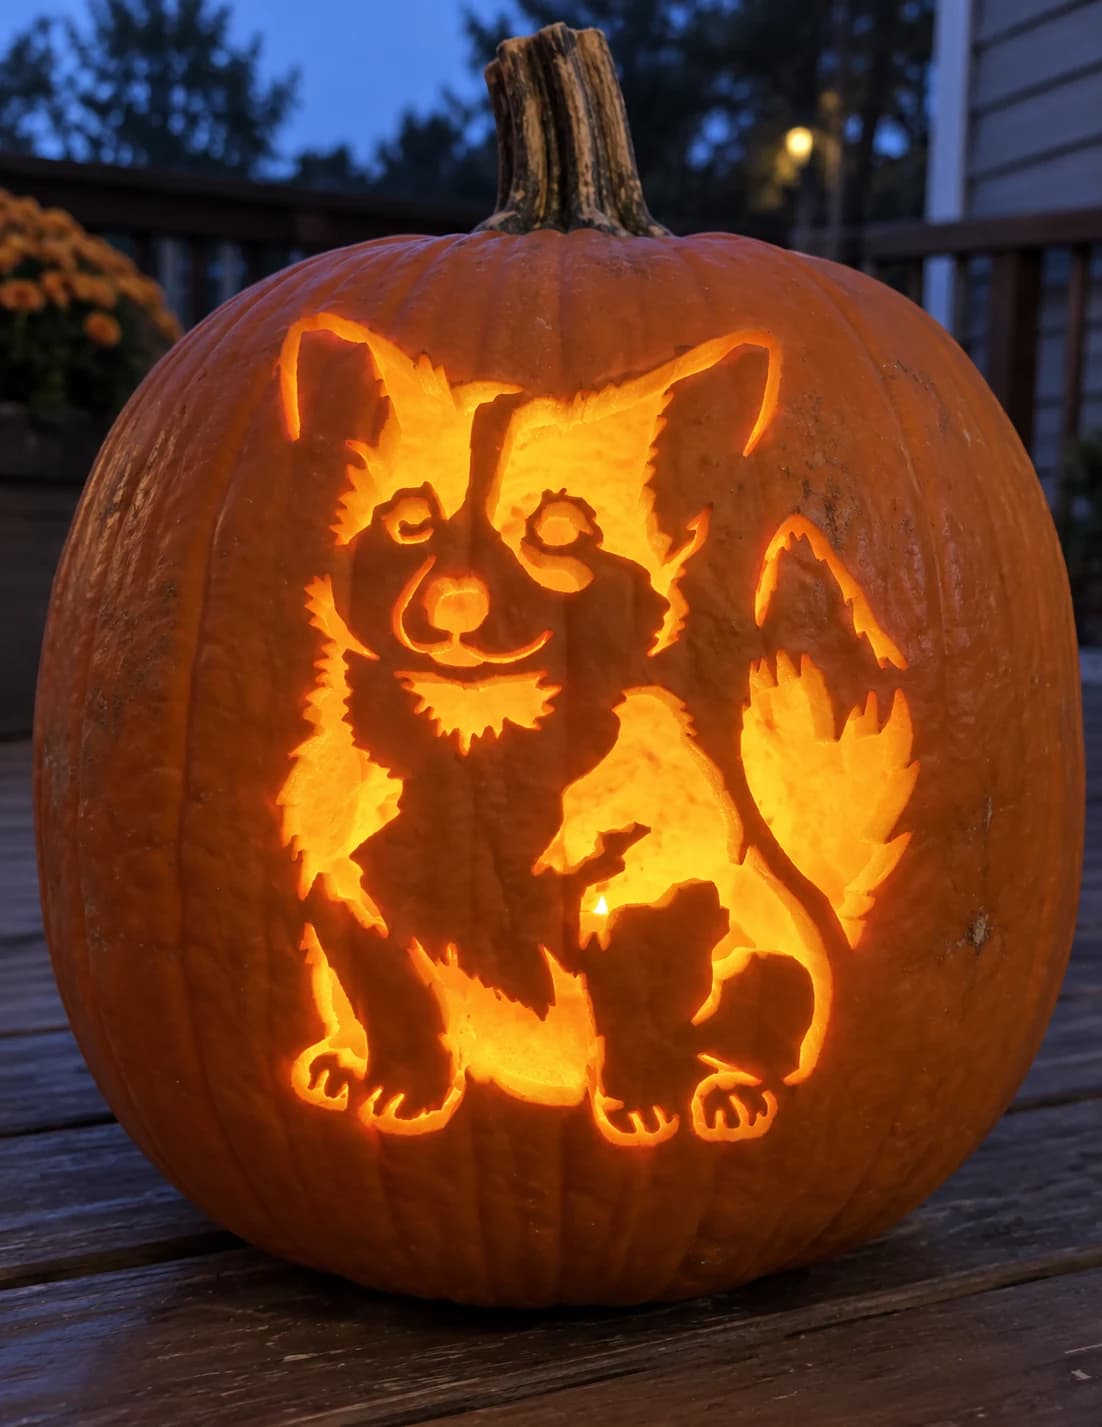 Free PDF
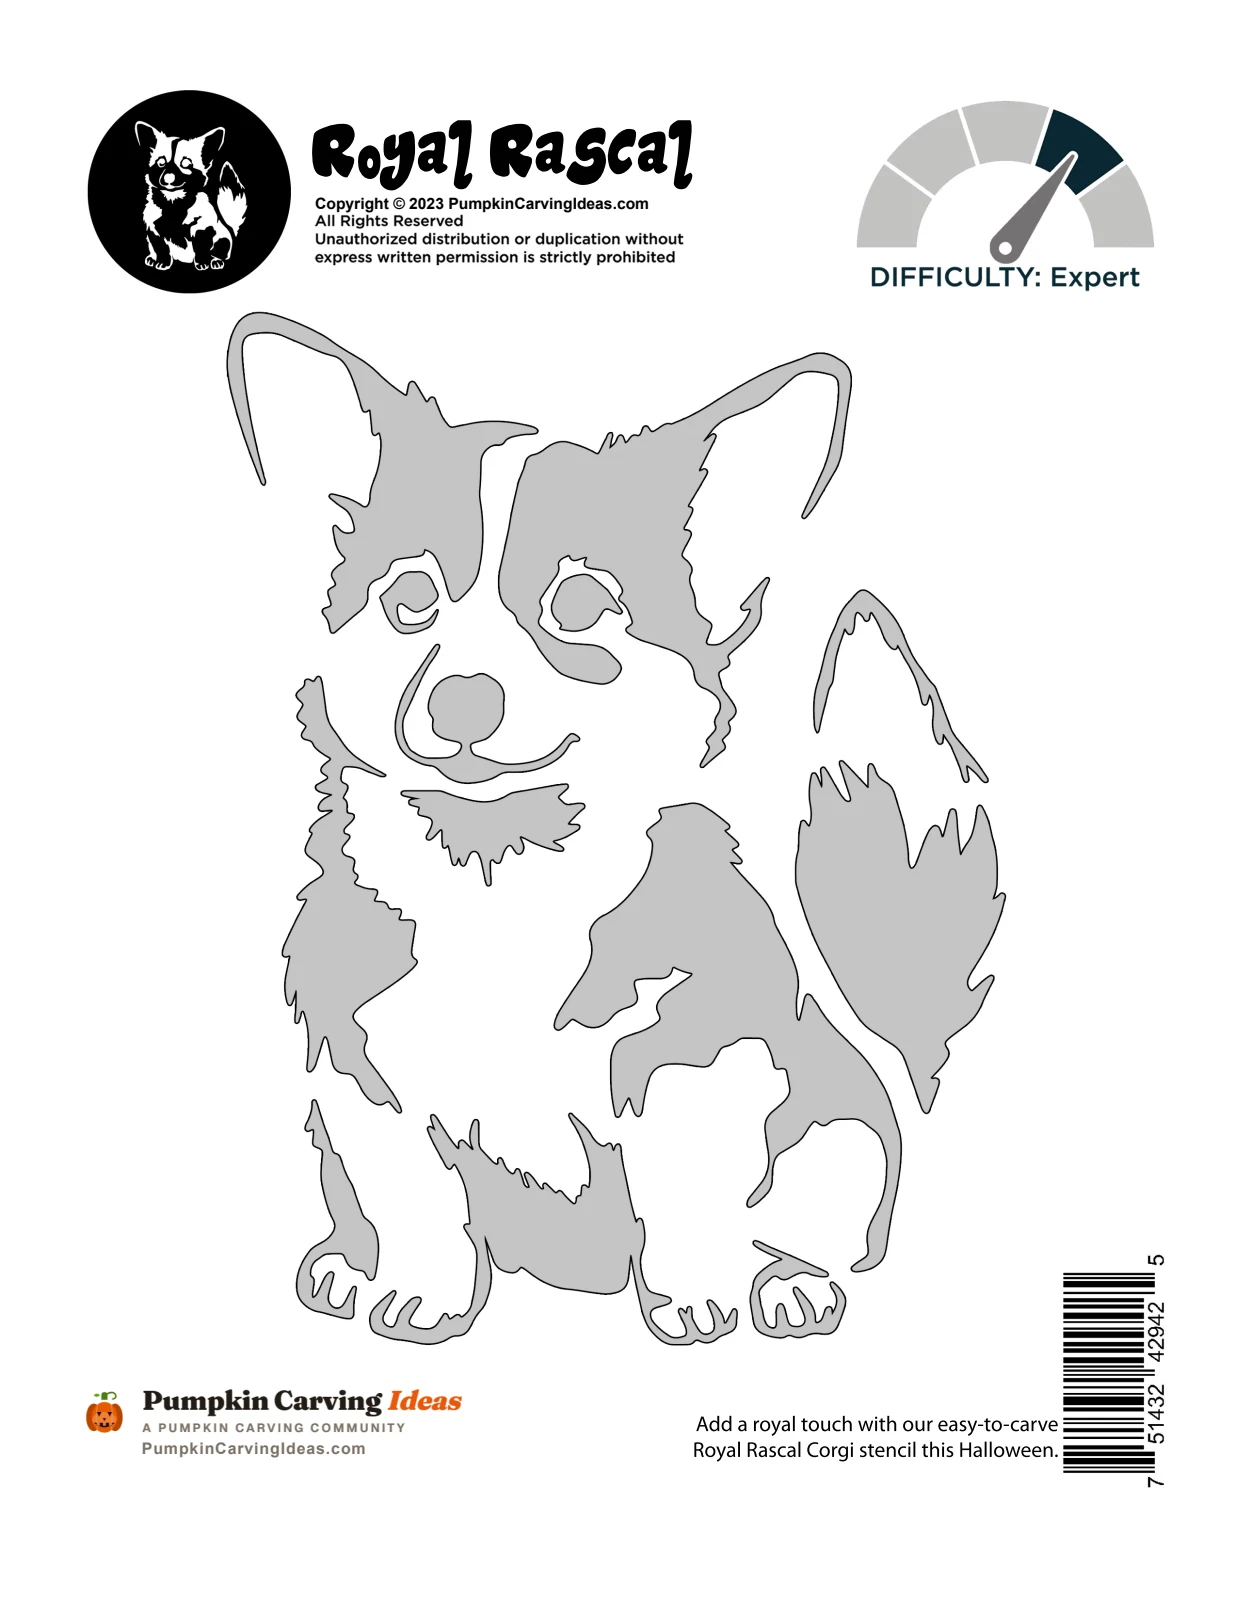
Corgi
Shaded
View stencil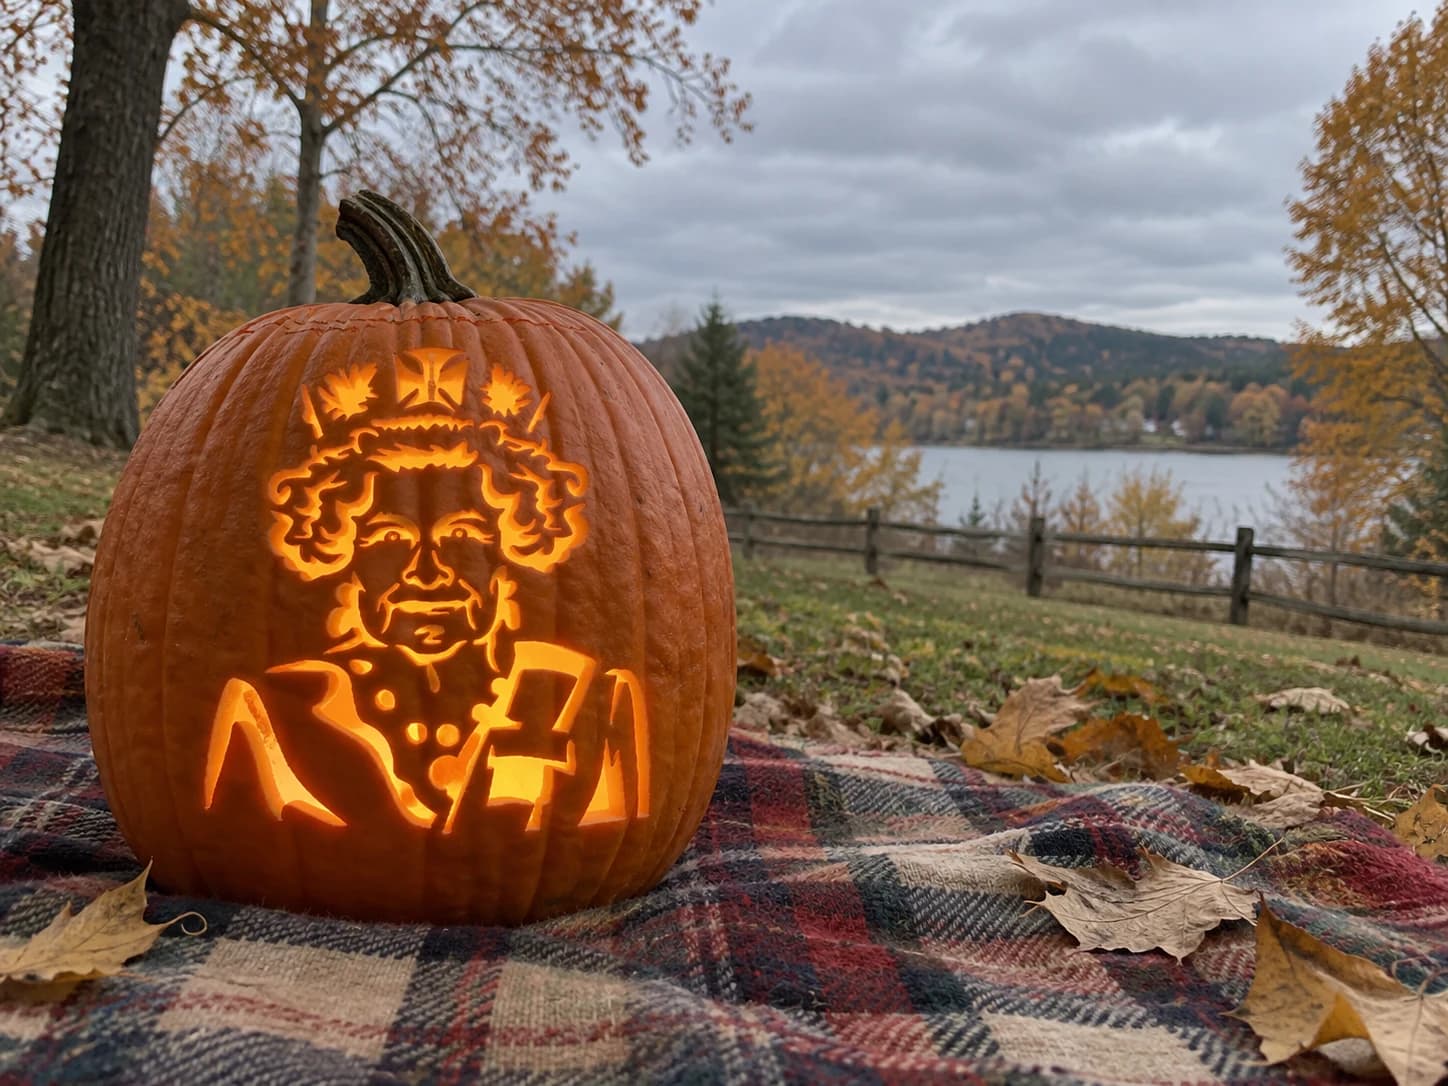 Free PDF
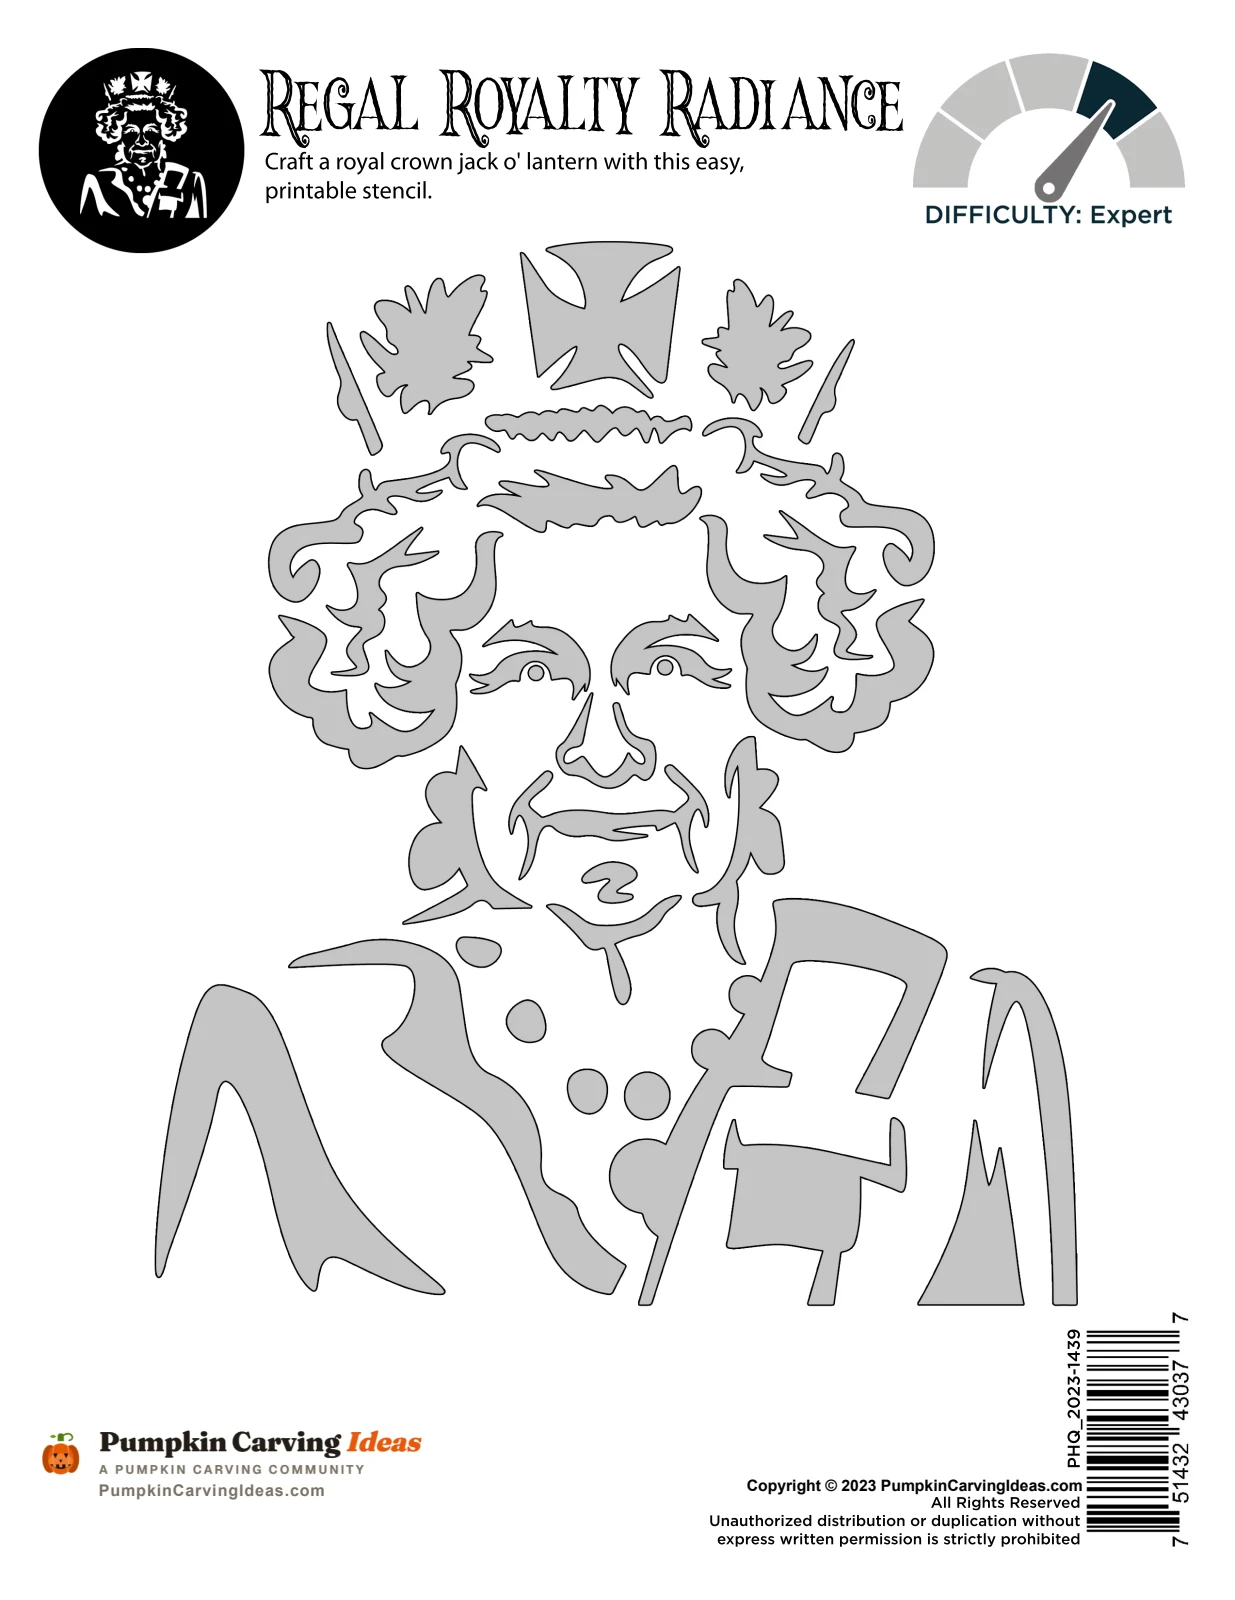
Queen Portrait
Shaded
View stencil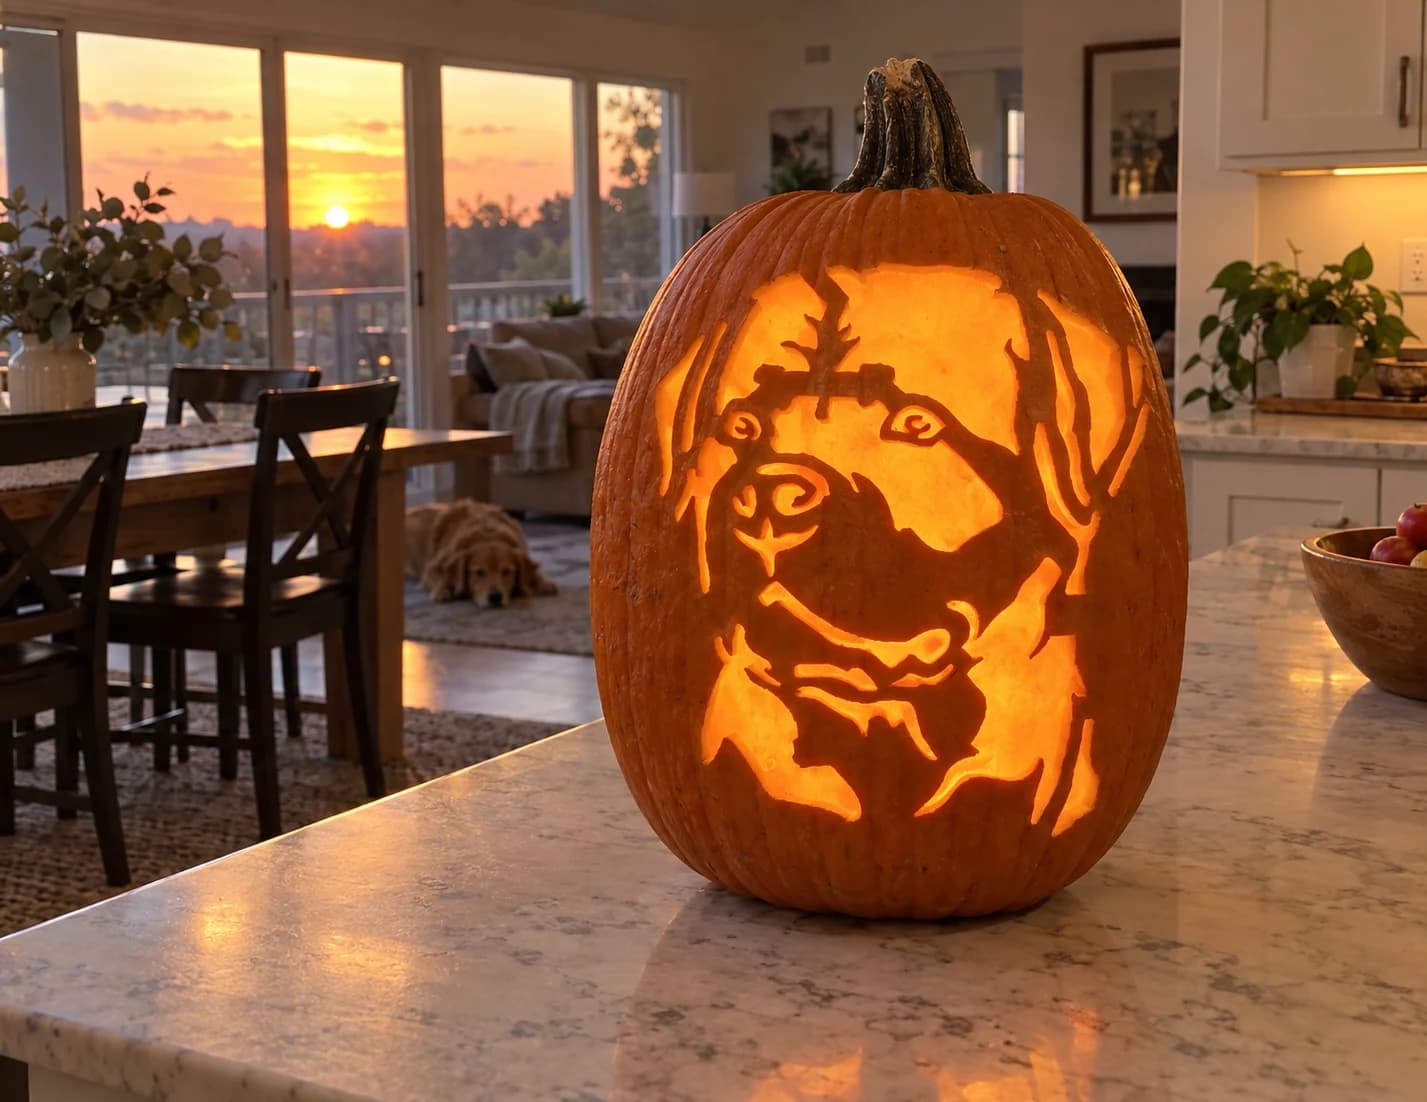 Free PDF
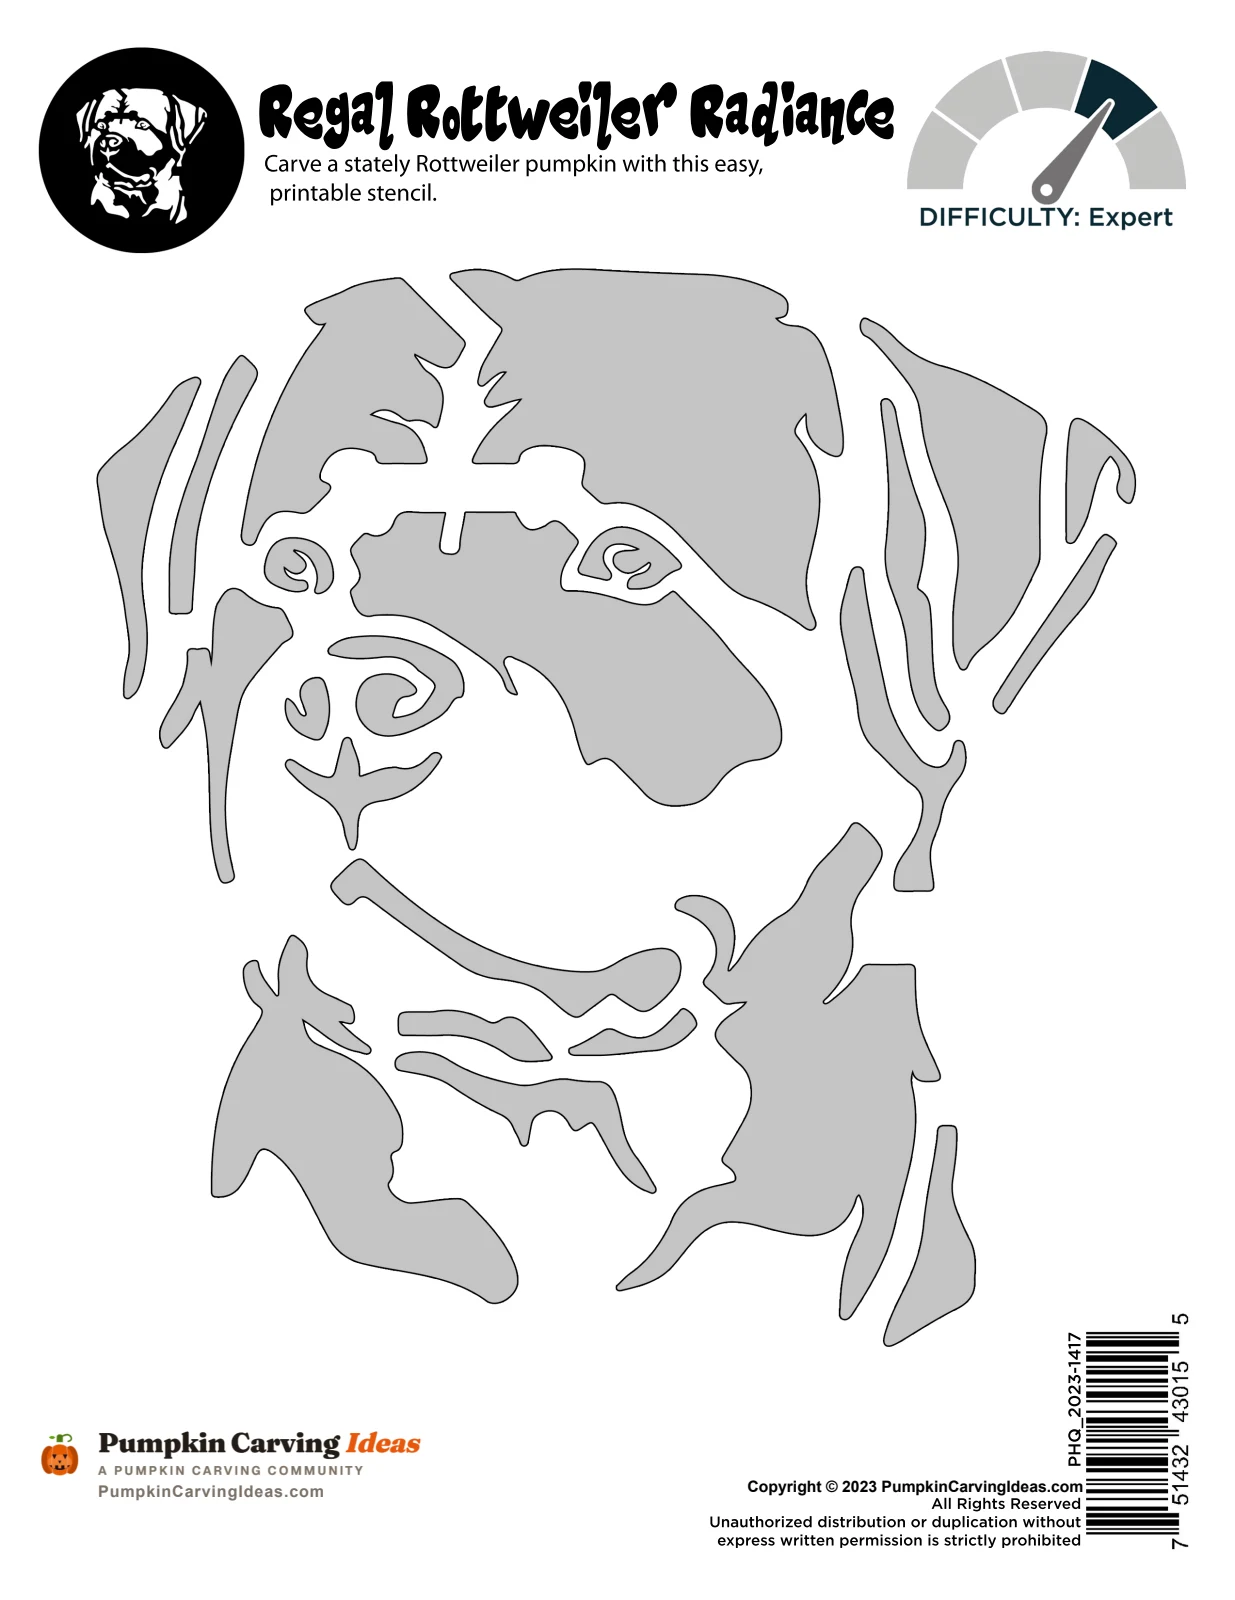
Rottweiler
Shaded
View stencil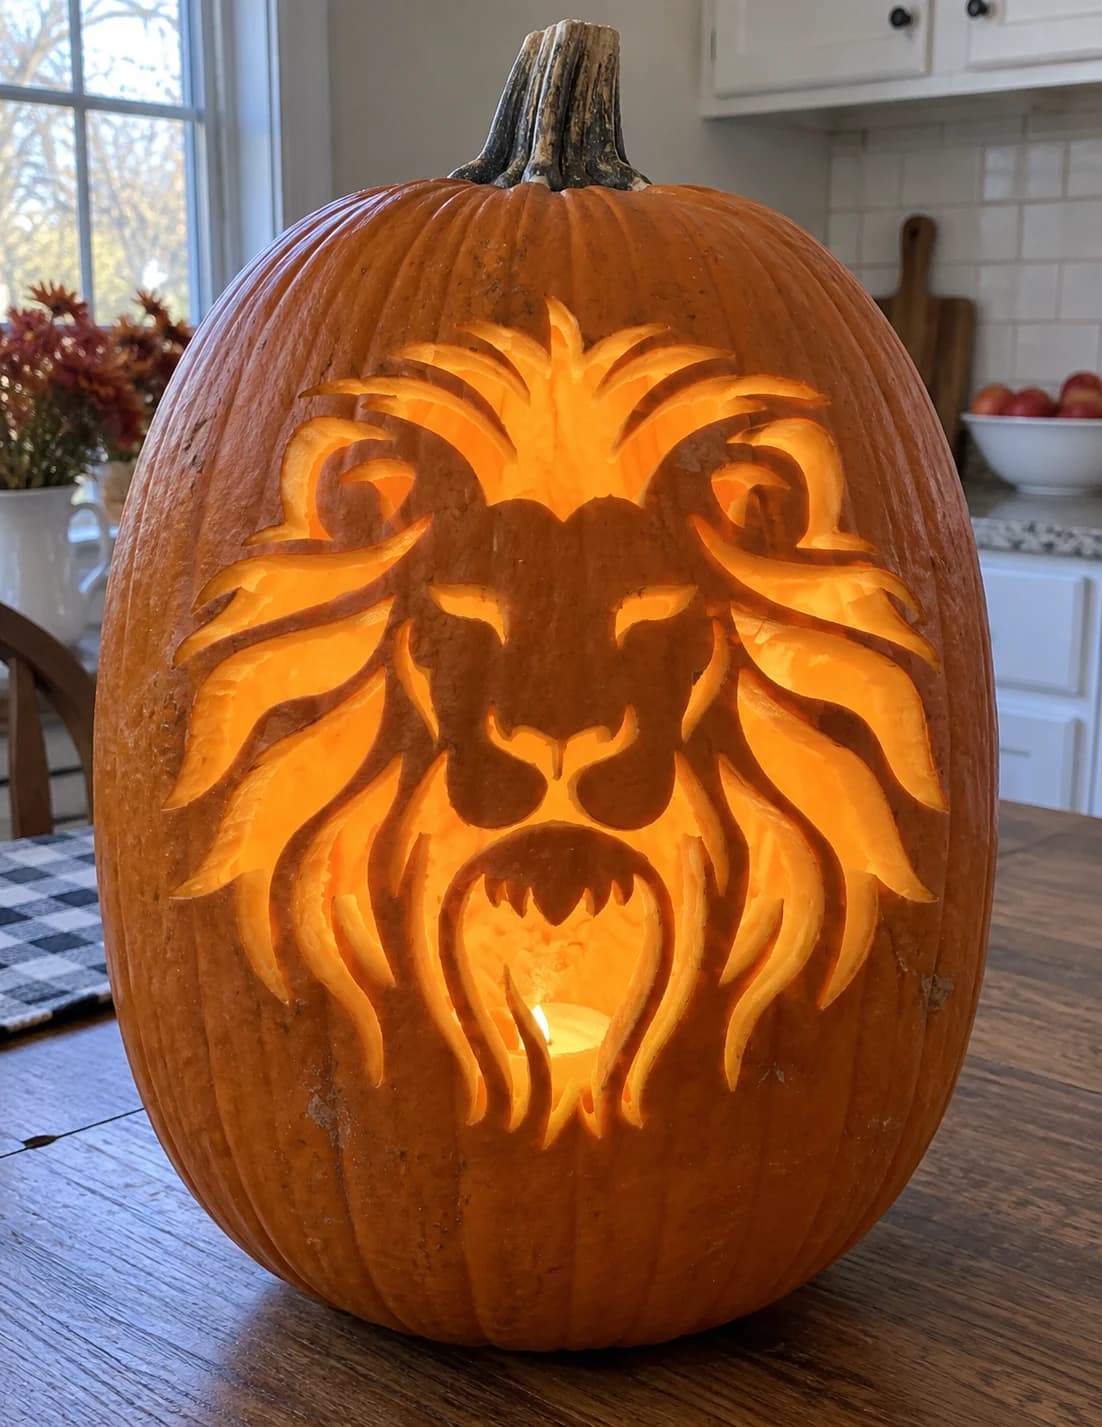 Free PDF

Lion Head
Shaded
View stencil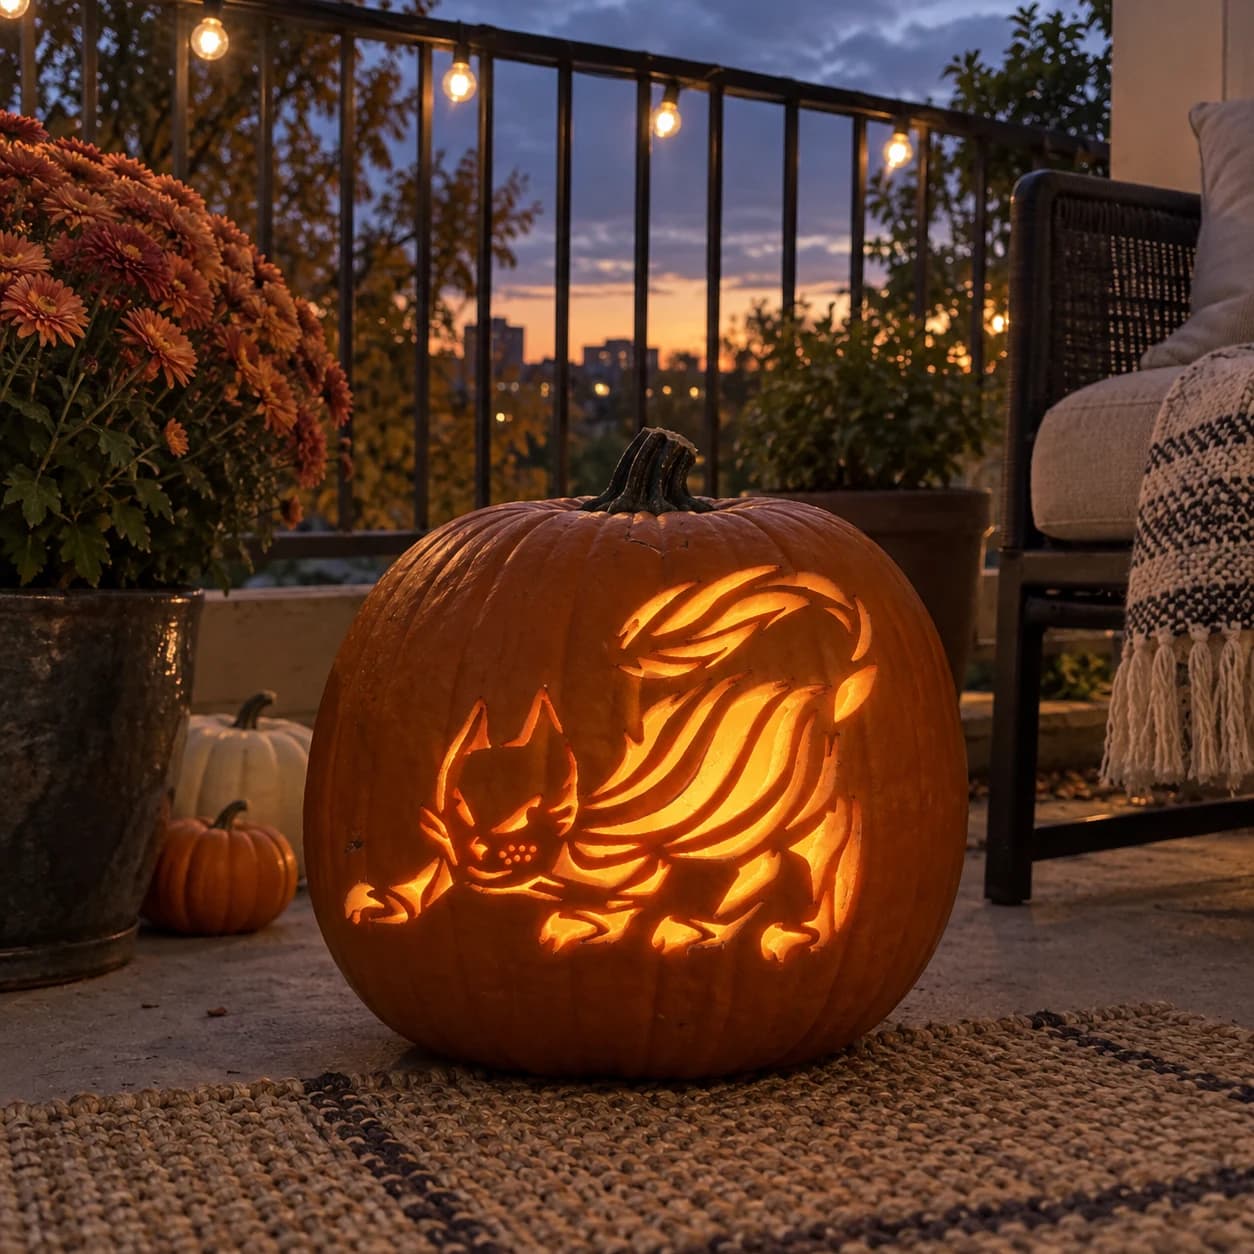 Free PDF
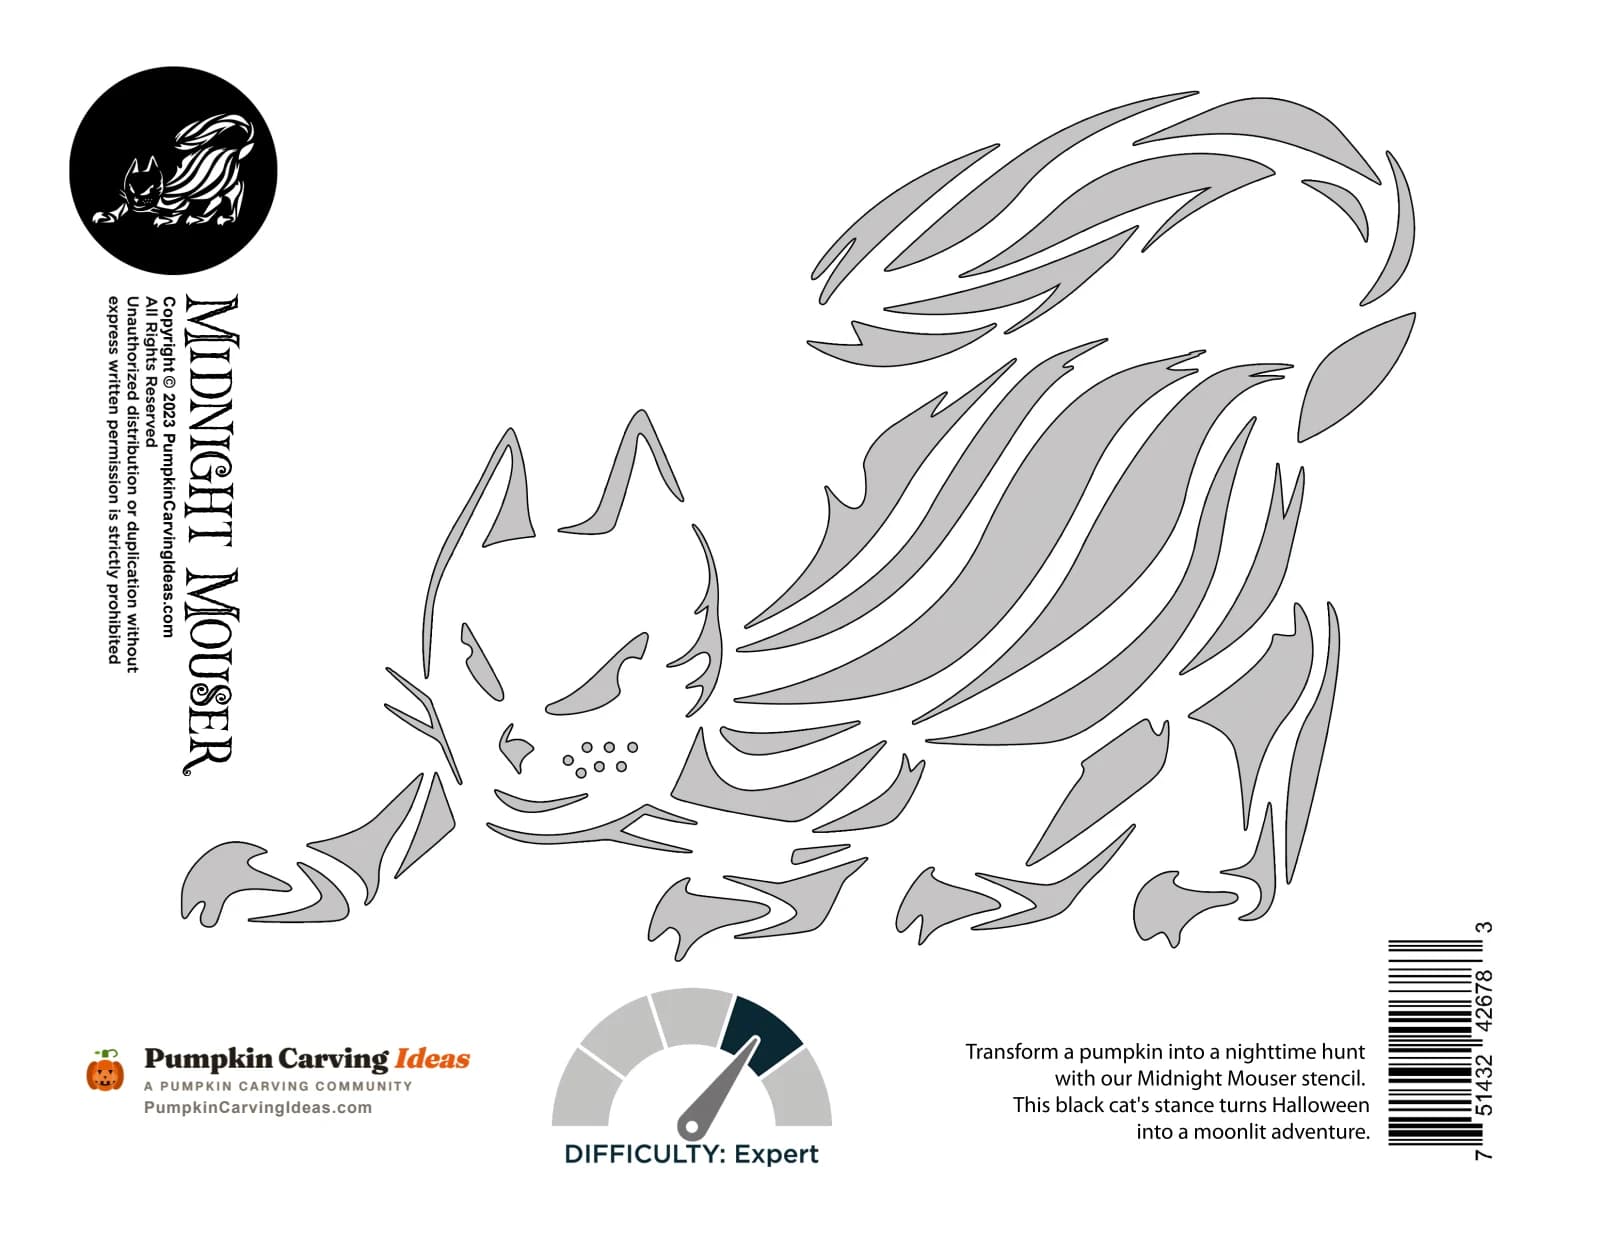
Black Cat
Shaded
View stencil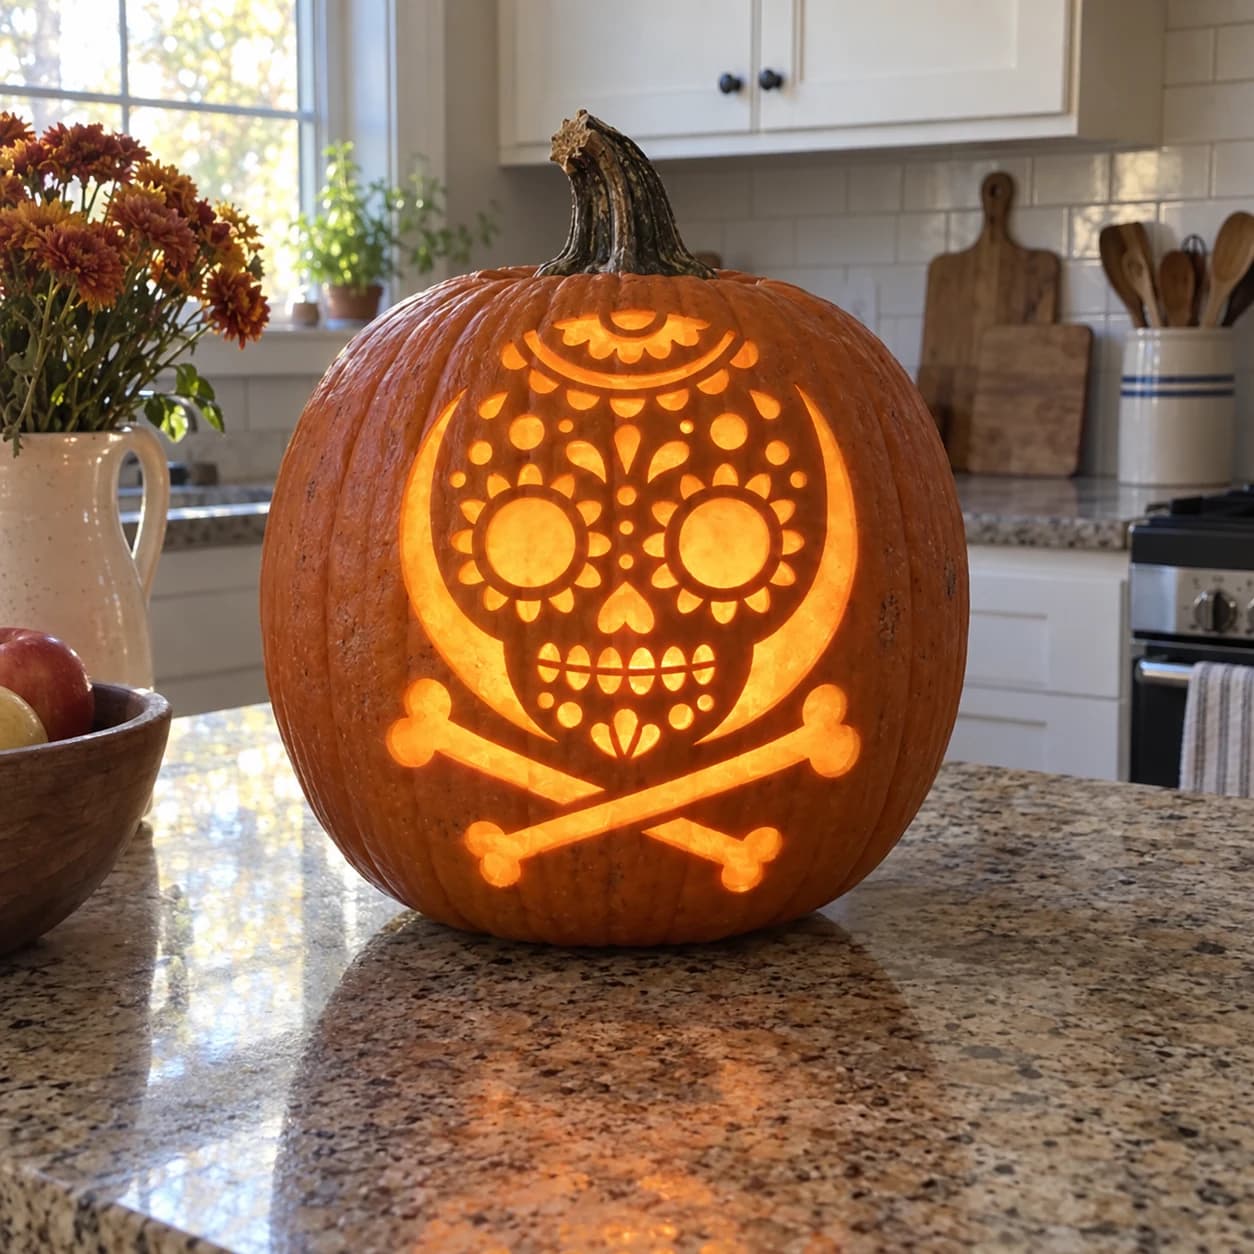 Free PDF

Sugar Skull with Crossbones
Shaded
View stencil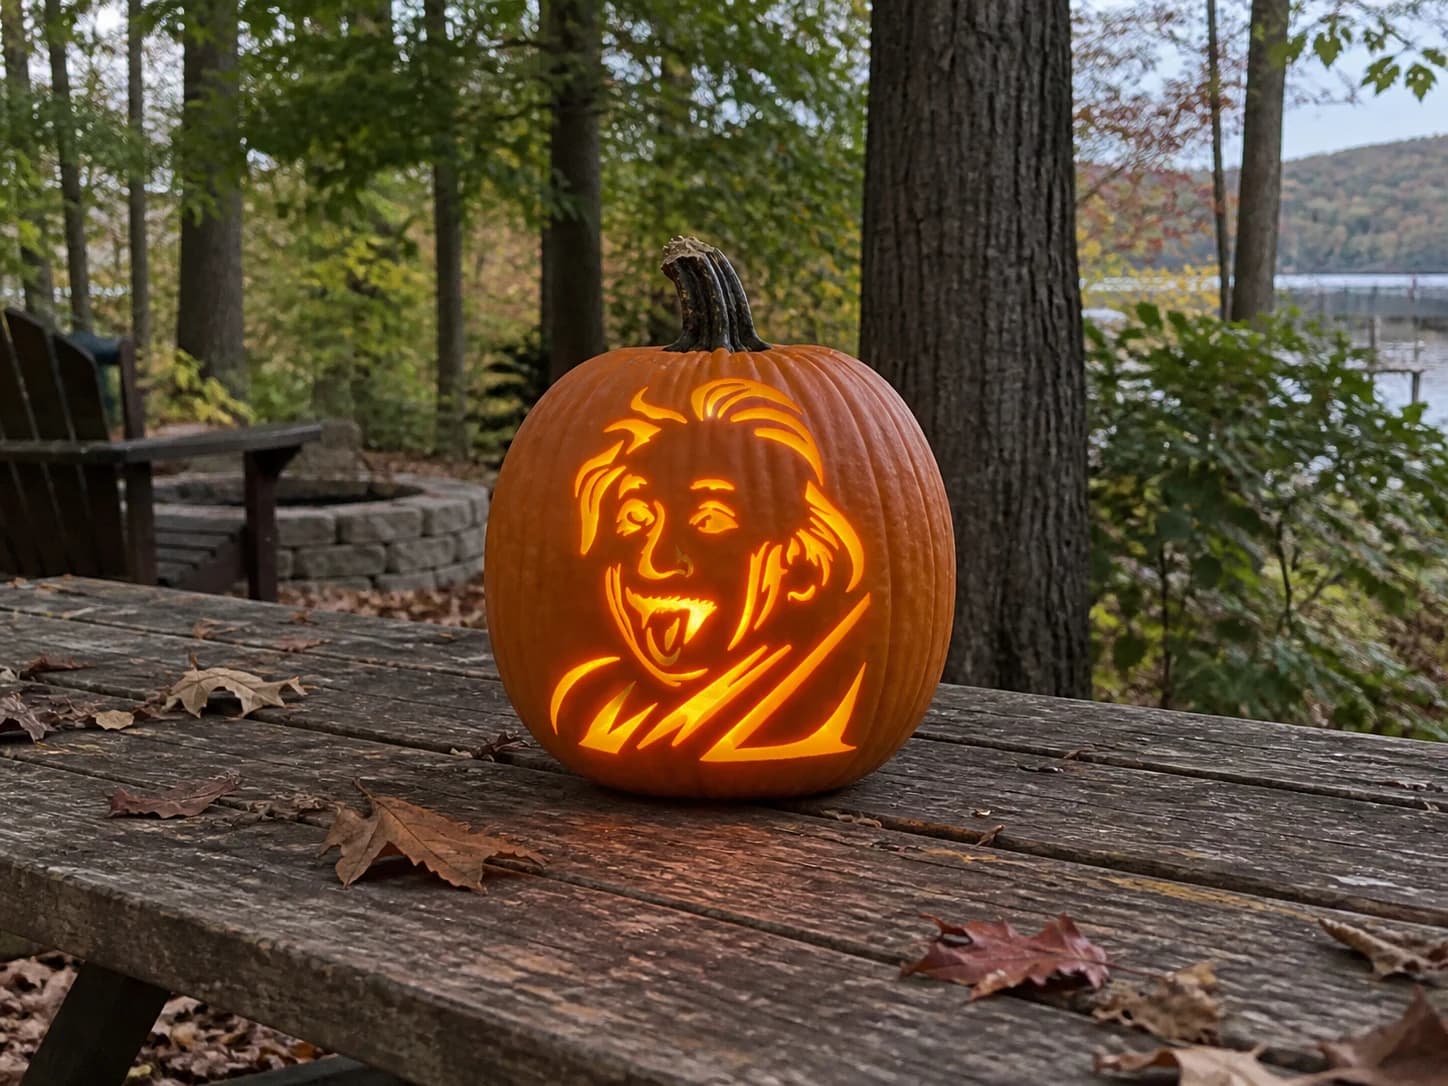 Free PDF
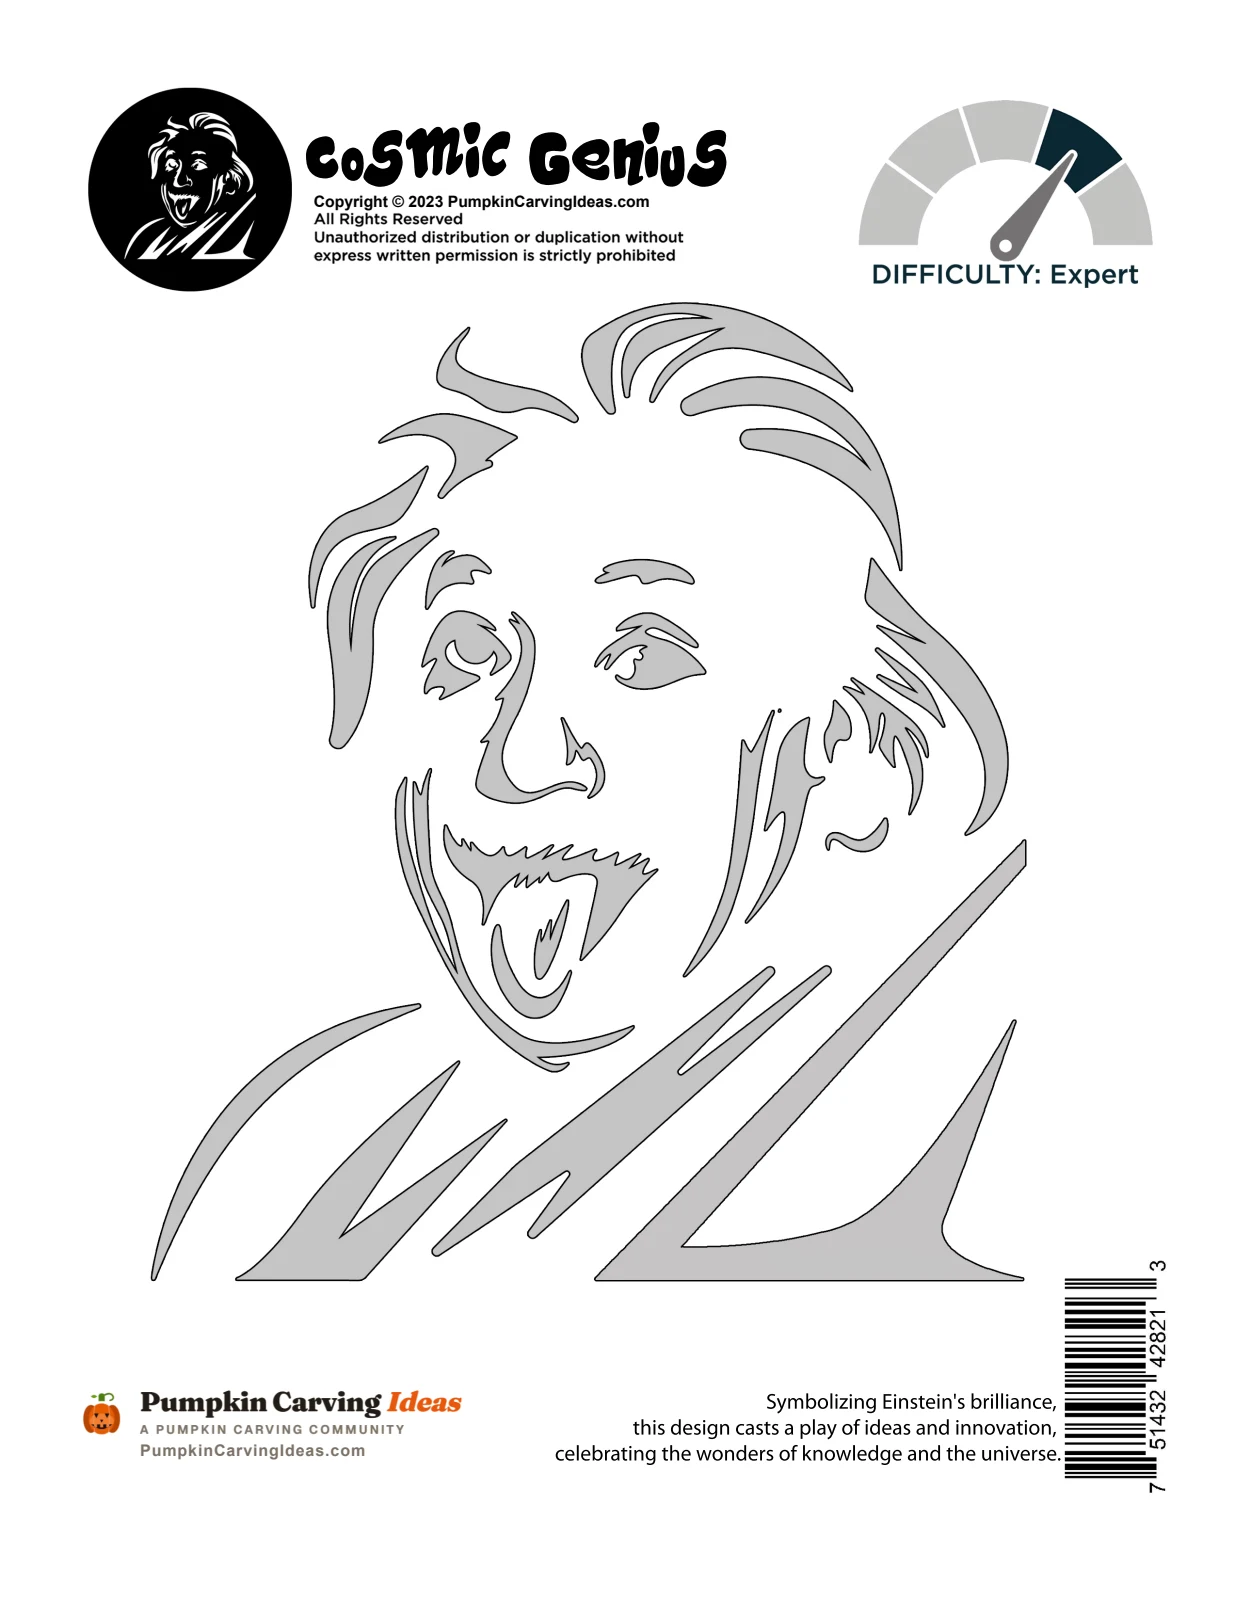
Einstein Portrait
Shaded
View stencilCarving guide
How to carve an expert pumpkin stencil
Treat the pattern as a depth map. Transfer every line, then carve the deepest layer first, the full cut-throughs, so you know where the structural weak points are. Move to the deep scrapes, then the shallow ones, checking with a light inside after every layer. Keep tools razor sharp and take the flesh off in thin passes; you can always go deeper, never shallower. Expect to spend as long checking the light as cutting.
Tools
A full ribbon and loop tool set, several sizes of linoleum gouge, a very sharp craft knife, a pin transfer wheel, and optionally a rotary tool. A bright LED inside the pumpkin while you work is essential.
Which pumpkin
The largest pumpkin with the thickest, most even wall you can find. Pale, dense varieties carve better than thin-walled field pumpkins, and a smooth face with no ribs keeps the shading even.
These are the designs behind competition pumpkins: realistic faces, layered monster scenes, and fine linework that seems impossible on a gourd. Lit up, the depth layers read like a charcoal drawing.
Questions
Expert Pumpkin Stencils questions
How long does an expert pumpkin stencil take?+
Four hours and up. Many carvers split expert designs over two evenings, wrapping the pumpkin in plastic and refrigerating it between sessions.
How many depth layers are in an expert stencil?+
Usually three or four: cut-through, deep scrape, shallow scrape, and untouched skin. The pattern's shading tells you which is which, and the lit result depends on getting the order right.
Can I do an expert stencil with a basic carving kit?+
Not well. The saws and pokers in a kit only do cut-throughs. Shading needs gouges or loop tools, and a rotary tool makes large areas far more even.
How do I stop scraped areas from browning?+
Mist with water as you work, then brush the finished surface with lemon juice or a diluted bleach solution and refrigerate overnight. Bring it out only for the evening display.
What pumpkin variety is best for sculpting?+
Thick-walled carving pumpkins sold as 'jumbo' or 'howden' types, or a pale Cinderella-style pumpkin for the smoothest surface. Avoid thin-walled pie pumpkins.