13 free printable stencils
Hard Pumpkin Stencils
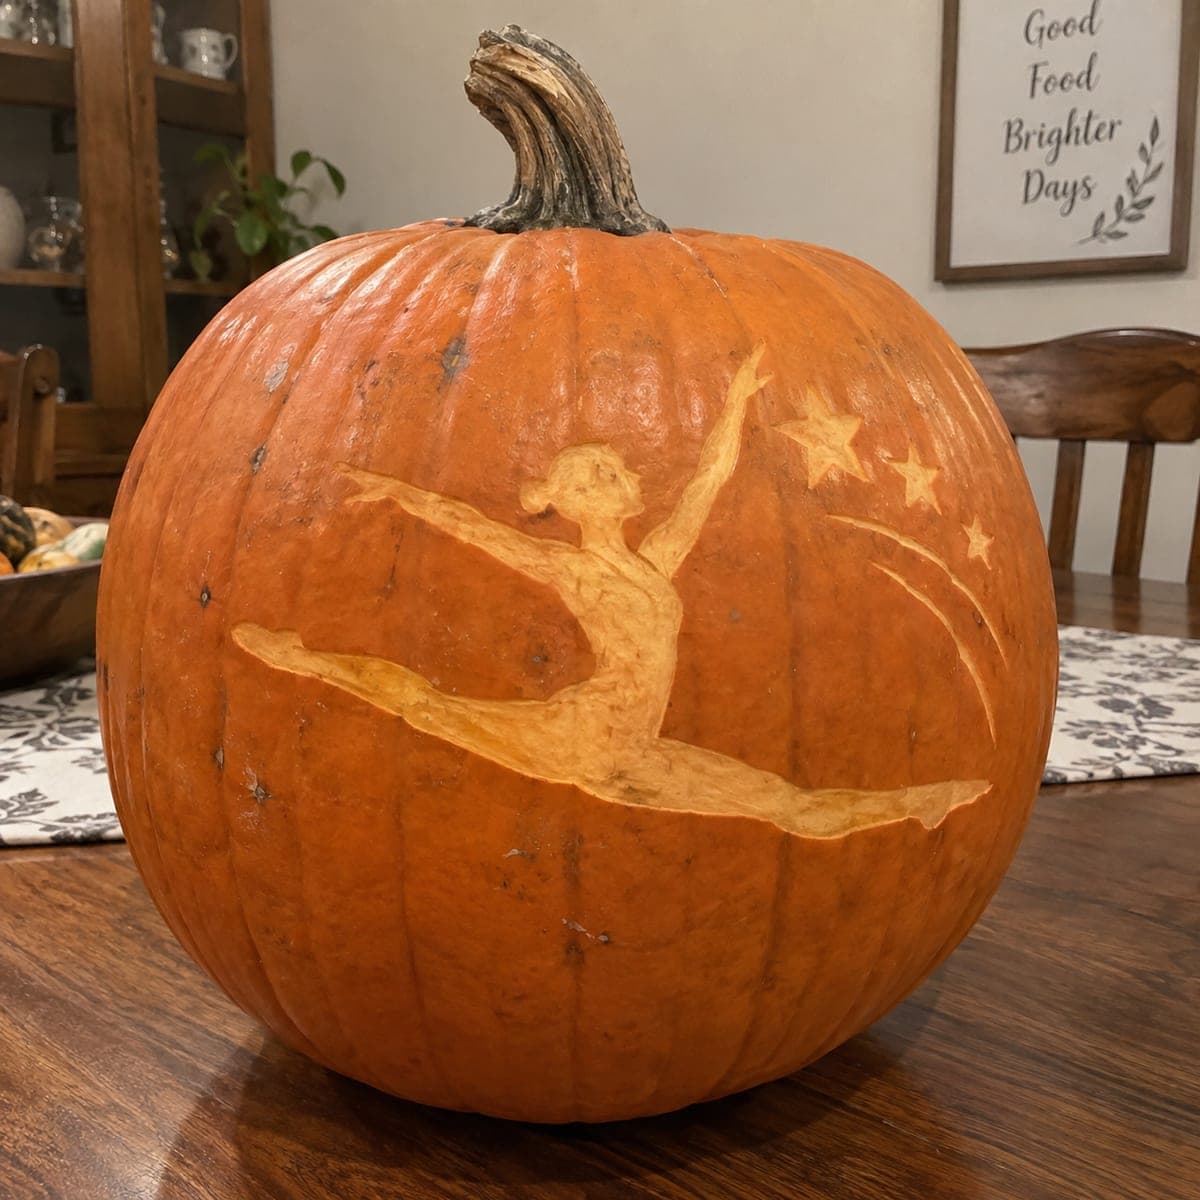
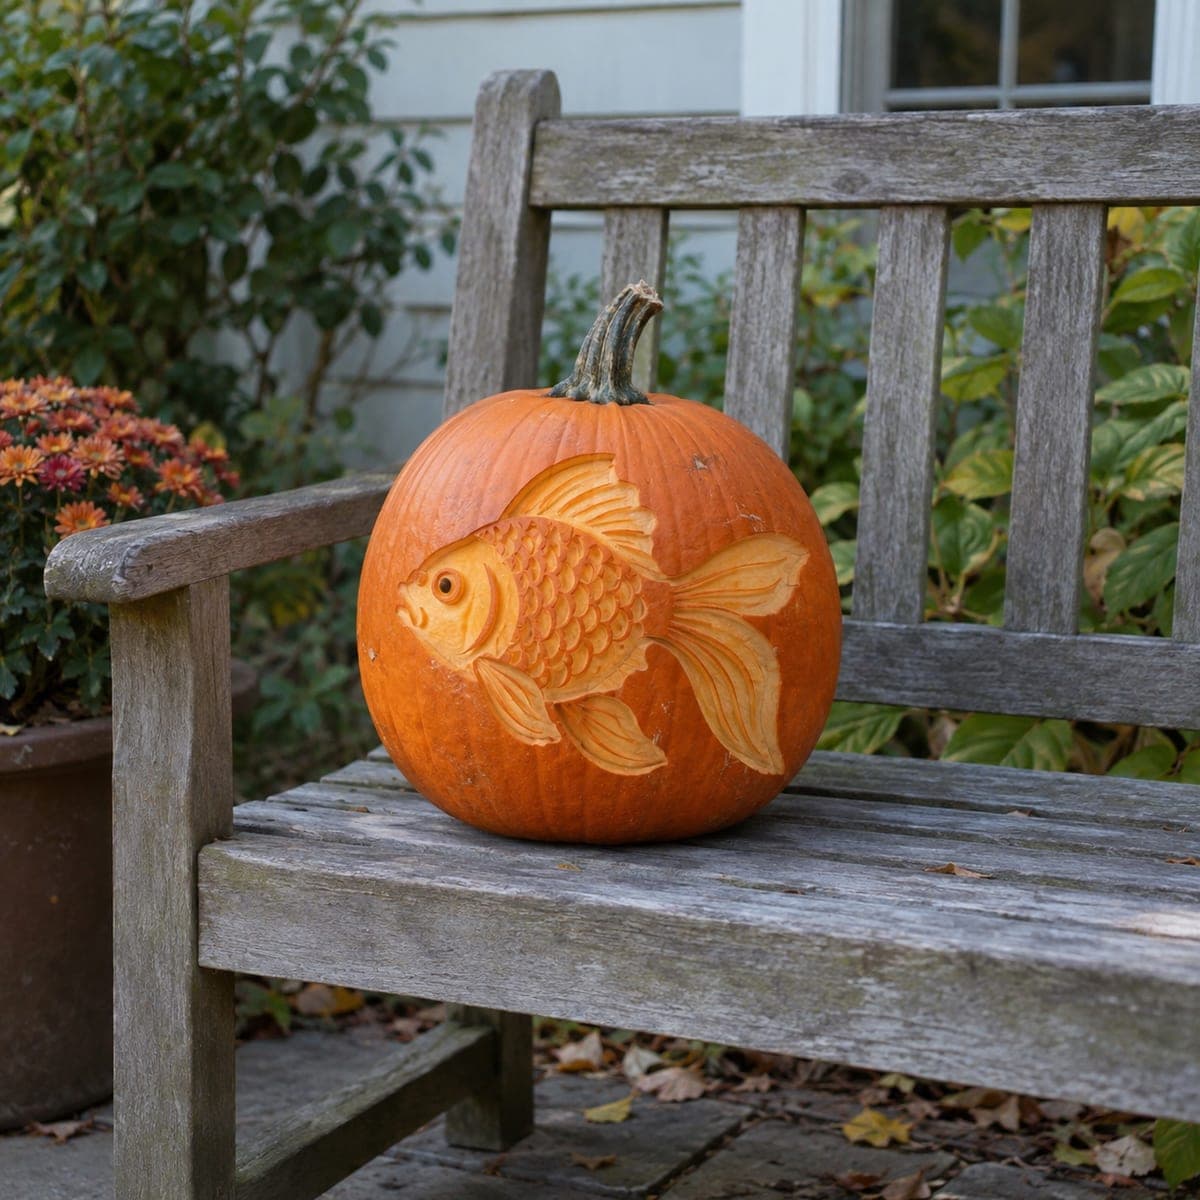
Hard pumpkin stencils are for carvers who want a showpiece. These designs mix cut-through openings with shaded areas where you peel away only the skin, so the pumpkin glows in two tones: bright white where the wall is open and warm amber where it is thinned. Thin bridges, fine lines, and tight curves all show up here.
- Free PDF, no watermark
- Prints on letter or A4 at 100%
- Carving guide with every stencil

13 hard pumpkin stencils
Free PDF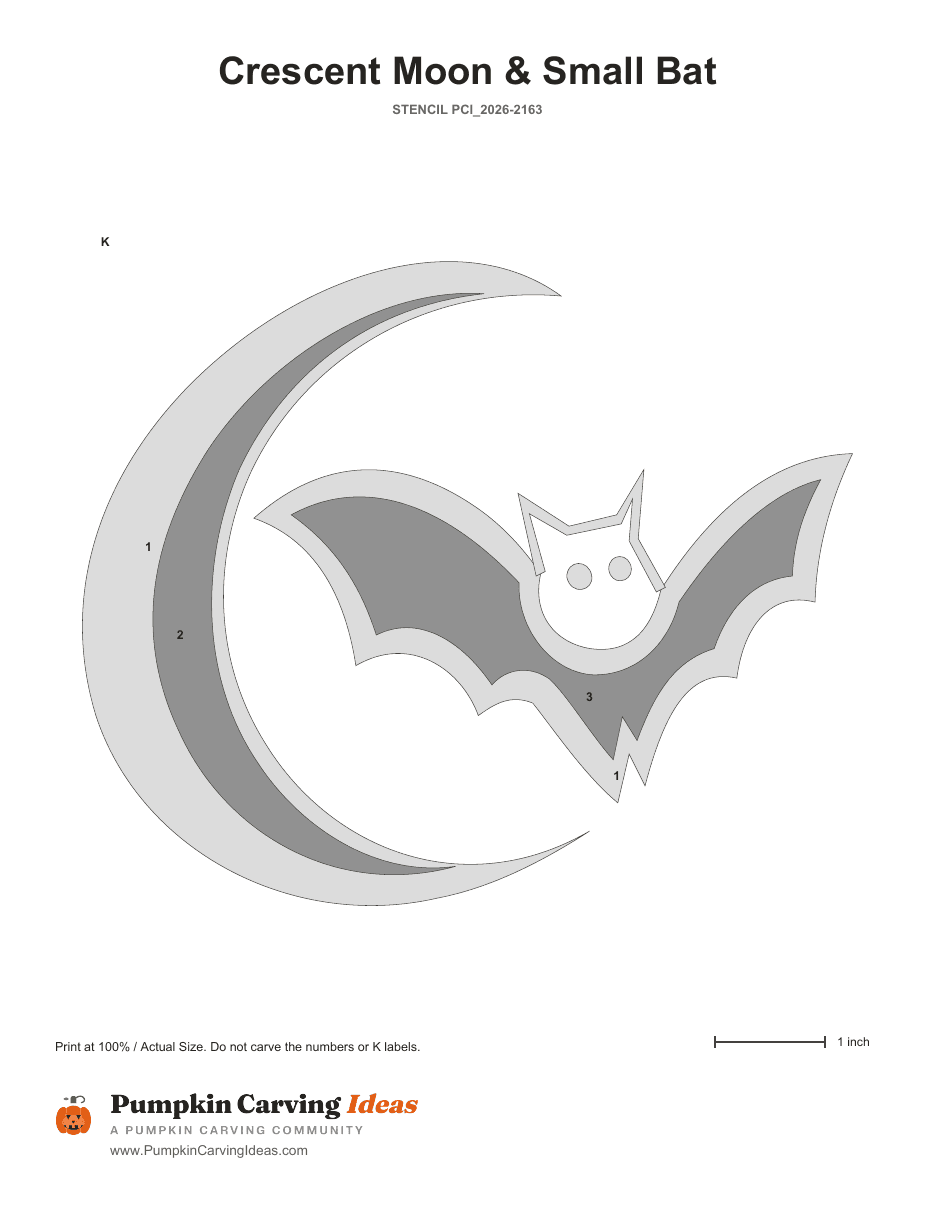
Midnight Flutter
Mixed technique
View stencilFree PDF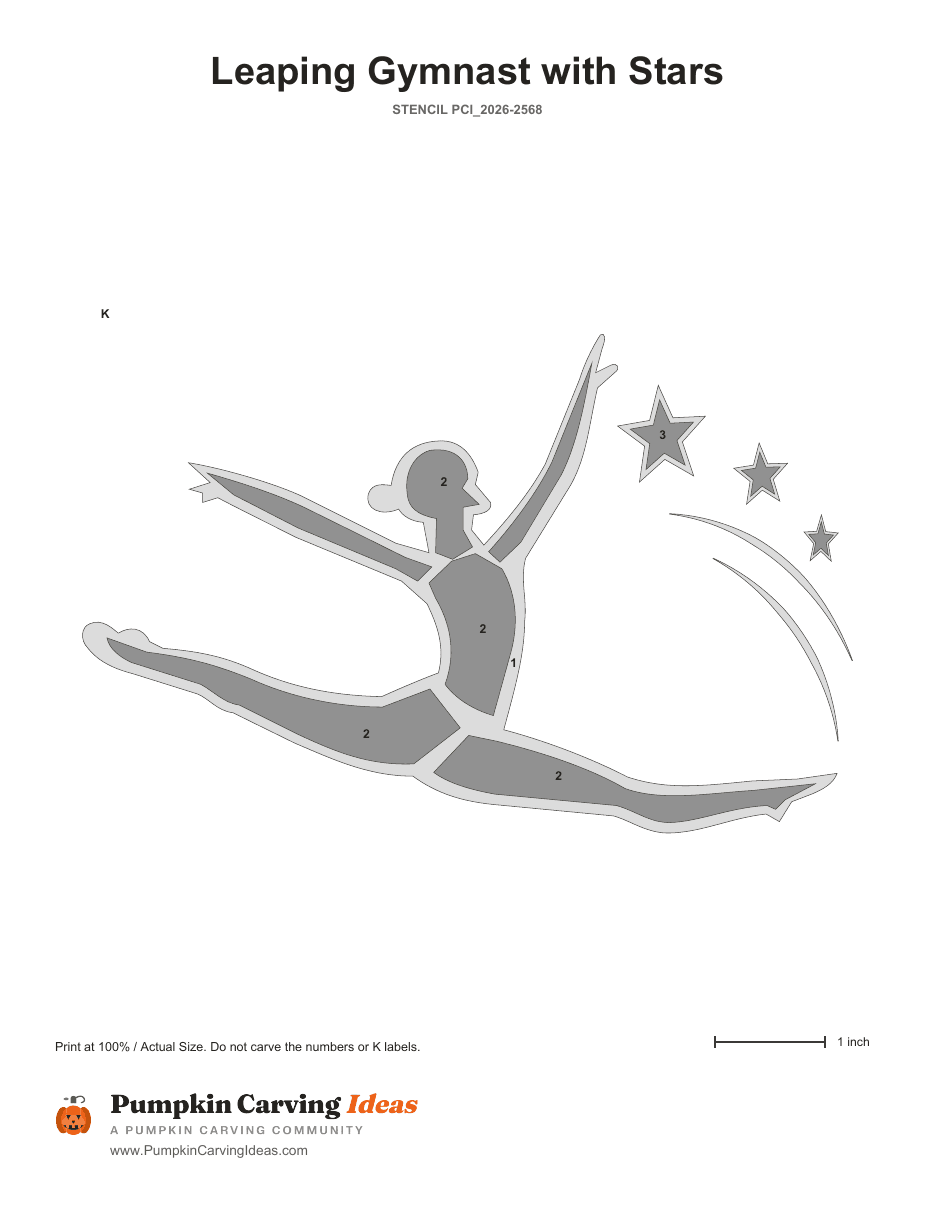
Star Vault
Mixed technique
View stencilFree PDF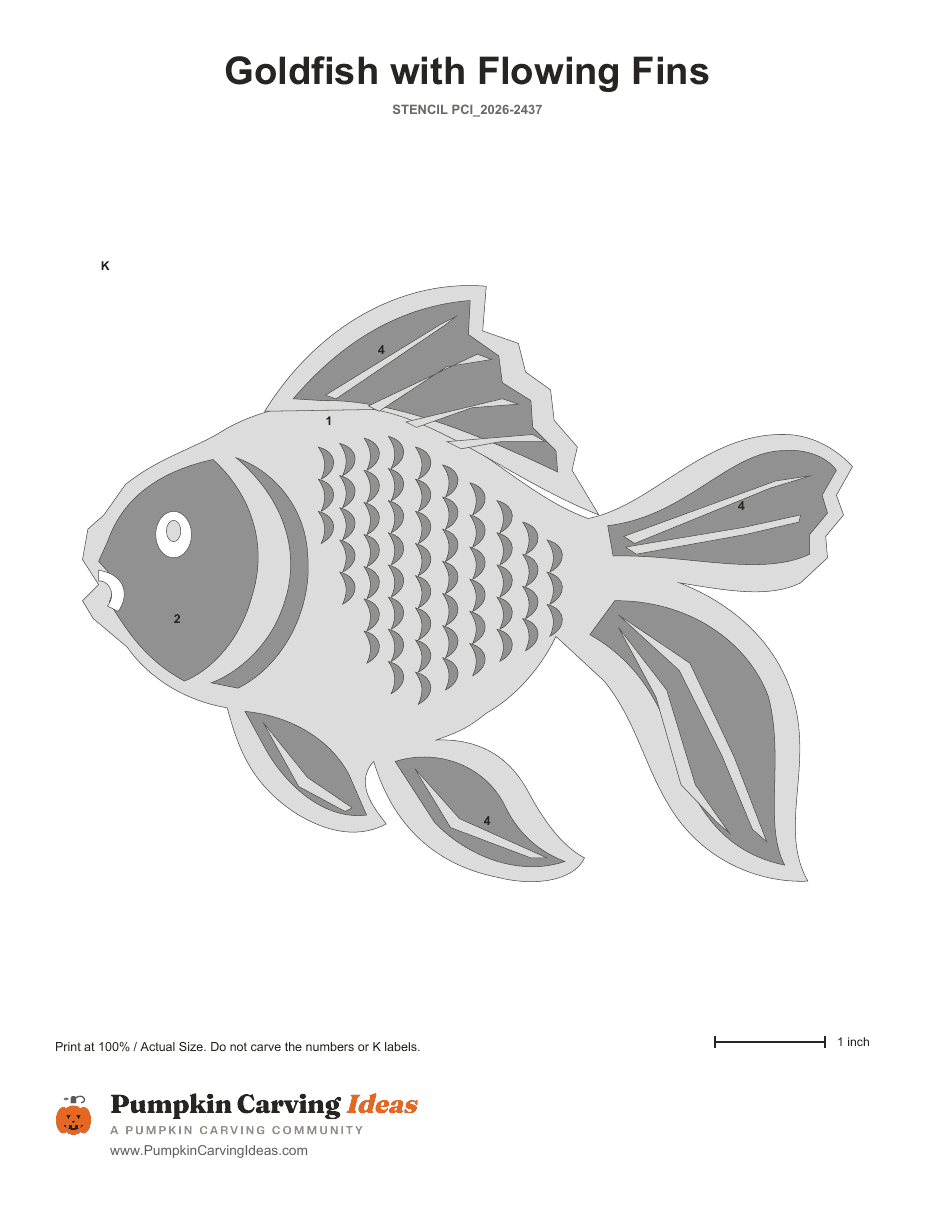
Fancy Fins
Mixed technique
View stencil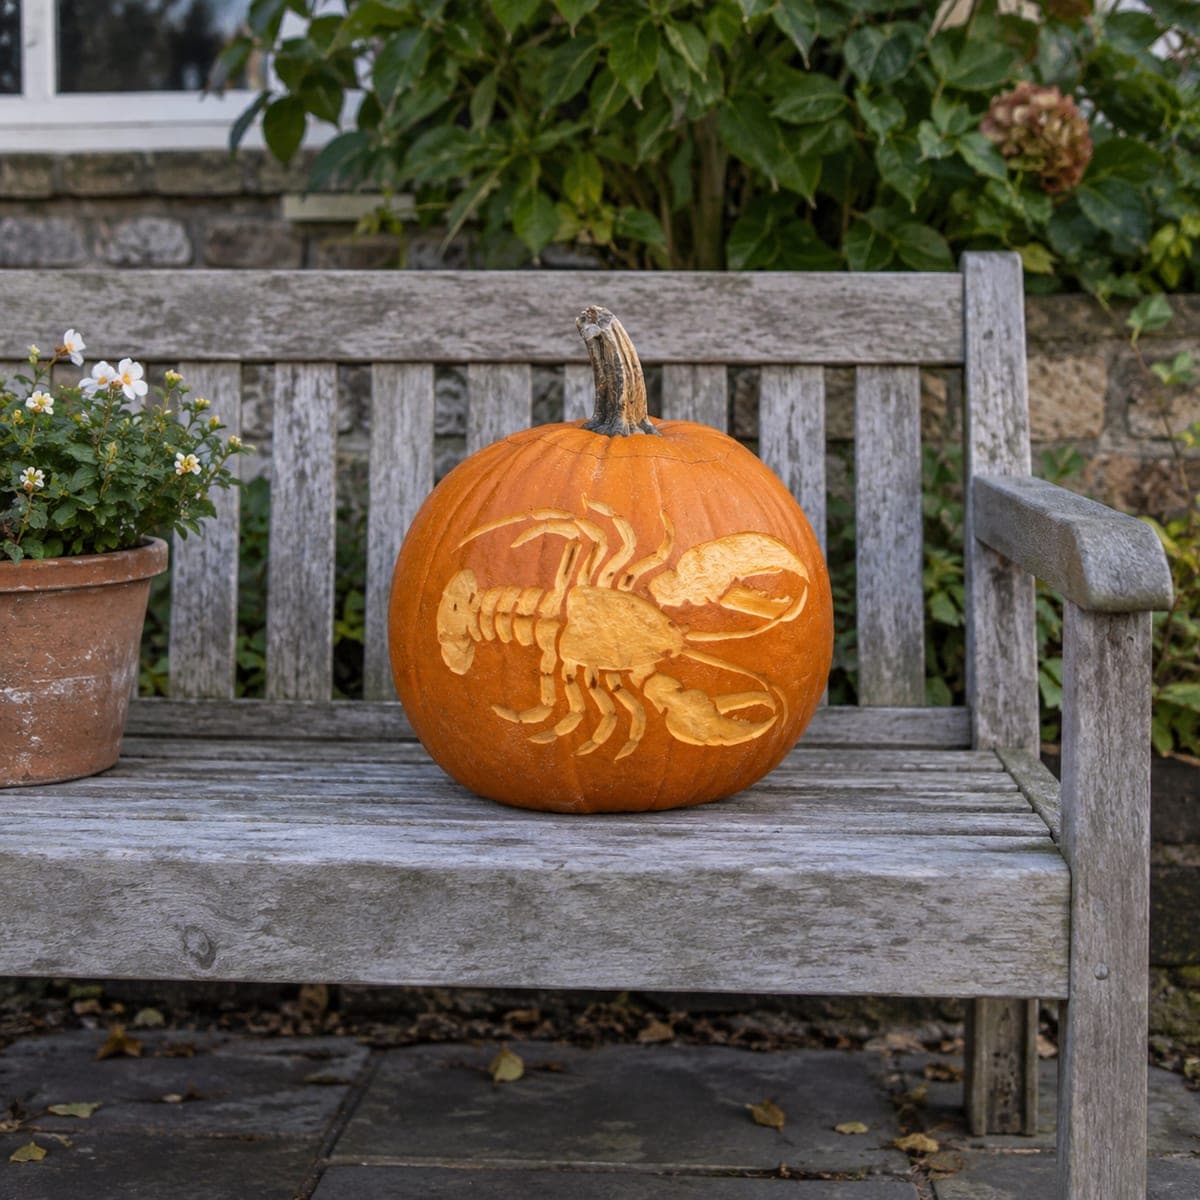 Free PDF
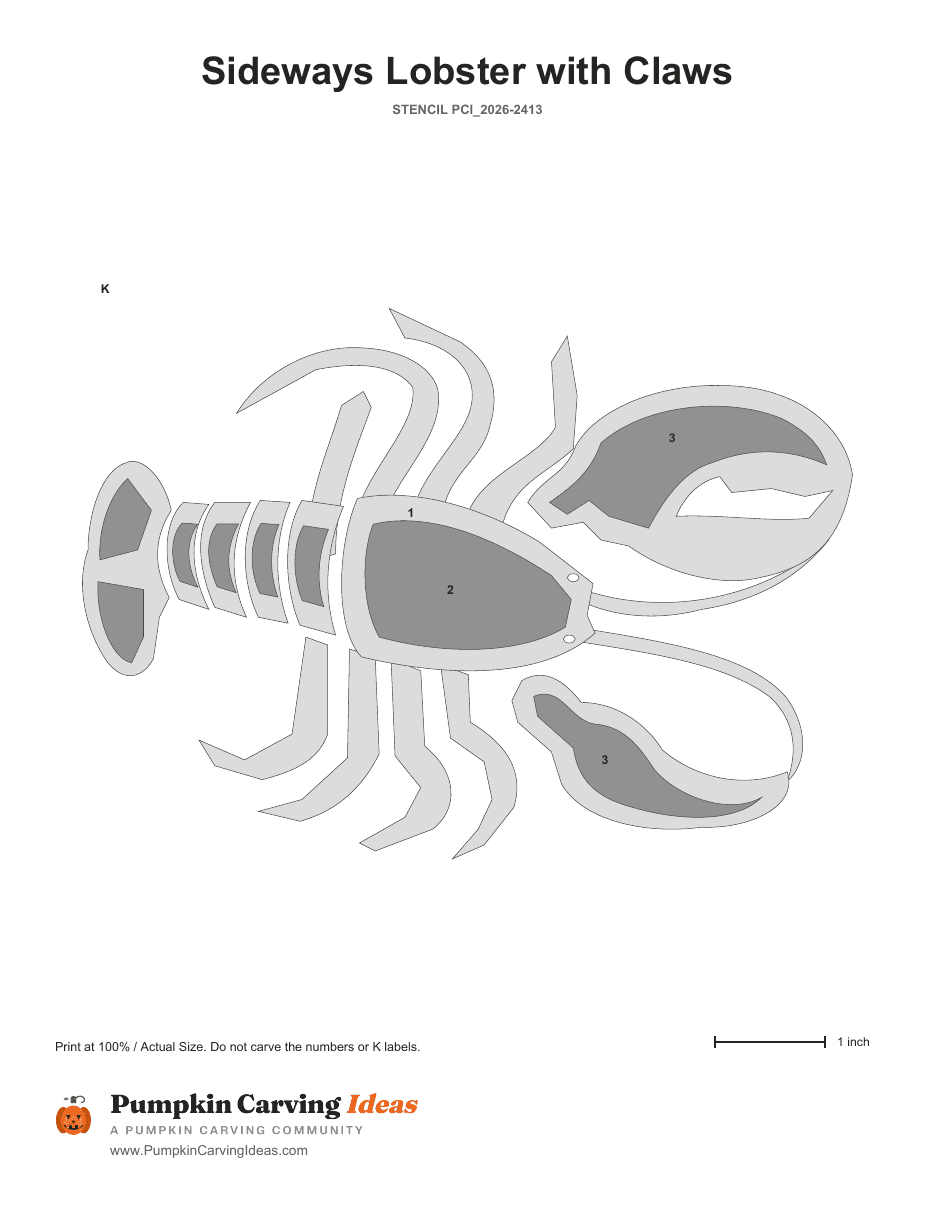
Salty Claws
Mixed technique
View stencil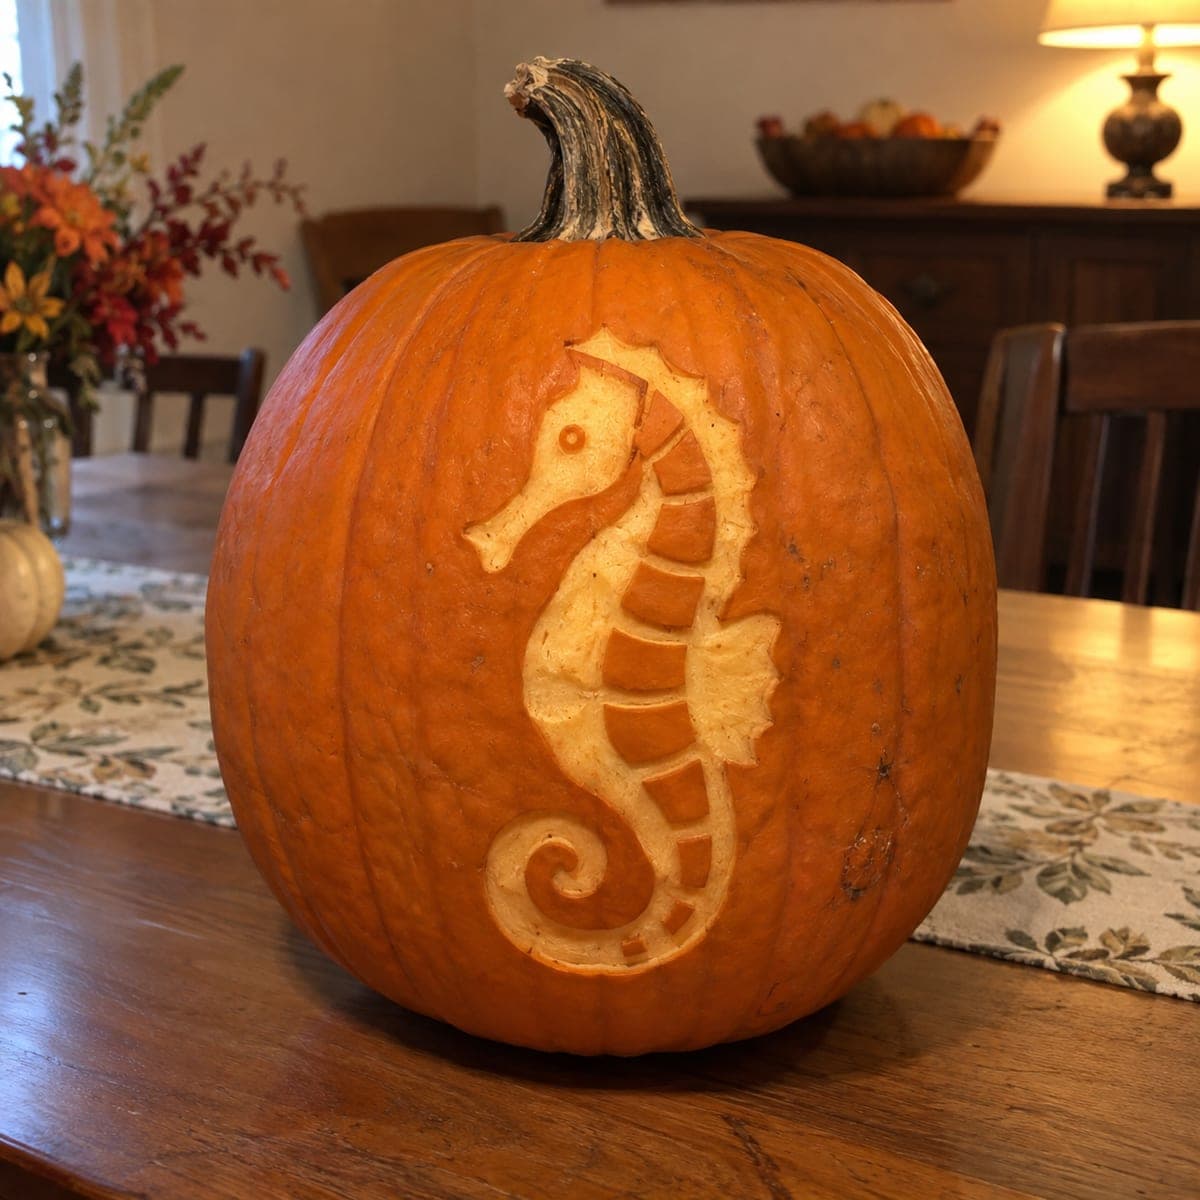 Free PDF
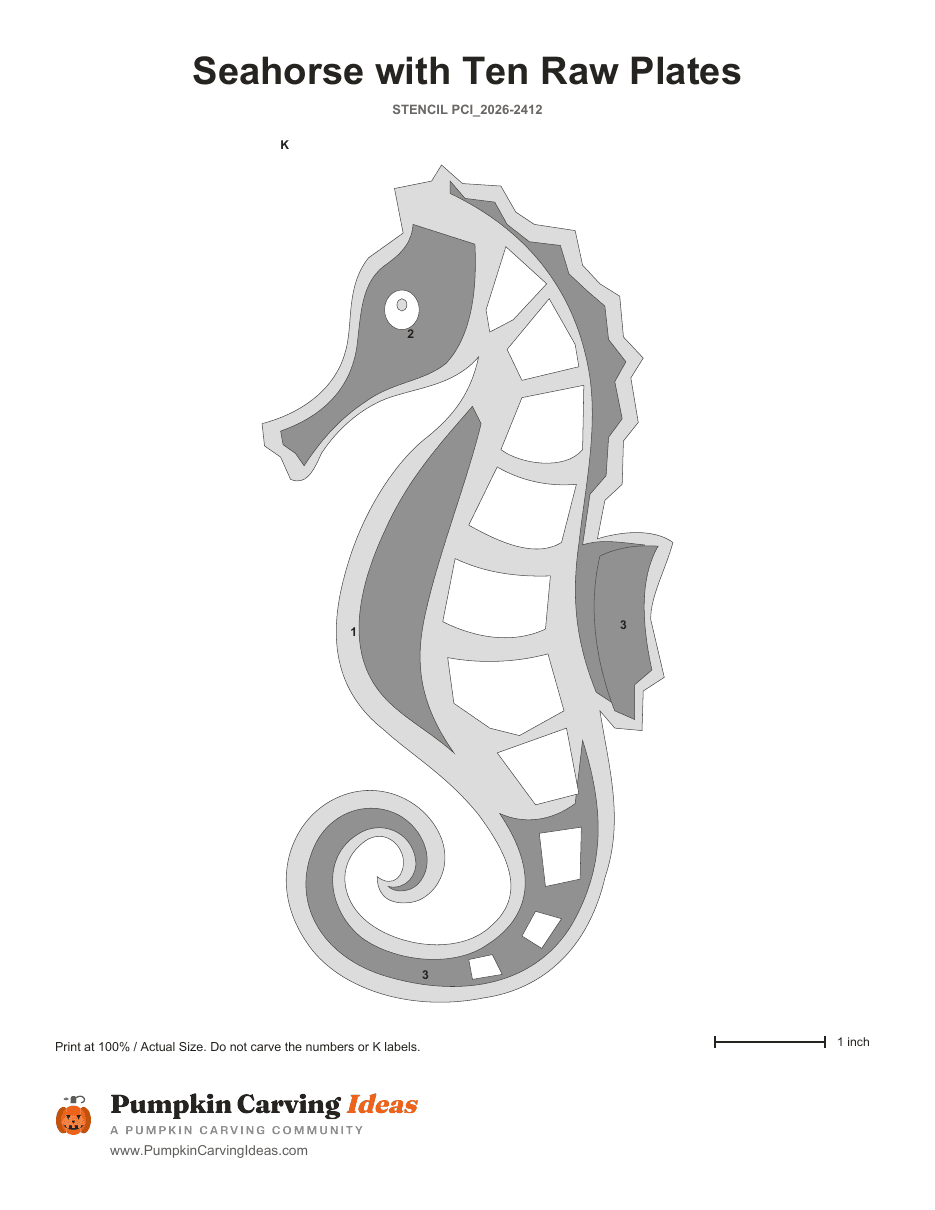
Elegant Seahorse
Mixed technique
View stencil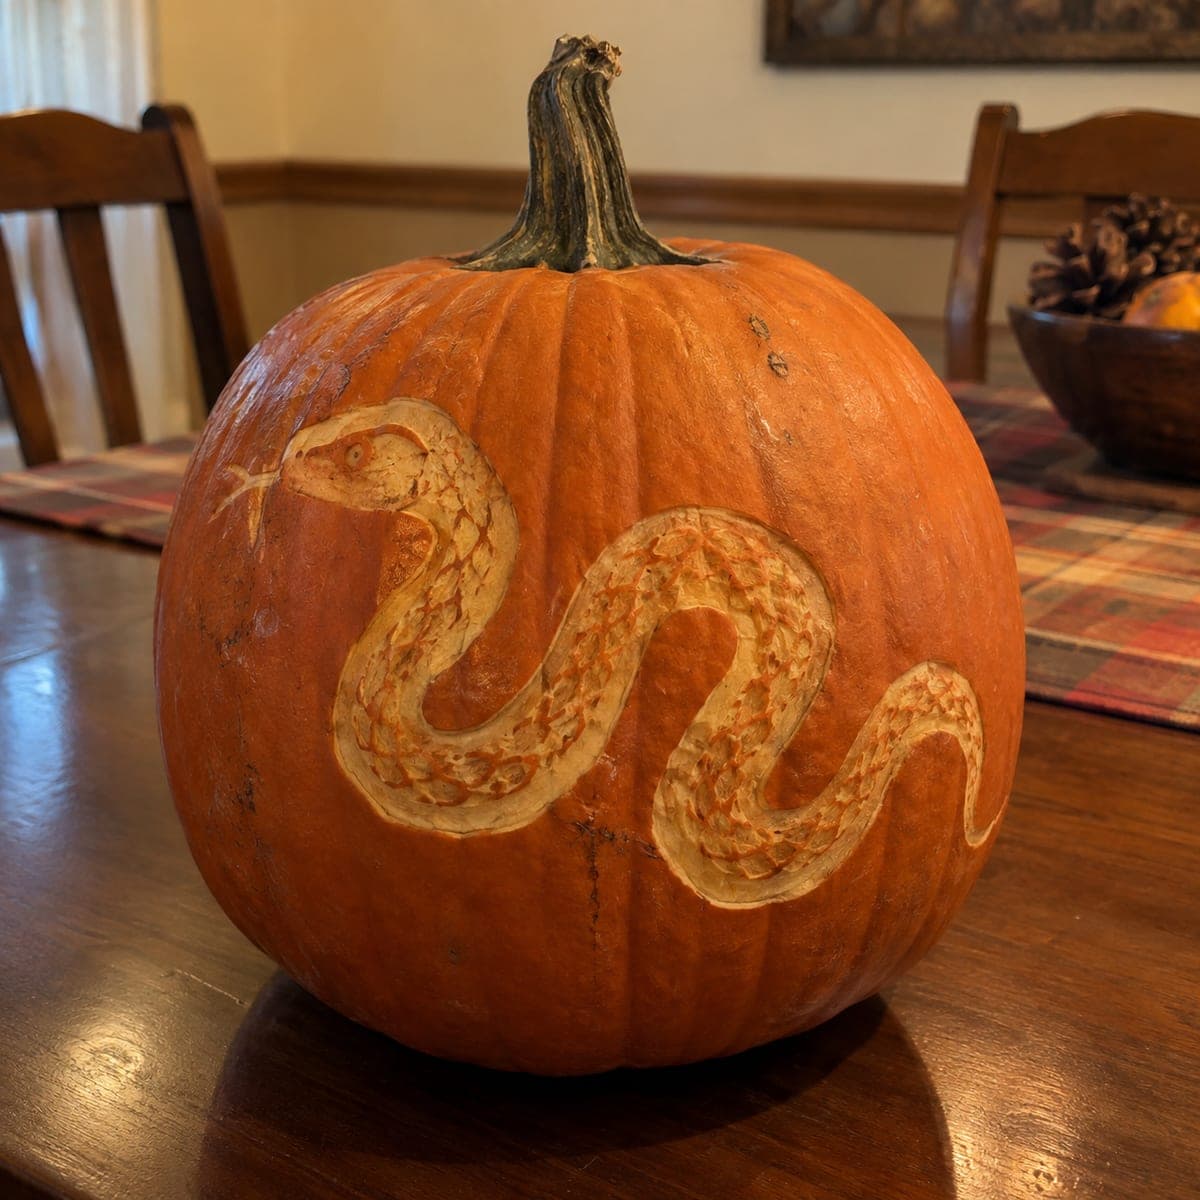 Free PDF
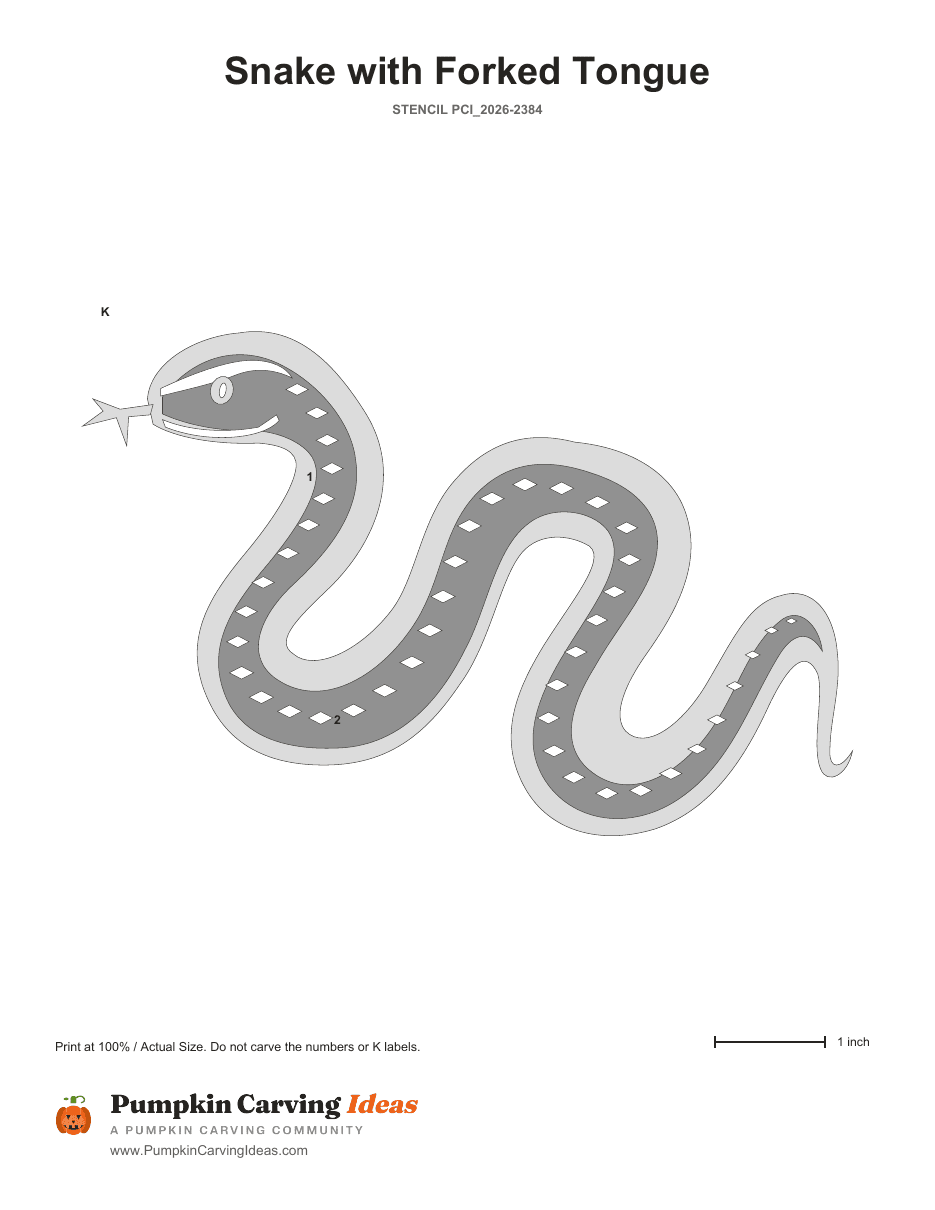
Silent Slither
Mixed technique
View stencil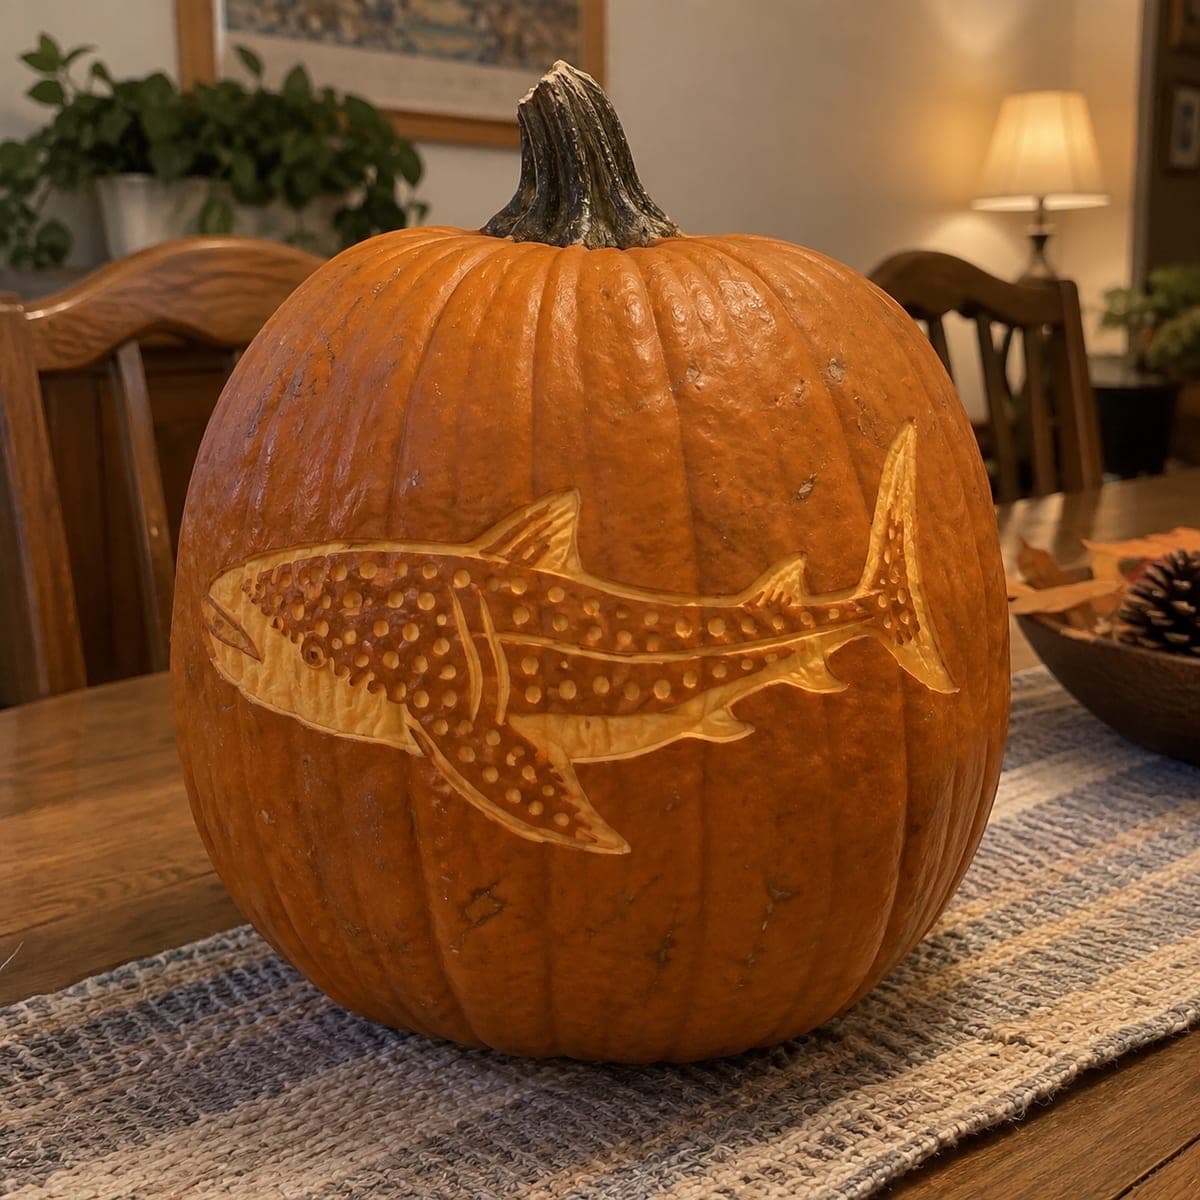 Free PDF
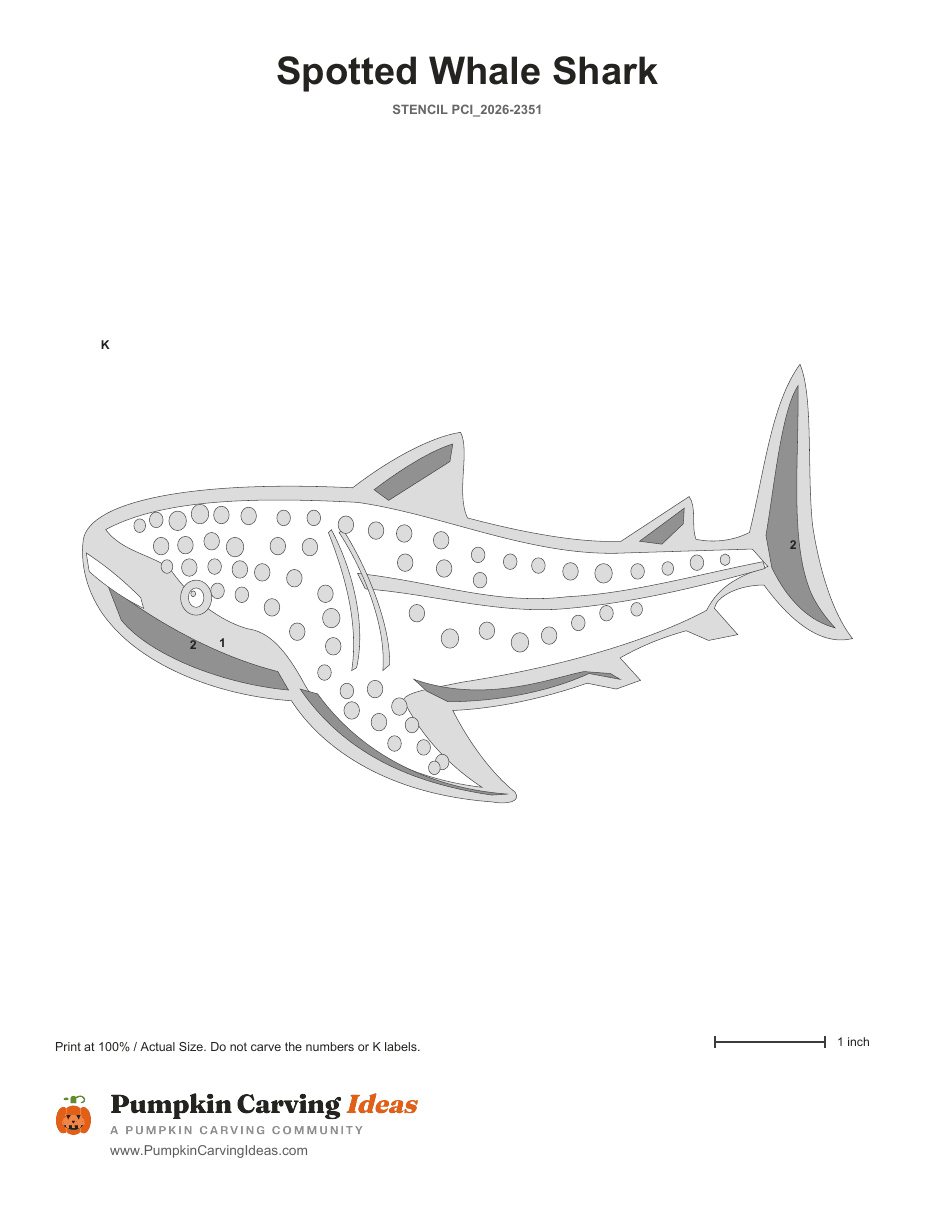
Gentle Giant
Mixed technique
View stencil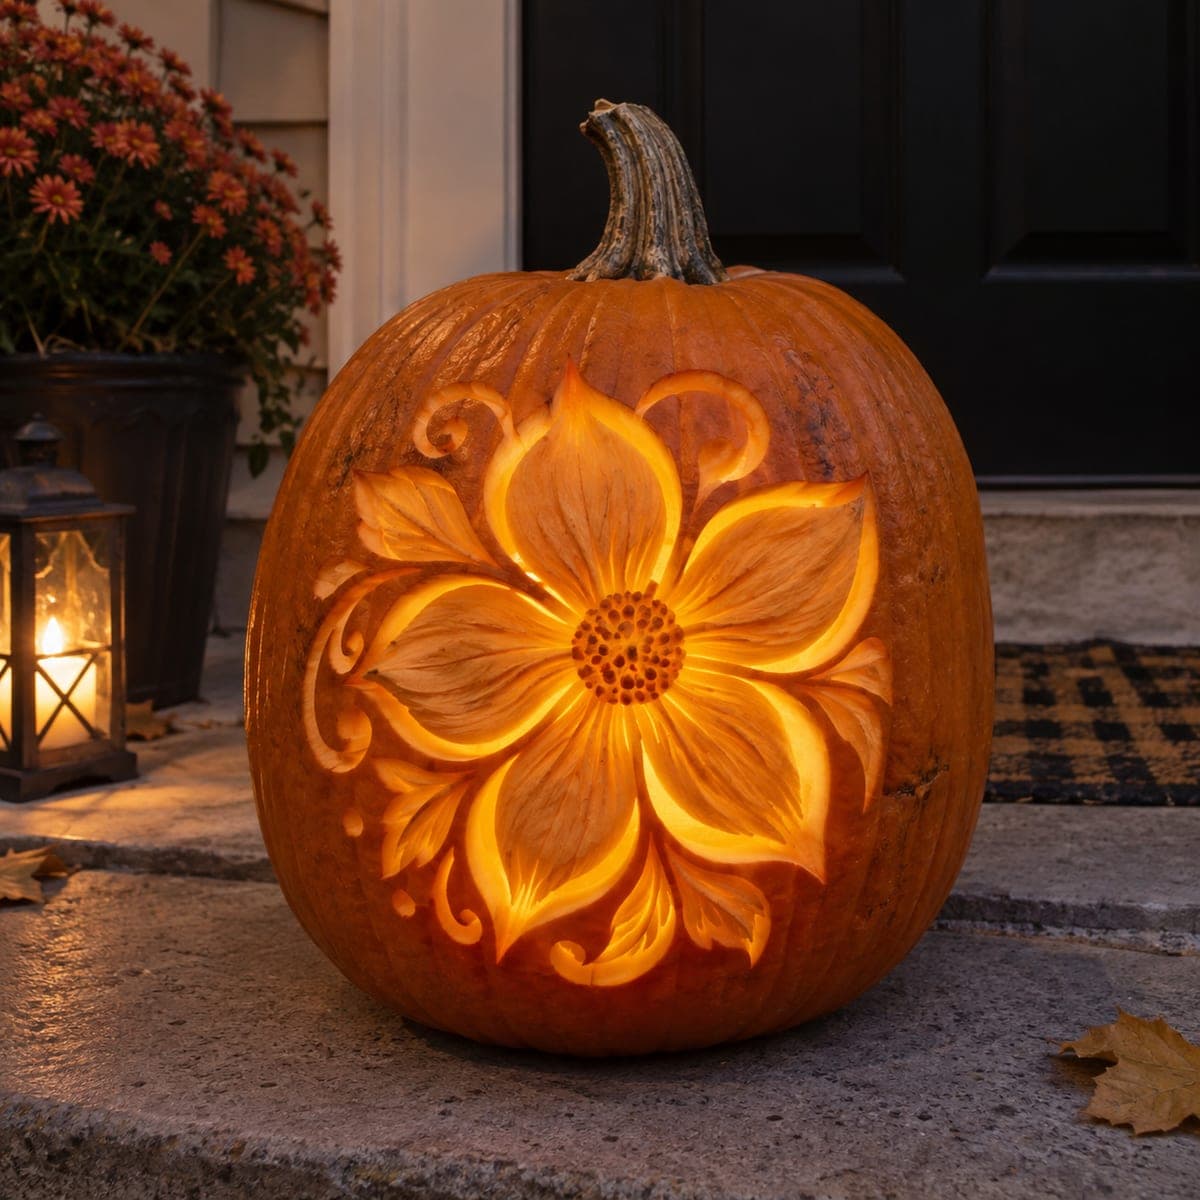 Free PDF
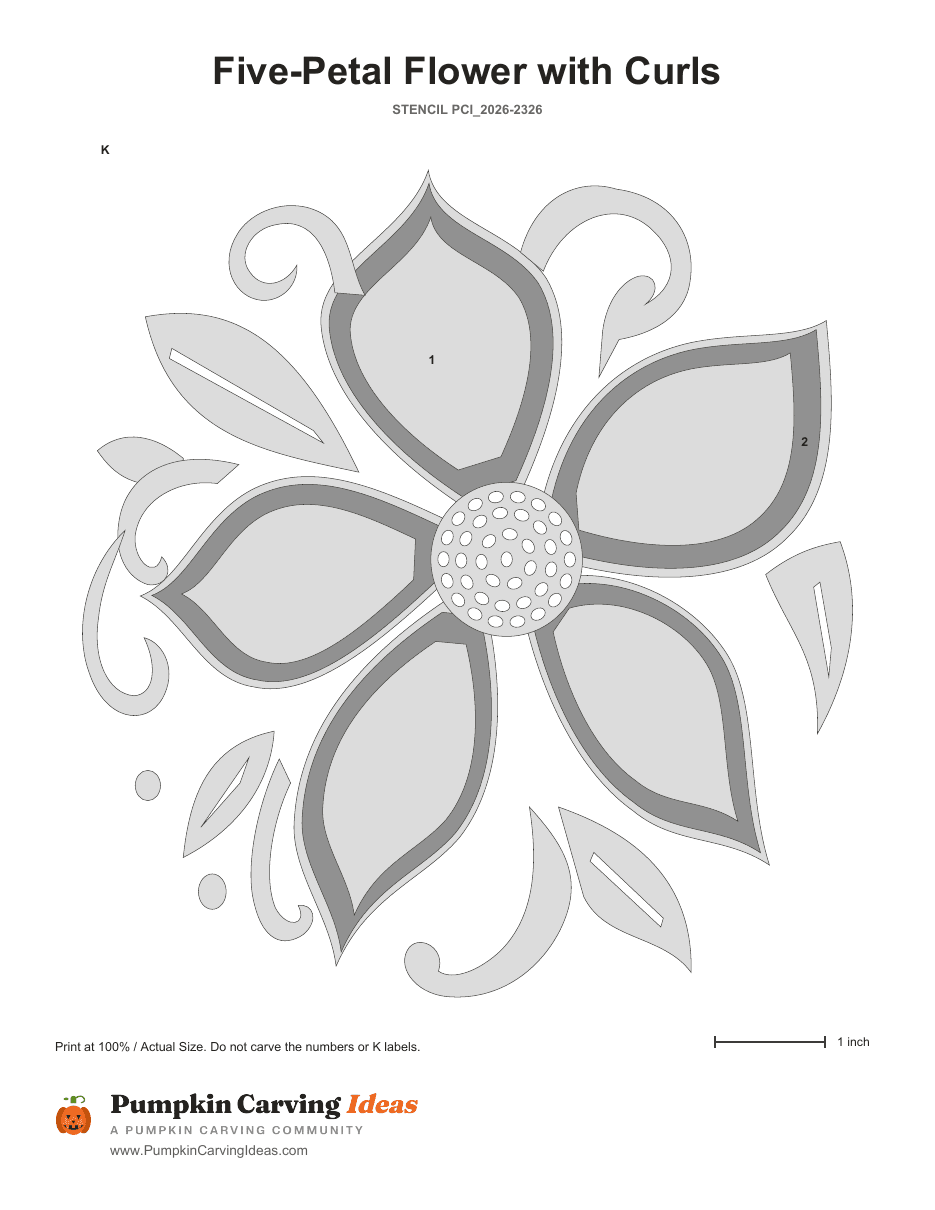
Magnolia Bloom
Mixed technique
View stencil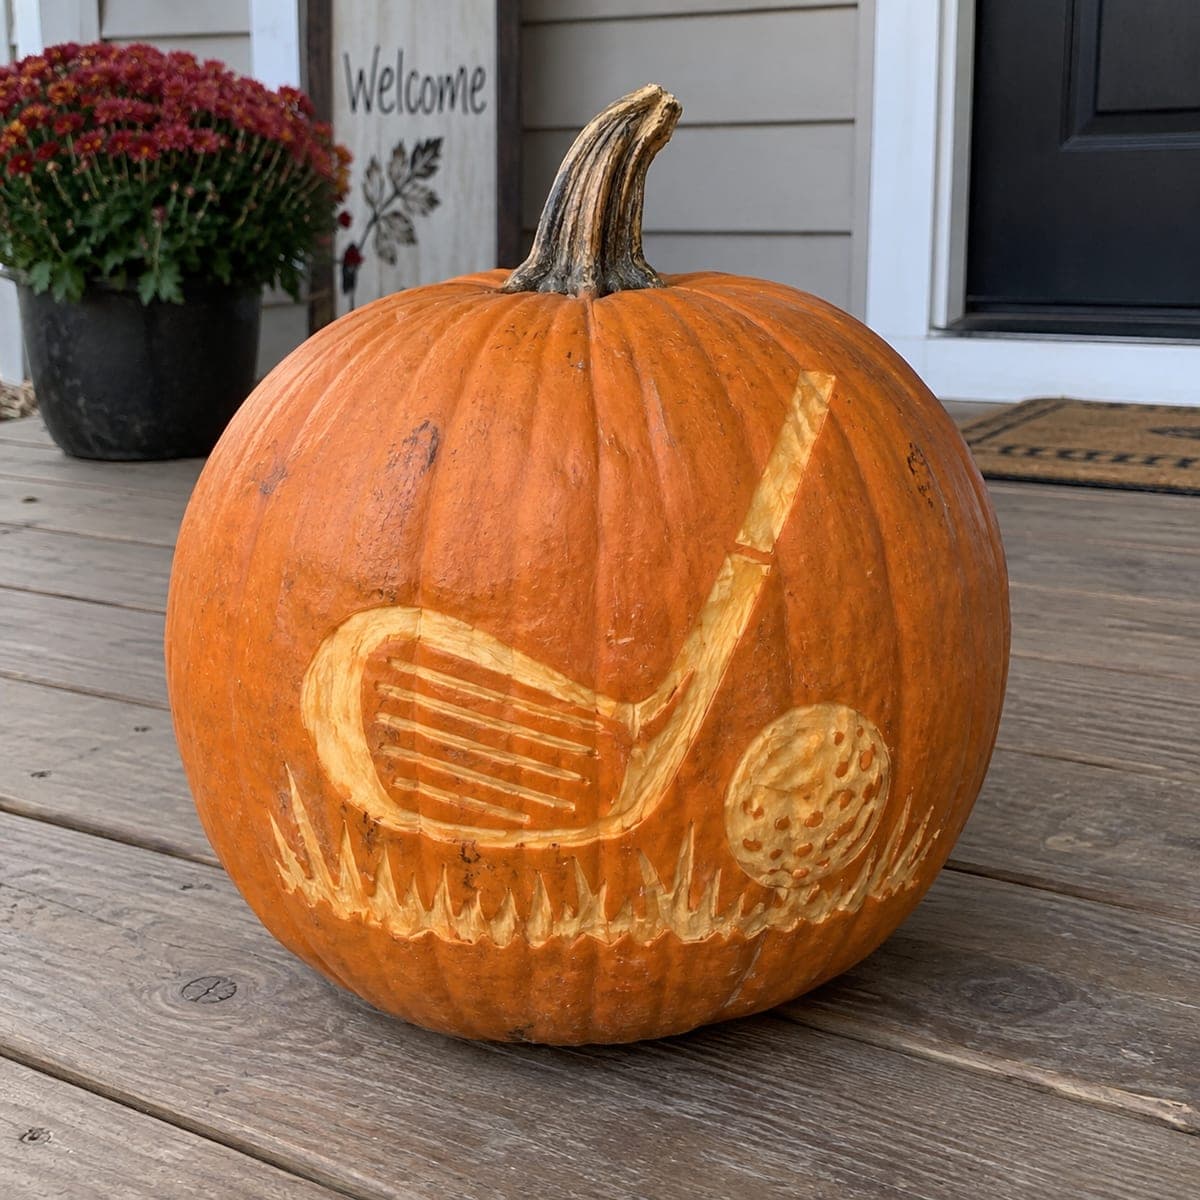 Free PDF
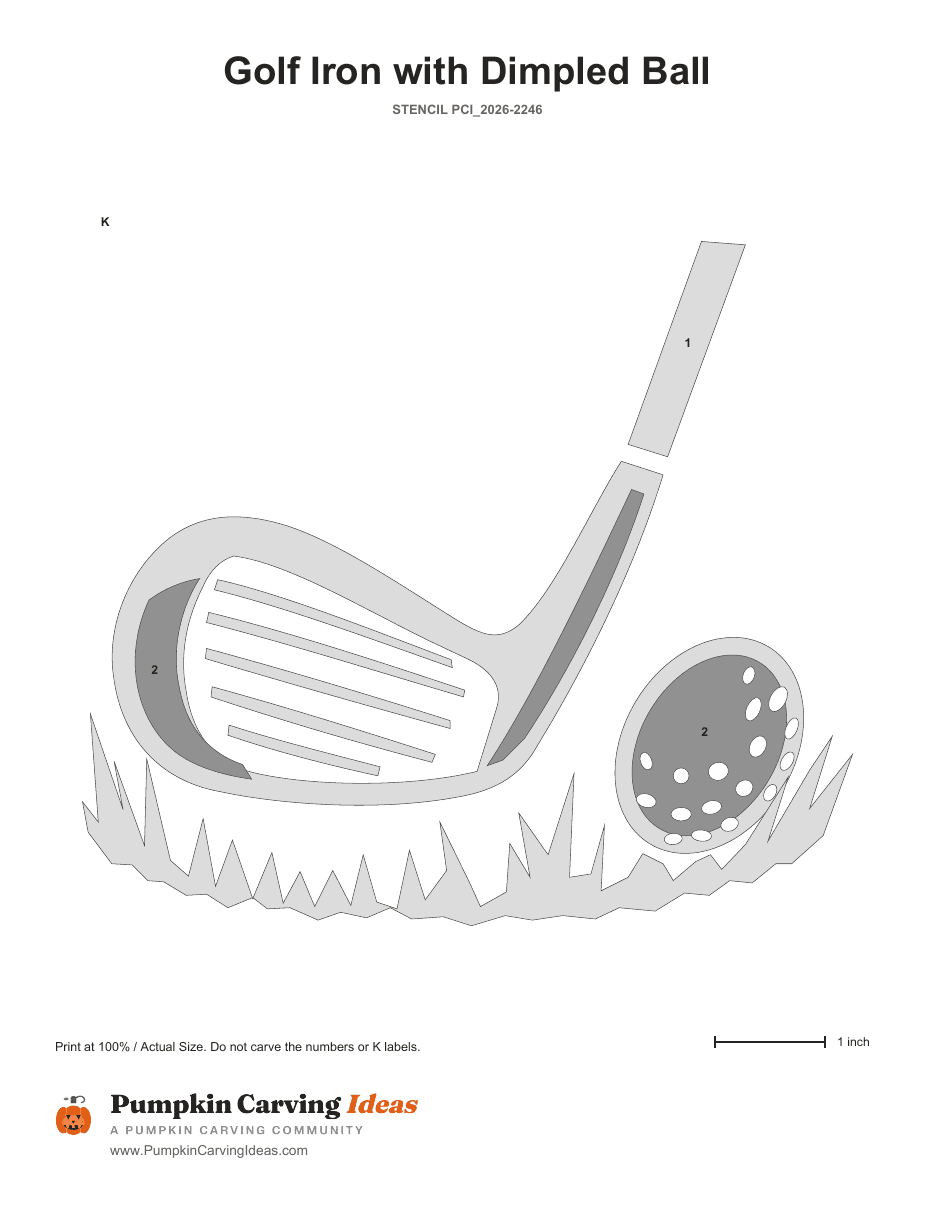
Tee Time
Mixed technique
View stencil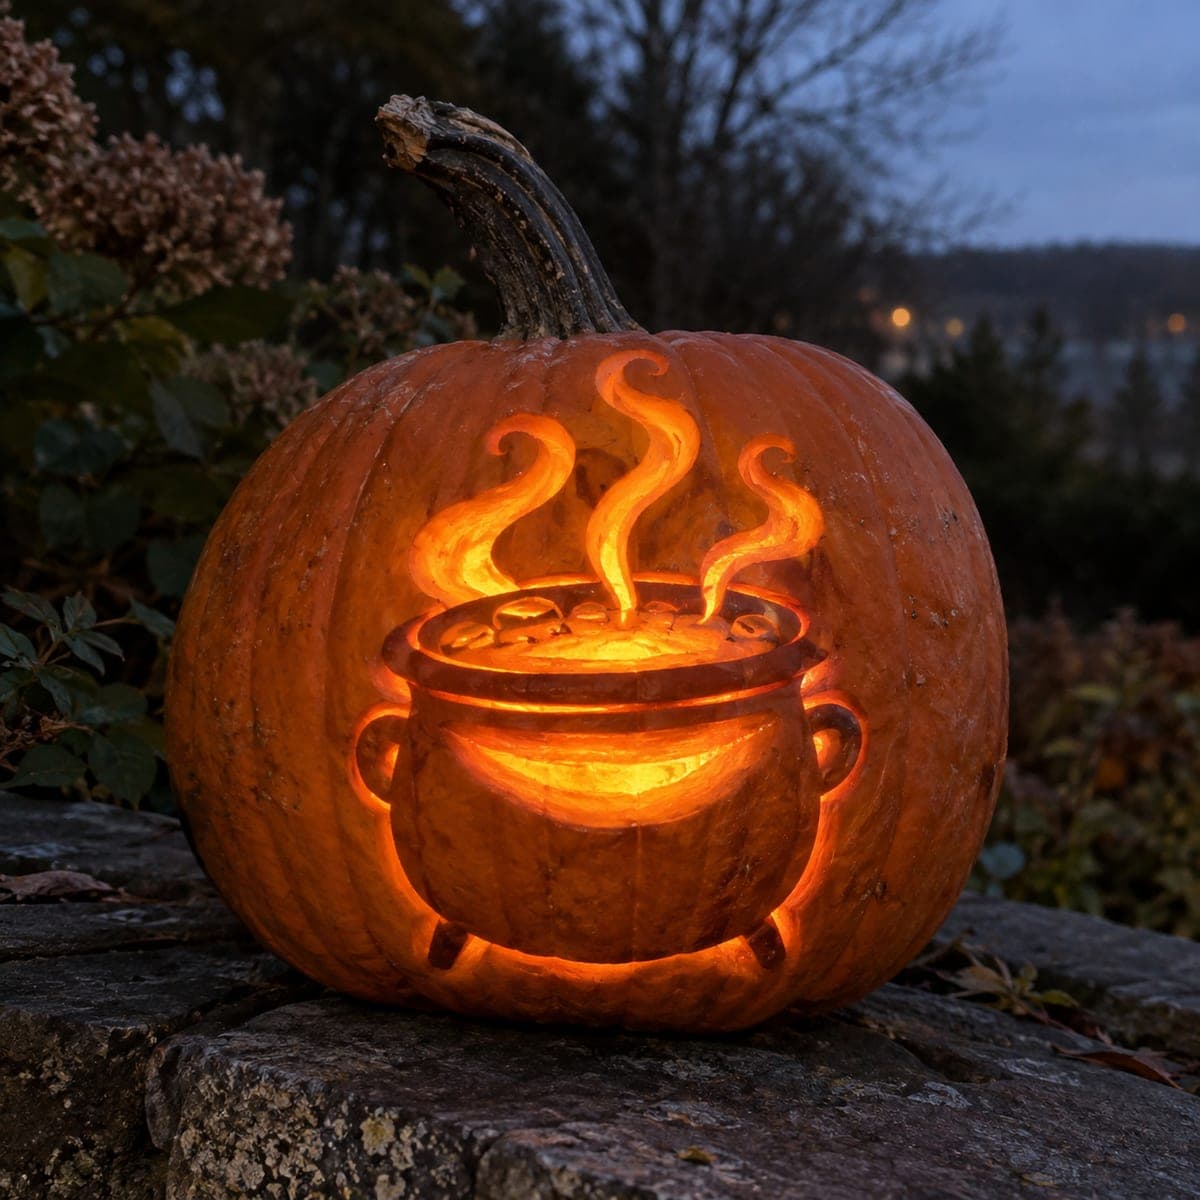 Free PDF
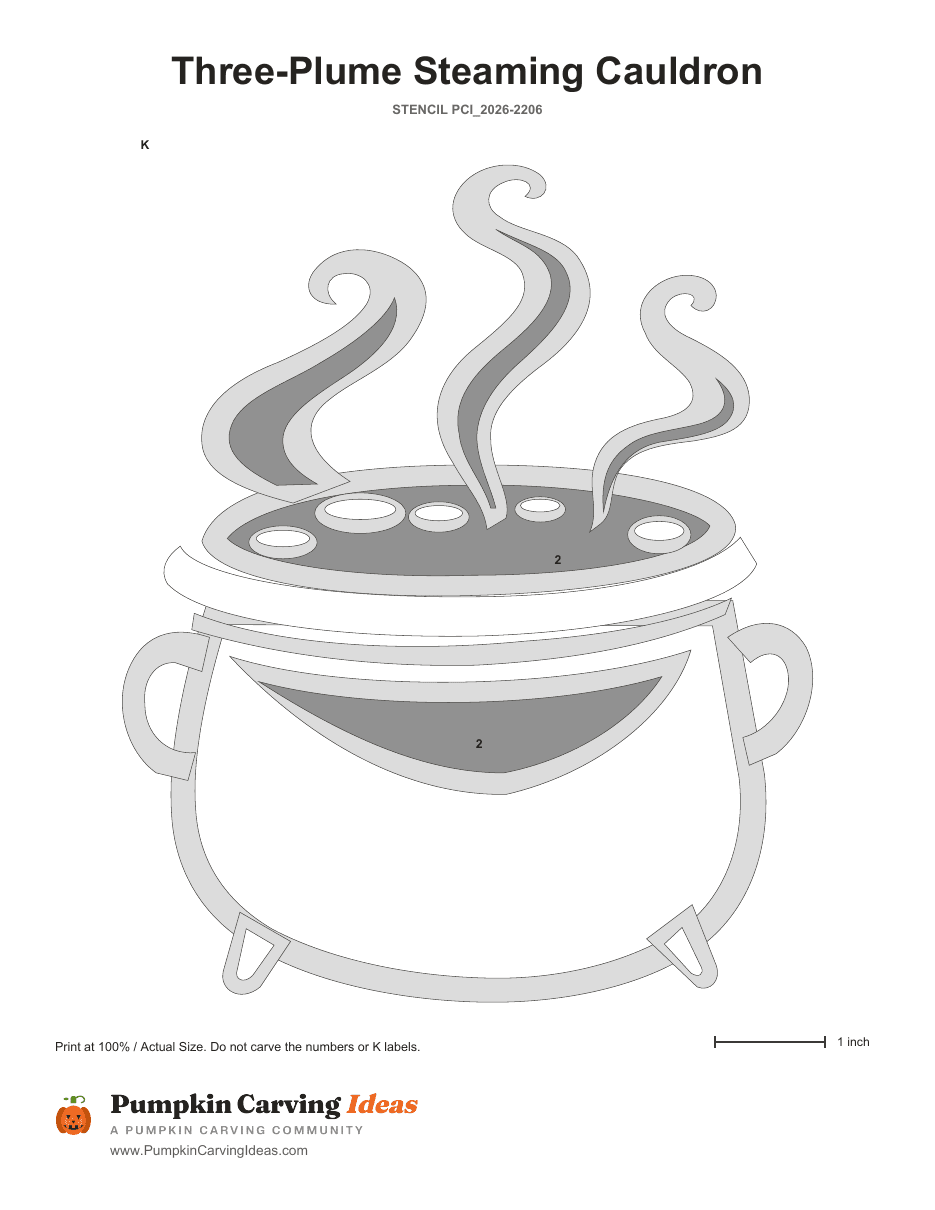
Witch's Brew
Mixed technique
View stencil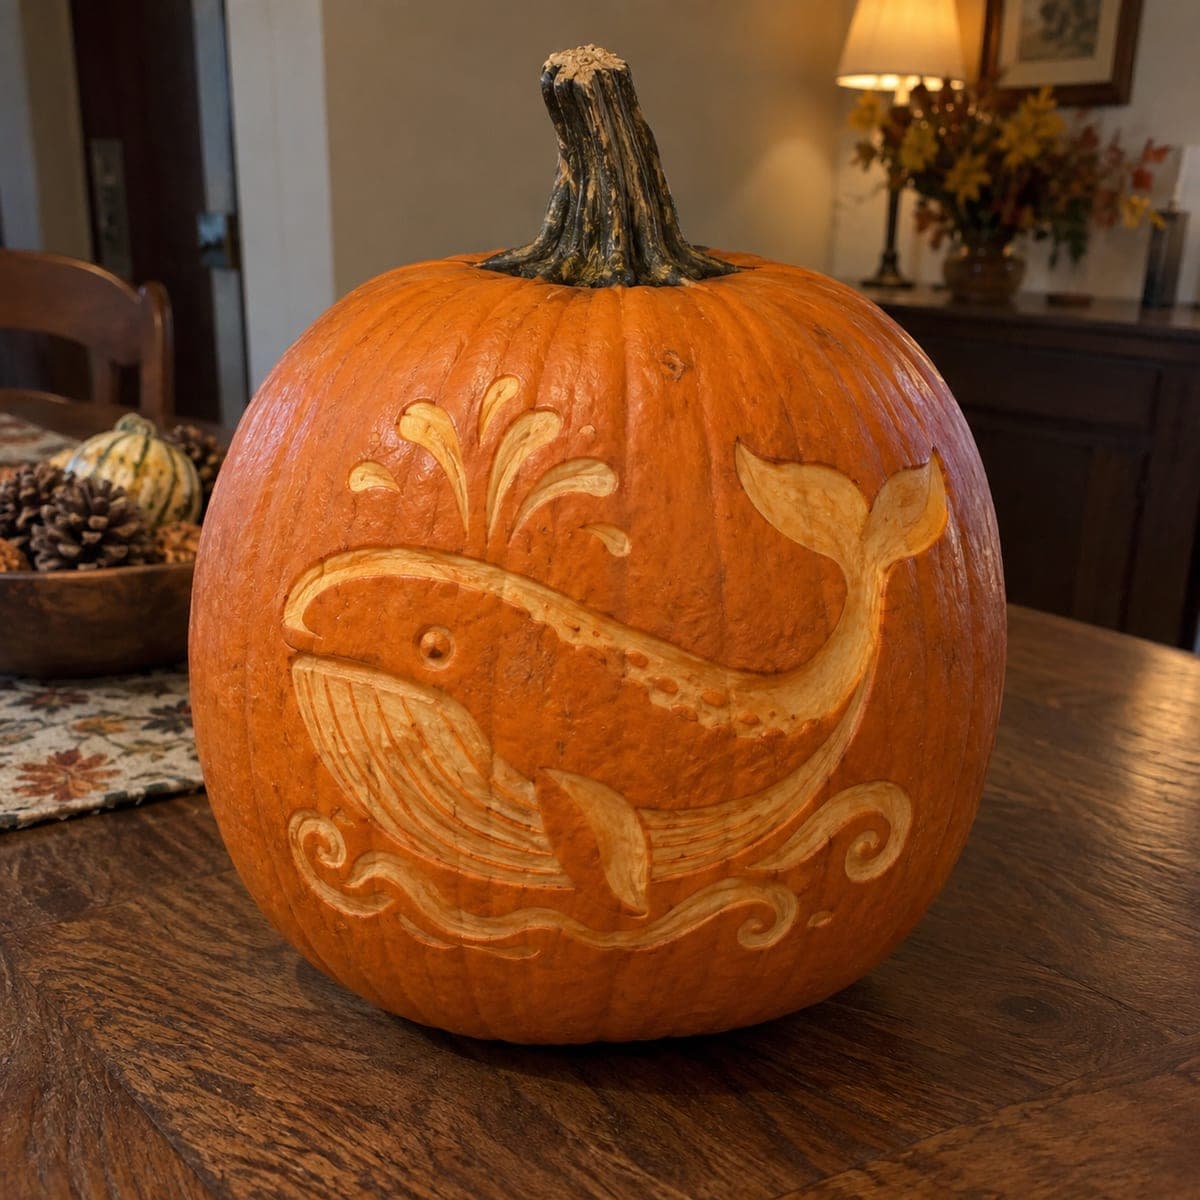 Free PDF
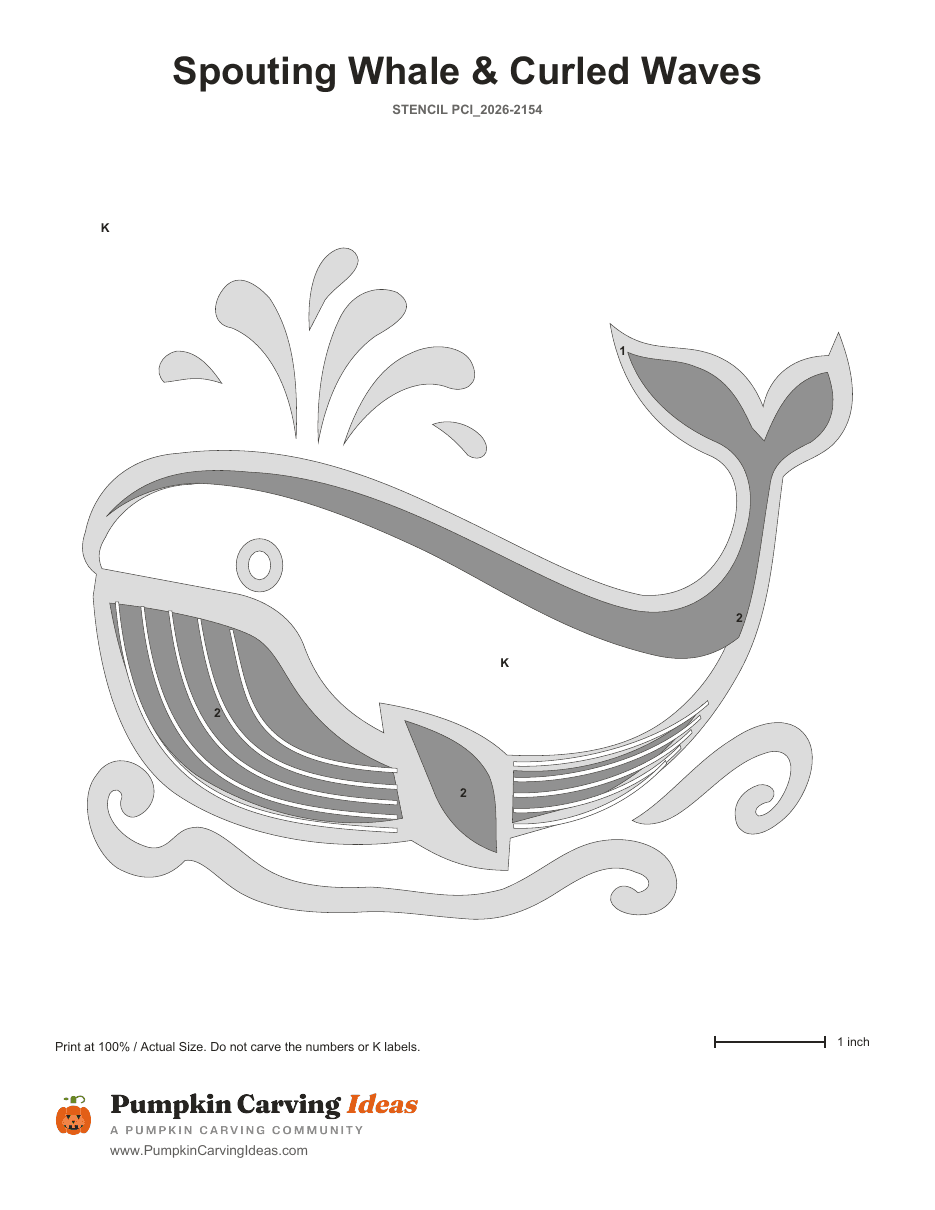
The Happy Spouter
Mixed technique
View stencil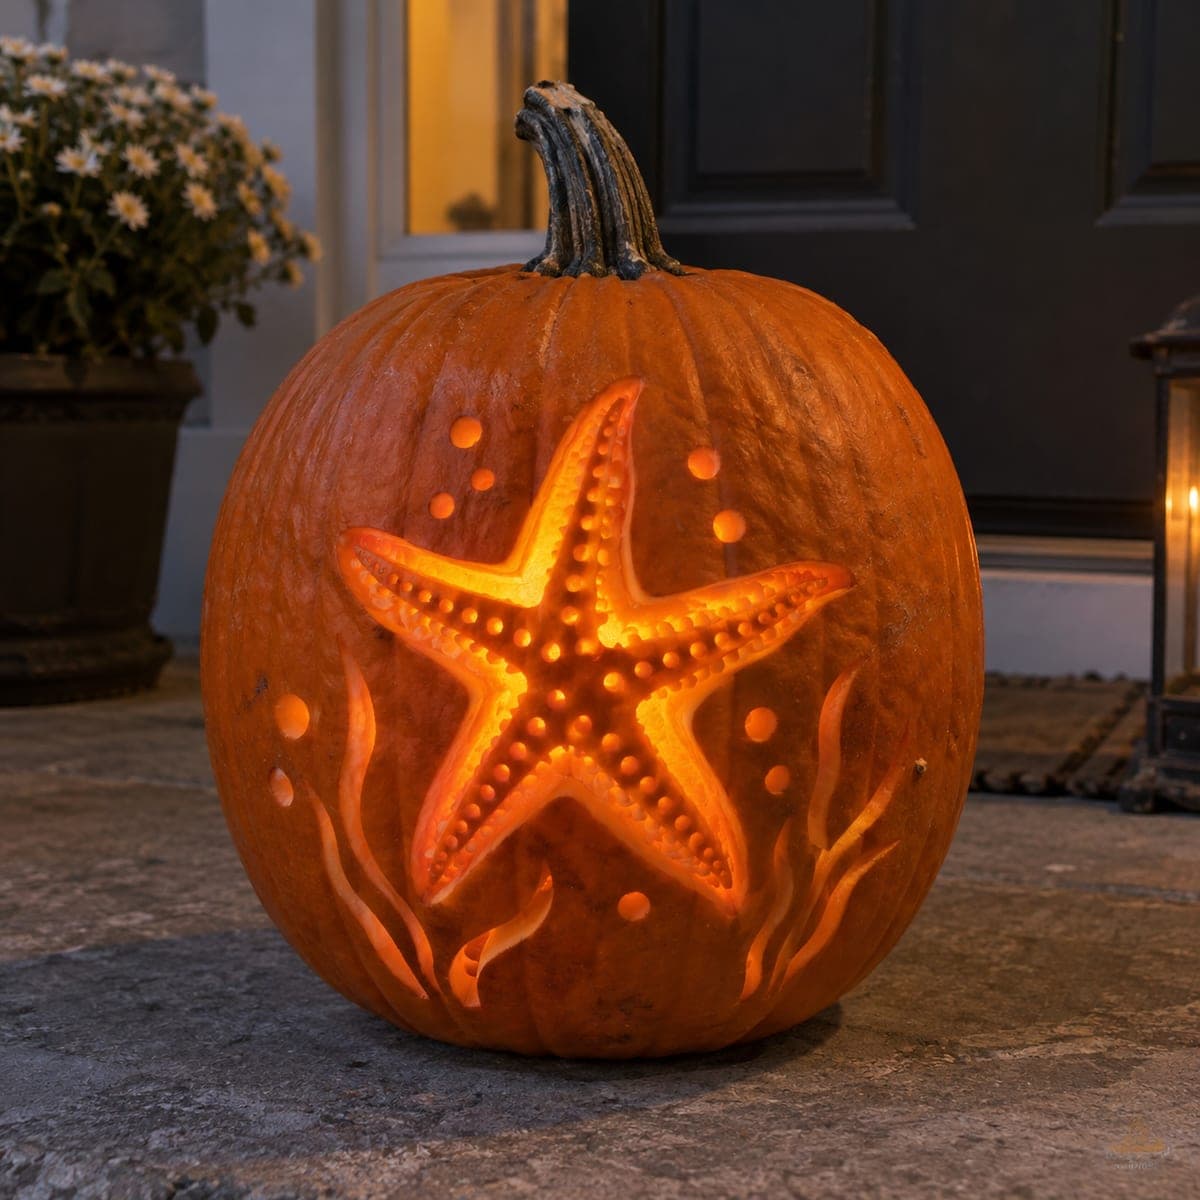 Free PDF
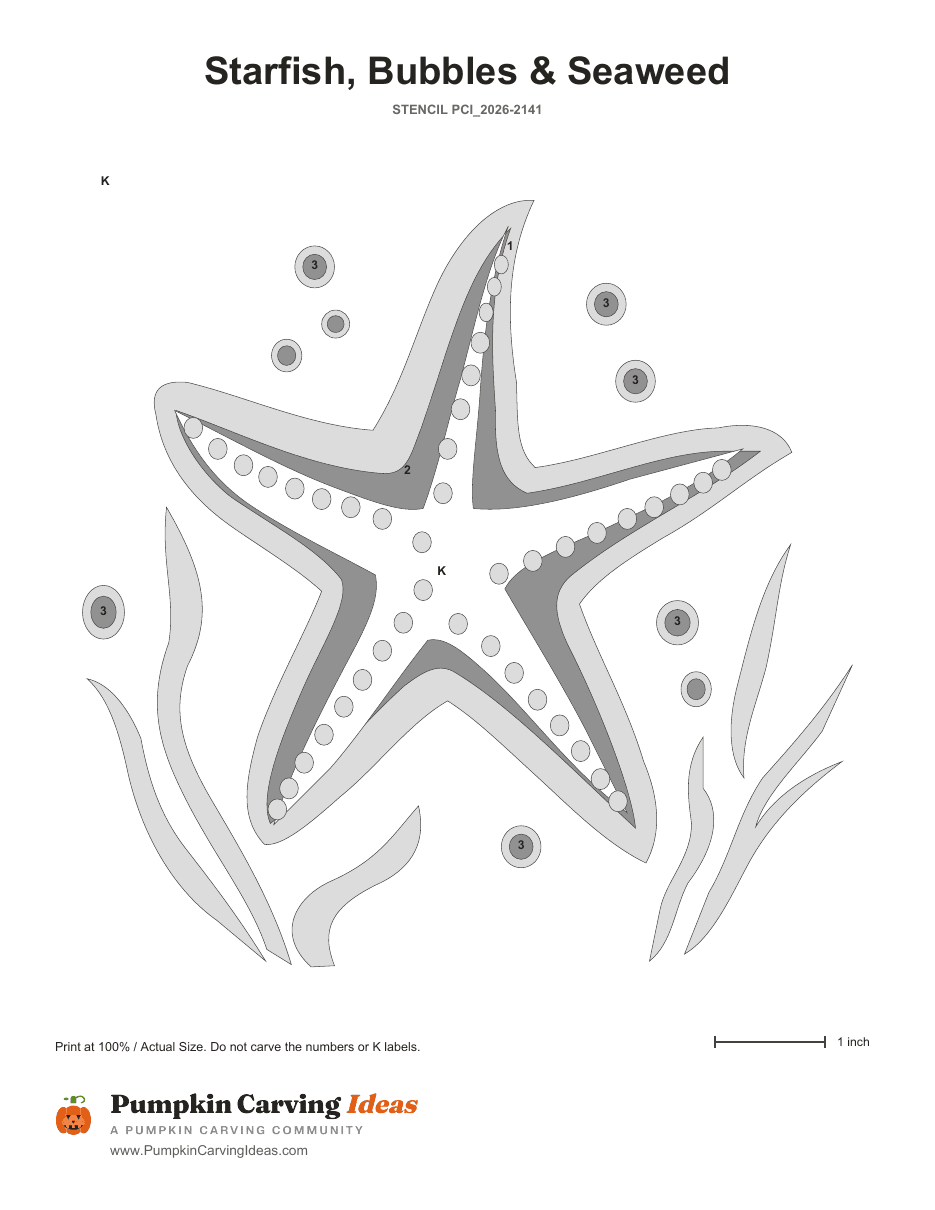
Tidepool Starfish
Mixed technique
View stencil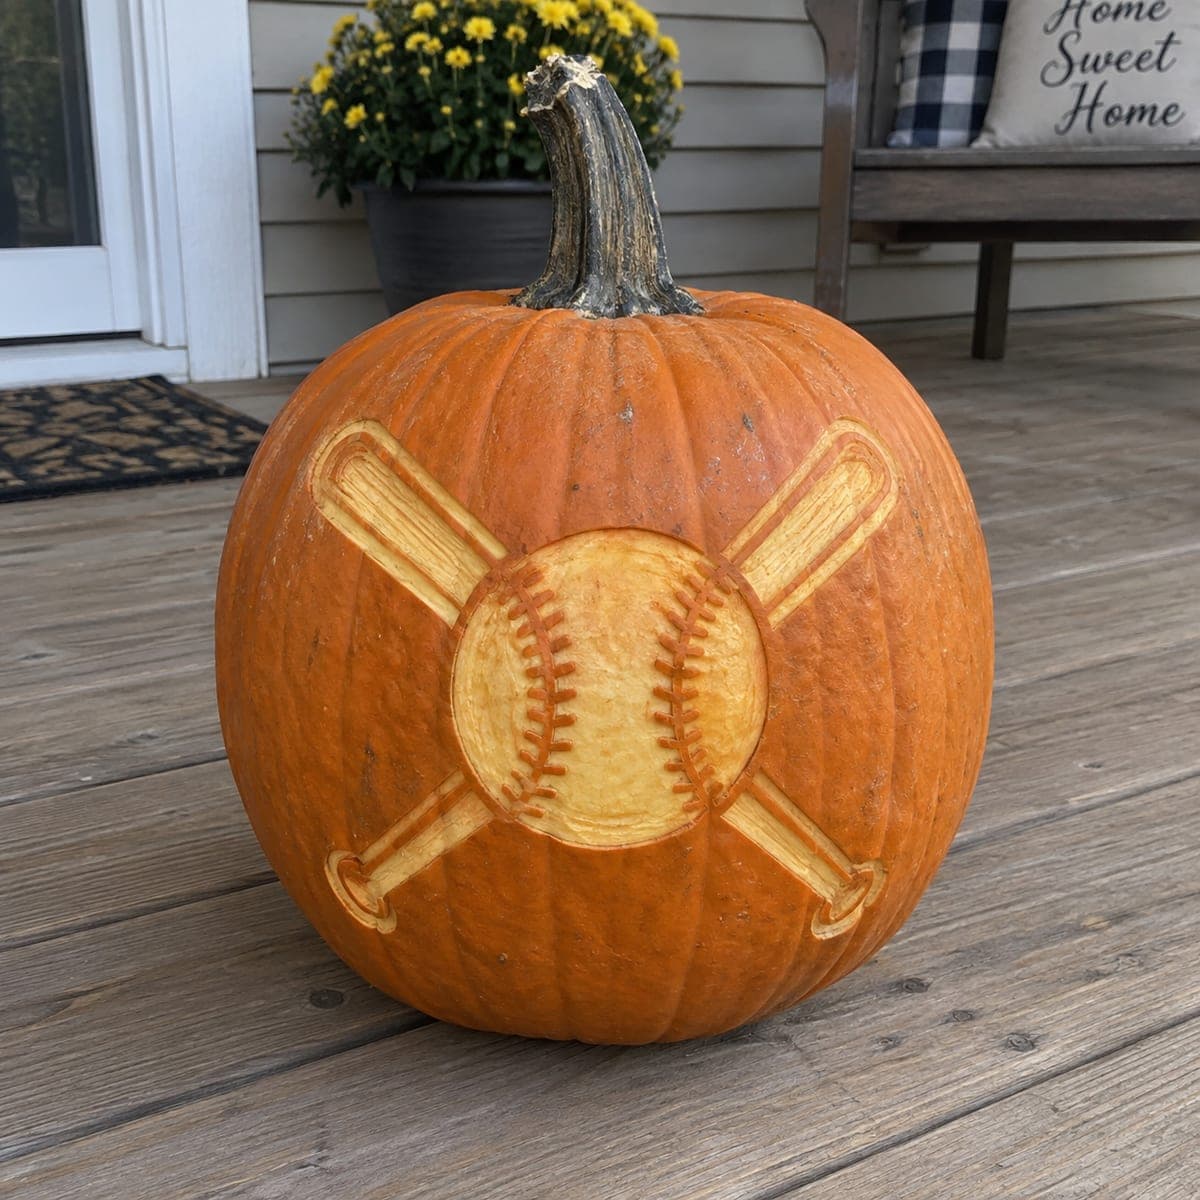 Free PDF
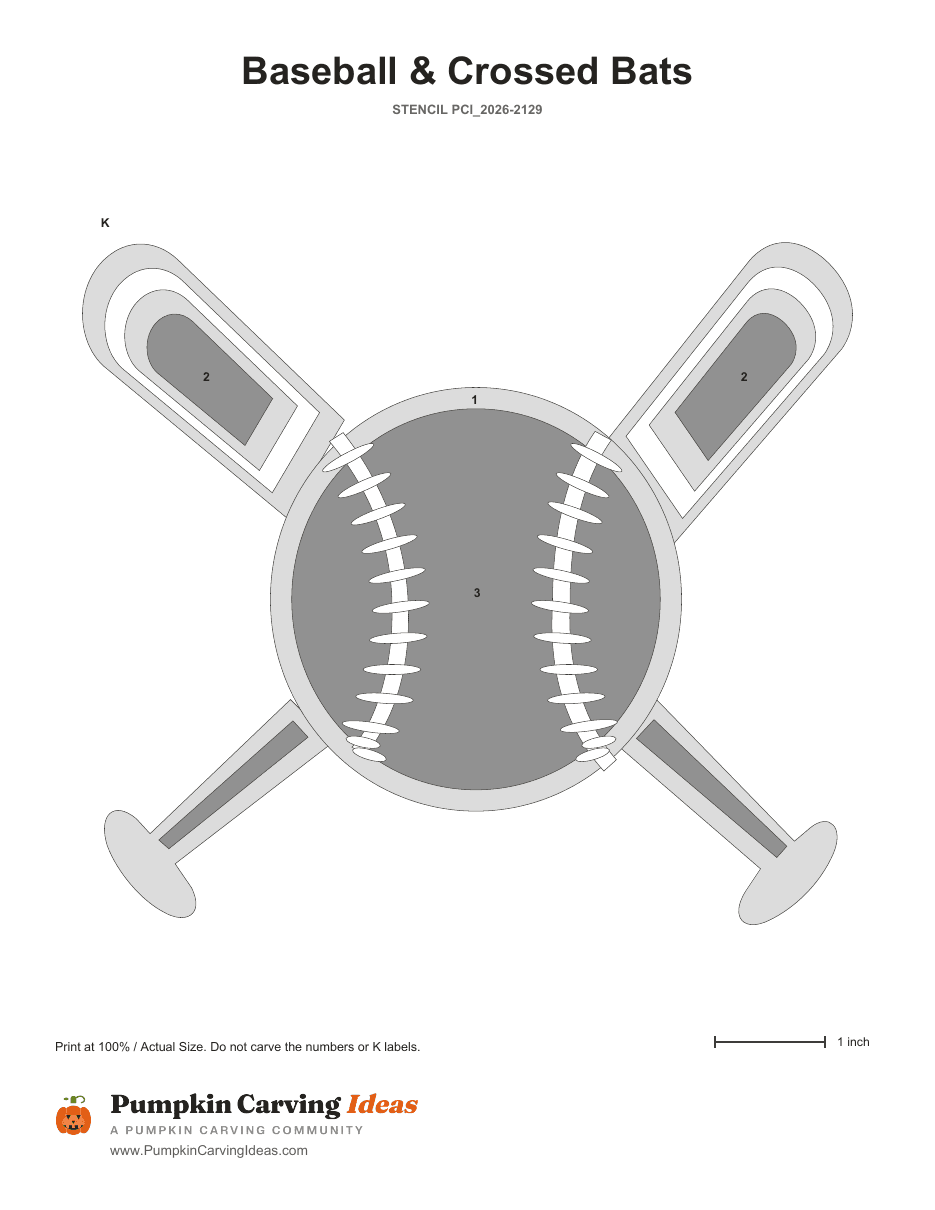
Baseball & Crossed Bats
Mixed technique
View stencilCarving guide
How to carve a hard pumpkin stencil
Hard patterns use two kinds of mark. Solid areas are cut all the way through. Shaded areas are scraped: score the outline with a craft knife, then use a linoleum cutter or clay loop to peel the skin and a little flesh, leaving the wall intact. Scrape first, cut through second, and cut the smallest openings before the large ones. Work with the pumpkin lit from inside so you can judge how much light each scraped area lets through.
Tools
A linoleum cutter set with a few gouge sizes, a sharp craft knife, a fine-tooth saw, a pin transfer wheel, and a clay loop for wide shaded areas. A headlamp helps you see inside the cuts.
Which pumpkin
A large pumpkin, 12 inches or more, with a thick, even wall. Thick walls hold thin bridges without collapsing and give you room to scrape without breaking through.
The results look like illustrations: a wolf with fur texture, a skull with shaded sockets, a portrait with visible expression. Lit up, the shading gives depth that a plain cut-through design cannot match.
Questions
Hard Pumpkin Stencils questions
How long does a hard pumpkin stencil take?+
Two to three hours is typical, sometimes more for designs with a lot of shading. Scraping is slower than cutting, so budget the evening.
What does the grey shading on a hard stencil mean?+
Grey or hatched areas are scraped, not cut. Remove the skin and a thin layer of flesh so light glows through softly. Black areas are cut all the way through.
How do I keep thin bridges from breaking?+
Cut the openings on either side of a bridge last, support the bridge with a finger from inside as you cut, and never push pieces out through a bridge. Toothpicks repair a snapped one.
Do I need a linoleum cutter for hard stencils?+
For the shaded areas, yes, or a clay loop tool. A spoon edge works in a pinch but leaves rough patches that dry unevenly.
How long will a detailed carving last?+
Three to five days at room temperature, longer if you refrigerate it overnight and mist the scraped areas. Thin bridges are the first thing to go soft.