Halloween Pumpkin Carving Contest · Starts October 1st · $500 in prizes
← Back to ideas
@ai_concepts
Sep 6, 2026
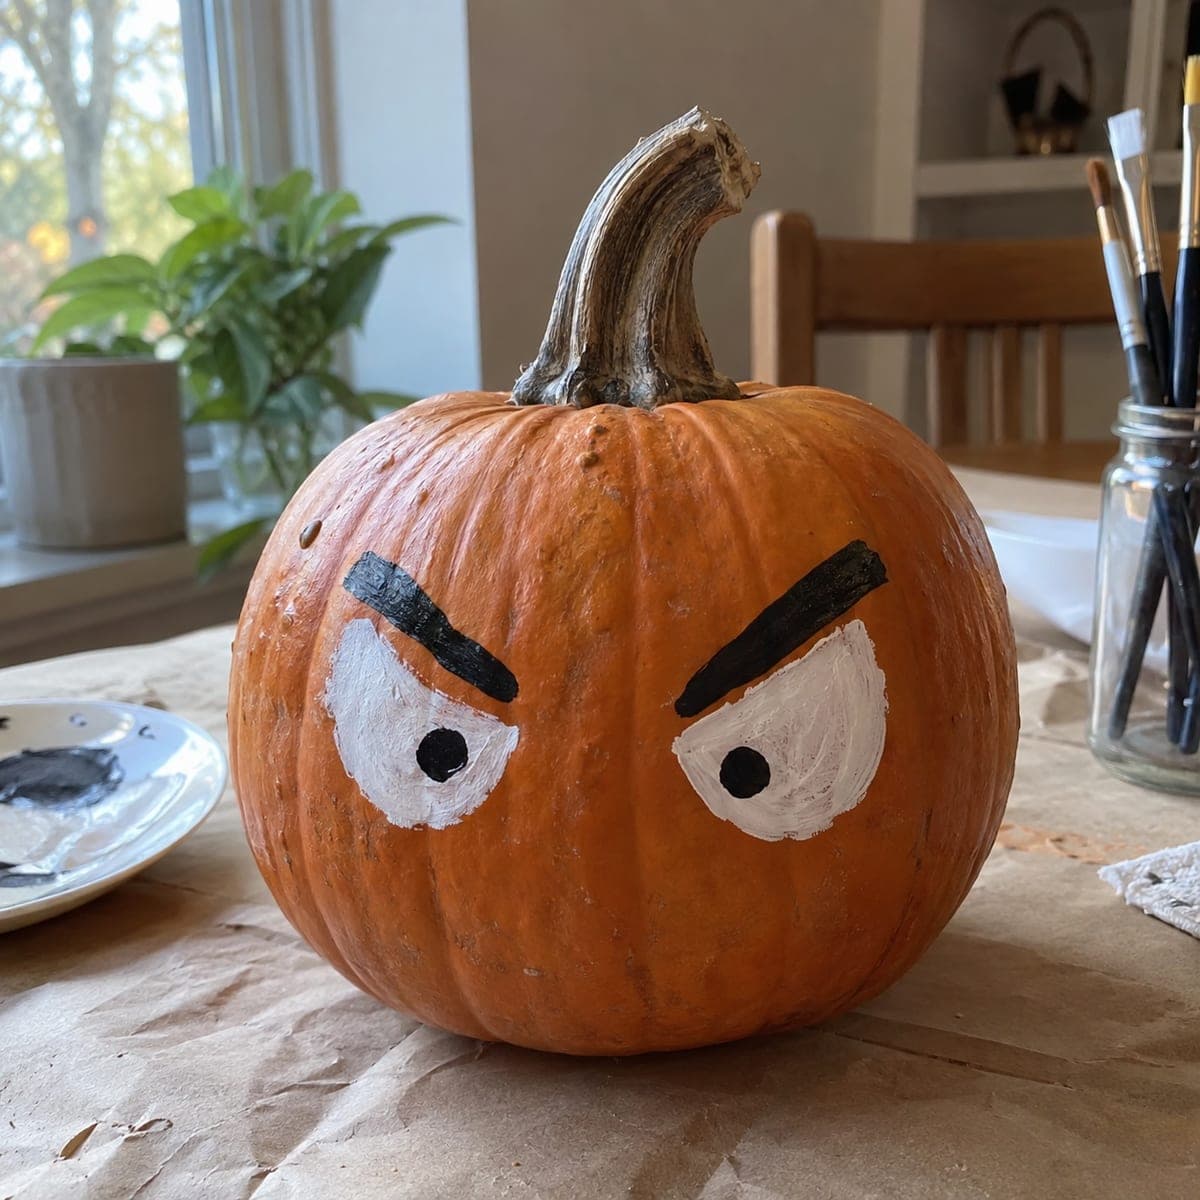
Angry Eyes No-Carve Pumpkin FaceAI
0

Angry Eyes No-Carve Pumpkin Face

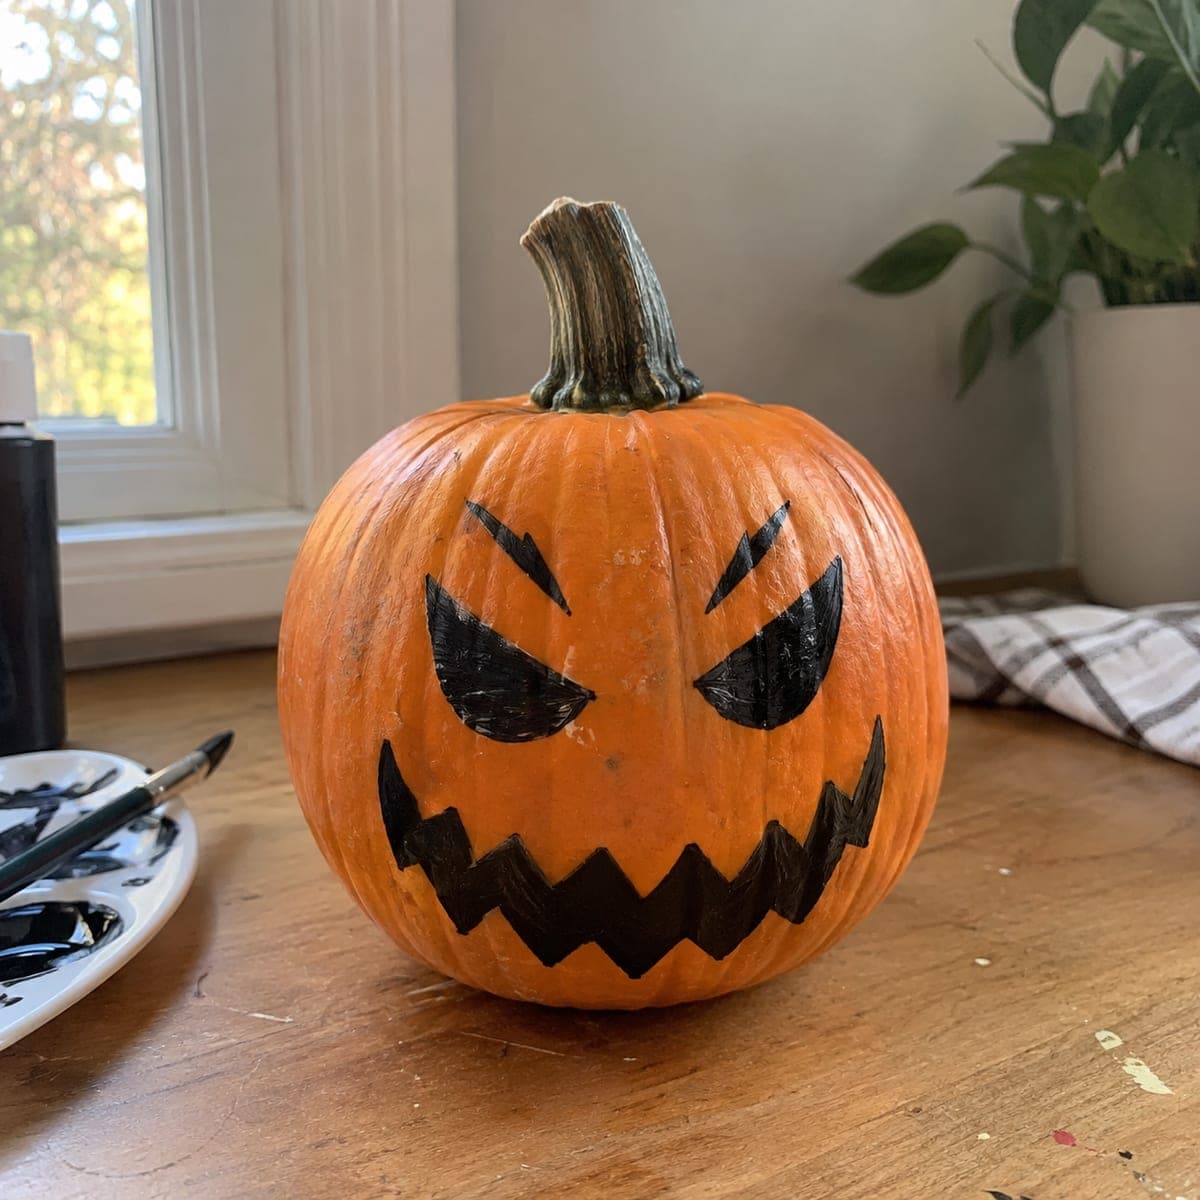
Slashing angular eyes and a wide jagged mouth are brushed on in black for a mean little pumpkin that skips the knife entirely. The trick to the glare is the sharp notch cut into each eye shape, so pencil both eyes first and check they match before painting. A paint marker cleans up the zigzag points, and the finished face holds up indoors for the whole season.

This is an AI-generated concept image: a realistic, carvable design idea rather than a photo of a finished carve. AI concepts are always labeled and sit out the leaderboard and the contest.

No ratings yet · Sign in to rate

Comments (0)

  • No comments yet — be the first.

Save without an account. Sign in to like or comment.

Our tips for carving a similar design

The whole glare comes from one trick, a sharp notch cut into the bottom of each angled eye so the shapes read as narrowed and mean. This is a painted, no-carve design, so the plan is to pencil both eyes and the zigzag mouth first, check they mirror each other, then fill them in with black paint and tidy the points with a paint marker. Because nothing gets cut, the finished pumpkin holds up indoors all season.

Written by PumpkinCarvingIdeas.com, inspired by the image above. These are our suggestions, not instructions from the uploader. This approach to the AI concept has not been tested on a real pumpkin.

From pumpkin to porch

  1. Wipe down and plan the face

    Clean the pumpkin skin with a dry cloth so paint sticks evenly. Pick the flattest, roundest side to face the room. Decide where the eyes and mouth will sit, keeping the eyes above the widest part of the belly so the whole face is easy to see. A slightly tacky or matte surface takes paint better than a shiny one.

  2. Pencil both eyes and check they match

    Lightly sketch two angled, slashing eye shapes that tilt down toward the center for an angry look. Cut a sharp notch into the lower edge of each eye so they look narrowed. Step back and compare the two before you commit, since matched eyes sell the glare and mismatched ones just look lopsided. Adjust with an eraser until they mirror each other.

  3. Sketch the jagged mouth

    Draw a wide mouth low on the face with a zigzag of triangular teeth. Keep the points even in size and let the mouth stretch nearly cheek to cheek for that mean grin. Pencil it fully before any paint touches the pumpkin. Rounding the outer corners slightly keeps the smile from looking flat.

  4. Fill in with black paint

    Use black acrylic craft paint and a medium flat brush to fill the eye shapes and mouth solidly. Work from the center of each shape outward so you do not smear the edges. Let the first coat dry, then add a second coat for a deep, even black. Keep a damp paper towel nearby to fix any drips right away.

  5. Sharpen the edges with a paint marker

    Once the paint is dry, run a black paint marker along every zigzag point and the notched eye corners. The marker gives you crisp lines that a brush cannot, which is what makes the teeth and eye notches look sharp. Take your time on the points, since clean tips are what read as scary. Let everything cure fully before moving the pumpkin.

  6. Style and photograph

    Set the pumpkin on a wood surface or shelf where side light rakes across the face. Because this is a no-carve design, no inner light is needed, so skip candles entirely. If you want a soft glow, tuck a battery LED string beside it rather than inside. Snap your photo in daylight to show off the clean black lines.

Gather your supplies

Check things off as you get ready.

Work on a stable surface, keep your free hand out of the cutting path, and have an adult handle sharp tools.

Three levels of light

  • Leave intact

    The entire orange body stays untouched and matte, giving the face its bright pumpkin backdrop.

  • Peel & shade

    No peeling is needed here, though you could lightly scuff a shiny skin so the paint grips better.

  • Cut through

    Nothing is cut on this version. If you want real light, cutting out the painted eyes and mouth last would turn the glare into a glowing face.

Learn the carving basics

Before you start cutting

Do I need to cut anything for this face?

No, this is a fully painted no-carve design, so the pumpkin stays whole. That makes it a great choice for young helpers and for a pumpkin you want to keep indoors for weeks. If you later decide you want a glow, you can carefully cut out the painted shapes as a separate step.

How do I get both angry eyes to match?

Pencil both eyes completely before you paint, then stand back and compare their angle, size, and notch. It is much easier to erase and redo a pencil line than to fix dried paint. Matched, symmetrical eyes are what make the glare look intentional instead of goofy.

Will the black paint hold up all season?

On a clean, dry pumpkin, two coats of acrylic craft paint sealed by paint marker edges will last for weeks indoors. Keep the pumpkin out of direct sun and away from heat so the skin does not soften. A cool, dry spot indoors is ideal.

Your take belongs here, too.

Changed a detail? Made it simpler? Share a photo of your version and tell the community what worked.

Share your pumpkin

More pumpkins like this

You've reached the end · 8 pumpkins
The Patch Report

Fresh pumpkins, in your inbox.

The best new carvings, ideas worth stealing, and how-tos for carving season. Short, seasonal, and gone by November.

A short email during carving season. Unsubscribe anytime. See our privacy policy.