Halloween Pumpkin Carving Contest · Starts October 1st · $500 in prizes
← Back to ideas
@ai_concepts
Jul 26, 2026
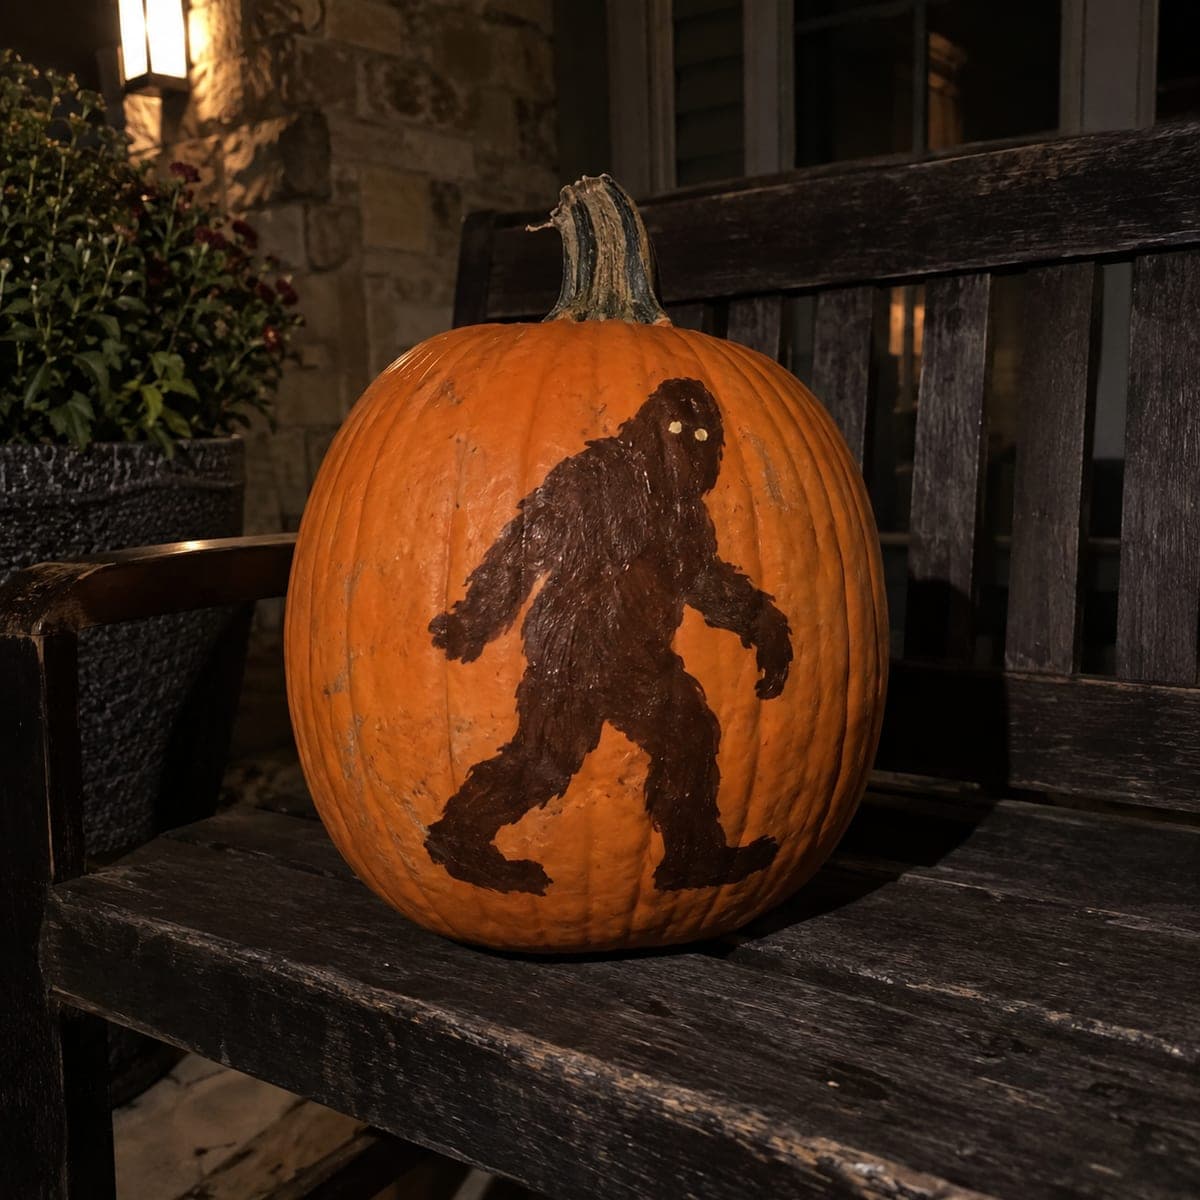
Bigfoot Walking Silhouette Painted PumpkinAI
0

Bigfoot Walking Silhouette Painted Pumpkin

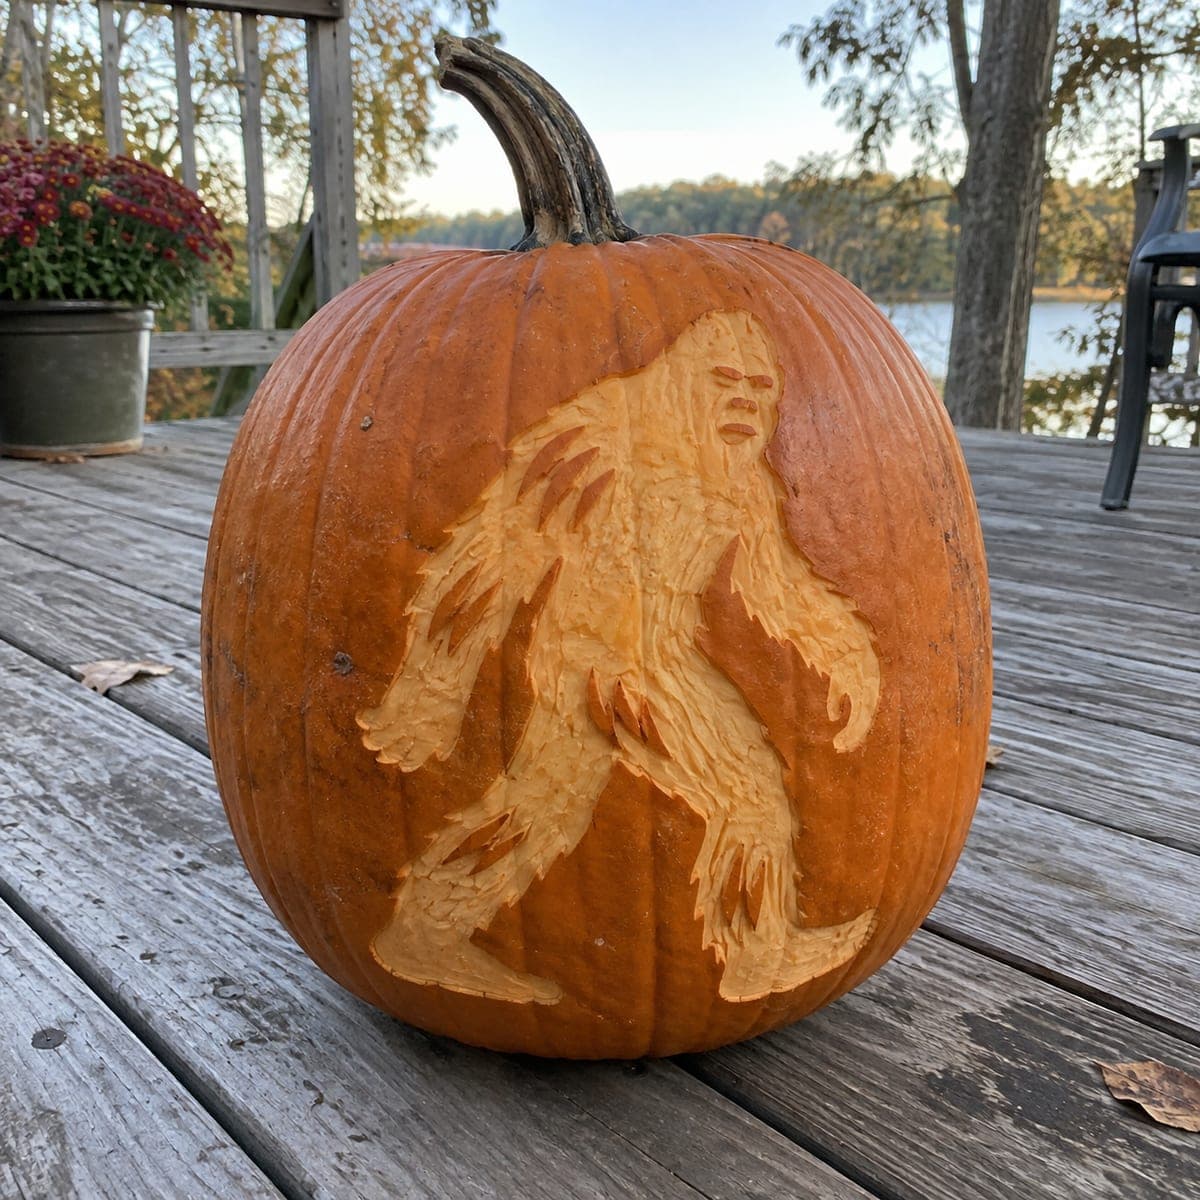
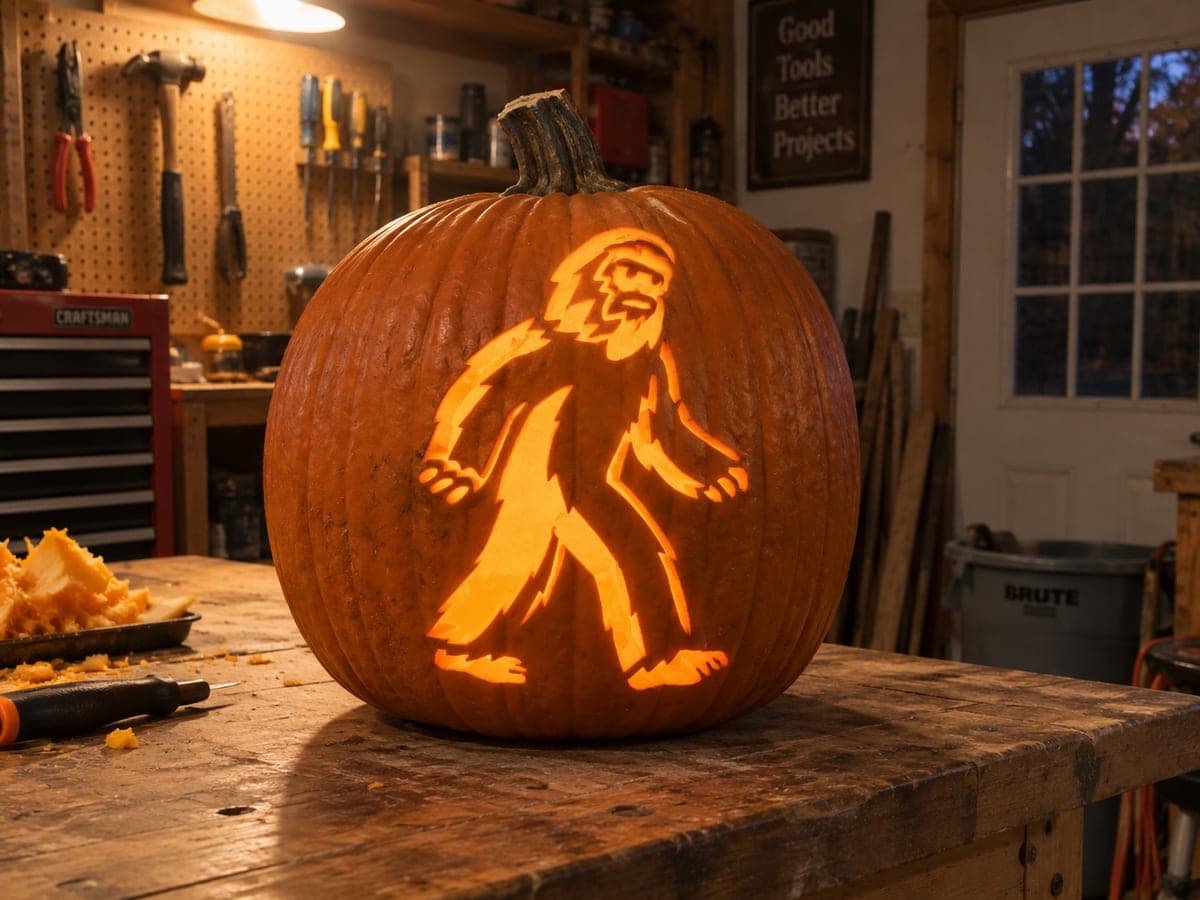
A classic mid-stride Bigfoot silhouette painted in dark brown across a tall orange pumpkin, with two tiny pale eyes peeking out of the shadowy figure. This no-carve pumpkin idea only needs acrylic paint and a printed sasquatch outline you trace with chalk before filling in. Keep the edges slightly rough so the fur reads from the sidewalk, and set it on a porch bench where a lantern can rake light across it after dark.

This is an AI-generated concept image: a realistic, carvable design idea rather than a photo of a finished carve. AI concepts are always labeled and sit out the leaderboard and the contest.

No ratings yet · Sign in to rate
Comments (0)

  • No comments yet — be the first.

Save without an account. Sign in to like or comment.

Our tips for carving a similar design

The core trick here is a solid dark silhouette that reads clearly from a distance, so almost all the work is painting rather than carving. You trace a walking Bigfoot outline in chalk, fill it with dark brown acrylic, and leave the edges slightly ragged so they suggest fur. Two tiny pale eyes are the only detail that catches the light, which keeps the figure mysterious.

Written by PumpkinCarvingIdeas.com, inspired by the image above. These are our suggestions, not instructions from the uploader. This approach to the AI concept has not been tested on a real pumpkin.

From pumpkin to porch

  1. Pick and clean your pumpkin

    Choose a tall, smooth pumpkin with an even orange face and a flat spot on the back so it sits still on a bench. Wipe the whole surface with a damp cloth and let it dry fully, since acrylic grips much better on clean, dry skin. A slightly ribbed pumpkin is fine, but a smoother panel makes the silhouette read cleaner. Leave the stem on for character.

  2. Trace the outline in chalk

    Print a mid-stride Bigfoot silhouette sized to fill most of the pumpkin's front. Tape it in place, then trace the edges by poking through with a pin or by rubbing chalk along the lines so it transfers. Redraw any faint spots freehand with a chalk pencil. Chalk wipes off easily, so take your time getting the walking pose centered before you commit to paint.

  3. Block in the dark body

    Fill the outline with dark brown acrylic using a medium flat brush, working from the center outward. Keep your strokes flowing in the direction the fur would hang, mostly downward along the legs and arms. Let this first coat dry, then add a second coat for a deep, even shadow that hides the orange underneath.

  4. Rough the fur edges

    Switch to a small, slightly dry brush and flick short strokes outward along the whole silhouette edge so the outline breaks up into shaggy fur. Dab a little lighter brown here and there on the shoulders and back to hint at texture without losing the dark shape. Keep the interior mostly solid so the figure still reads as one bold mass from the sidewalk. Step back often to check the silhouette from a few feet away.

  5. Add the pale eyes

    Once the body is dry, dot two tiny eyes high on the head with off-white or pale yellow acrylic. Keep them small and close together so they feel like they are peering out of the shadow. If you want them to glow, this is the one spot you could carefully poke through the shell with a small drill bit and back it with a bit of light. Let everything cure a few hours before moving the pumpkin.

  6. Stage and photograph it

    Set the finished pumpkin on a porch bench where a lantern or LED sits off to one side. Raking the light across the face brings out the fur texture and deepens the silhouette. Snap your photo after dark with the side light on, and skip open flame near a painted pumpkin. A dab of clear matte sealer helps the paint survive a chilly, damp porch.

Gather your supplies

Check things off as you get ready.

Work on a stable surface, keep your free hand out of the cutting path, and have an adult handle sharp tools.

Three levels of light

  • Leave intact

    The full orange face around the figure stays untouched as the bright background

  • Peel & shade

    Lightly scuff and thin-paint the outer fur edges so a hint of orange bleeds through for a softer shaggy border

  • Cut through

    Only the two tiny eyes, optionally poked through and backed with an LED, for a small bright glint

Learn the carving basics

Before you start cutting

Do I really not need to carve anything?

Correct, this is a paint-first design and the body is entirely acrylic on the surface. The only optional cut is two pinhole eyes if you want them to glow. Skipping cuts means the pumpkin lasts longer and there is no scooping mess.

What kind of paint holds up on a porch?

Standard craft acrylic works well and dries fast, and two coats give the deep brown you need. A quick coat of clear matte sealer over the top helps it shrug off dew and light rain. Avoid watercolor or tempera, which streak and rewet in damp air.

How do I keep the silhouette from looking flat?

Break up the edges with short outward fur strokes instead of a clean hard line, since a ragged border reads as fur from a distance. Add a few lighter brown highlights on the shoulders and back for subtle depth. Side lighting at night does the rest by casting real shadows across the texture.

Your take belongs here, too.

Changed a detail? Made it simpler? Share a photo of your version and tell the community what worked.

Share your pumpkin

More pumpkins like this

You've reached the end · 8 pumpkins
The Patch Report

Fresh pumpkins, in your inbox.

The best new carvings, ideas worth stealing, and how-tos for carving season. Short, seasonal, and gone by November.

A short email during carving season. Unsubscribe anytime. See our privacy policy.