@stemandseed
Sep 5, 2026
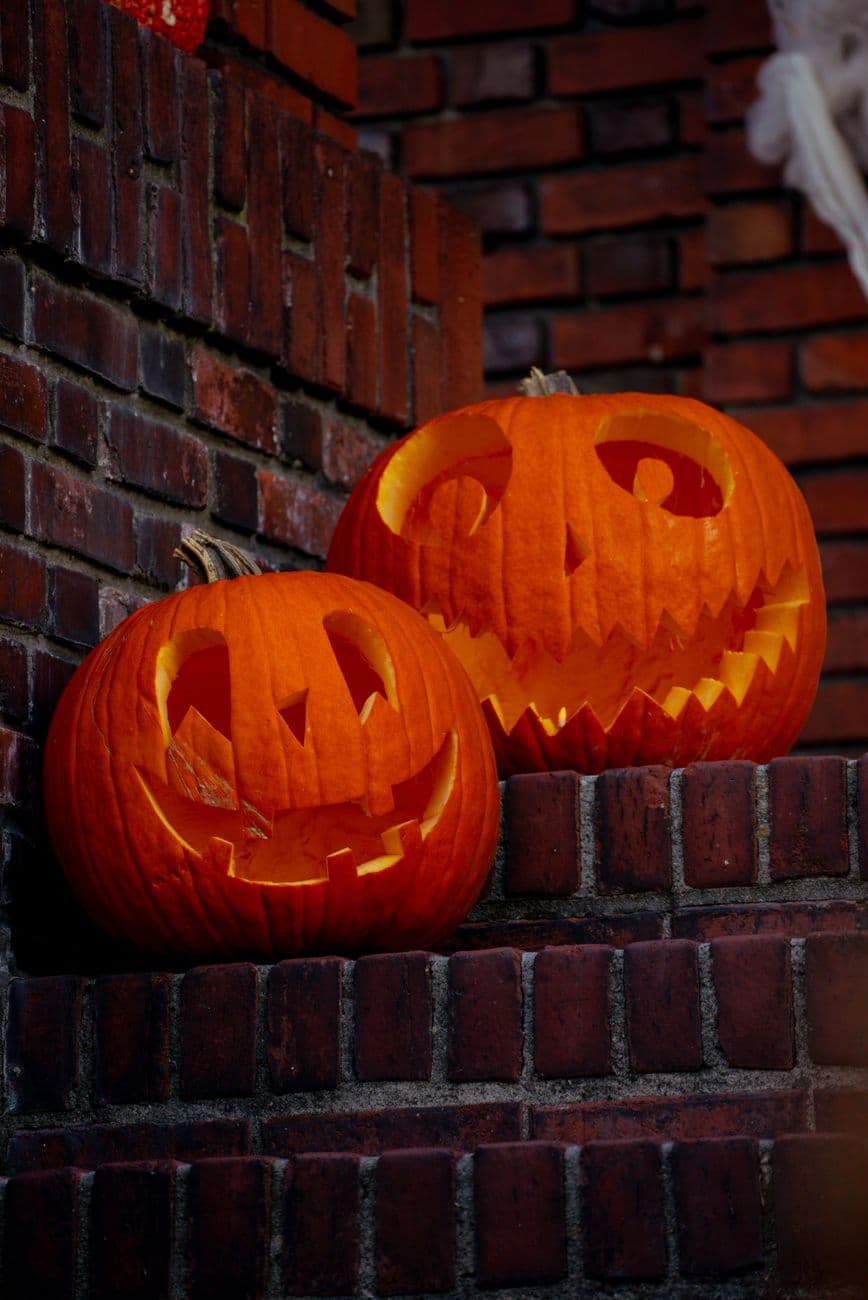
Brick step brothers
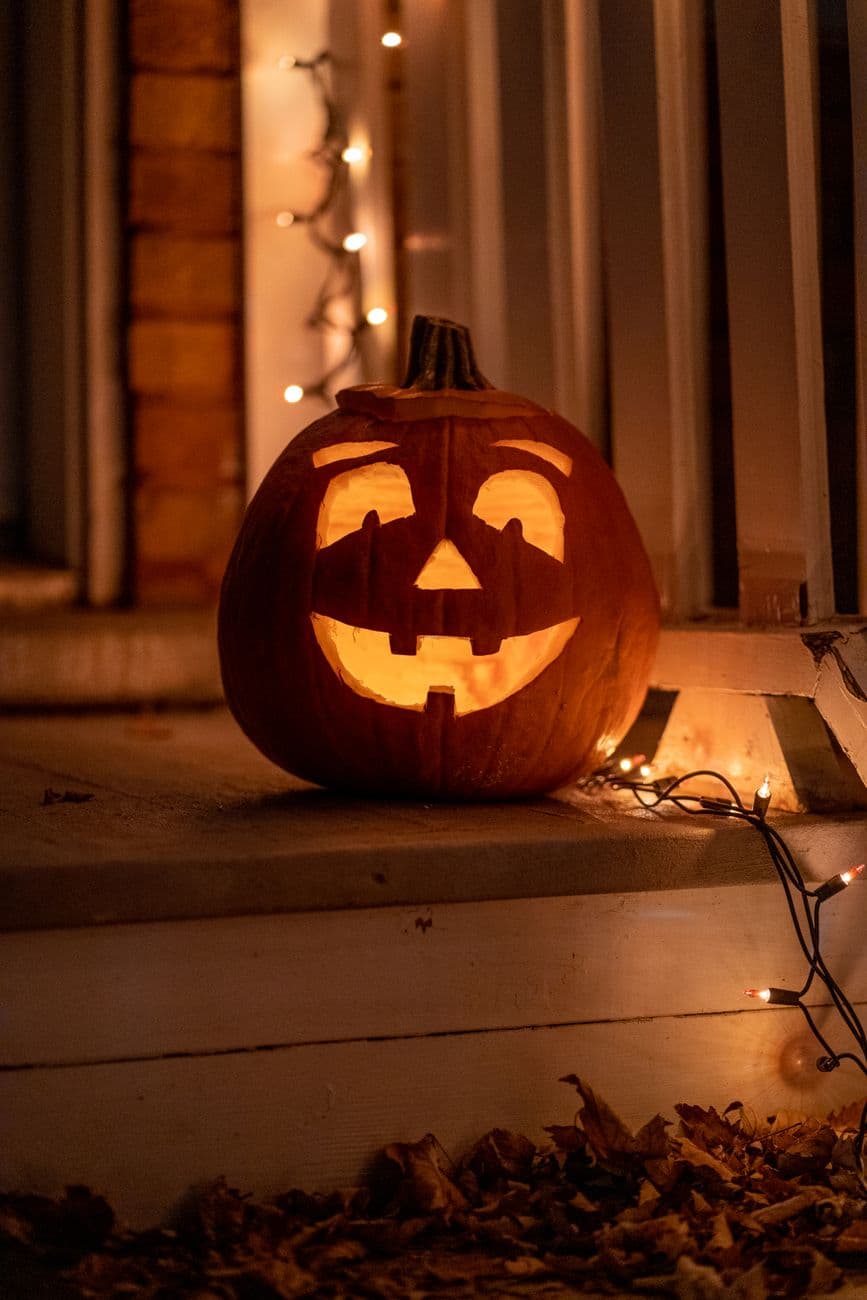
Two curly-eyed jacks with jagged bites working the brick steps, the big one grinning over the little one’s shoulder.
No ratings yet · Sign in to rate
Two curly-eyed jacks with jagged bites working the brick steps, the big one grinning over the little one’s shoulder.
The core trick here is contrast between two personalities carved in the same classic style, a big toothy grin and a smaller happy face, both with curled eyes and jagged bite lines. Plan to carve each pumpkin separately with clean full cutouts, saving the wide mouths for last so the walls stay strong. Keep the sawtooth edges even and let the two sit close so they read as a matched pair.
Written by PumpkinCarvingIdeas.com, inspired by @stemandseed's photo above. These are our suggestions, not instructions from the uploader, and this approach hasn't been tested on their exact carve.
Choose one larger pumpkin and one smaller one so they nest together like siblings on a step. Wipe both clean and check that each has a flat enough base to sit steady without rolling. Decide which face gets the big open grin and which gets the softer smile. Keeping the shapes simple and classic makes the pair feel intentional rather than random.
Cut a lid from the top of each pumpkin with the knife angled inward so the cap does not fall through. Scoop out all the seeds and pulp, then scrape the front wall where the face goes down to about one inch thick. A thinner wall is much easier to cut cleanly and lets more light through. Do the messy hollowing for both pumpkins before you start any carving.
Tape a stencil to each pumpkin, or draw the features freehand with a washable marker. Give each pumpkin curled comma eyes, a small triangle nose, and a wide mouth. Mark the mouth edges as a row of jagged triangle teeth on both jaws so the bite looks toothy. Step back and compare the two faces so their expressions feel like a matched set.
Start with the smallest shapes, the curled eyes and the triangle noses, using a small serrated carving saw. Let the saw do the work with gentle back and forth strokes and keep your free hand clear of the blade. Push the cut pieces out from the inside with your thumb so the edges stay crisp. Adults should handle all the sharp tools while kids help scoop and hold the light.
Cut each mouth last because it is the biggest opening and weakens the pumpkin wall. Work tooth by tooth, cutting the top zigzag first and the bottom zigzag second so you never remove too much at once. Keep the triangle points even in size for that classic jack o lantern grin. Take your time on the little points so they do not snap off.
Drop a battery LED tea light or a small puck light inside each pumpkin and skip real candles. Set the pair close together on a step with the big one just behind the little one so it grins over its shoulder. Snap your photo after dark when the warm glow pours through the mouths. If a tooth looks weak, dab petroleum jelly on the cut edges to slow drying.
Check things off as you get ready.
Work on a stable surface, keep your free hand out of the cutting path, and have an adult handle sharp tools.
The outer orange skin across both pumpkins stays untouched and dark for the body of each face.
Shallow scraping around the eye and mouth edges can give a soft dim halo if you want extra depth.
The curled eyes, triangle noses, and jagged mouths are cut fully through for the brightest glow.
Cut the teeth into a wall thinned to about one inch and keep each triangle point a bit chunky rather than needle thin. Work slowly with a serrated saw and push pieces out from the inside. If a point does dry and weaken, coat the cut edges with petroleum jelly to hold moisture.
No, and they look better a little different. Give both the same classic curled eyes and jagged grin so they read as a pair, but let one be a wide toothy face and the other a softer smile. That small contrast is what makes them feel like brothers.
The mouths are the largest openings, so cutting them removes the most support from the pumpkin wall. If you carve them first, the face can sag or crack while you work on the eyes and nose. Finishing with the mouth keeps the pumpkin firm until the very end.
Changed a detail? Made it simpler? Share a photo of your version and tell the community what worked.
The best new carvings, ideas worth stealing, and how-tos for carving season. Short, seasonal, and gone by November.



Comments (0)