@midnightcarver
Aug 29, 2026

Porch pair on the brick steps
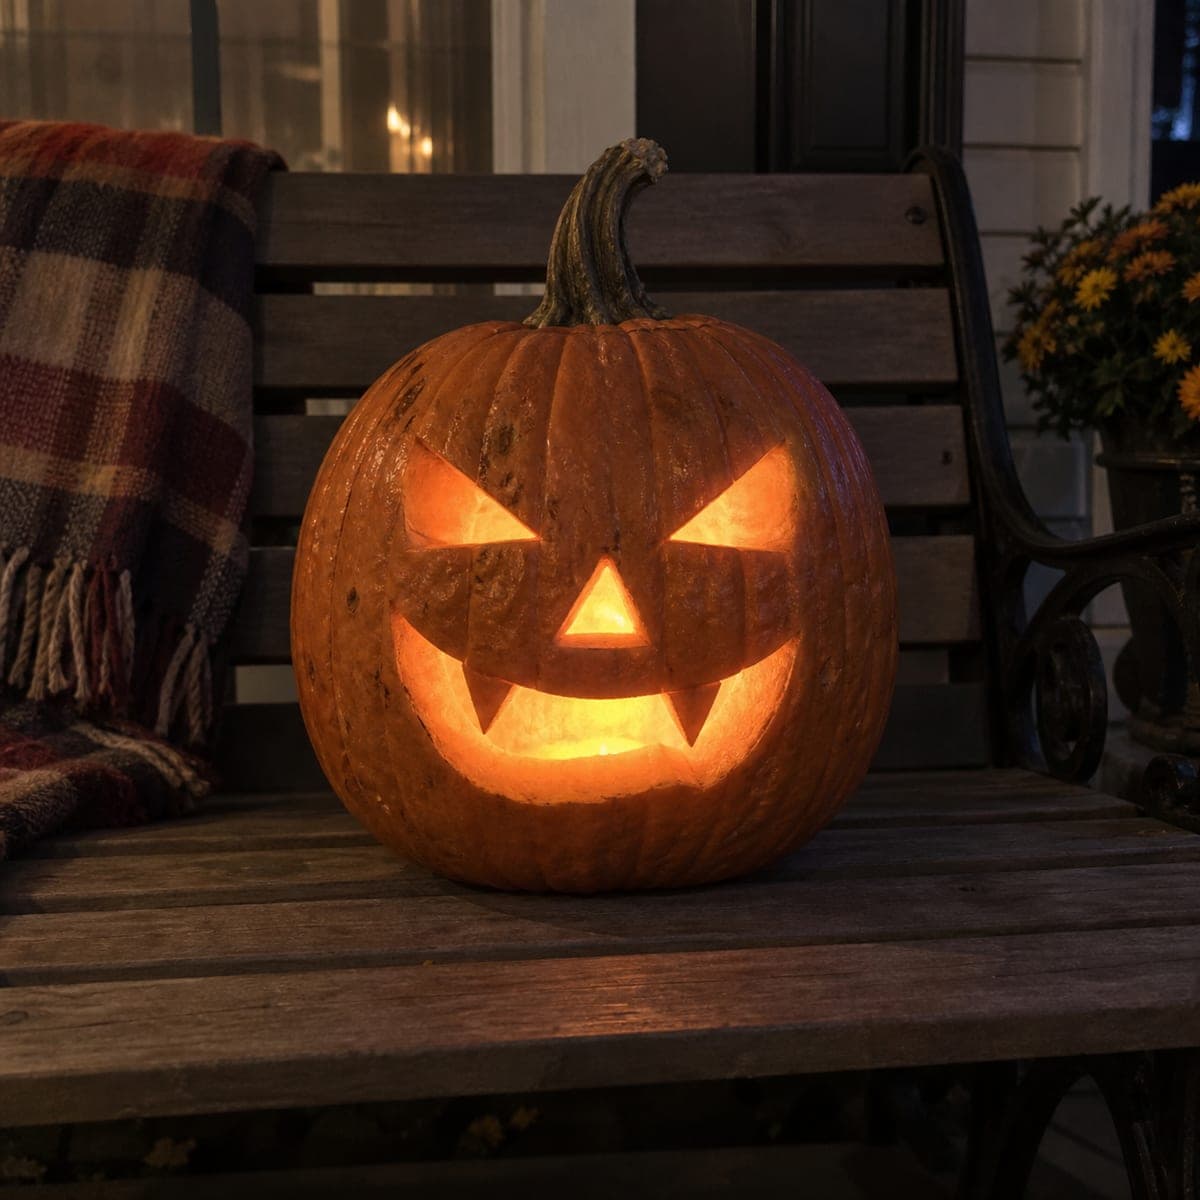
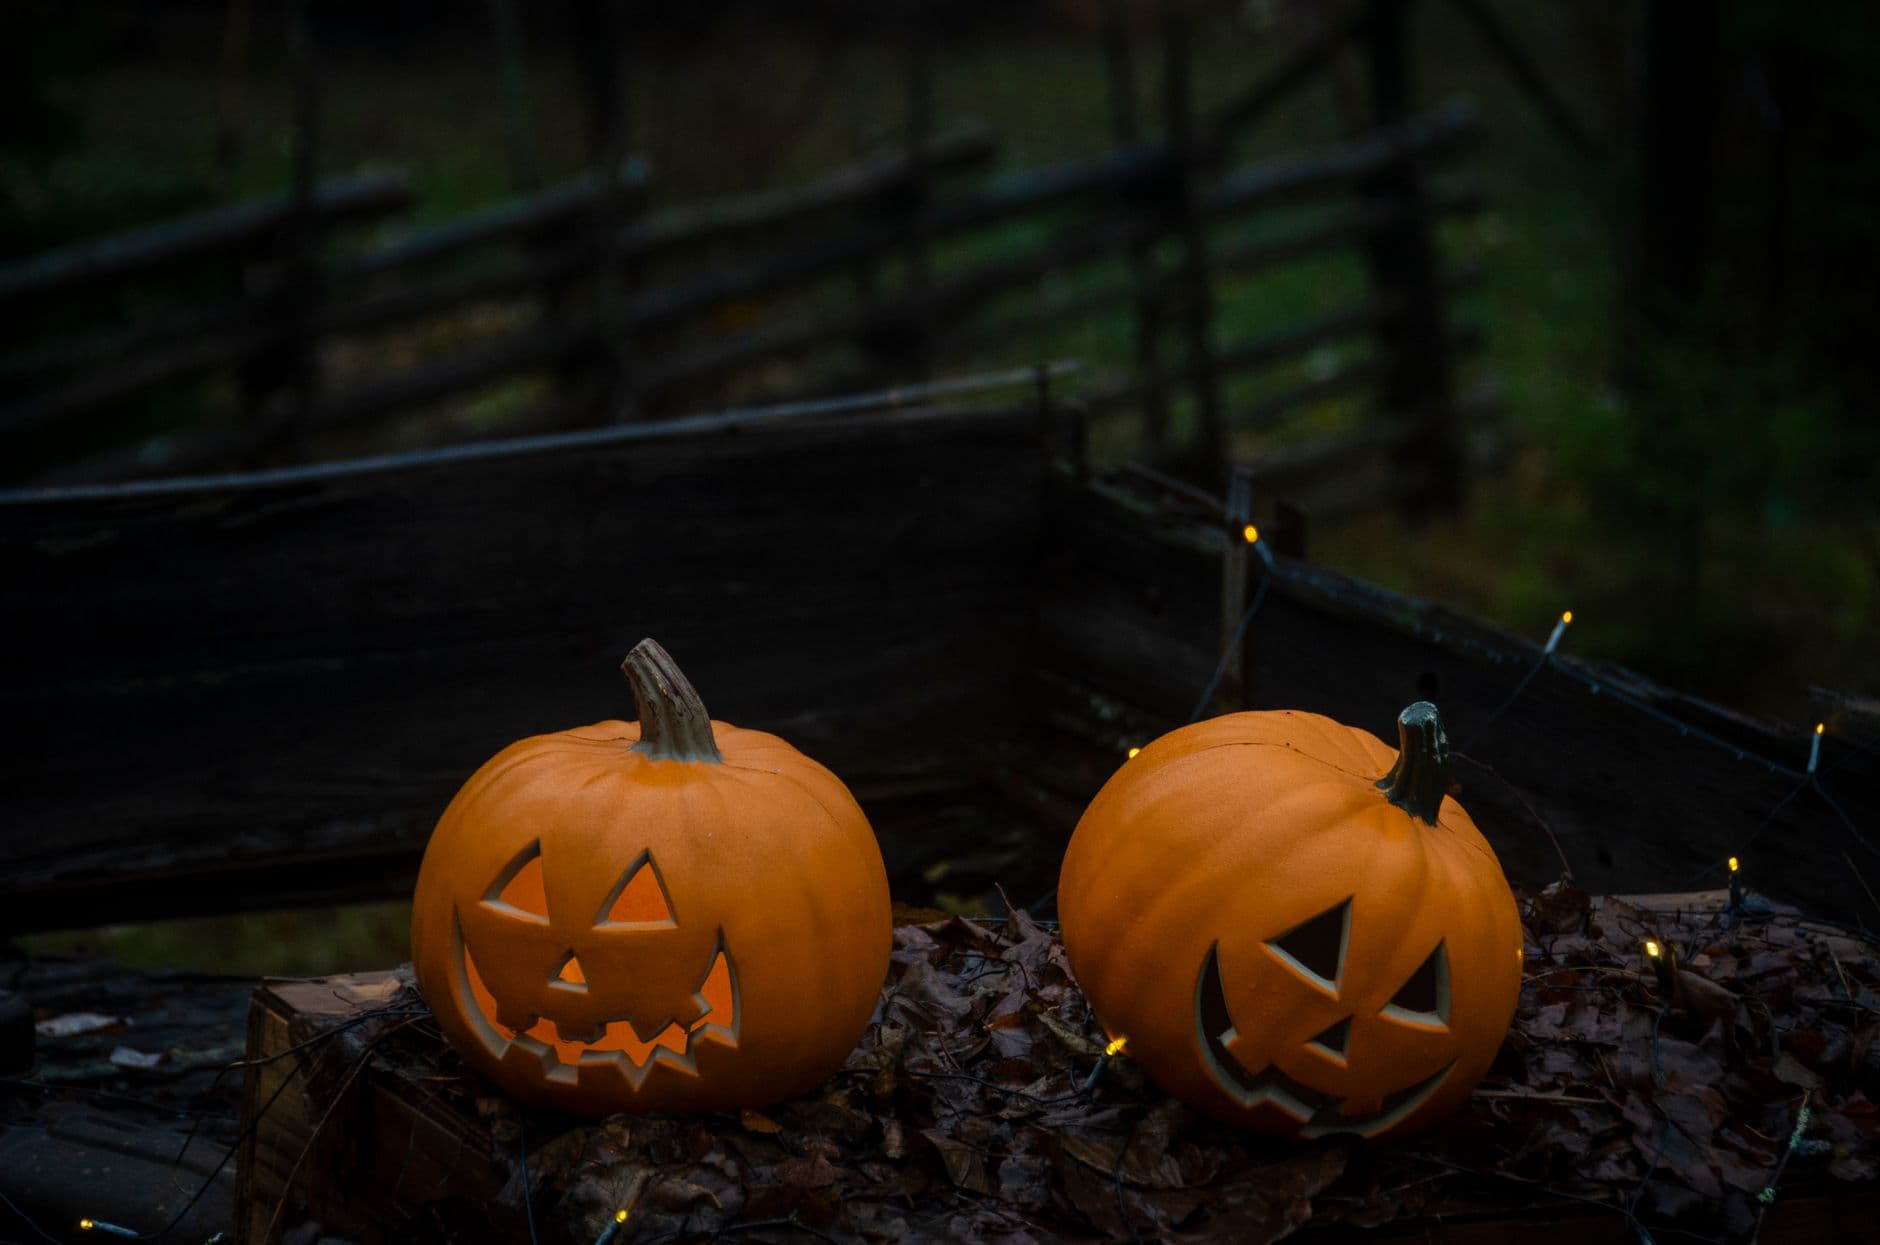
Two jack-o'-lanterns sharing the front steps: a sharp-toothed classic grin up front and a mischievous curly-browed face keeping watch behind.
No ratings yet · Sign in to rate
Two jack-o'-lanterns sharing the front steps: a sharp-toothed classic grin up front and a mischievous curly-browed face keeping watch behind.
The whole charm here comes from two simple cutout faces working as a set, one bold triangle-eyed grin in front and a slyer curved-brow face behind. Both rely on clean full cutouts rather than shading, so the plan is to pick pumpkins of different sizes, keep the shapes big and geometric, and stage them at two heights. Carve the front pumpkin as the star and let the taller one peek over its shoulder.
Written by PumpkinCarvingIdeas.com, inspired by @midnightcarver's photo above. These are our suggestions, not instructions from the uploader, and this approach hasn't been tested on their exact carve.
Choose one larger, rounder pumpkin for the front grin and a slightly smaller one for the mischievous watcher behind. Set them where they will live so you can judge how the faces angle toward viewers. Wipe both clean and dry the surface. A size difference and a step or riser between them sells the pair effect.
Cut a lid on each pumpkin with the knife angled inward so the lid does not fall through later. Scoop out the seeds and pulp, then thin the front wall you plan to carve to about one inch. A thinner wall makes cutting cleaner and lets more light through. Save some flesh for taste testing seeds if you like to roast them.
Print or draw a classic face for the front pumpkin: triangle eyes, a small triangle nose, and a wide mouth with pointed teeth. For the back pumpkin, use narrow angled eyes and curved brows for the sly look. Tape each pattern on and poke the outlines with a pin or a poker tool. Space the mouth teeth evenly so no single tooth is too thin.
Start with the eyes, brows, and nose on each pumpkin using a small serrated saw tool. Work slowly and let the blade do the sawing rather than forcing it. Push each cut piece out from the inside with a fingertip. Doing the little shapes before the big mouth keeps the pumpkin wall sturdy while you work.
Save the big grin for the end since it removes the most material. On the front pumpkin, leave a little width between each triangular tooth so they stay strong and do not crumble. Cut the back pumpkin's mouth the same careful way. Trim any ragged edges from the inside for a cleaner glow.
Drop a battery LED light or tea light into each pumpkin, never a real flame. Place the front grinner lower and the mischievous face a step up and slightly behind so both faces read at once. Angle them toward where people will stand. Shoot in the dark so the warm cutouts pop against the brick.
Check things off as you get ready.
Work on a stable surface, keep your free hand out of the cutting path, and have an adult handle sharp tools.
The full orange skin around each face and both stems stay dark for contrast.
Optional: lightly scrape the inner edge of the teeth or brows for a soft glow rim.
The triangle eyes, noses, curved brows, and wide toothy mouths are full cutouts that shine brightest.
Leave a bit of width between each triangular tooth rather than cutting them razor thin. Cut the mouth last, after the eyes and nose, so the wall stays firm while you work. Push each piece out gently from inside instead of yanking from the front.
No, and the contrast is what makes this pair fun. Give the front pumpkin a bold classic grin and the back one narrower eyes with curved brows for a sly look. Keeping them different lets each face have its own personality.
Set the smaller mischievous pumpkin a step higher and slightly behind the front grinner so it peeks over. Angle both faces toward where visitors will approach. This staging is the trick that turns two carvings into one display.
Changed a detail? Made it simpler? Share a photo of your version and tell the community what worked.
The best new carvings, ideas worth stealing, and how-tos for carving season. Short, seasonal, and gone by November.




Comments (0)