@flickerwick
Sep 7, 2026
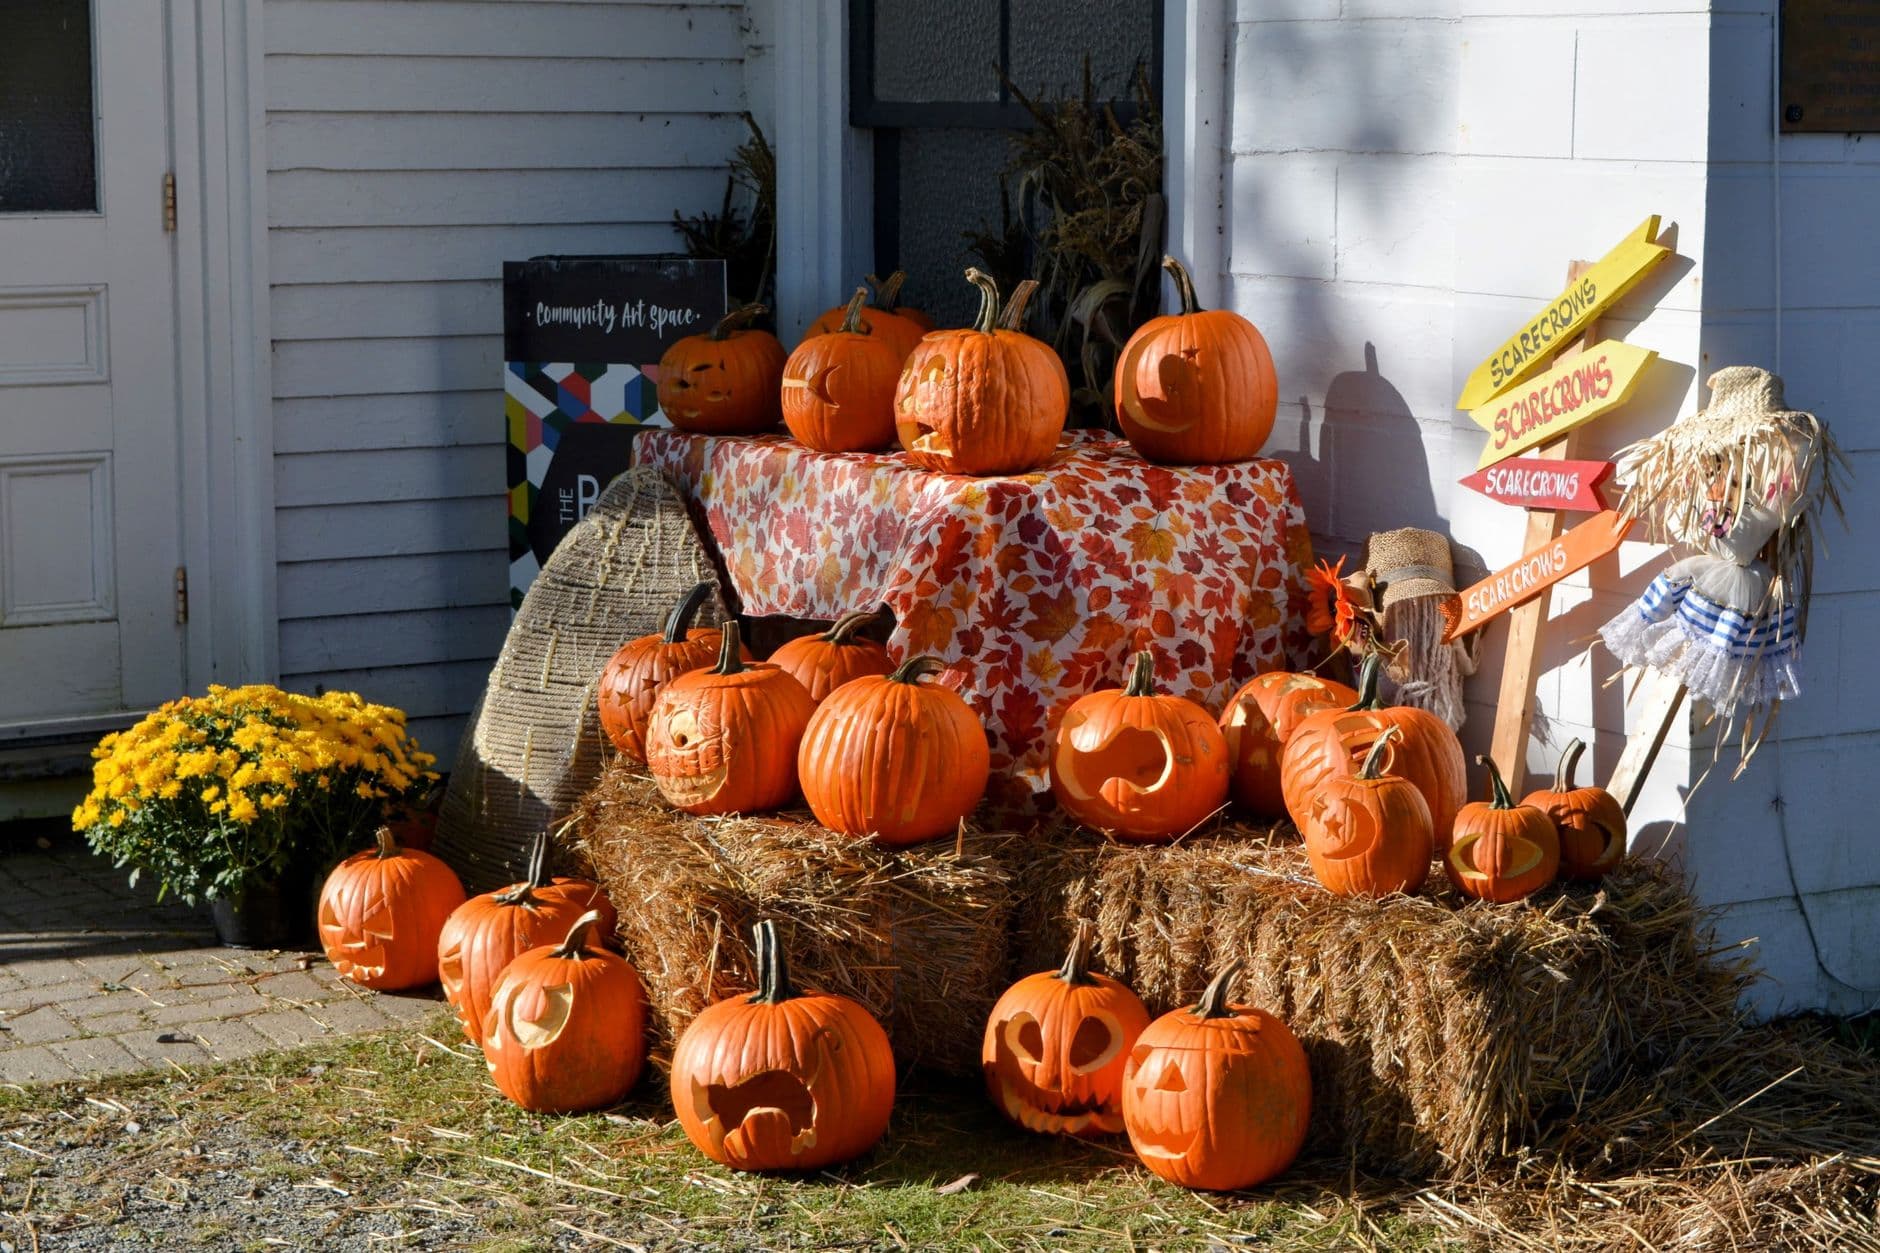
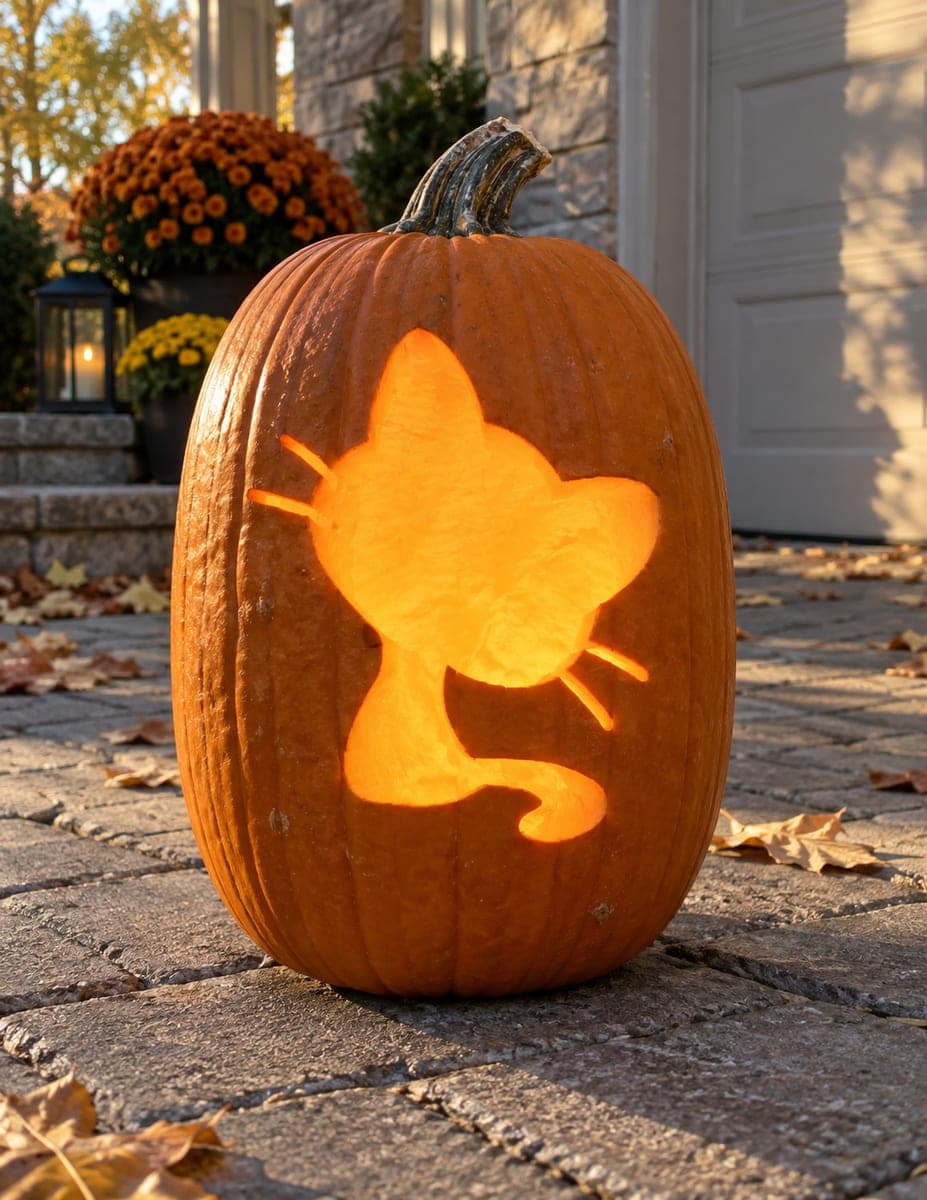
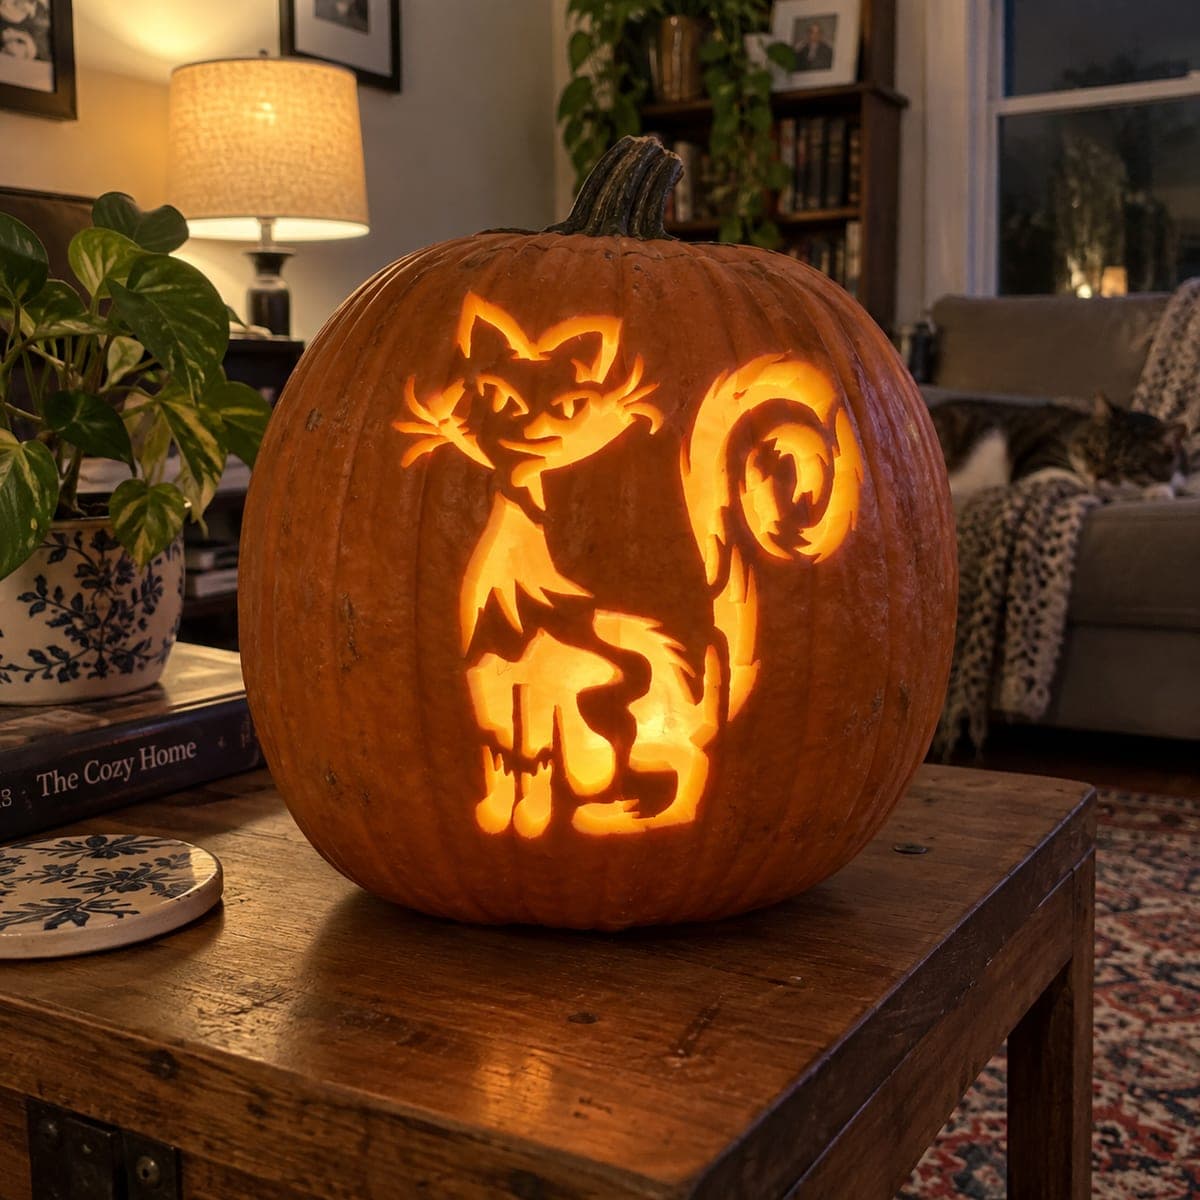
The whole effect rests on one clean silhouette: a cat curled up in a nap pose, cut fully through so light pours out around the shape. Keep the body as one connected opening and let the pumpkin skin around it stay dark, so the cat reads instantly from a distance. Plan the curve of the tail and the tucked paws before you cut so the outline flows in one smooth line.
Written by PumpkinCarvingIdeas.com, inspired by @flickerwick's photo above. These are our suggestions, not instructions from the uploader, and this approach hasn't been tested on their exact carve.
Choose a pumpkin with a broad, even front and a sturdy stem. Cut the lid from the back at an angle so it rests in place without falling in, or cut a bottom hole instead if you want to set the pumpkin down over an LED. Scoop the walls on the carving face down to about one inch thick so your blade passes through easily. A thinner wall makes the curled shape much cleaner to cut.
Tape your cat silhouette stencil flat against the front, snipping the paper edges so it hugs the curve. Poke through the outline with a pin or a small awl to leave a dotted guide, spacing dots close together on the tight curves of the tail and ears. Peel the paper and connect the dots lightly with a marker if it helps you see the full shape. Double check that the cat sits centered before you cut anything.
Use a small serrated carving saw and work slowly along the dotted line, keeping the blade straight up and down. Start with the interior curves like the space between the tail and paws, then move to the outer edge last. Cut in short strokes and let the waste piece come out in one or two clean sections. Round any sharp inner corners slightly so they do not crack later.
To hint at a nose, closed eyes, or paw lines, peel just the skin instead of cutting through. Scrape shallow lines with a lino gouge or the tip of a spoon so those areas glow a dim orange without weakening the wall. Keep these marks light and simple, since the bold silhouette is already doing the main work. Step back often to check the balance.
Drop in a battery LED tea light or a small puck light, never a candle, especially on a porch display near hay. Warm white gives the coziest nap-time glow. Set the pumpkin on a bale or step where the cutout faces walkway traffic. If you carved a bottom hole, just lift the shell over the light.
Wipe the cut edges and give them a thin coat of petroleum jelly to slow drying and browning. Shoot your photo at dusk when the sky is deep blue and the cutout reads brightest. Keep the pumpkin in a cool spot overnight and refresh the light batteries as needed. Share it with the community when you are happy with the glow.
Check things off as you get ready.
Work on a stable surface, keep your free hand out of the cutting path, and have an adult handle sharp tools.
The pumpkin skin around the cat stays untouched and dark, framing the shape.
Shallow-scraped face details and paw lines glow a soft dim orange.
The full curled cat body is cut through for the brightest light.
Cut the small interior spaces first and save the long outer edge for last, so the pumpkin wall stays supported as long as possible. Keep the wall about one inch thick and round any tight inner corners. If a spot feels fragile, leave a tiny skin bridge and peel it thin instead of cutting all the way through.
You can, but very thin slivers of shell crack easily and dry out fast. If a gap is narrower than your pinky, consider peeling it as shaded skin instead of a full cutout. That keeps the outline readable while protecting the structure.
A bottom hole lets you lift the whole pumpkin over an LED and keeps the stem looking natural, which suits a cozy nap scene. A back-cut lid works fine too and hides the opening from front-facing photos. Either way, keep flame away and use a battery light.
Changed a detail? Made it simpler? Share a photo of your version and tell the community what worked.
The best new carvings, ideas worth stealing, and how-tos for carving season. Short, seasonal, and gone by November.
Comments (0)