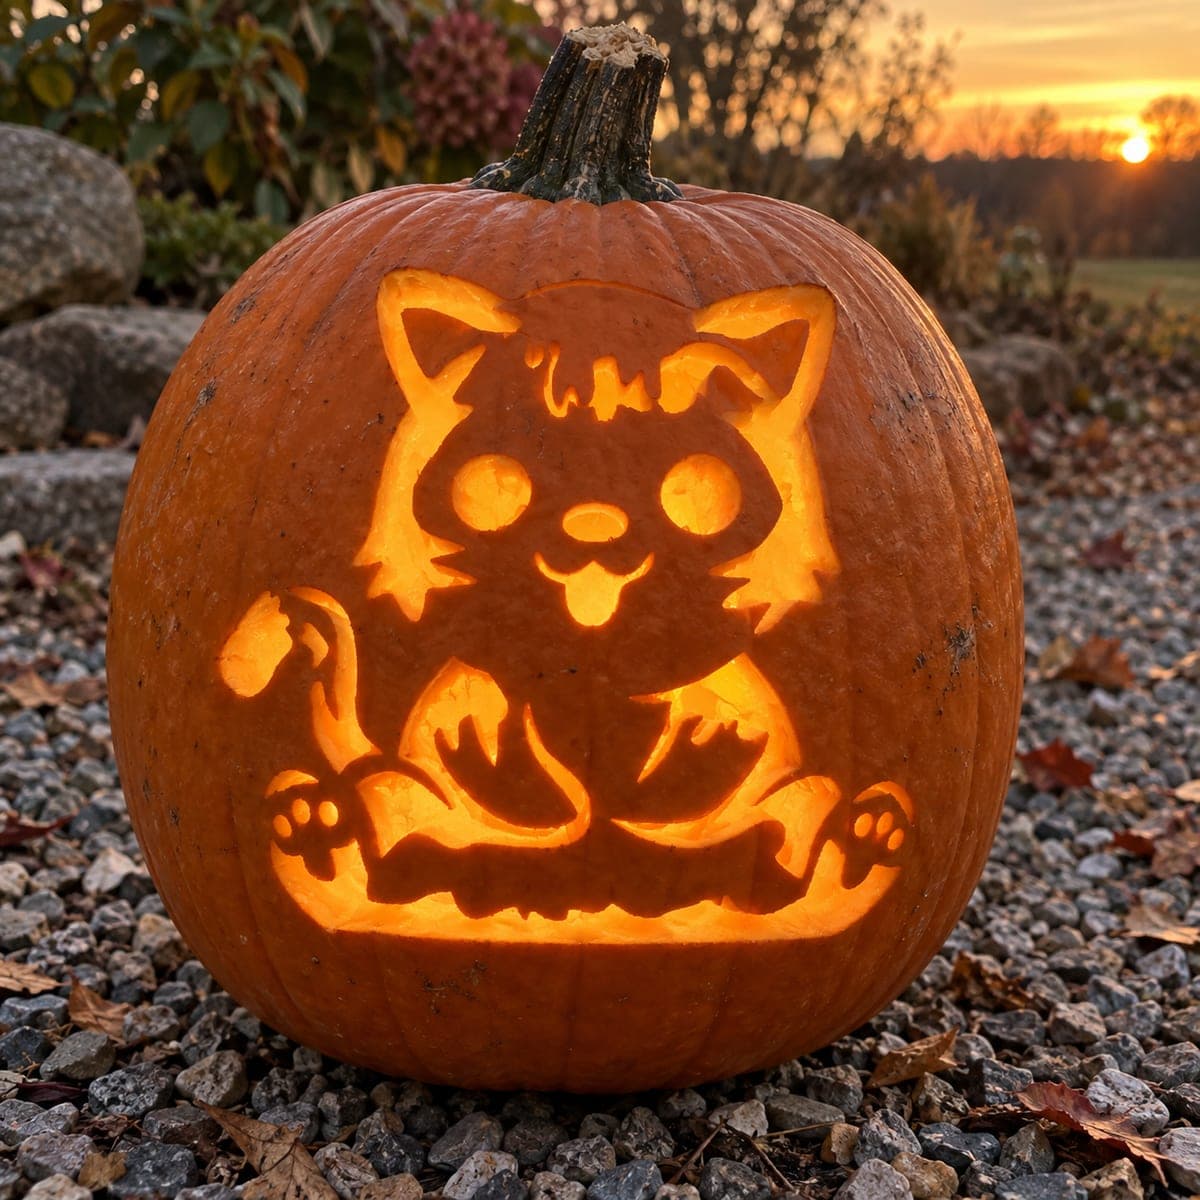
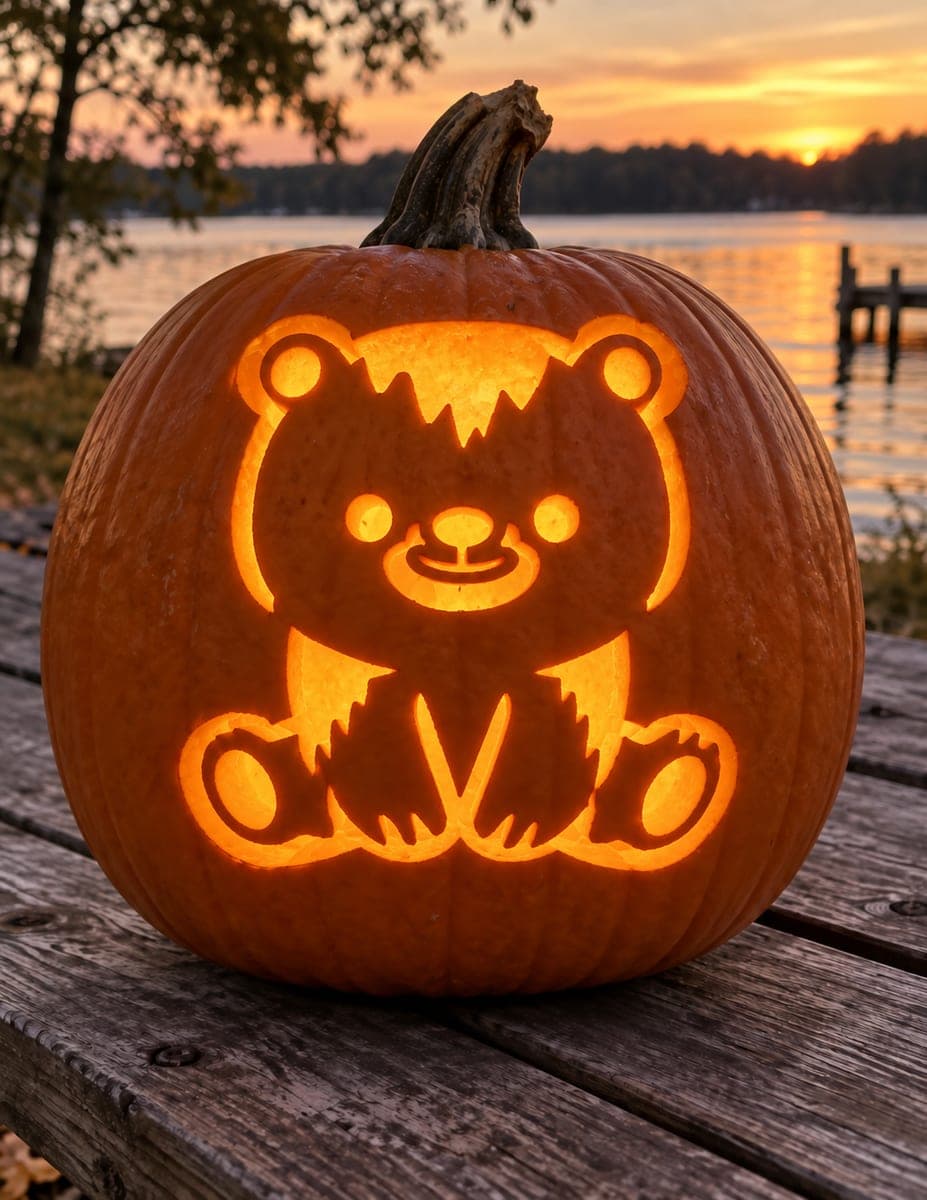
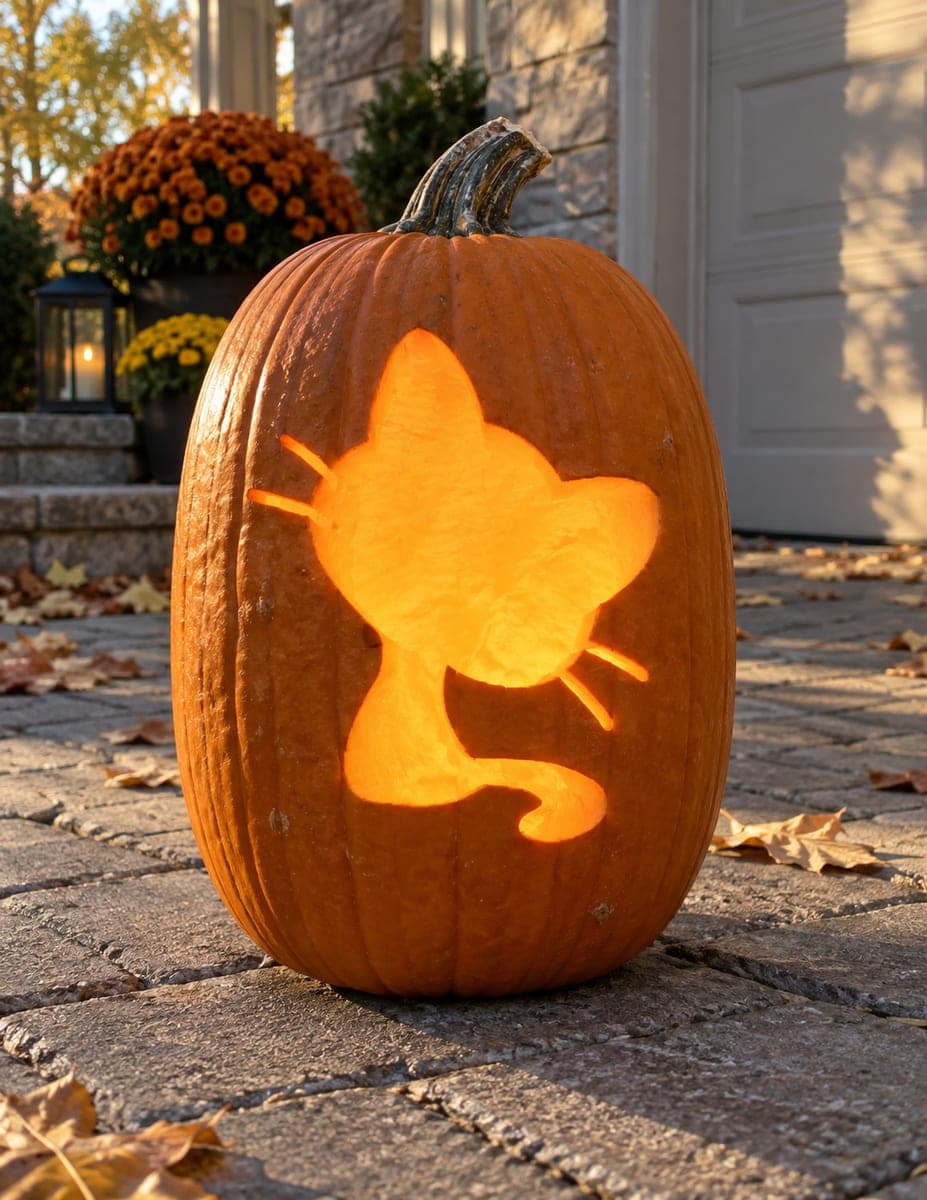
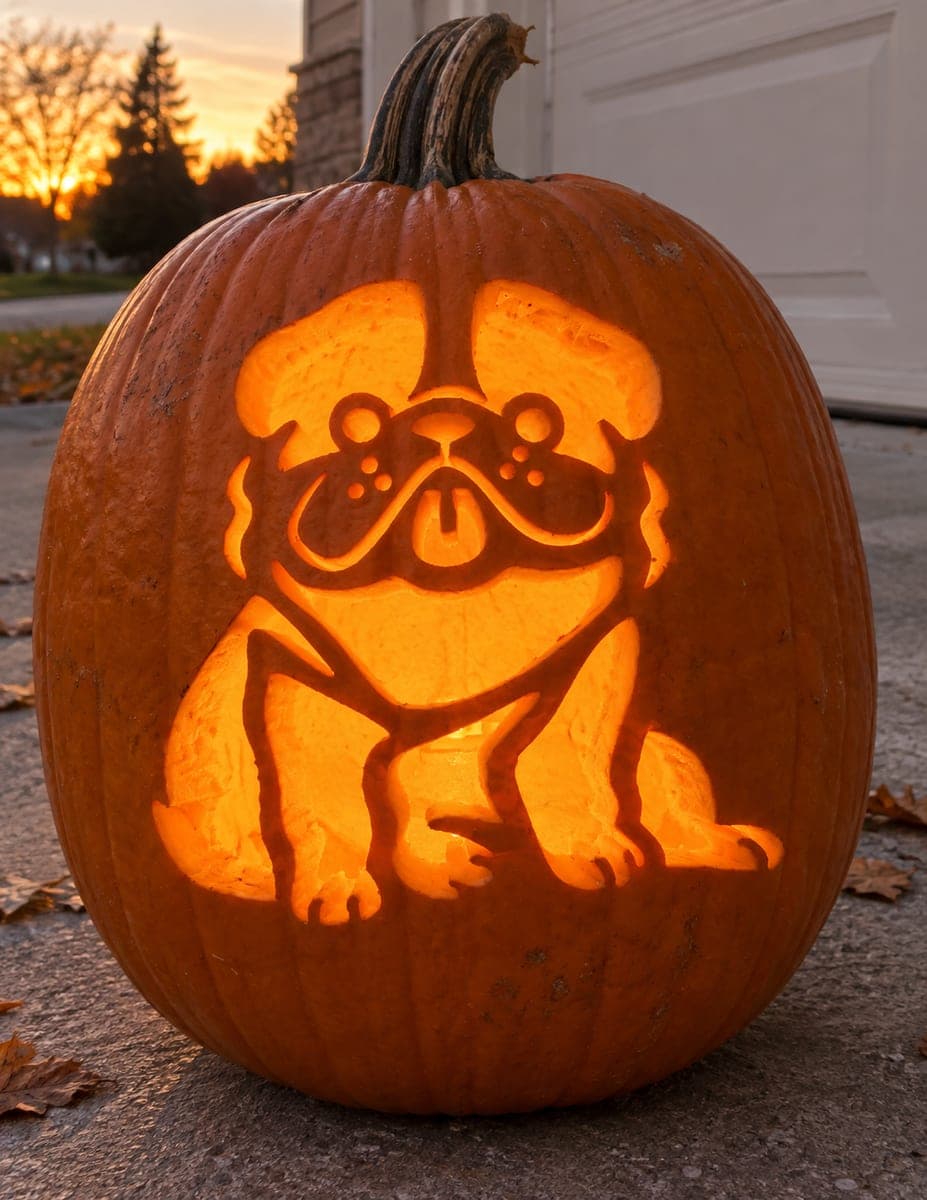
A round-bodied kitten sits on its haunches with oversized round paws spread wide and a small curled tail tucked to one side, giving it a cartoonish look. The cutout method pierces the eyes, inner ear, and the spaces between the paws and body through the rind, while the fur outline and face details stay as dark connected skin. Carve the two small inner-ear openings first, as they are the tightest cuts on the design, then work outward to the paw gaps and eyes. This cute kitten pumpkin carving idea glows warmly with even a small tea light, making it a great option for younger carvers working on their first jack-o-lantern.
This is an AI-generated concept image: a realistic, carvable design idea rather than a photo of a finished carve. AI concepts are always labeled and sit out the leaderboard and the contest.
The whole charm here comes from silhouette cutouts: the eyes, inner ears, and the gaps between the paws and body get pierced fully through the rind so they glow, while the fur outline, nose, mouth, and toe lines stay as dark connected skin. Think of it as one solid kitten shape held together by thin dark bridges. Cut the tightest inner-ear openings first, then move outward to the larger paw gaps and eyes so the pumpkin stays sturdy the whole time.
Written by PumpkinCarvingIdeas.com, inspired by the image above. These are our suggestions, not instructions from the uploader. This approach to the AI concept has not been tested on a real pumpkin.
From pumpkin to porch
1
Prep the pumpkin and transfer the pattern
Pick a round, tall pumpkin with a smooth front face that matches the kitten's chubby body. Cut a lid from the back rather than the top so the front stays uninterrupted, then scrape the inside wall behind the design down to about one inch thick. Tape your stencil flat against the front and poke the outlines with a pin or transfer tool. Take your time here, since accurate dots make every later cut easier.
2
Score the fur outline and face details
Before removing anything, lightly trace all the lines that stay as dark skin: the fur outline, the toe separations on the paws, the curled tail, and the smiley mouth. These are shading and boundary lines, not cuts through the rind. A shallow score helps you see the shape and keeps your saw from wandering into a bridge. Do not cut deep on these detail lines.
3
Cut the inner-ear openings first
Start with the two small triangles inside the ears, since they are the tightest openings on the design. Use a fine detail saw and make slow, controlled strokes, letting the blade do the work rather than forcing it. Push the little plugs out gently from the front. Getting these done while the pumpkin is still fully solid keeps the surrounding rind from flexing.
4
Open the paw gaps and body spaces
Move outward to the spaces between the big round paws and the body, and any gaps around the tail. Keep the thin strips of skin that form the paw outlines and toe lines intact, as these dark bridges define the shape. Cut each opening as its own closed shape and pop the pieces free carefully. Work from the center outward so you are never leaning on a section you already weakened.
5
Pierce the eyes and finish the face
Cut the two round eyes last among the pierced areas, since they are large openings that let a lot of light through. Leave the small nose and the curved mouth as dark skin so the face reads clearly against the glow. Check that every opening has clean edges and gently trim any ragged bits from the inside. Save the big cuts for the end so the face stays crisp.
6
Light it and photograph
Set a battery LED tea light or a small LED puck inside, never a real flame, since the thin bridges near the paws and ears can scorch. Test the glow in a dark room and reposition the light until the eyes, ears, and paw gaps all shine evenly. If any area looks dim, scrape a little more from the inside wall behind it. Photograph at dusk so the warm cutouts pop against the fading sky.
Gather your supplies
Check things off as you get ready.
Work on a stable surface, keep your free hand out of the cutting path, and have an adult handle sharp tools.
Three levels of light
Leave intact
The fur outline, nose, mouth, toe lines, and curled tail stay as untouched dark skin.
Peel & shade
Optional: lightly peel a soft glow around the cheeks or belly if you want a subtle dim orange highlight.
Cut through
The two eyes, both inner ears, and the gaps between the paws and body are cut fully through for the brightest light.
How do I keep the thin paw outlines from snapping?
Treat each strip of skin between the paws as a bridge and never cut both sides of it at once. Work one opening at a time and pop out the loose piece before starting the next. Keeping the wall about an inch thick behind these areas also gives the bridges more support.
The inner ears are so small. What if my saw is too big?
Use the finest detail blade you have and make short, patient strokes rather than trying to swing the blade. If the triangle is still too tight, cut it slightly larger and rounder rather than forcing a sharp point that might tear. Doing these first, while the pumpkin is solid, gives you the steadiest surface to work on.
Since this is a concept image, will a real pumpkin glow the same way?
A real carve will look very close if you keep the wall thin and even behind the design. The pierced eyes, ears, and paw gaps will glow brightest, while the dark skin lines hold the kitten shape. A single LED tea light is plenty for a design this size.
Your take belongs here, too.
Changed a detail? Made it simpler? Share a photo of your version and tell the community what worked.
 AI
AI
Comments (0)