Halloween Pumpkin Carving Contest · Starts October 1st · $500 in prizes
← Back to ideas
@ai_concepts
Sep 4, 2026
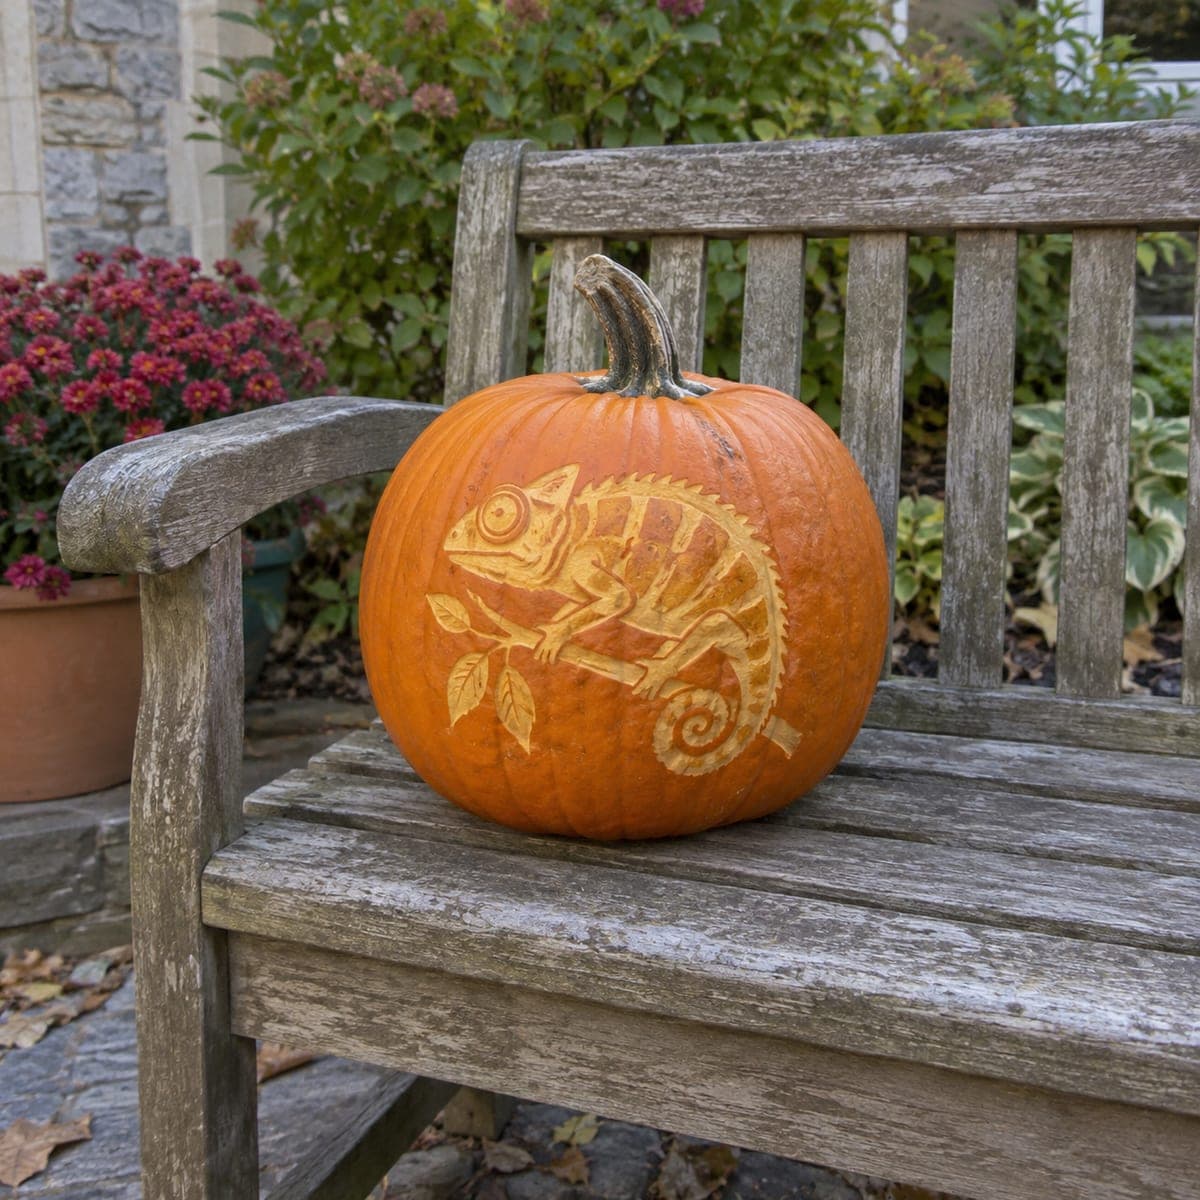
Chameleon on a Branch Carved Pumpkin IdeaAI
0

Chameleon on a Branch Carved Pumpkin Idea

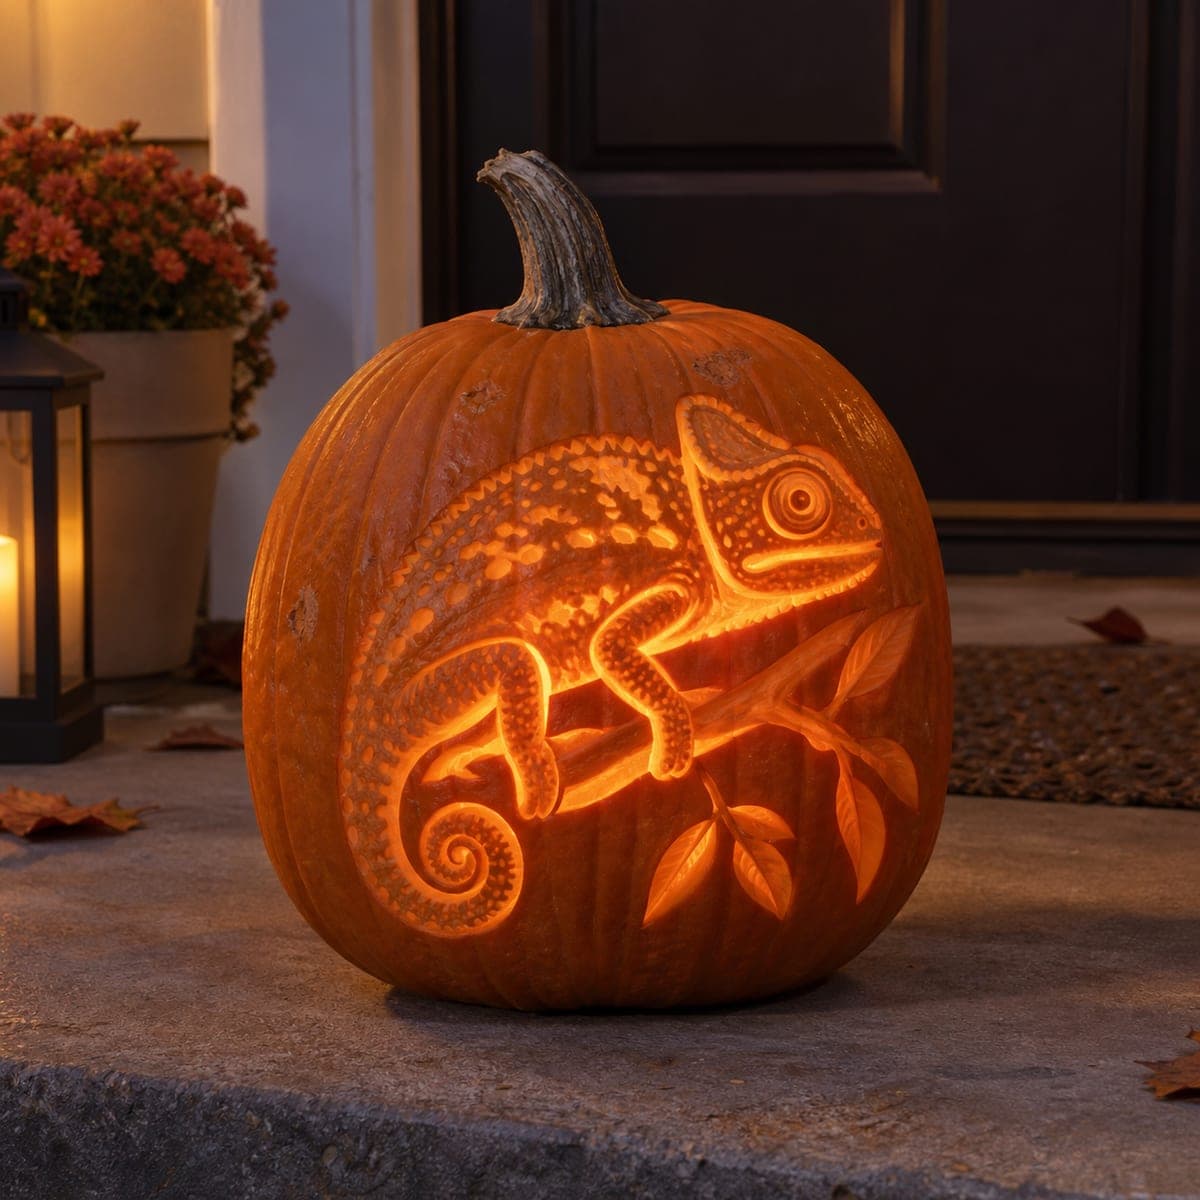
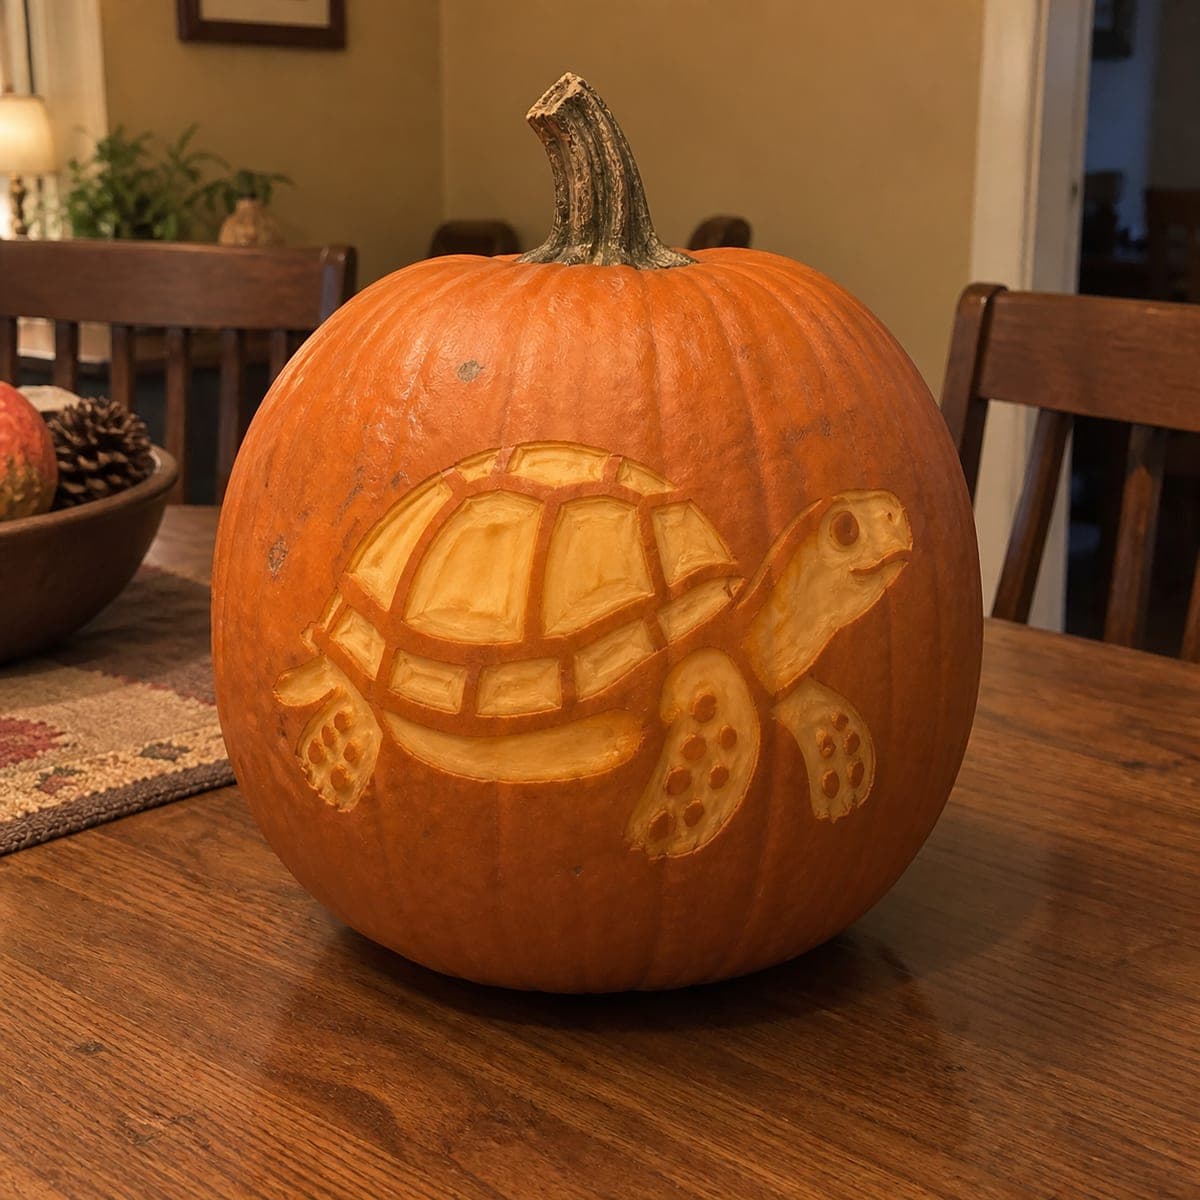
A detailed chameleon perches on a leafy branch, its curling tail and scaly body etched in relief across the pumpkin surface in warm amber tones. The design uses shallow surface carving rather than full cutouts, so the image reads clearly even in daylight and glows subtly at night. Transfer the pattern with the tape-and-stylus method, then use a small V-gouge to outline the scales before removing the background skin with a linoleum cutter. The outdoor bench setting in this pumpkin carving idea makes it a great candidate for a garden or porch display.

This is an AI-generated concept image: a realistic, carvable design idea rather than a photo of a finished carve. AI concepts are always labeled and sit out the leaderboard and the contest.

No ratings yet · Sign in to rate
Comments (0)

  • No comments yet — be the first.

Save without an account. Sign in to like or comment.

Our tips for carving a similar design

The core trick here is relief carving, where you peel away only the top skin and a thin layer of flesh instead of cutting all the way through. That keeps the chameleon, its scales, and the branch glowing in warm amber while the untouched pumpkin stays dark around it. Outline first, then remove the background skin in stages so the shading reads clearly in daylight and softly at night.

Written by PumpkinCarvingIdeas.com, inspired by the image above. These are our suggestions, not instructions from the uploader. This approach to the AI concept has not been tested on a real pumpkin.

From pumpkin to porch

  1. Pick a smooth, round pumpkin and prep the surface

    Choose a pumpkin with a broad, even face and few deep ribs so the design sits flat and undistorted. Wipe the skin clean and dry it well. Because this is a shallow relief design, you do not need to gut it heavily, but you can cut a small lid or a bottom access hole later for the light. Set it on a towel so it does not roll while you work.

  2. Transfer the chameleon pattern

    Print your chameleon stencil sized to fit the flat face. Tape it firmly in place, smoothing out wrinkles as you go. Use a stylus or a pushpin to poke closely spaced dots along every line, the body outline, the leg and foot shapes, each scale ridge, and the spiral of the tail. Peel the paper and connect the dots lightly with a washable marker so you can see the full picture before cutting.

  3. Outline everything with a V-gouge

    Have an adult run a small V-gouge along the marked lines to score the chameleon's outline, the branch, the leaves, and the individual scales. Keep these cuts shallow, just deep enough to define the shape. This outlining step protects your detail so the background peeling later does not tear into the figure. Work slowly around the tight tail spiral and the toes, since those are the easiest spots to slip.

  4. Peel the background skin for the glow

    Switch to a linoleum cutter or a wide loop tool and remove the orange skin from the background around the chameleon, exposing the pale flesh underneath. Aim for a consistent shallow depth so the whole background lights evenly. Leave the chameleon's body, the branch, and the leaves as raised skin at this stage. Take your time and check often, because you cannot put skin back once it is gone.

  5. Shade the chameleon with graduated depth

    Now add dimension by peeling shallow accents on the animal itself. Skim a thin layer off the belly, the leaf faces, and the lighter scale rows so they glow a touch brighter than the surrounding skin. Leave the darkest scale ridges and the eye ring as untouched skin for contrast. Vary how deep you scrape to build the soft amber shading that makes the chameleon look rounded.

  6. Light it and photograph on the porch

    Set a battery LED puck or string inside, or shine one through a bottom hole if you cut one. Warm white light suits the amber tones best. Rub a little petroleum jelly on the cut edges to slow drying and keep the relief crisp for a few extra days. Place it on a garden bench or porch step and take a photo both in daylight, where the relief reads clearly, and at dusk, when it glows.

Gather your supplies

Check things off as you get ready.

Work on a stable surface, keep your free hand out of the cutting path, and have an adult handle sharp tools.

Three levels of light

  • Leave intact

    The darkest scale ridges, the eye ring, and the pumpkin surface around the design stay as untouched skin.

  • Peel & shade

    The chameleon body, the branch, and the leaves get their top skin peeled for a soft mid glow, with shallower scrapes on the belly and lighter scale rows.

  • Cut through

    No full cutouts are needed; if you want one bright accent, you could pierce a tiny dot in the center of the tail spiral or eye.

Learn the carving basics

Before you start cutting

This is shown as a concept image. Can a real pumpkin hold this much scale detail?

Yes, because almost everything here is shallow relief rather than cut-through openings, so nothing thin has to support weight. The scales and tail spiral are just scored lines and peeled skin, which are very stable. Keep your outlining cuts shallow and the flesh behind the design stays thick and strong.

How do I keep the curling tail spiral from looking messy?

Score the full spiral line with the V-gouge first, following your transferred dots slowly. Then peel the background between the coils a little at a time, checking the shape as you go. Working from the outside of the spiral inward gives you the most control on that tight curve.

Will a shading design like this show up outdoors during the day?

That is the strength of relief carving. The contrast between dark untouched skin and pale peeled flesh reads clearly in daylight, so your chameleon is visible on a bench or porch even before dark. At night an LED brings out a gentle amber glow through the thinned areas.

Your take belongs here, too.

Changed a detail? Made it simpler? Share a photo of your version and tell the community what worked.

Share your pumpkin

More pumpkins like this

You've reached the end · 8 pumpkins
The Patch Report

Fresh pumpkins, in your inbox.

The best new carvings, ideas worth stealing, and how-tos for carving season. Short, seasonal, and gone by November.

A short email during carving season. Unsubscribe anytime. See our privacy policy.