Halloween Pumpkin Carving Contest · Starts October 1st · $500 in prizes
← Back to ideas
@ai_concepts
Sep 25, 2026
Cheerful Clown Face Pumpkin with Simple Cut OpeningsAI
0

Report this carving

Tell us what is wrong. Reports are private.

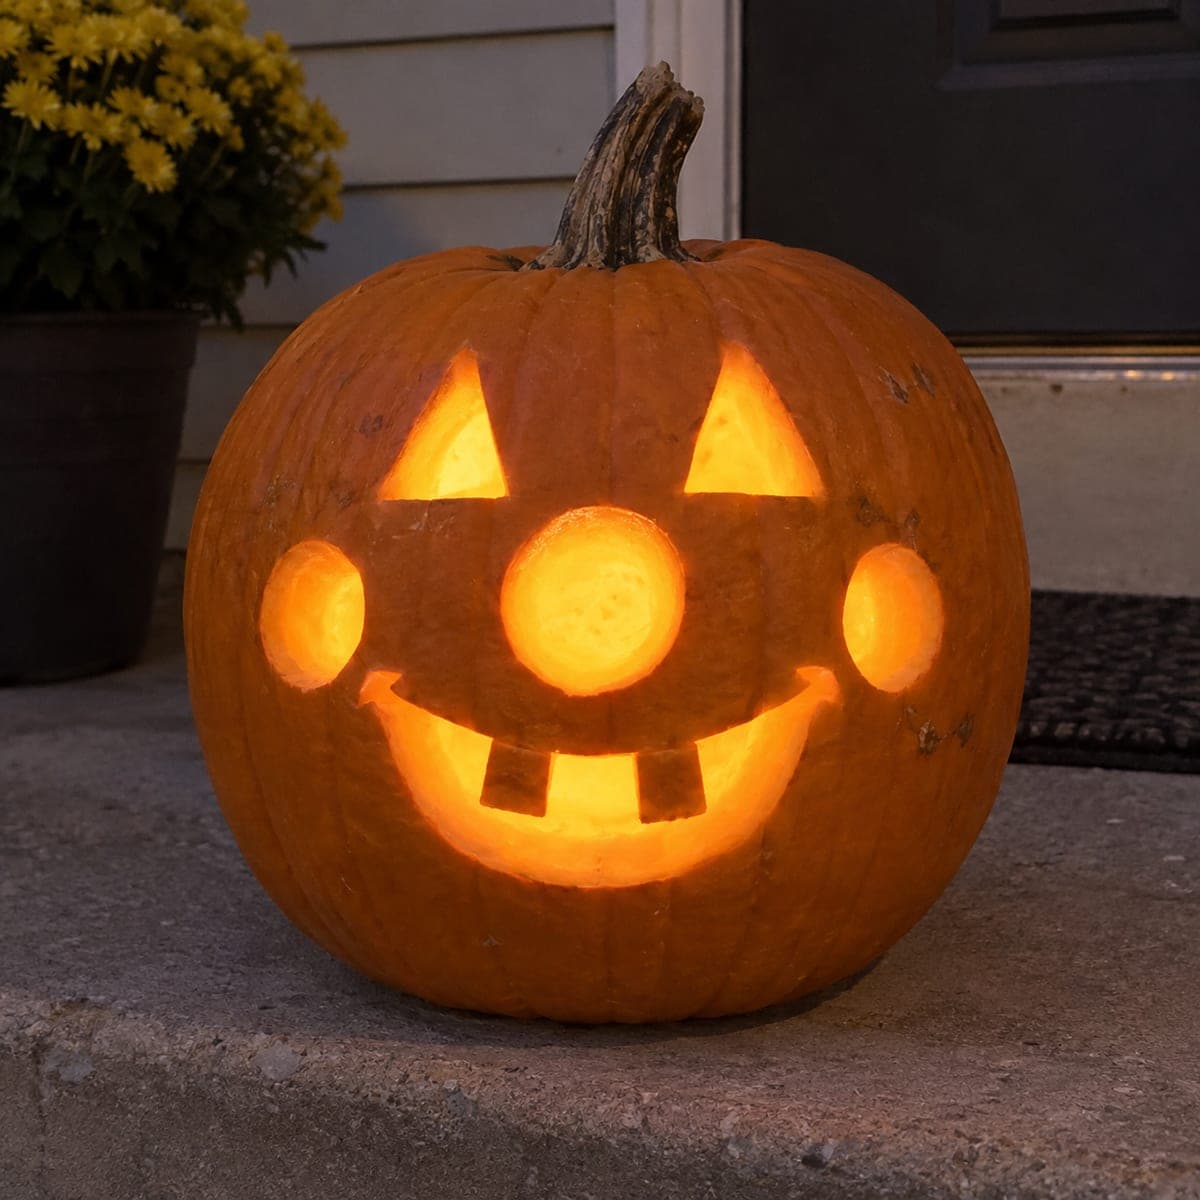
Cheerful Clown Face Pumpkin with Simple Cut Openings

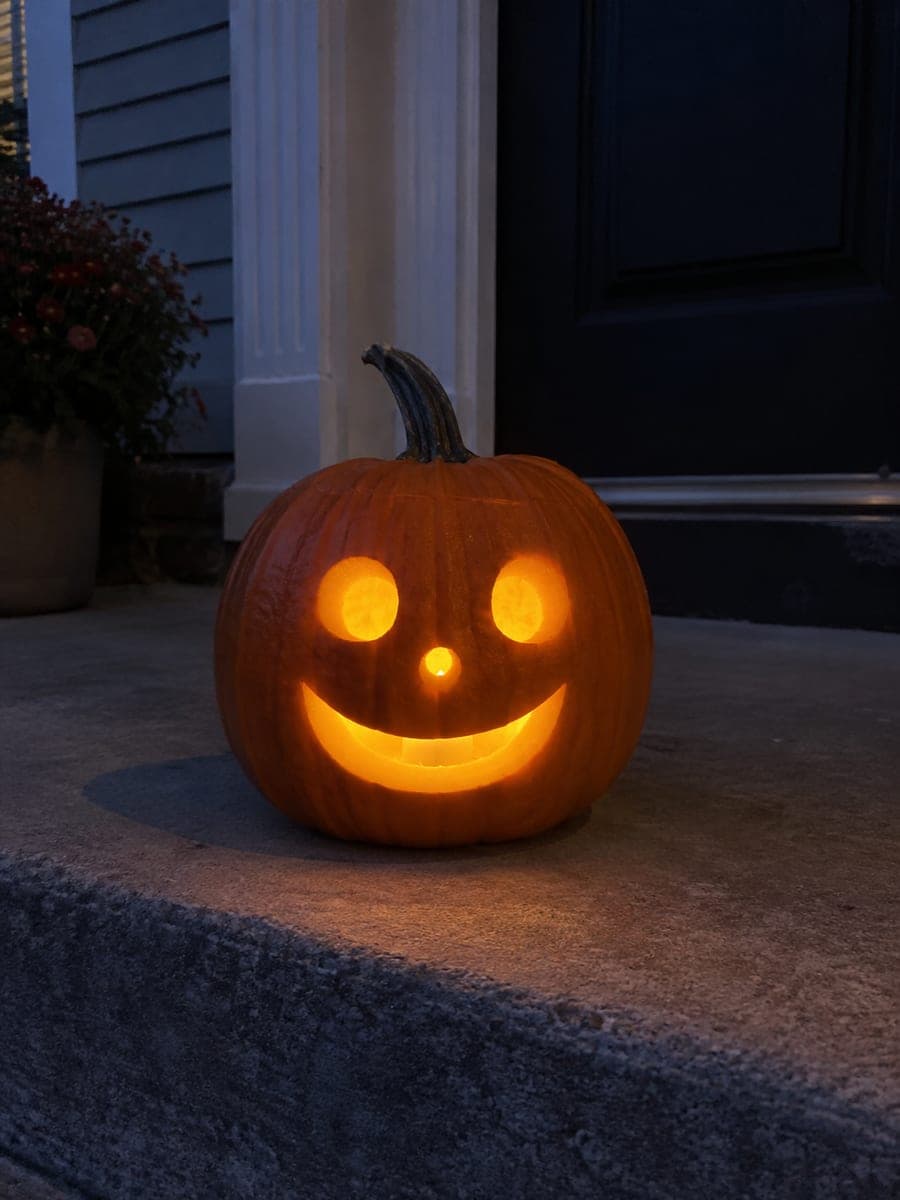
All facial features on this clown pumpkin carving idea are separate easy through-cut holes, making it a straightforward beginner carving with a surprisingly lively glowing result. Lay out the features with a marker before cutting, spacing the eyes and nose wide apart to exaggerate the clown's expression. Cut the nose hole first as your centering guide, then add the eyes and mouth around it. The simple round openings glow warmly from inside, giving this clown pumpkin idea a classic carnival-lantern feel.

No ratings yet · Sign in to rate
Comments (0)

  • No comments yet — be the first.

Save without an account. Sign in to like or comment.

Our tips for carving a similar design

Every feature on this clown face is its own separate simple hole, which makes this one of the most accessible carved pumpkin designs you can attempt. Cutting the nose hole first as a centering guide before adding the eyes and mouth keeps the layout symmetrical without any measuring tools. The round openings glow warmly from inside, giving the finished pumpkin a cheerful carnival-lantern quality at night.

From pumpkin to porch

  1. Hollow and prep

    Cut a back-angled lid and scoop the interior to a consistent inch. Smooth, clean walls make the simple round shapes glow more evenly. Wipe the exterior dry and allow it to settle before marking with a washable marker.

  2. Mark all features with the nose first

    Draw the round nose hole in the center of the face as your reference point. Add two eye shapes in the upper half and the smile opening in the lower half, using the nose as an anchor for symmetry. Space the features generously so each has plenty of rind around it.

  3. Cut the nose hole first

    Push a small carving saw through the nose outline and work around the full circle. Remove the piece and confirm you are happy with the position before cutting anything else. Adults should manage the initial break-through push. The nose guides all subsequent feature placement.

  4. Cut both eyes

    Cut each eye as an independent hole, following the marker outline. Simple oval or circle eyes both work. Keep the two eyes at the same height and at equal distances from the nose center. Clean up any ragged edges with a detail blade.

  5. Cut the smile opening

    Cut the wide curved smile opening below the nose. A simple crescent or U-shape works perfectly. Leave solid rind above the smile so the nose and smile stay separated as independent elements. The smile does not need teeth; the large clean opening glows vividly on its own.

  6. Seal and display

    Coat all cut edges with petroleum jelly. Place a warm LED inside for safe all-night display. Position the pumpkin at eye level so the round nose and eye glow reads clearly at face height. Reapply petroleum jelly every two to three days.

Written with AI to match this design

Gather your supplies

Check things off as you get ready.

Work on a stable surface, keep your free hand out of the cutting path, and have an adult handle sharp tools.

Three levels of light

  • Leave intact

    The forehead, cheeks, and chin stay solid orange, framing the glowing round features.

  • Peel & shade

    None; this design uses full cut-throughs only.

  • Cut through

    The round nose hole, both eye holes, and the smile opening are cut completely through for full warm glow.

Learn the carving basics

Before you start cutting

How do I cut a clean circle in the pumpkin rind without it looking lumpy?

Use a circular object such as a bottle cap, jar lid, or large coin as a template and trace around it to create a perfectly round guide. Score the traced circle lightly with a stylus before sawing to give the blade a channel to follow. Working in small arc increments rather than one continuous circle also helps.

My pumpkin is tall and oval rather than round. Will a clown face still work?

Yes, and an oval pumpkin can give the clown a stretched, funhouse-mirror look that suits the theme well. Widen the smile opening slightly to match the horizontal proportion of the oval face and keep the nose centered. The vertical orientation actually gives you more room to space features generously.

Is this design appropriate for a child to carve with close adult supervision?

The simplicity of the shapes makes this the most beginner-appropriate design in the set, but all pumpkin carving tools are sharp and adults should handle the actual cutting. Children can mark the design, participate in the scooping with a large spoon, and clean up the carved pieces. Keeping children away from the blade at all times is non-negotiable.

Your take belongs here, too.

Changed a detail? Made it simpler? Share a photo of your version and tell the community what worked.

Share your pumpkin

More pumpkins like this

You've reached the end · 8 pumpkins
The Patch Report

Fresh pumpkins, in your inbox.

The best new carvings, ideas worth stealing, and how-tos for carving season. Short, seasonal, and gone by November.

A short email during carving season. Unsubscribe anytime. See our privacy policy.