Halloween Pumpkin Carving Contest Β· Starts October 1st Β· $500 in prizes
← Back to ideas
@ai_concepts
Jul 11, 2026
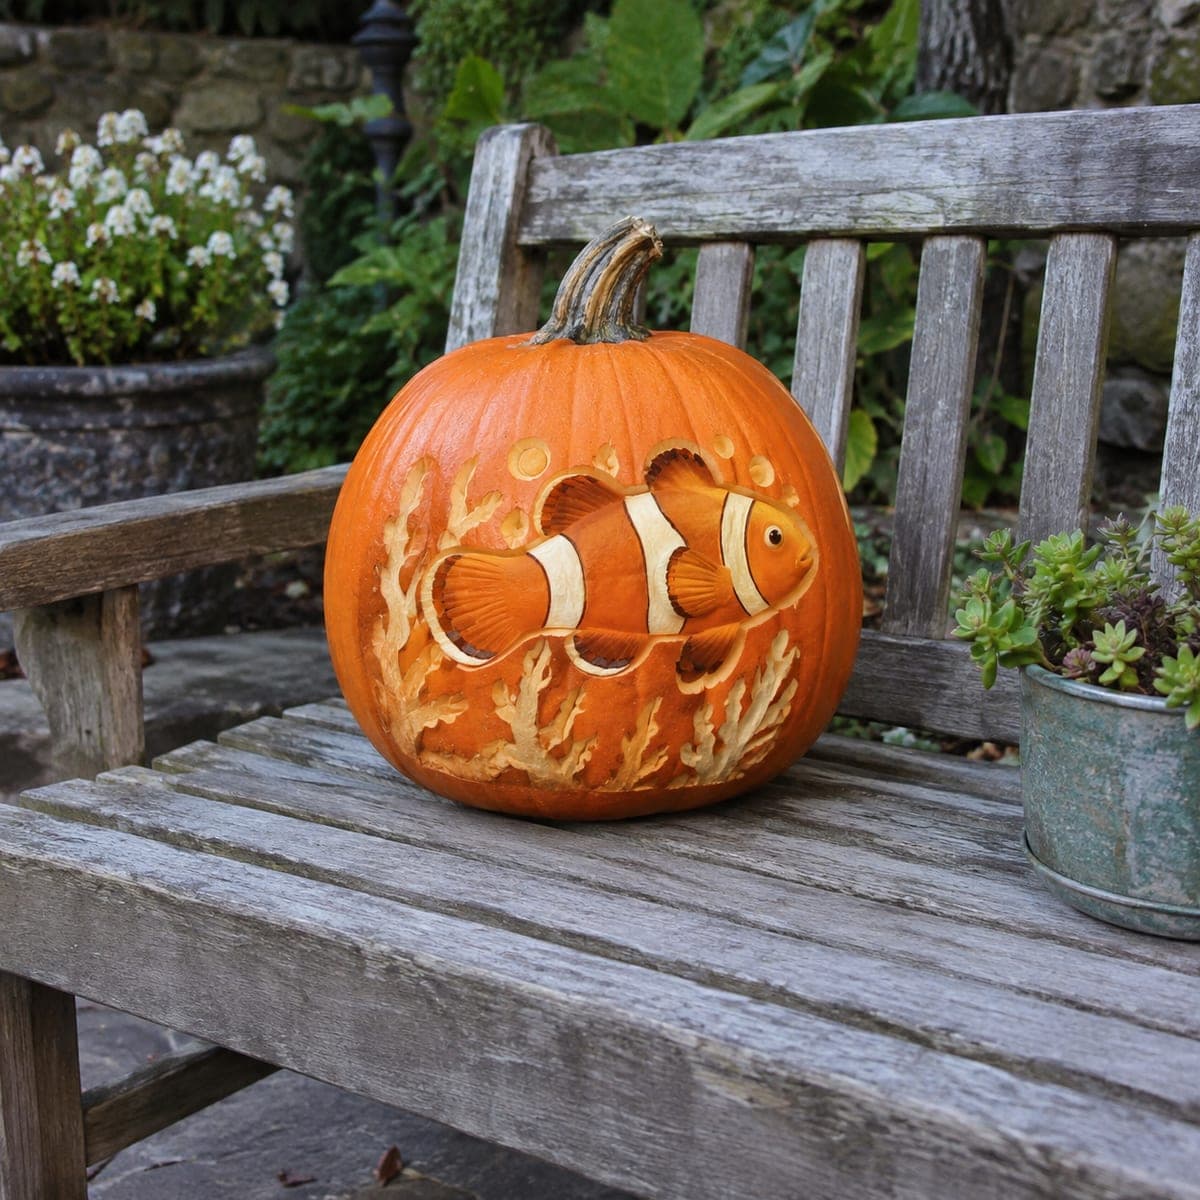
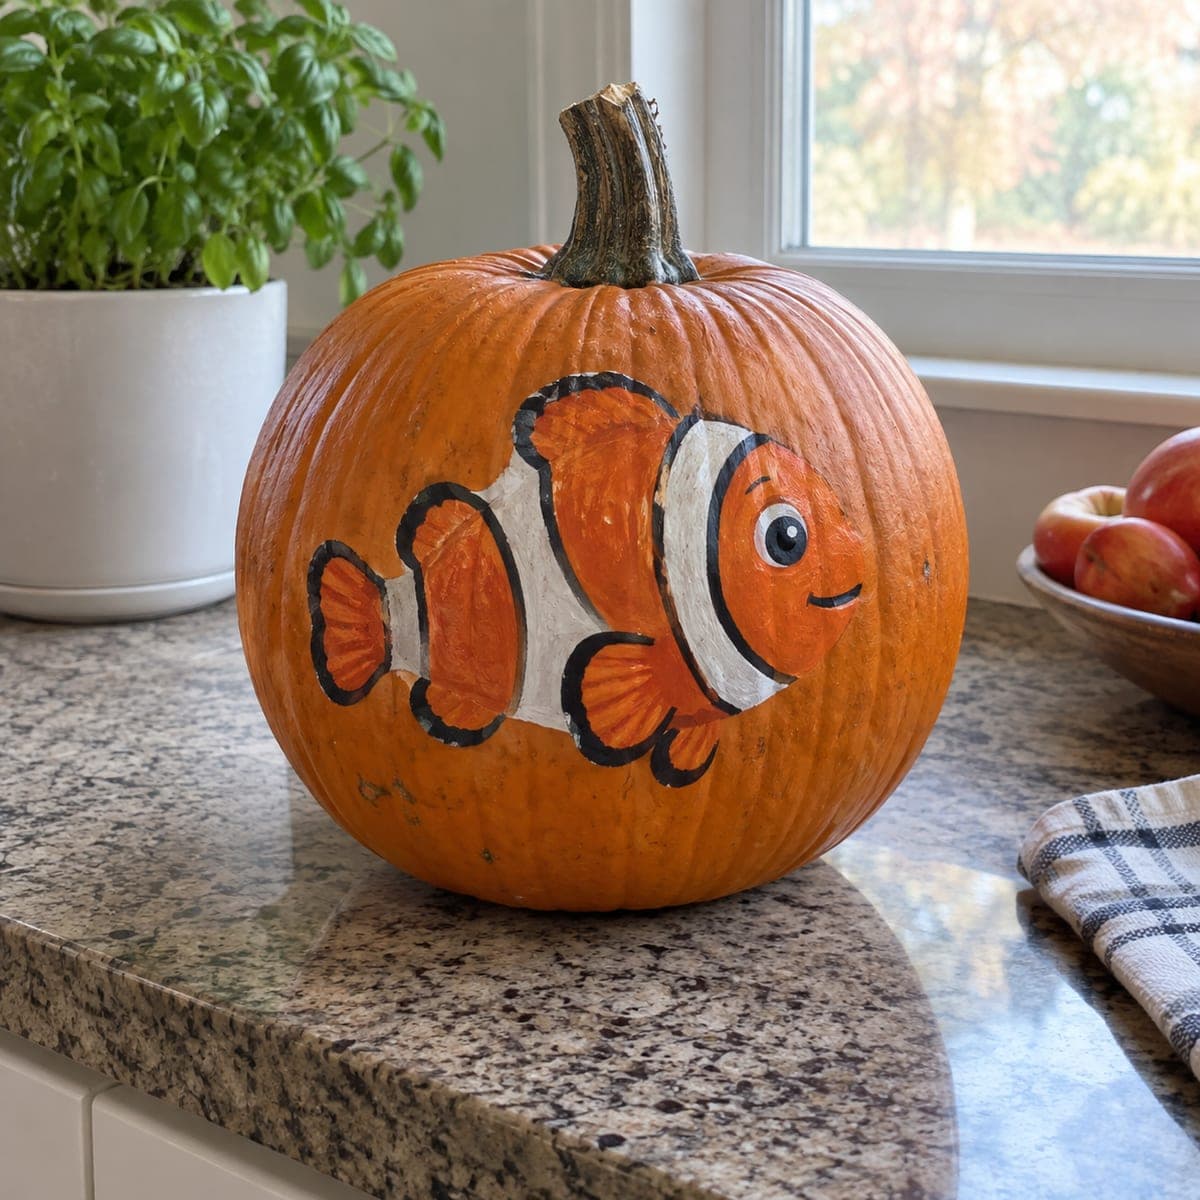
Clownfish and Coral Reef Etched PumpkinAI
0

Clownfish and Coral Reef Etched Pumpkin

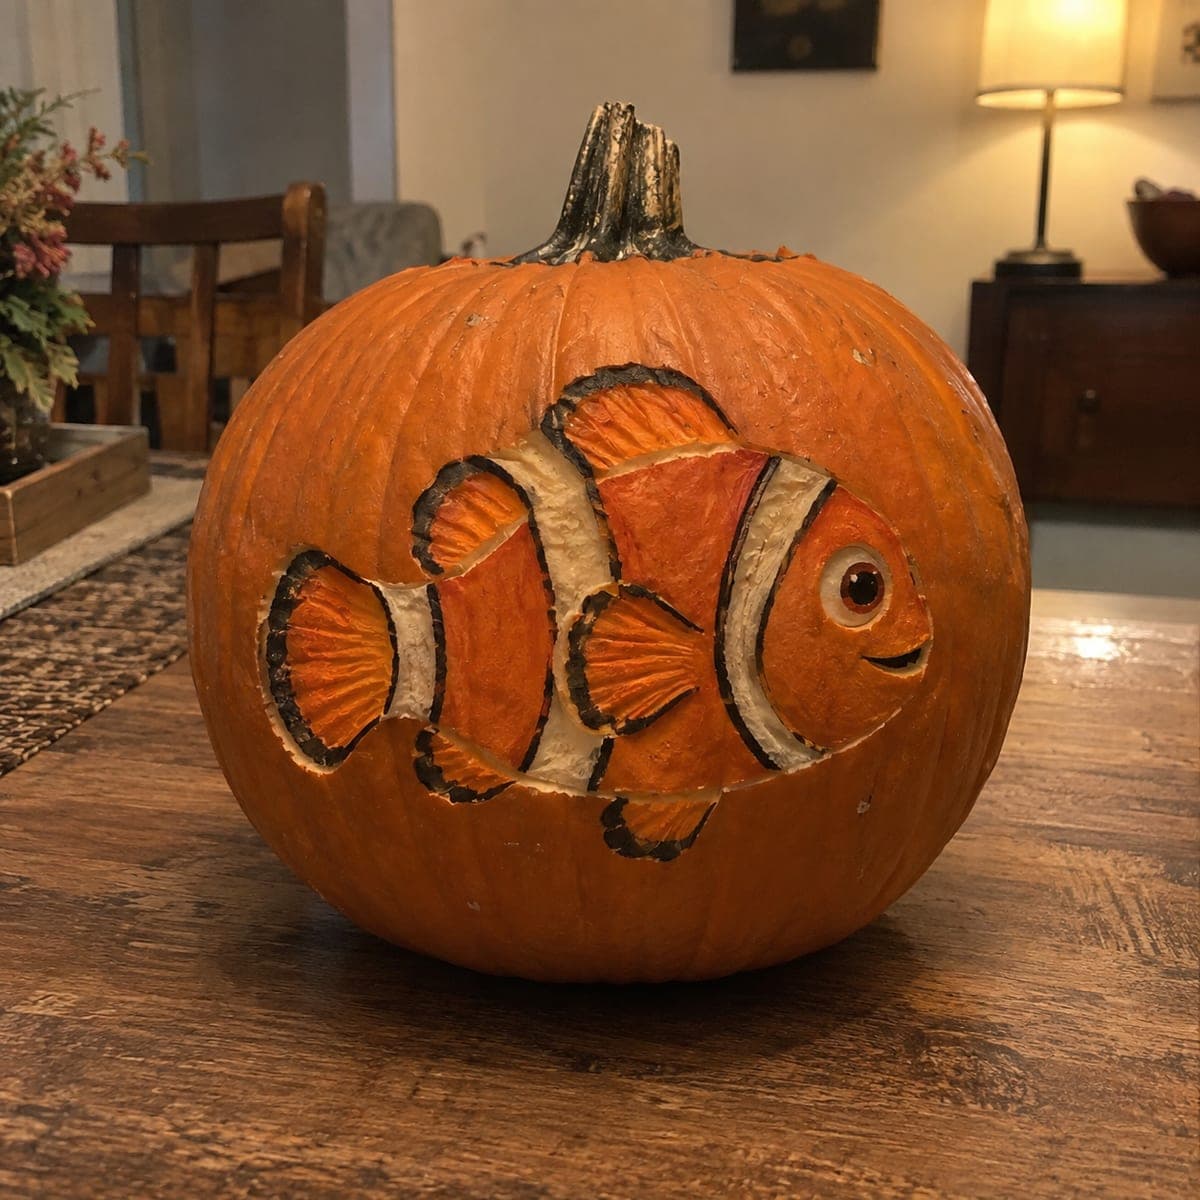
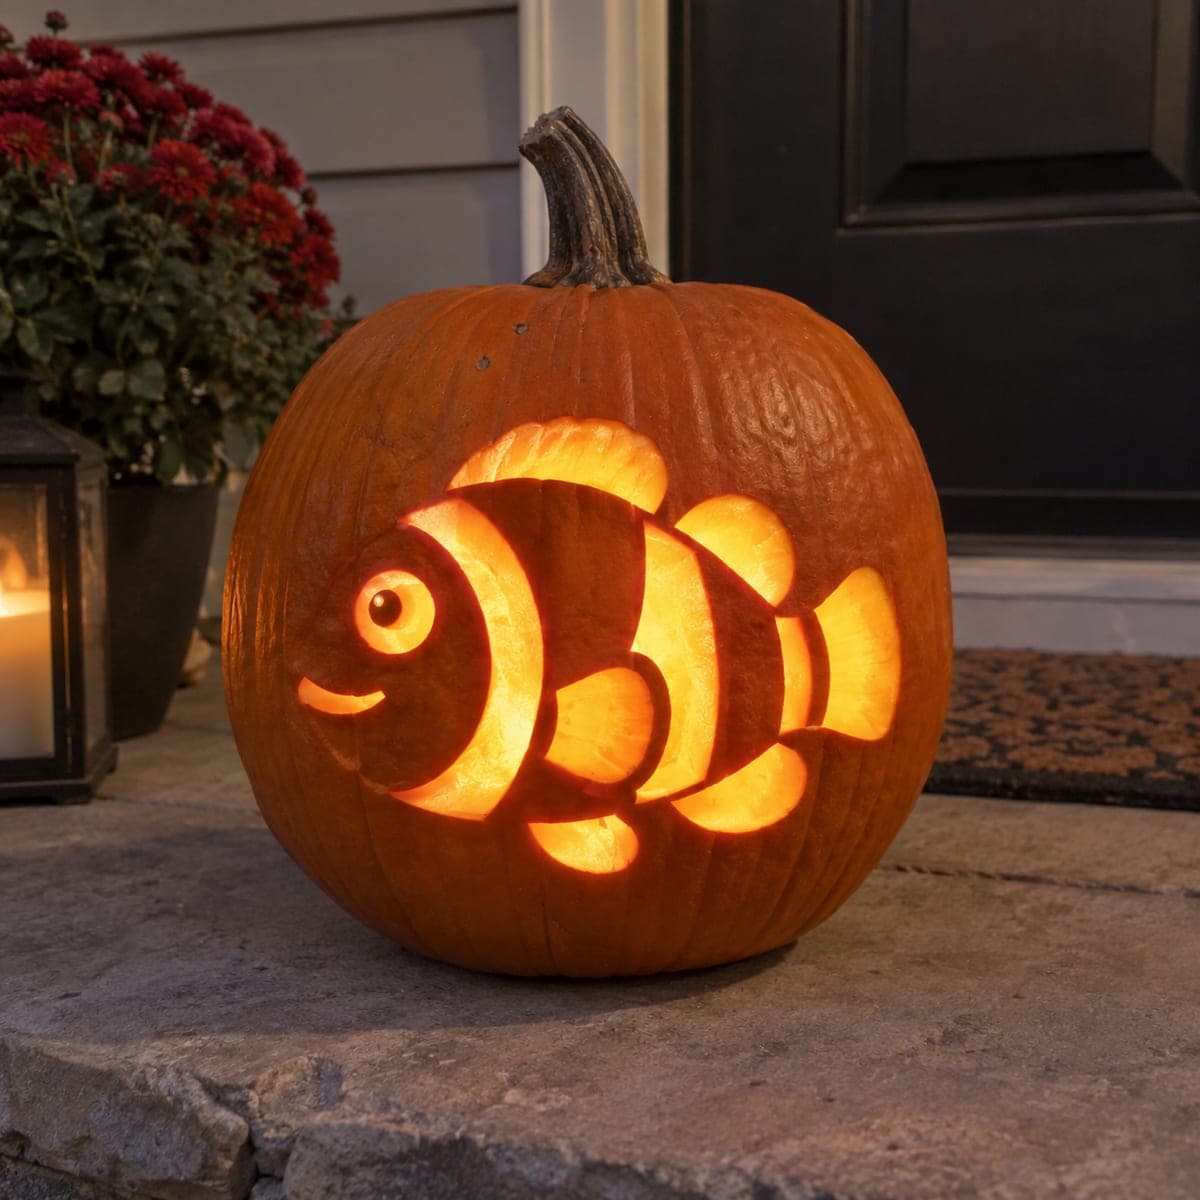
A clownfish with bold white bands swims through carved coral branches on this reef-themed pumpkin, all rendered in daylight-friendly surface relief. The white stripes are peeled deepest, the orange body is left as polished skin, and the coral fans are outlined then textured with quick flicks of a V-tool. Start with the fish so it stays the focal point, then let the coral grow organically around it. A hit with young ocean fans.

This is an AI-generated concept image: a realistic, carvable design idea rather than a photo of a finished carve. AI concepts are always labeled and sit out the leaderboard and the contest.

No ratings yet Β· Sign in to rate

Comments (0)

  • No comments yet β€” be the first.

Save without an account. Sign in to like or comment.

Our tips for carving a similar design

The core trick here is relief carving, where you scrape away skin at different depths instead of cutting all the way through. The bright white bands are peeled deepest so they glow, the orange body stays as untouched skin to read as the fish, and the coral fans are outlined and lightly textured around it. Carve the fish first so it stays the star, then grow the coral outward to fill the space.

Written by PumpkinCarvingIdeas.com, inspired by the image above. These are our suggestions, not instructions from the uploader. This approach to the AI concept has not been tested on a real pumpkin.

From pumpkin to porch

  1. Pick your pumpkin and transfer the design

    Choose a large, round pumpkin with a smooth, blemish-free front for your carving canvas. Tape your clownfish and coral pattern onto the widest part and poke through the outlines with a pushpin, or lightly trace them with a washable marker. Keep the fish centered and give the coral room to spread toward the bottom. Step back and check the layout before you cut anything.

  2. Open a lid and hollow the shell

    Have an adult cut a lid from the bottom rather than the top so the stem stays intact for looks. Scoop out the seeds and pulp, then scrape the inside of the carving wall down to about one inch thick. A thinner wall lets light pass through your peeled areas more evenly. Save some pulp scraps to test your peel depth.

  3. Outline the fish and score the borders

    Using a small detail knife or a fine loop tool, score along every outline of the fish and the coral branches. Cut only about a quarter inch deep to define the shapes without going through the wall. These score lines act as clean stopping edges so your peeling does not creep past where you want it. Take your time on the fins and the face, since those curves sell the clownfish.

  4. Peel the white bands and shade the body

    Peel the skin fully off the three band areas so the pale flesh glows brightest, working down a little deeper than the rest. Leave the orange body panels as untouched skin so they stay dark and read as the fish. Lightly shave the fins for a soft mid tone and add thin fin rays with a V-tool. Keep the eye as a small untouched dot of skin for contrast.

  5. Texture the coral and bubbles last

    Peel the coral fans to a medium depth, then add quick flicking strokes with a V-tool to suggest branching texture. Shallow-scrape a few round bubbles above the fish for gentle glow. If you want a couple of the smallest bubbles to shine brightest, you can cut those tiny circles all the way through, but do this last so the shell stays strong. Bridge any narrow coral tips back to thicker areas so they do not snap.

  6. Light it and photograph

    Set a battery LED puck or string inside, never a candle, since flame heat curls thin relief work and dries it out fast. Test in a dark room and adjust the light position so the peeled stripes and coral pop. Rub cut edges with a little petroleum jelly to slow browning. Snap your photo the first evening while the contrast is sharpest.

Gather your supplies

Check things off as you get ready.

Work on a stable surface, keep your free hand out of the cutting path, and have an adult handle sharp tools.

Three levels of light

  • Leave intact

    The orange body panels of the clownfish and the small dark eye, left as polished skin

  • Peel & shade

    The three white bands, the fins, and the coral fans, peeled to glow soft orange

  • Cut through

    Only a few of the smallest bubbles, optionally cut through for bright points of light

Learn the carving basics

Before you start cutting

This is a concept image, so can a pumpkin really glow orange like this in daylight?

The daylight look comes from relief carving, not backlighting, so the peeled flesh simply shows up as a lighter tone against the darker skin. You can reproduce that same effect on a real pumpkin by peeling to different depths. At night, add an LED inside and the peeled areas will glow warmly.

How do I keep the coral branches from breaking off?

Since this is mostly surface relief, the coral is scraped rather than cut through, so it stays supported by the shell behind it. If you do cut any gaps between branches, keep small bridges of skin connecting thin tips to thicker sections. Avoid isolating any long, skinny piece with air on both sides.

Should I peel the white stripes or cut them all the way through?

Peel them, do not cut through. Cutting the bands out would leave big holes and lose the fish shape entirely. Peeling the skin off down to the pale flesh gives you the bright bands while keeping the body readable and the wall intact.

Your take belongs here, too.

Changed a detail? Made it simpler? Share a photo of your version and tell the community what worked.

Share your pumpkin

More pumpkins like this

You've reached the end Β· 8 pumpkins
The Patch Report

Fresh pumpkins, in your inbox.

The best new carvings, ideas worth stealing, and how-tos for carving season. Short, seasonal, and gone by November.

A short email during carving season. Unsubscribe anytime. See our privacy policy.