Halloween Pumpkin Carving Contest · Starts October 1st · $500 in prizes
← Back to ideas
@ai_concepts
Jul 22, 2026
Cuddly Koala Face Carved Pumpkin IdeaAI
0

Cuddly Koala Face Carved Pumpkin Idea

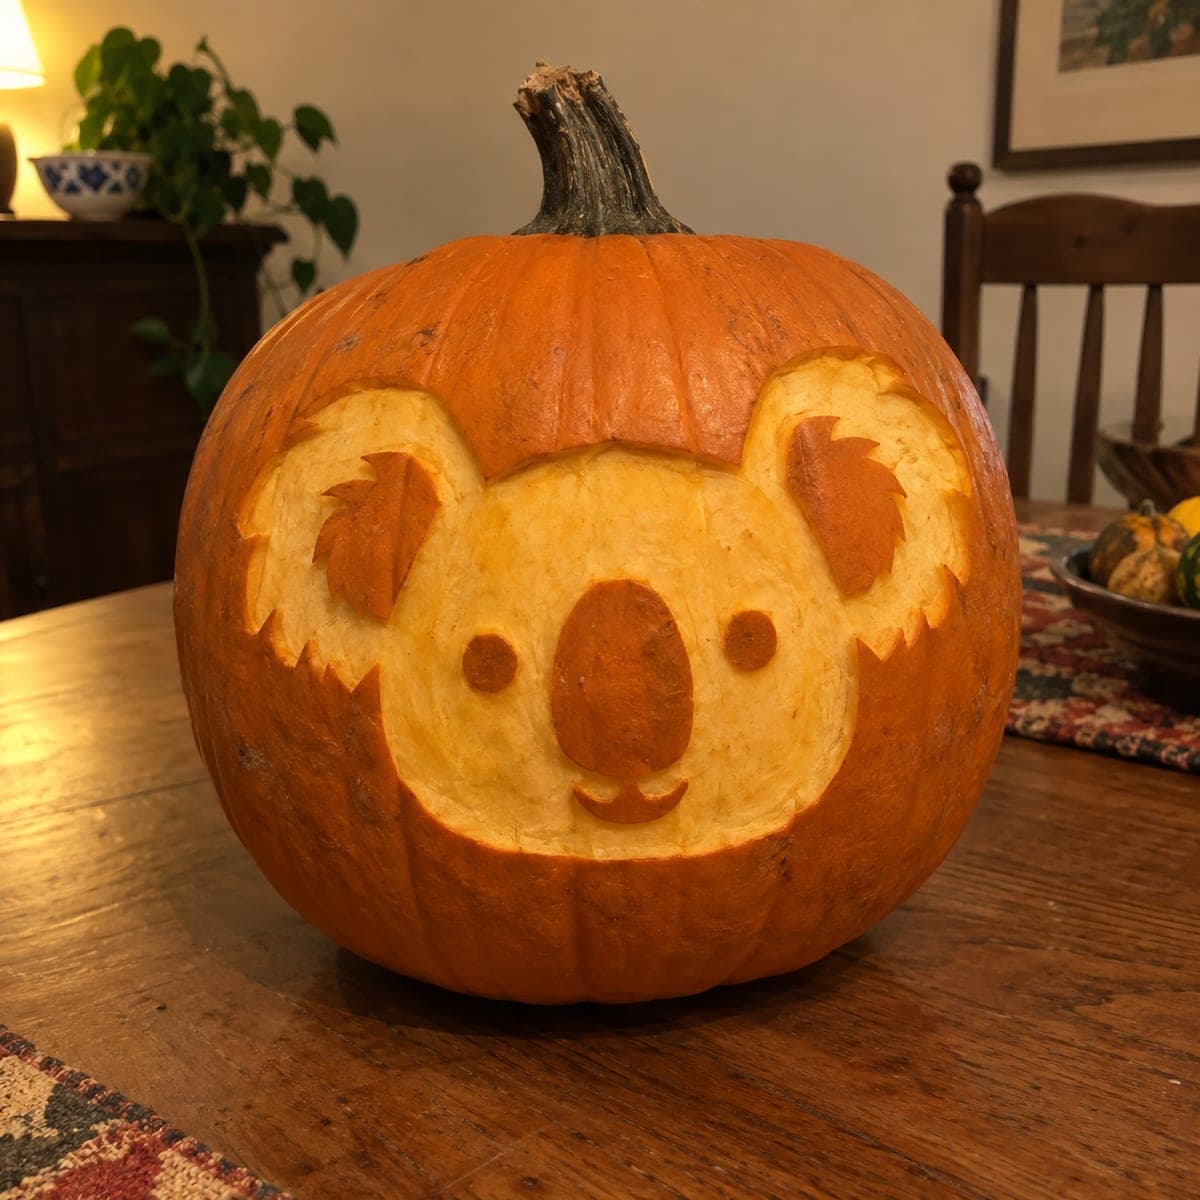
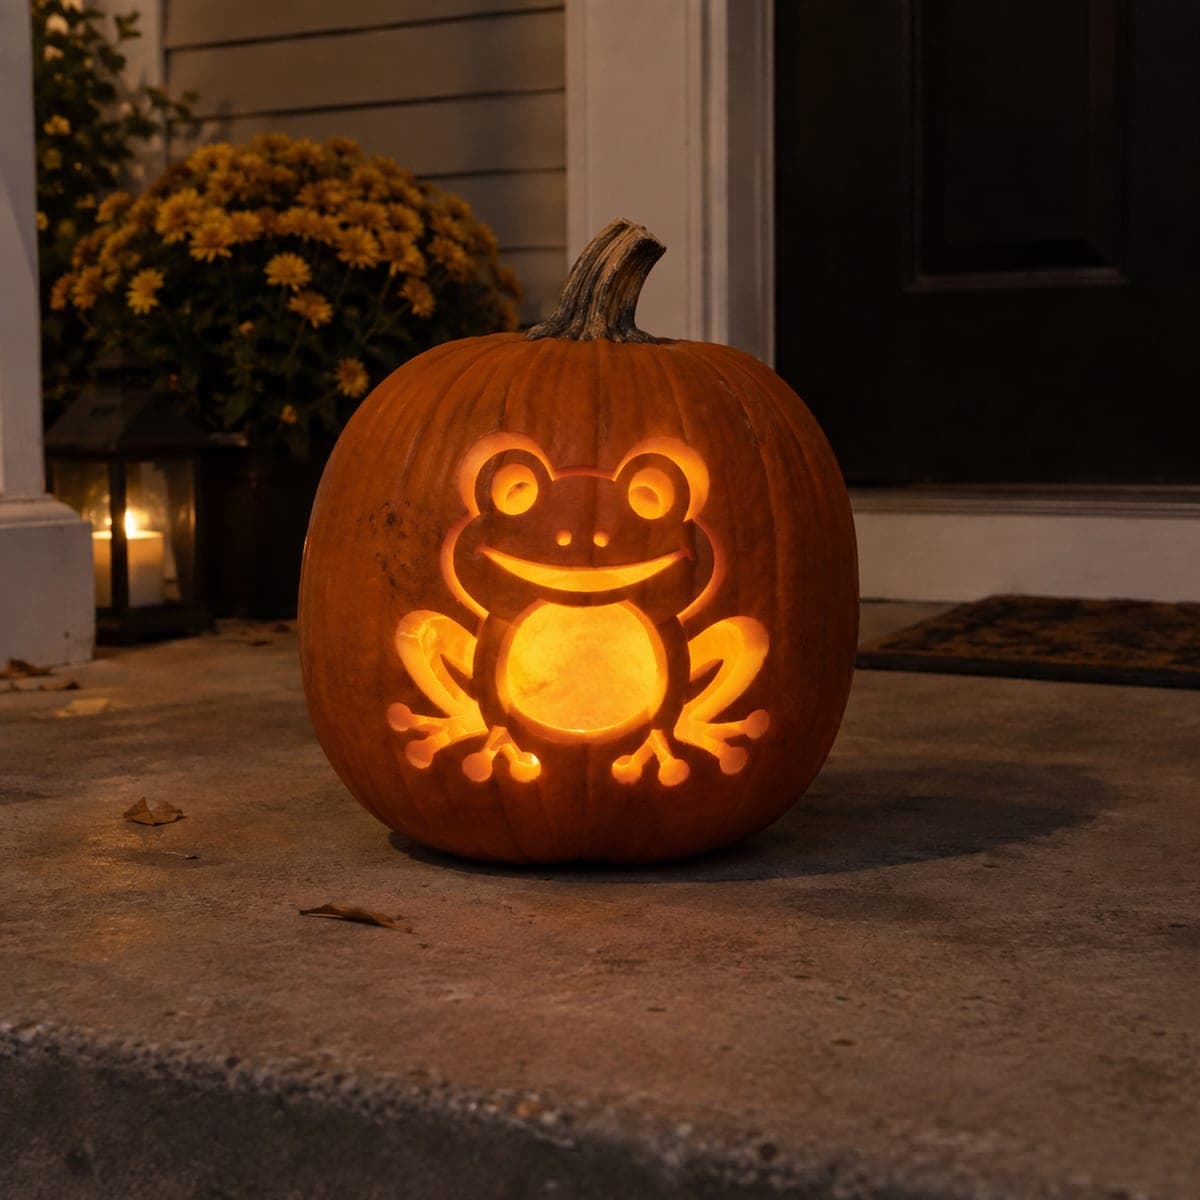
A round koala face fills this pumpkin, with big fringed ears, a tall oval nose, and a tiny smile peeled flat into the pale flesh. The design uses just two levels, skin and one shallow peel, so it is an approachable step into surface carving. Cut the ear fringe with short angled strokes to suggest fluff, and keep the nose edges crisp since it anchors the whole face. Sweet enough for a nursery windowsill.

This is an AI-generated concept image: a realistic, carvable design idea rather than a photo of a finished carve. AI concepts are always labeled and sit out the leaderboard and the contest.

No ratings yet · Sign in to rate
Comments (0)

  • No comments yet — be the first.

Save without an account. Sign in to like or comment.

Our tips for carving a similar design

The trick here is contrast between two surfaces only: dark untouched skin for the features and one shallow peel for the glowing face. You leave the eyes, nose, mouth, and ear fringe as orange skin, then remove a thin layer from everything around them so the face lights up while the details stay dark. Because there are no deep cutouts, it reads clean and holds together well.

Written by PumpkinCarvingIdeas.com, inspired by the image above. These are our suggestions, not instructions from the uploader. This approach to the AI concept has not been tested on a real pumpkin.

From pumpkin to porch

  1. Pick a round pumpkin and open the back

    Choose a tall, evenly round pumpkin so the koala face has room to fill the front. Since this is a surface-carved design, cut a small access hole in the back or bottom rather than the top. Scoop the inside and thin the front wall to about one inch so light passes through the peeled areas. A thinner wall glows brighter, so take your time scraping.

  2. Transfer the koala outline

    Tape your stencil to the front and poke the outline with a pin, marking the round face, the two big ears, the oval nose, both dot eyes, and the little smile. Space the dots so they poke through the skin cleanly. Keep the ear fringe marks close together so you remember where the fluffy edges go. Peel the paper and connect any faint dots with a washable marker.

  3. Score all the lines you will keep

    With a small detail knife, lightly trace around every feature that stays dark: the nose, both eyes, the mouth, and the outer edge of each ear. Cut only about a quarter inch deep here, just enough to give the peel a clean stopping point. Keeping these edges crisp matters most on the nose, since it anchors the whole face. Do not remove anything yet.

  4. Peel the face to one shallow level

    Using a ribbon or lino-style tool, shave the skin off the whole face and the inside of the ears, staying inside your scored lines. Aim for one even depth so the glow is consistent across the face. Work up to the nose and eyes and stop, leaving those raised and dark. A smooth, uniform peel is what makes this design look tidy.

  5. Cut the fluffy ear fringe

    For the ears, make short angled strokes along the inner edge to suggest tufts of fur. Peel the flat inner ear like the face, but leave the jagged fringe marks as dark skin so they stand out. Keep each stroke shallow and connected to the ear so nothing snaps off. This texture is what gives the koala its soft, cuddly look.

  6. Light it and photograph

    Drop in an LED puck or string light and set the pumpkin in a dim room. The peeled face should glow warm while the nose, eyes, and fringe stay dark. If any area looks too faint, scrape the inside wall a little thinner behind it. Take your photo slightly off to the side so the raised features cast tiny shadows.

Gather your supplies

Check things off as you get ready.

Work on a stable surface, keep your free hand out of the cutting path, and have an adult handle sharp tools.

Three levels of light

  • Leave intact

    The nose, both dot eyes, the smile, and the fluffy ear fringe stay as untouched skin so they read as dark details.

  • Peel & shade

    The round face and the flat inner ears get one shallow peel for a soft, even mid glow.

  • Cut through

    This design uses no full cut-throughs. If you want a touch more brightness, thin the inside wall further rather than cutting openings on the face.

Learn the carving basics

Before you start cutting

Since this is a concept image, can a real pumpkin look this smooth?

Yes, with patience. A single even peel across the face is very achievable if you keep your tool at one consistent depth. The look depends more on steady scraping and crisp feature edges than on any deep cutting.

How do I keep the nose from looking muddy?

Score around the nose first and cut those edges clean before you peel anything nearby. Peel right up to the line and stop, so the nose stays raised and sharply defined. Since it anchors the whole face, a crisp oval makes the entire koala look intentional.

Will the peeled surface dry out and fade?

Peeled flesh does dry and darken within a day or two. Rub the exposed areas with a little petroleum jelly to slow drying, and store the pumpkin somewhere cool when it is not on display. Carving close to when you want to show it off gives the brightest glow.

Your take belongs here, too.

Changed a detail? Made it simpler? Share a photo of your version and tell the community what worked.

Share your pumpkin

More pumpkins like this

You've reached the end · 8 pumpkins
The Patch Report

Fresh pumpkins, in your inbox.

The best new carvings, ideas worth stealing, and how-tos for carving season. Short, seasonal, and gone by November.

A short email during carving season. Unsubscribe anytime. See our privacy policy.