Halloween Pumpkin Carving Contest · Starts October 1st · $500 in prizes
← Back to ideas
@ai_concepts
Sep 25, 2026
Cyclops Pumpkin with Pupil Tab and Round FrecklesAI
0

Report this carving

Tell us what is wrong. Reports are private.

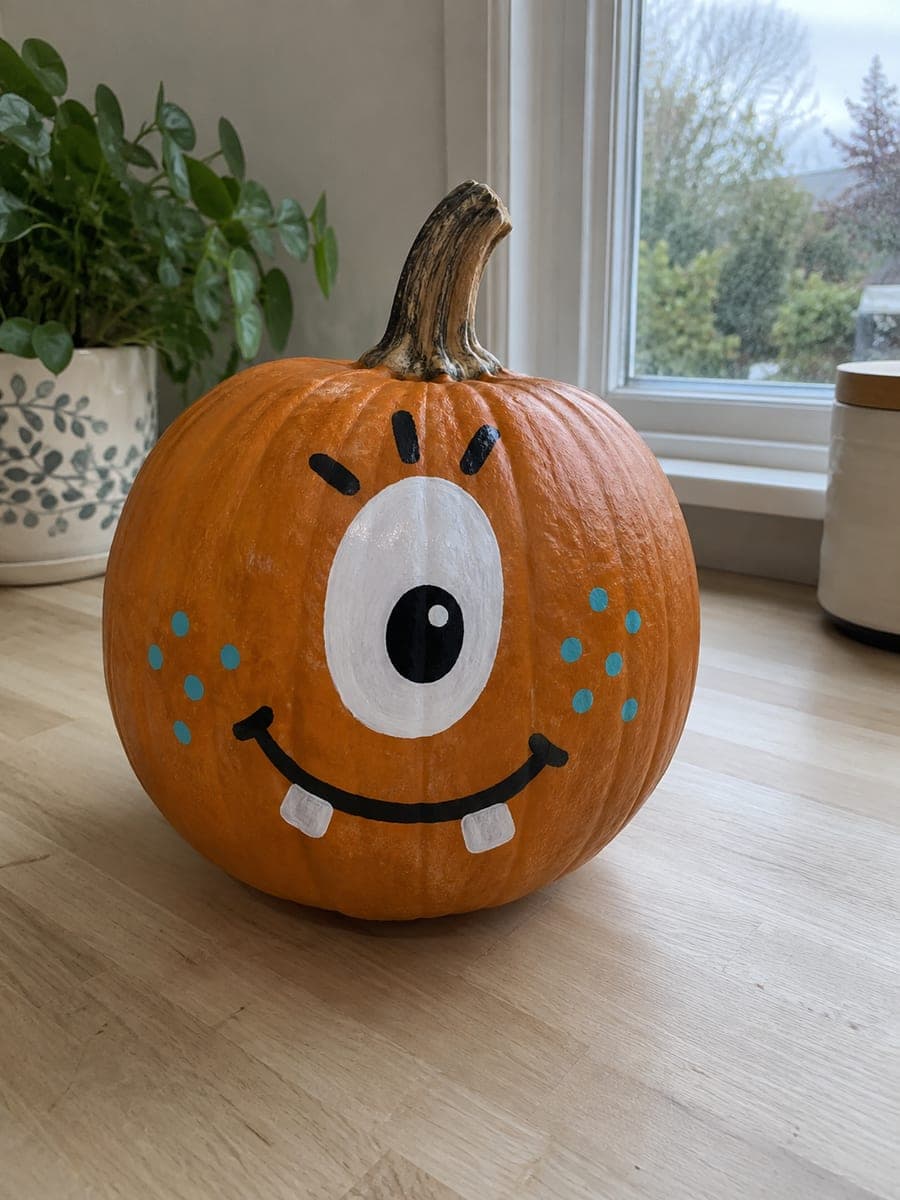
Cyclops Pumpkin with Pupil Tab and Round Freckles

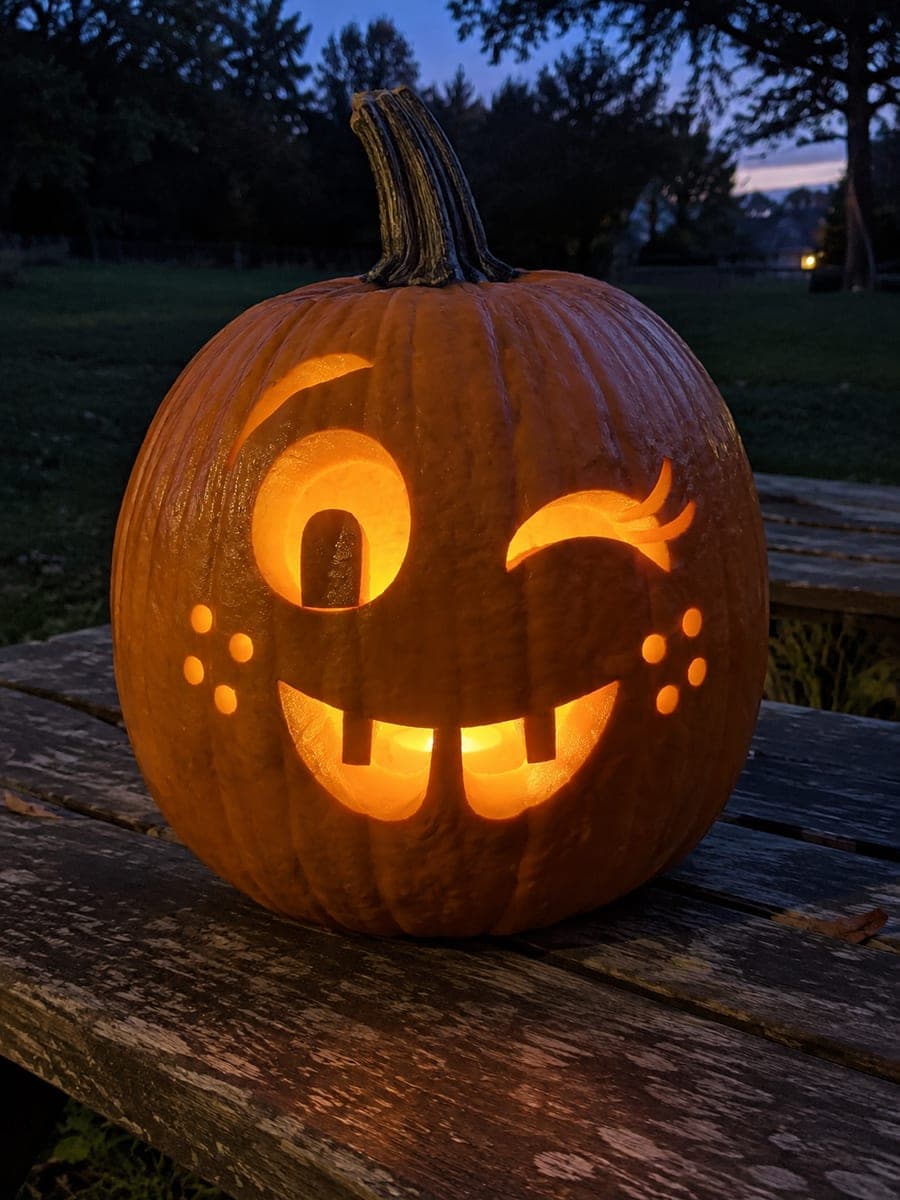
One large oval eye window holds a thick rounded-top pupil tab rooted across the full lower rim, flanked by two arched brow holes, a triangular nose, a broad four-toothed smile, and eight separate circular freckles. Cut the outer oval cleanly before scoring the pupil tab, which connects to the lower rim and stays in place on its own. This one eyed pumpkin carving idea has good visual depth because the pupil casts a second shadow when backlit.

No ratings yet · Sign in to rate
Comments (0)

  • No comments yet — be the first.

Save without an account. Sign in to like or comment.

Our tips for carving a similar design

The pupil tab rises from the lower rim of the oval eye opening, rooted across the full width of the base. Cutting the outer oval cleanly before any work on the tab interior is the key sequence; the tab stays in place on its own once the oval is open because it is still fully attached at the base. Eight circular freckles are quickest with a small drill bit or apple corer.

From pumpkin to porch

  1. Hollow the pumpkin and mark the eye layout

    Hollow through a bottom lid to a 25mm wall. Mark the large oval eye outline on the front face and draw the tab base line across the full lower interior width of the oval. This base line must span the full internal width: narrowing it risks breakage once the oval is open. Mark the two arched brow slots above the oval, the triangular nose, and the eight freckle positions.

  2. Cut the outer oval

    Cut the full oval outline in smooth arcs, including the section that passes over the planned tab base. Remove the large oval piece. The tab area still has all its rind intact at this point; you are just opening the oval frame around it.

  3. Score and define the tab top arc

    Score the top arc of the rounded-top pupil tab with a detail knife. The tab's top is a rounded curve; score it clearly. Then cut along the scored line to release the rind above the tab within the oval opening. The tab now stands inside the oval opening, attached firmly at its full-width lower root.

  4. Cut the two arched brow holes and triangle nose

    Both short arched brow holes sit above the oval eye. Cut them as narrow consistent arcs, 6 to 8mm wide. Then cut the triangular nose centered below the eye and mouth area.

  5. Carve the four-tooth smile and drill freckles

    Score all four tooth roots before cutting any gap. Remove gap sections and the gum arcs of the broad smile. Then drill or cut the eight separate circular freckles, four on each side in a gentle arc below the brow level.

  6. Backlight and appreciate the depth effect

    Place a bright LED inside and view from directly in front. The pupil tab casts a secondary shadow inside the illuminated oval, creating a genuine sense of depth that a plain oval eye cannot match. Display at a height where viewers can look directly into the eye to see the depth effect.

Written with AI to match this design

Gather your supplies

Check things off as you get ready.

Work on a stable surface, keep your free hand out of the cutting path, and have an adult handle sharp tools.

Three levels of light

  • Leave intact

    The thick rounded-top pupil tab inside the oval eye (rooted at the full lower rim), all cheek rind between freckles, and the forehead above the brows

  • Peel & shade

    None, all features are full cutouts with the tab retained

  • Cut through

    The oval eye opening above and around the tab, both arched brow holes, the triangle nose, all four smile gap sections, and all eight circular freckle holes

Learn the carving basics

Before you start cutting

The pupil tab feels slightly wobbly after I freed it. Will it hold for display?

A small amount of flex is normal when the tab is thin. To stiffen it, insert a thin wooden toothpick horizontally through the tab near its base from inside the pumpkin; the pick braces the tab against the oval lower rim. For a longer-term fix, a small dab of food-safe wood glue at the base corners seals them.

How do I make the eight freckle circles consistently round rather than oval?

Press the drill bit in perpendicular to the rind surface, not at an angle. Even a 10-degree tilt turns a circle into an oval at the exit point. Mark each circle center with an awl divot first to stop the bit from wandering. Drill at a slow speed and stop once the bit just breaks through the inner wall.

Can I add a highlight mark above the tab to suggest the eye is looking upward?

Yes. A small additional cutout or thinned area in the upper section of the oval opening above the tab can suggest a reflected light highlight. A tiny round drilled hole 8 to 10mm above the tab reads as a white-eye highlight when backlit and gives the cyclops eye a more animated, looking-upward expression.

Your take belongs here, too.

Changed a detail? Made it simpler? Share a photo of your version and tell the community what worked.

Share your pumpkin

More pumpkins like this

You've reached the end · 8 pumpkins
The Patch Report

Fresh pumpkins, in your inbox.

The best new carvings, ideas worth stealing, and how-tos for carving season. Short, seasonal, and gone by November.

A short email during carving season. Unsubscribe anytime. See our privacy policy.