Halloween Pumpkin Carving Contest · Starts October 1st · $500 in prizes
← Back to ideas
@ai_concepts
Jul 28, 2026
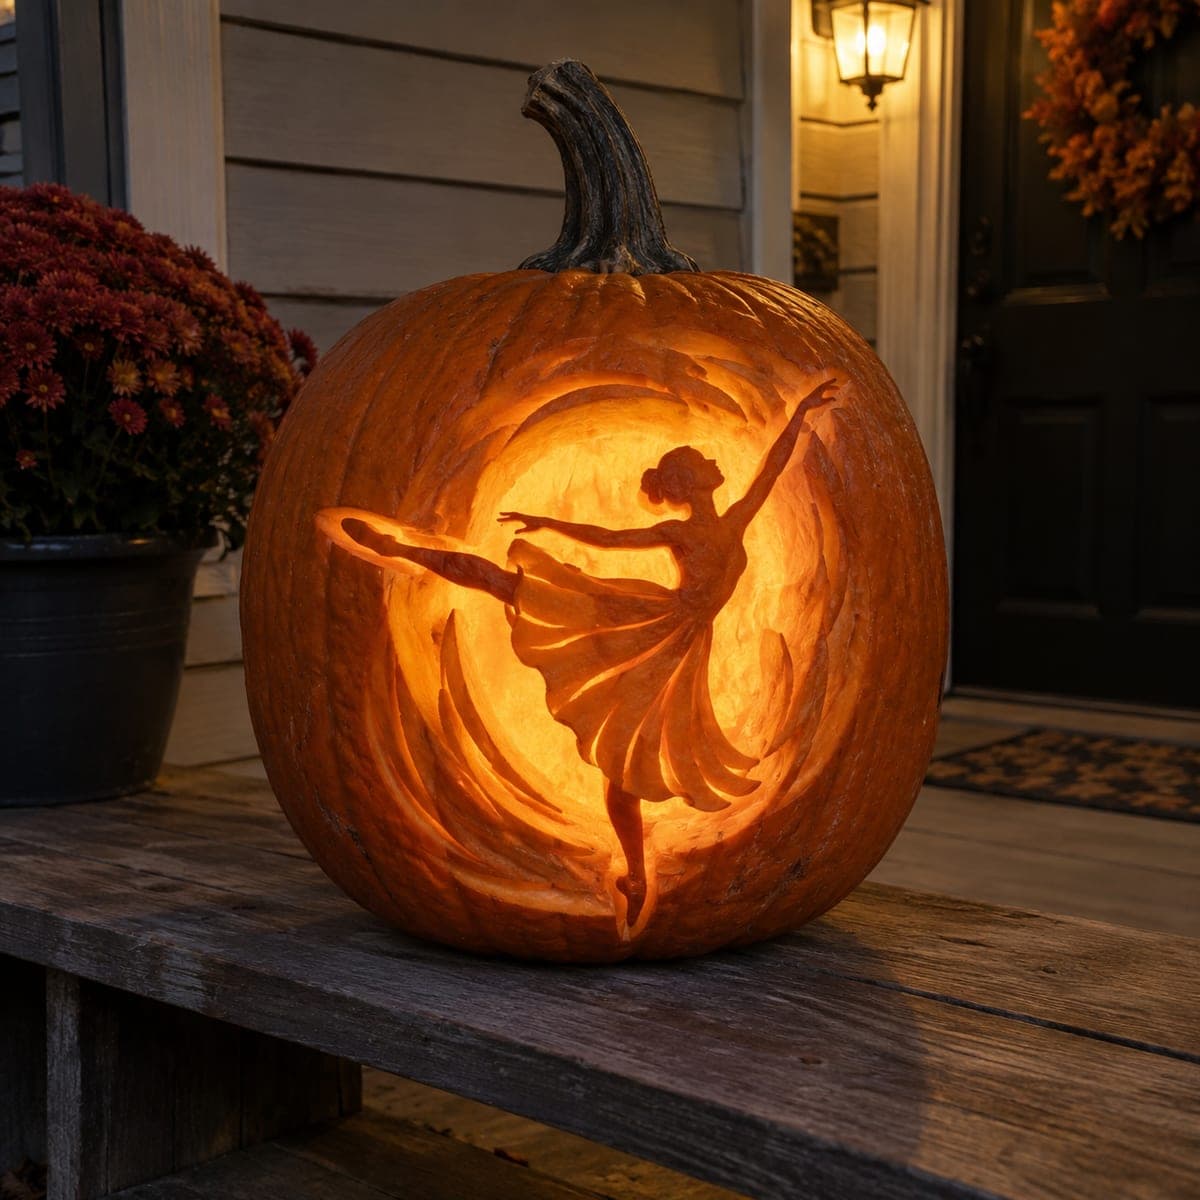
Dancing Ballerina Relief Carved Pumpkin with SwirlsAI
0

Dancing Ballerina Relief Carved Pumpkin with Swirls

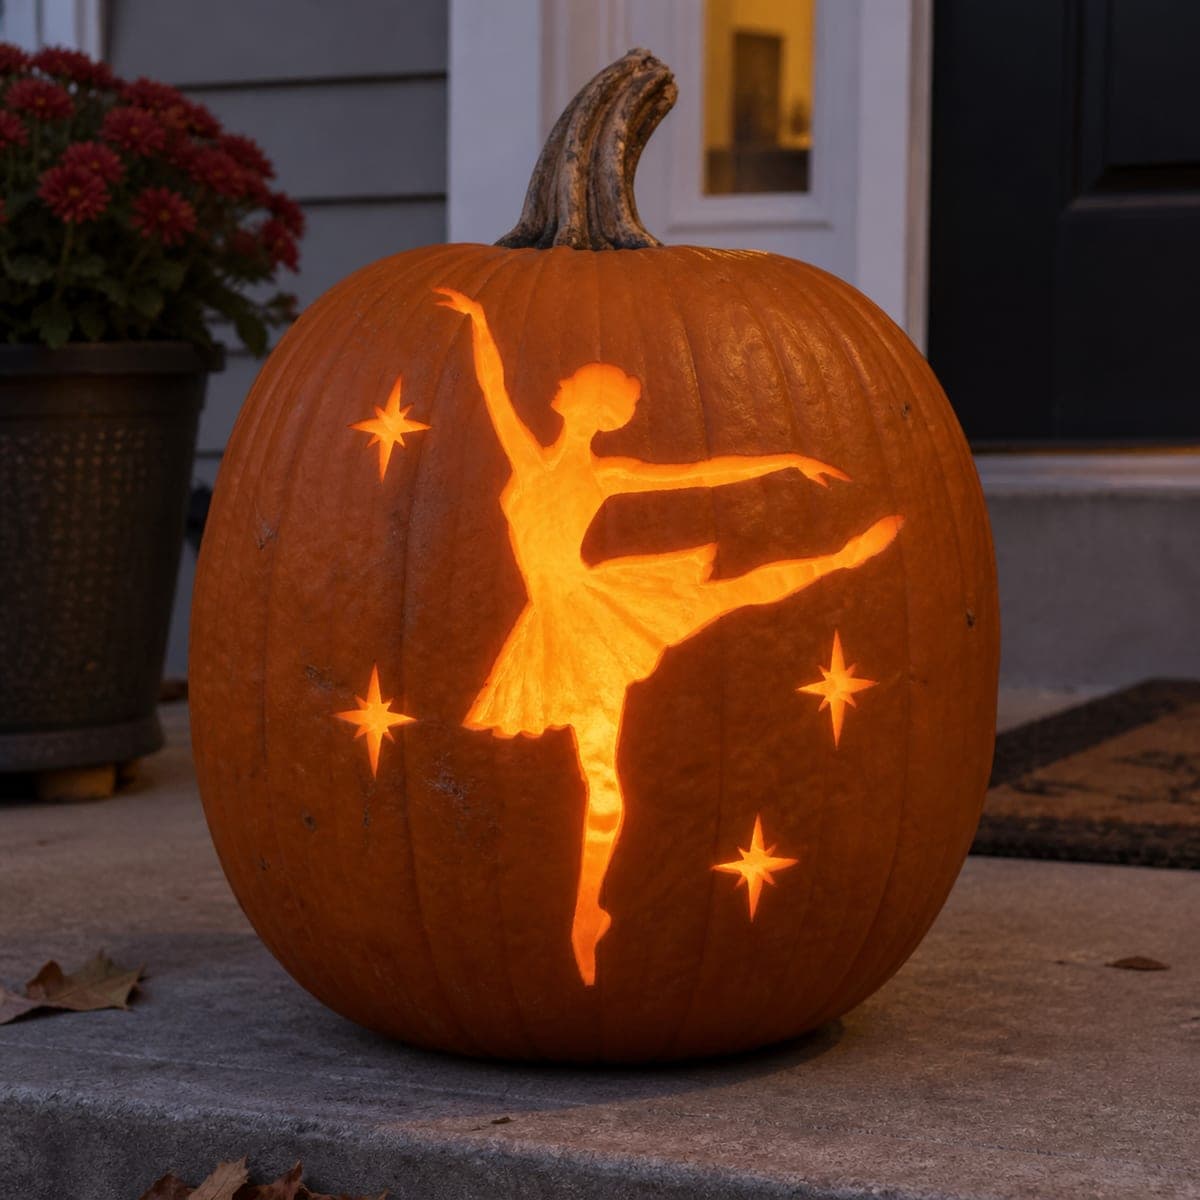
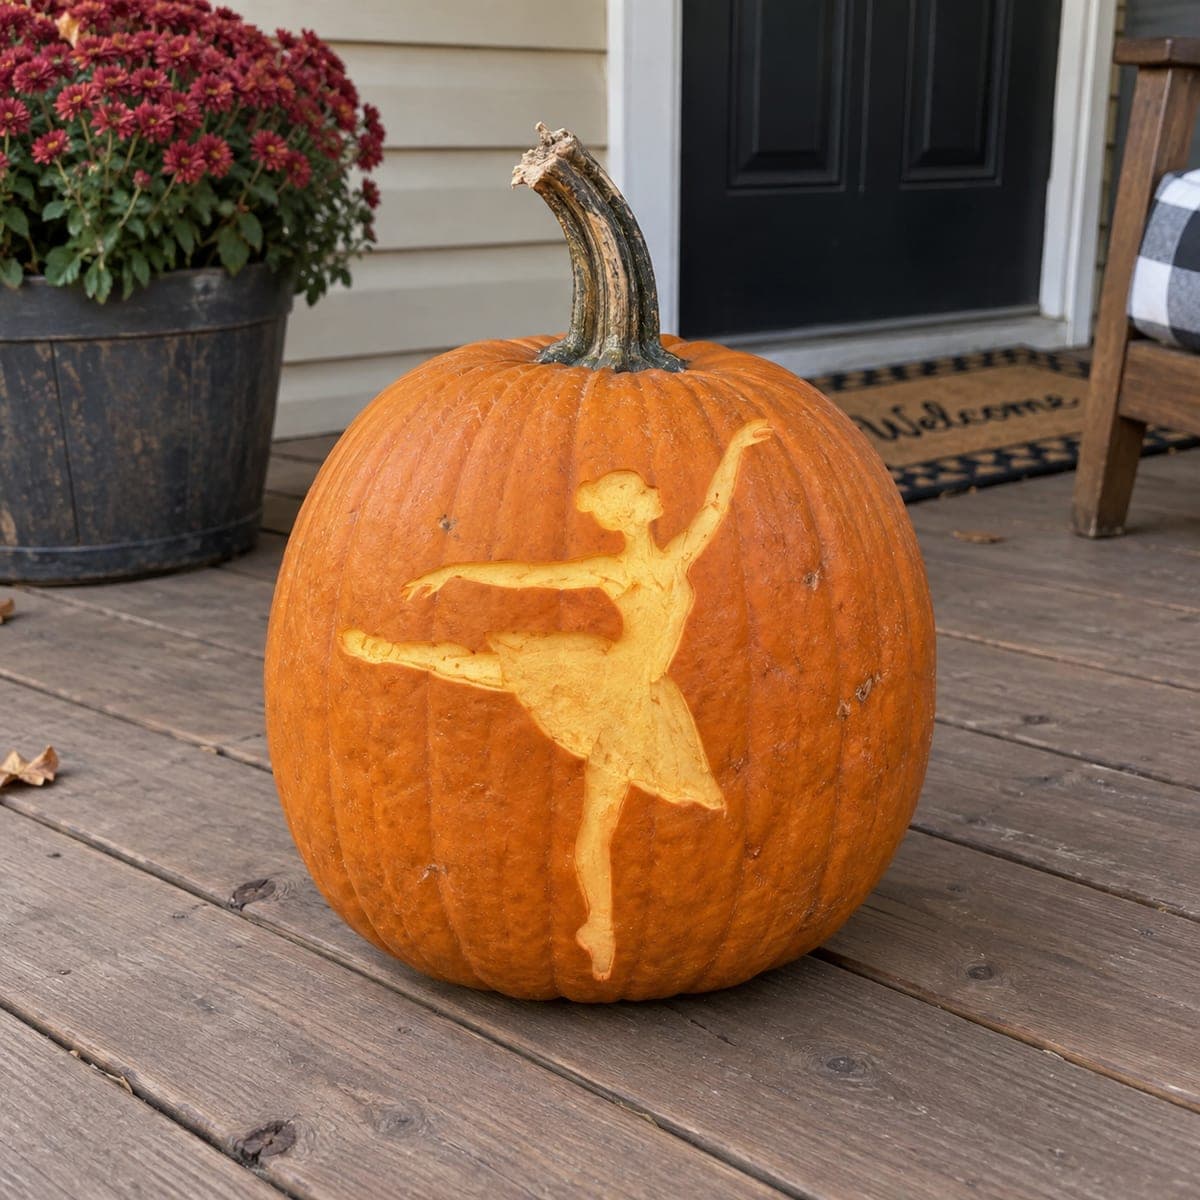
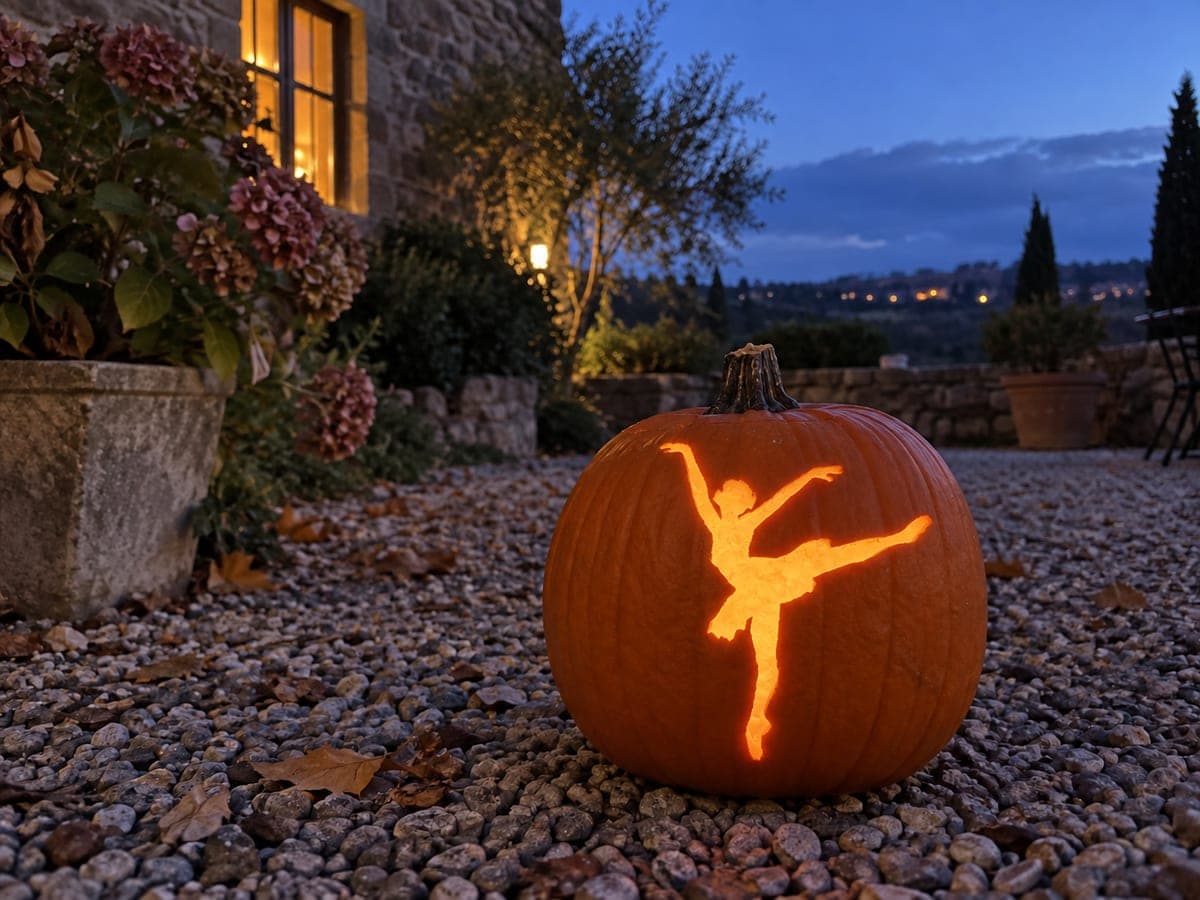
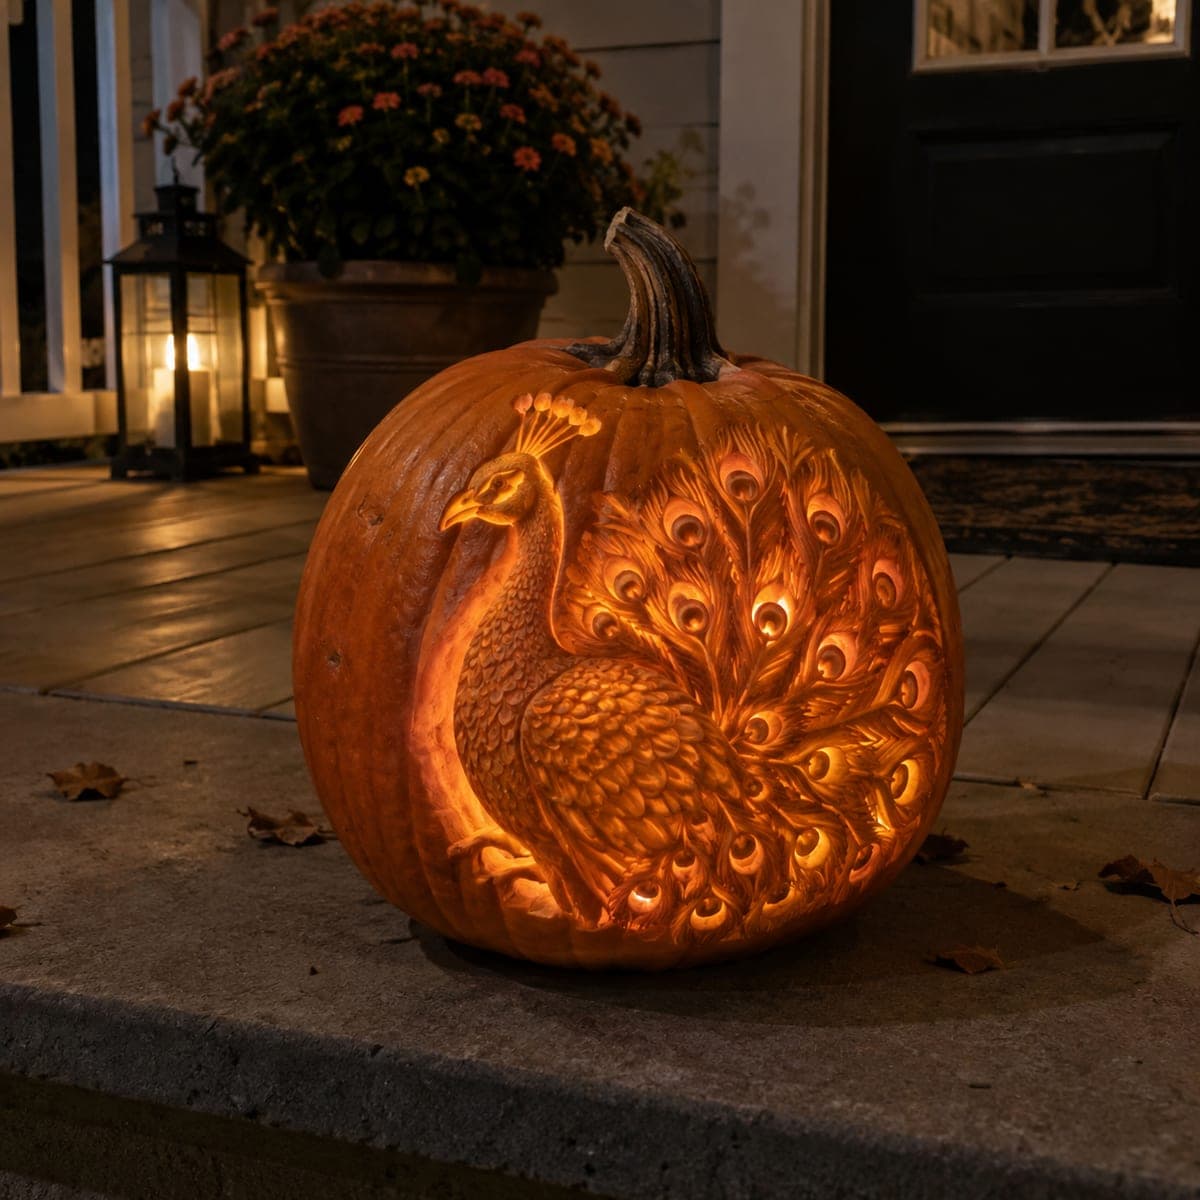
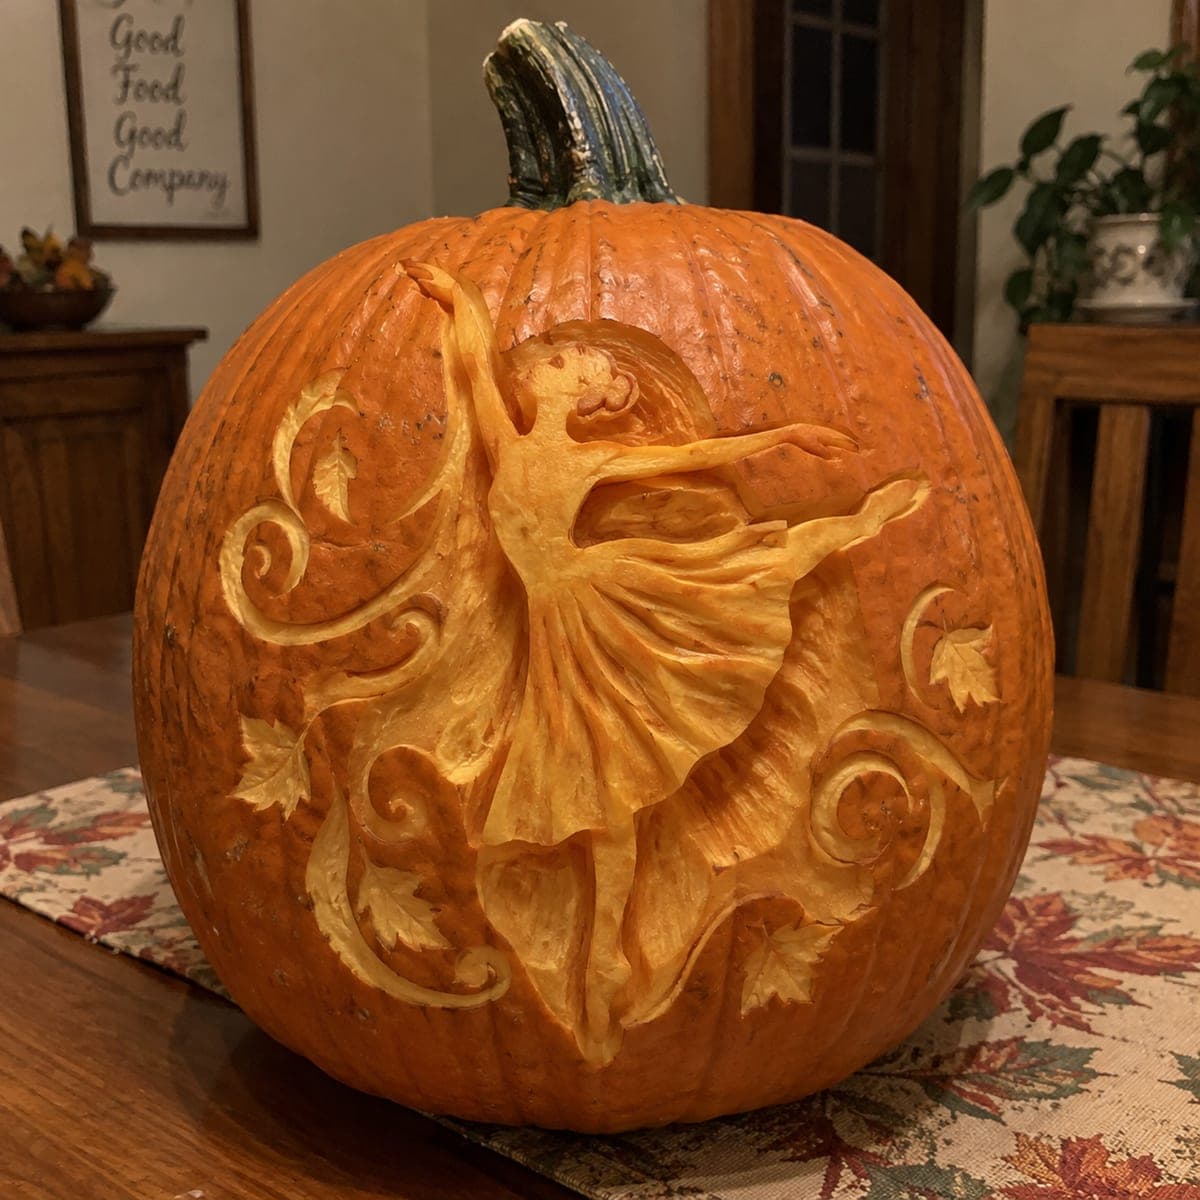
A ballerina leaps mid-dance across this pumpkin, her flowing skirt and the surrounding vine swirls and autumn leaves all sculpted in graceful relief. The composition wraps the curves of the pumpkin, so rotate the design in your mind before drawing: her extended arms should follow the widest part of the shell. Carve the figure at the shallowest depth and sink the scrollwork behind her so she reads as the focal point.

This is an AI-generated concept image: a realistic, carvable design idea rather than a photo of a finished carve. AI concepts are always labeled and sit out the leaderboard and the contest.

No ratings yet · Sign in to rate
Comments (0)

  • No comments yet — be the first.

Save without an account. Sign in to like or comment.

Our tips for carving a similar design

This is a relief carving, which means almost nothing is cut all the way through. The whole effect comes from peeling the skin at different depths so the ballerina, her skirt, the vine swirls, and the autumn leaves glow at different brightnesses. Keep the dancer at the shallowest depth so she stays the brightest focal point, then sink the scrollwork behind her a little deeper so it recedes.

Written by PumpkinCarvingIdeas.com, inspired by the image above. These are our suggestions, not instructions from the uploader. This approach to the AI concept has not been tested on a real pumpkin.

From pumpkin to porch

  1. Plan the layout around the curve

    Since this is an AI concept and no real pumpkin exists, pick a large, tall, smooth pumpkin with a wide belly for your own version. Hold the stencil against the shell and rotate it so her extended arms follow the widest part, where the surface is flattest. Tape the pattern down and transfer the outlines with a poking tool or a washable marker. Mark the dancer, the skirt folds, the vine swirls, and each leaf as separate zones before you cut anything.

  2. Light it from the inside, not the top

    For a relief carving you want the wall thinned, not opened, so cut a small access hole in the back or bottom rather than a lid on top. Scoop the inside wall down to about one inch thick across the whole front so light can pass through the peeled areas evenly. A thinner wall glows more, so take your time and check the thickness with your fingers as you go. Set an LED puck or string light inside, never a candle, since the thin walls and fine detail can scorch.

  3. Score every outline first

    With a fine detail knife, trace along all your transferred lines to a shallow depth. This locks in the shapes of the ballerina, the skirt, the swirls, and the leaves before you start removing skin. Cutting these boundaries first keeps a peeled area from tearing into the section next to it. Keep the blade close to vertical and let the tip do the work.

  4. Peel the ballerina at the shallowest depth

    Use a ribbon or lino tool to shave off just the orange skin on the figure, leaving the pale flesh right below it. This is the brightest, shallowest layer, so she reads as the focal point. Carve the skirt with sweeping strokes that follow the fabric folds, going slightly deeper along the shadowed pleats to suggest movement. Keep her arms and neck slender but do not undercut them so much that they weaken.

  5. Sink the swirls and leaves behind her

    Peel the vine swirls and autumn leaves a touch deeper than the dancer so they sit back in shadow and frame her. Vary the depth within each leaf to hint at veins and curl, and let the scroll tails taper as they spiral. Leave narrow ridges of untouched skin between neighboring swirls so the design keeps definition and structure. Step back often and squint to check that the ballerina still stands out from the background.

  6. Light, seal, and photograph

    Wipe away shavings, then rub a thin coat of petroleum jelly on the cut edges to slow drying and keep the glow crisp. Drop in the LED, then darken the room and take your photo from the front where the arms span the widest curve. If the flesh dries or dulls over a day or two, a quick misting of water can refresh it. Store it cool between showings to extend its life.

Gather your supplies

Check things off as you get ready.

Work on a stable surface, keep your free hand out of the cutting path, and have an adult handle sharp tools.

Three levels of light

  • Leave intact

    The background pumpkin skin and the thin ridges between swirls stay dark

  • Peel & shade

    The vine swirls and autumn leaves glow a dim orange, sitting behind the figure

  • Cut through

    The ballerina and her flowing skirt are peeled shallowest for the brightest glow

Learn the carving basics

Before you start cutting

How do I keep the ballerina brighter than the swirls?

It is all about depth. Peel her skin the shallowest so the wall stays thinnest and lets the most light through, then carve the swirls and leaves a little deeper so they glow softer. Squint at the lit pumpkin as you work to confirm she pops forward.

Should I cut all the way through anywhere?

For this relief look, keep almost everything as peeled skin over pale flesh, not full cutouts. You can cut a few tiny gaps between the skirt and an arm if you want the brightest accents, but do that last and keep them small. Full openings would flatten the sculpted, layered effect.

Her arms and neck look thin, how do I keep them from breaking?

Because this is relief carving, her arms are only peeled, not cut free, so they stay supported by the flesh around them. Avoid undercutting the edges of the arms and neck, and leave the wall a bit thicker directly under those slender areas. That backing keeps them structurally sound.

Your take belongs here, too.

Changed a detail? Made it simpler? Share a photo of your version and tell the community what worked.

Share your pumpkin

More pumpkins like this

You've reached the end · 8 pumpkins
The Patch Report

Fresh pumpkins, in your inbox.

The best new carvings, ideas worth stealing, and how-tos for carving season. Short, seasonal, and gone by November.

A short email during carving season. Unsubscribe anytime. See our privacy policy.