Halloween Pumpkin Carving Contest · Starts October 1st · $500 in prizes
← Back to ideas
@ai_concepts
Jul 10, 2026
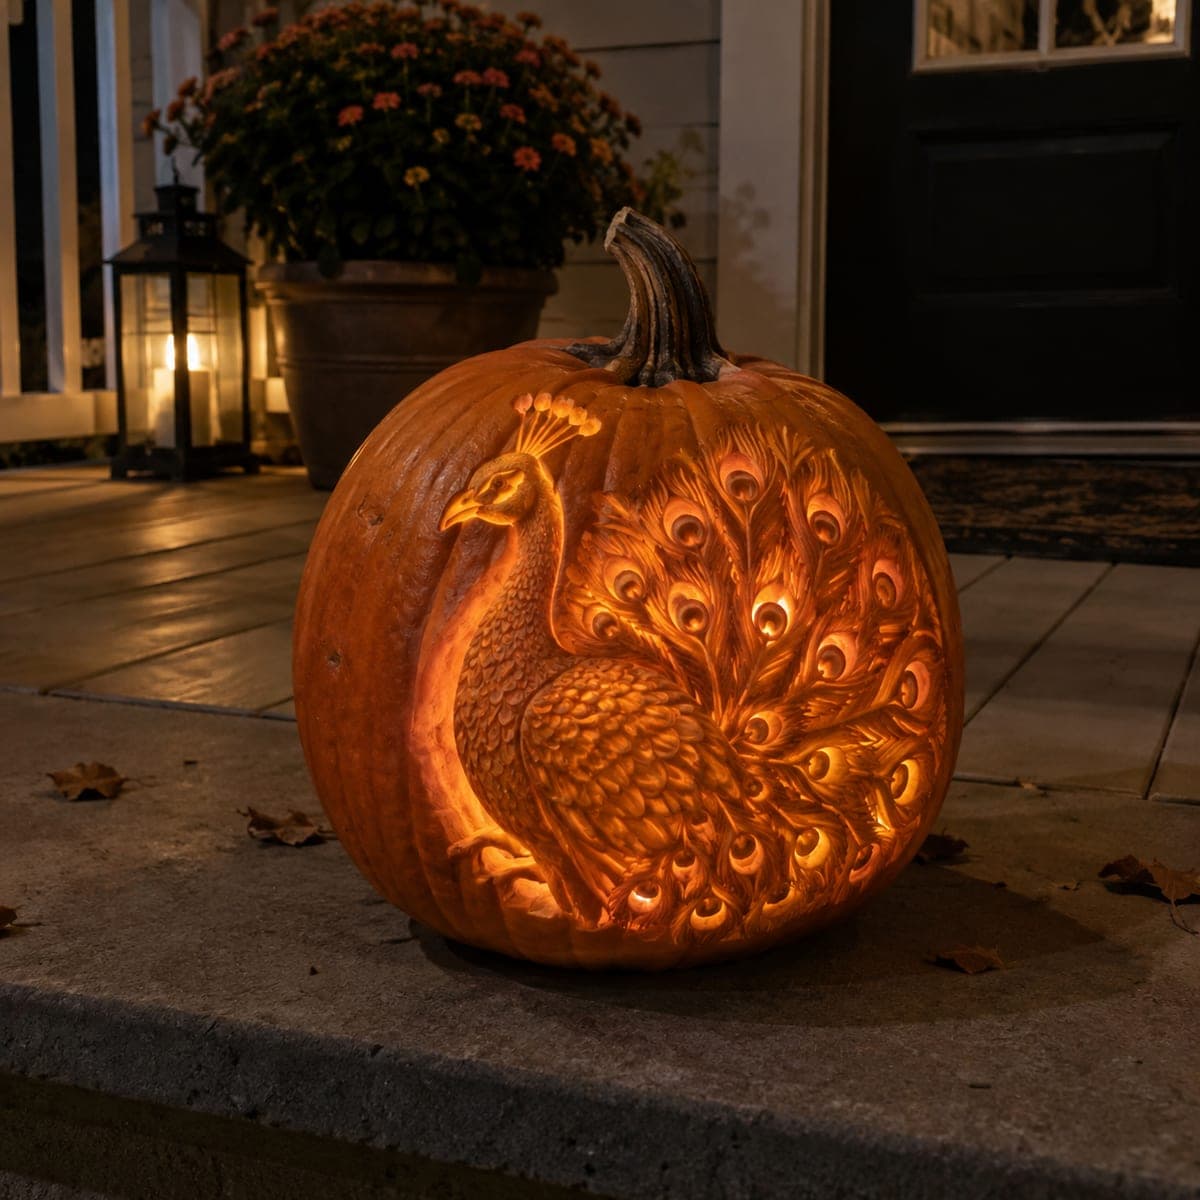
Peacock Feather Fan Relief PumpkinAI
0

Peacock Feather Fan Relief Pumpkin

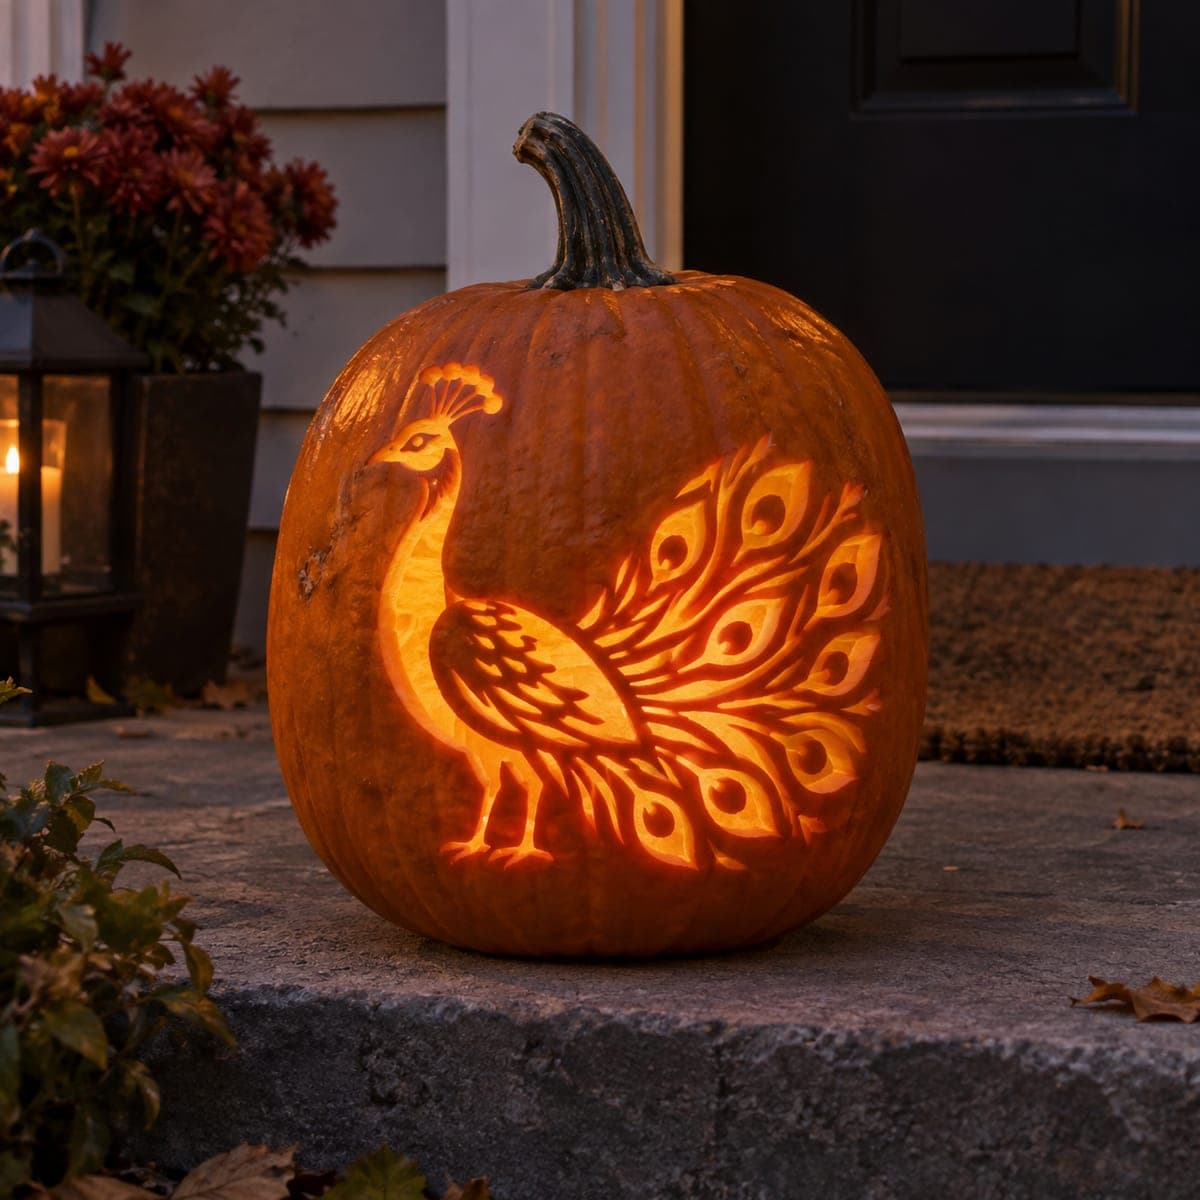
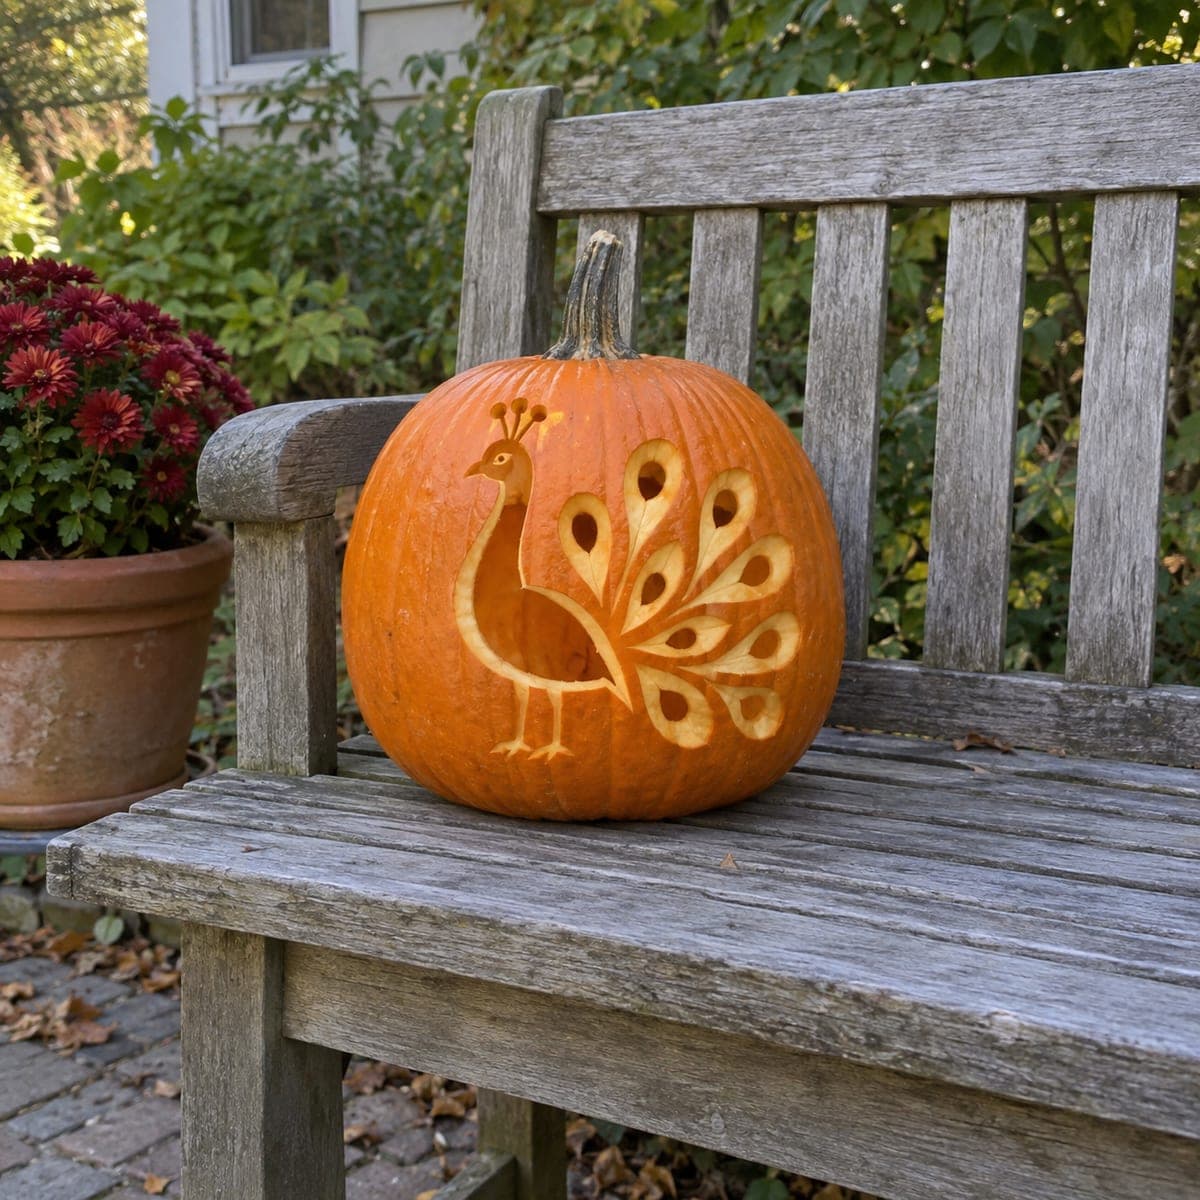
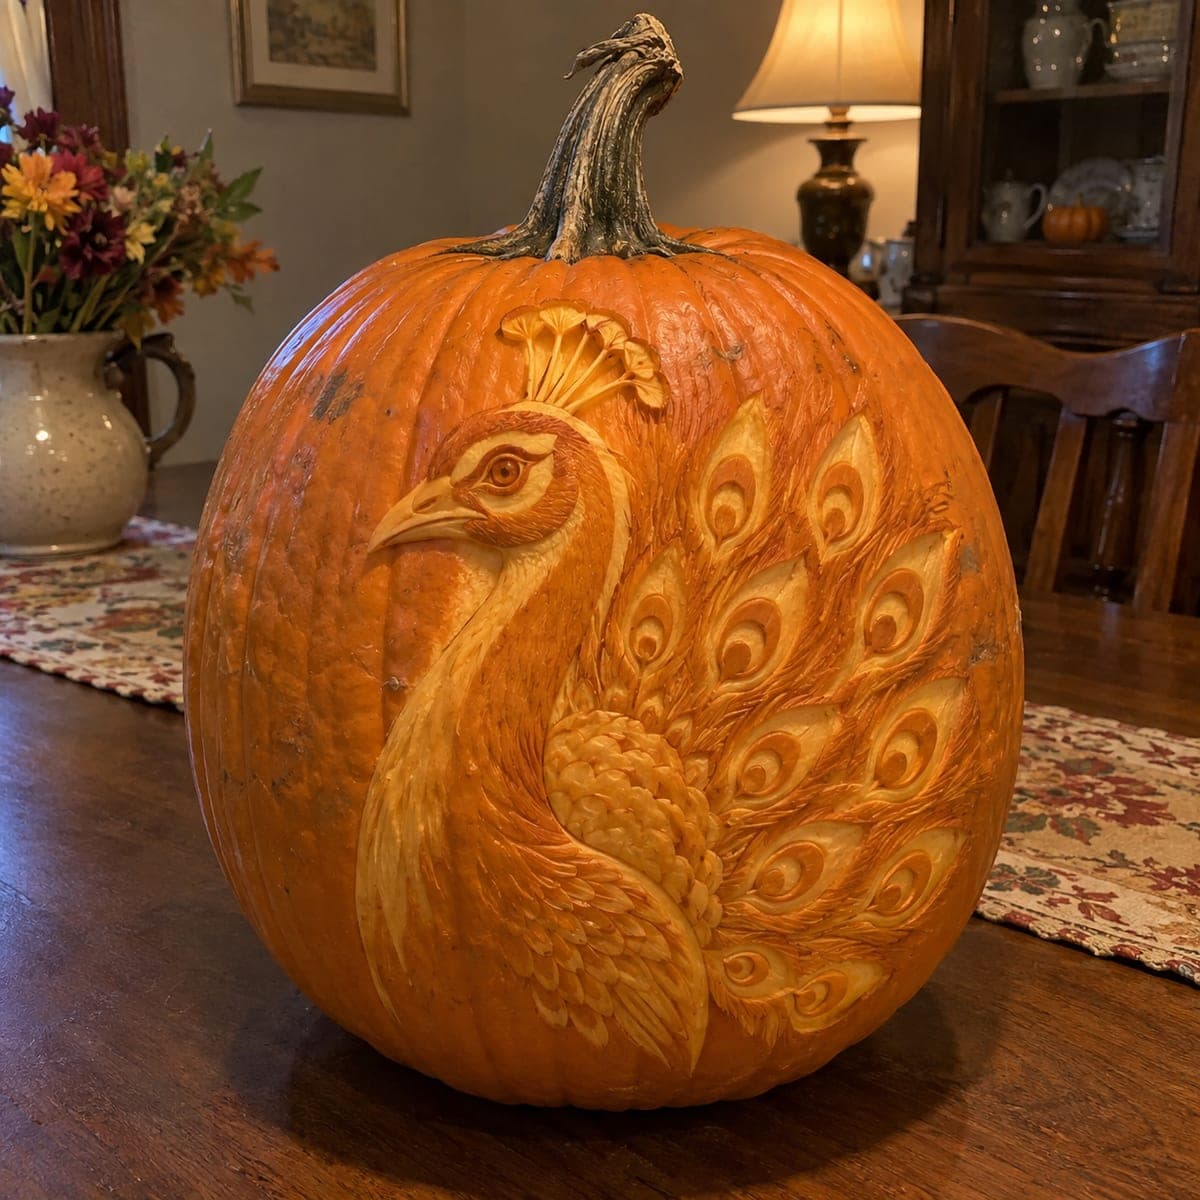
An elegant peacock curves its neck across this pumpkin while a fan of eye-spotted tail feathers sweeps up the side, all sculpted in creamy relief against the orange skin. Each feather eye is a set of nested ovals gouged at slightly different depths, which is repetitive but forgiving work once the first one teaches you the pattern. Carve the head, crest, and neck first to fix the composition, then radiate the feathers outward. Displayed on a dining table, it needs no light at all.

This is an AI-generated concept image: a realistic, carvable design idea rather than a photo of a finished carve. AI concepts are always labeled and sit out the leaderboard and the contest.

No ratings yet · Sign in to rate
Comments (0)

  • No comments yet — be the first.

Save without an account. Sign in to like or comment.

Our tips for carving a similar design

This design lives entirely on the surface, so the core trick is relief carving where you shave the skin to different depths instead of cutting through the wall. Fix the composition first by sculpting the head, crest, and S-curve of the neck, then radiate the tail feathers outward so each nested eye-spot lines up on its own stalk. Because it reads by shadow and color rather than light, it works beautifully as an unlit table piece.

Written by PumpkinCarvingIdeas.com, inspired by the image above. These are our suggestions, not instructions from the uploader. This approach to the AI concept has not been tested on a real pumpkin.

From pumpkin to porch

  1. Transfer the layout

    Pick a smooth, broad face of the pumpkin and tape your peacock pattern in place. Poke through the main outlines with a pin or transfer tool: the beak, eye, crest, the sweep of the neck, and the fan of feather stalks. Mark the center of each feather eye so you know where every nested oval belongs later. Step back and check the spacing before you cut anything, since the fan needs even gaps to look elegant.

  2. Shave the background lower

    Using a wide loop or ribbon tool, gently scrape away the top skin around the bird and the feathers so the design sits slightly raised. Keep the removed layer shallow and even, only a few millimeters, so you expose the pale flesh without weakening the wall. This is where the creamy color comes from, so aim for a smooth, matte surface. Work in good light and keep your bracing hand behind the blade, never in front of it.

  3. Sculpt the head, crest, and neck

    Carve these first because they anchor the whole composition. Round the cheek and brow with a small loop tool, leave the beak and eye ring a touch higher for definition, and gouge fine lines to suggest the crest plumes rising off the head. Deepen the flesh under the throat so the neck reads as a curved column. Take your time here, since fixing the face early keeps the rest of the layout honest.

  4. Radiate the feather stalks

    Draw each tail feather as a thin raised spine running from the body out to the fan edge. Carve shallow channels on both sides of every spine so the stalks stand up in relief. Add short angled strokes along them to mimic the soft barbs. Do all the stalks before the eye-spots so the fan spacing stays consistent across the curve of the pumpkin.

  5. Gouge the nested eye-spots

    Each eye is a set of concentric ovals cut at slightly different depths, so the first one teaches you the rhythm and the rest follow. Use a small U-gouge for the outer ring, then step inward with shallower passes to build the layered look, leaving the very center raised. Keep every oval attached to the flesh around it so nothing pops loose. It is repetitive but forgiving work, so settle into a pattern and let the light and shadow do the rest.

  6. Clean up and display

    Brush away crumbs with a dry pastry brush and lightly smooth any ragged edges with the tip of a detail tool. Wipe the carved areas and rub a thin coat of petroleum jelly on the exposed flesh to slow browning. This piece is meant to be seen by room light, so set it on a runner or wooden table where side lighting rakes across the relief. Snap your photo within a day or two while the pale carving still glows.

Gather your supplies

Check things off as you get ready.

Work on a stable surface, keep your free hand out of the cutting path, and have an adult handle sharp tools.

Three levels of light

  • Leave intact

    The orange skin left around the bird and between the feathers, kept dark for contrast

  • Peel & shade

    The bird's body, neck, and the feather field, shaved to a soft glowing cream

  • Cut through

    None; this relief design keeps the wall intact and needs no cutouts

Learn the carving basics

Before you start cutting

Do I need to put a light inside?

No. This is a relief piece that reads by the color contrast between orange skin and pale carved flesh, so it looks best on a table in normal room light. If you want a hint of glow you could add a low LED behind it, but leave the wall solid rather than cutting openings.

How do I keep all the feather eyes looking even?

Mark every eye center during transfer and carve all the feather stalks before any eyes. Carve one complete eye-spot first as your reference, then match its ring count and depth on each of the others. Working in the same order across the fan keeps your hand consistent.

The design is AI art, so how do I adapt it to a real pumpkin?

Choose a tall, smooth pumpkin with a broad flat face so the fan has room to spread. Trace a real peacock stencil to plan the layout, then treat every element as shallow relief instead of the seamless sculpt in the image. Keep each raised spine and oval firmly attached to the flesh so nothing snaps off.

Your take belongs here, too.

Changed a detail? Made it simpler? Share a photo of your version and tell the community what worked.

Share your pumpkin

More pumpkins like this

You've reached the end · 8 pumpkins
The Patch Report

Fresh pumpkins, in your inbox.

The best new carvings, ideas worth stealing, and how-tos for carving season. Short, seasonal, and gone by November.

A short email during carving season. Unsubscribe anytime. See our privacy policy.