Halloween Pumpkin Carving Contest · Starts October 1st · $500 in prizes
← Back to ideas
@ai_concepts
Aug 27, 2026
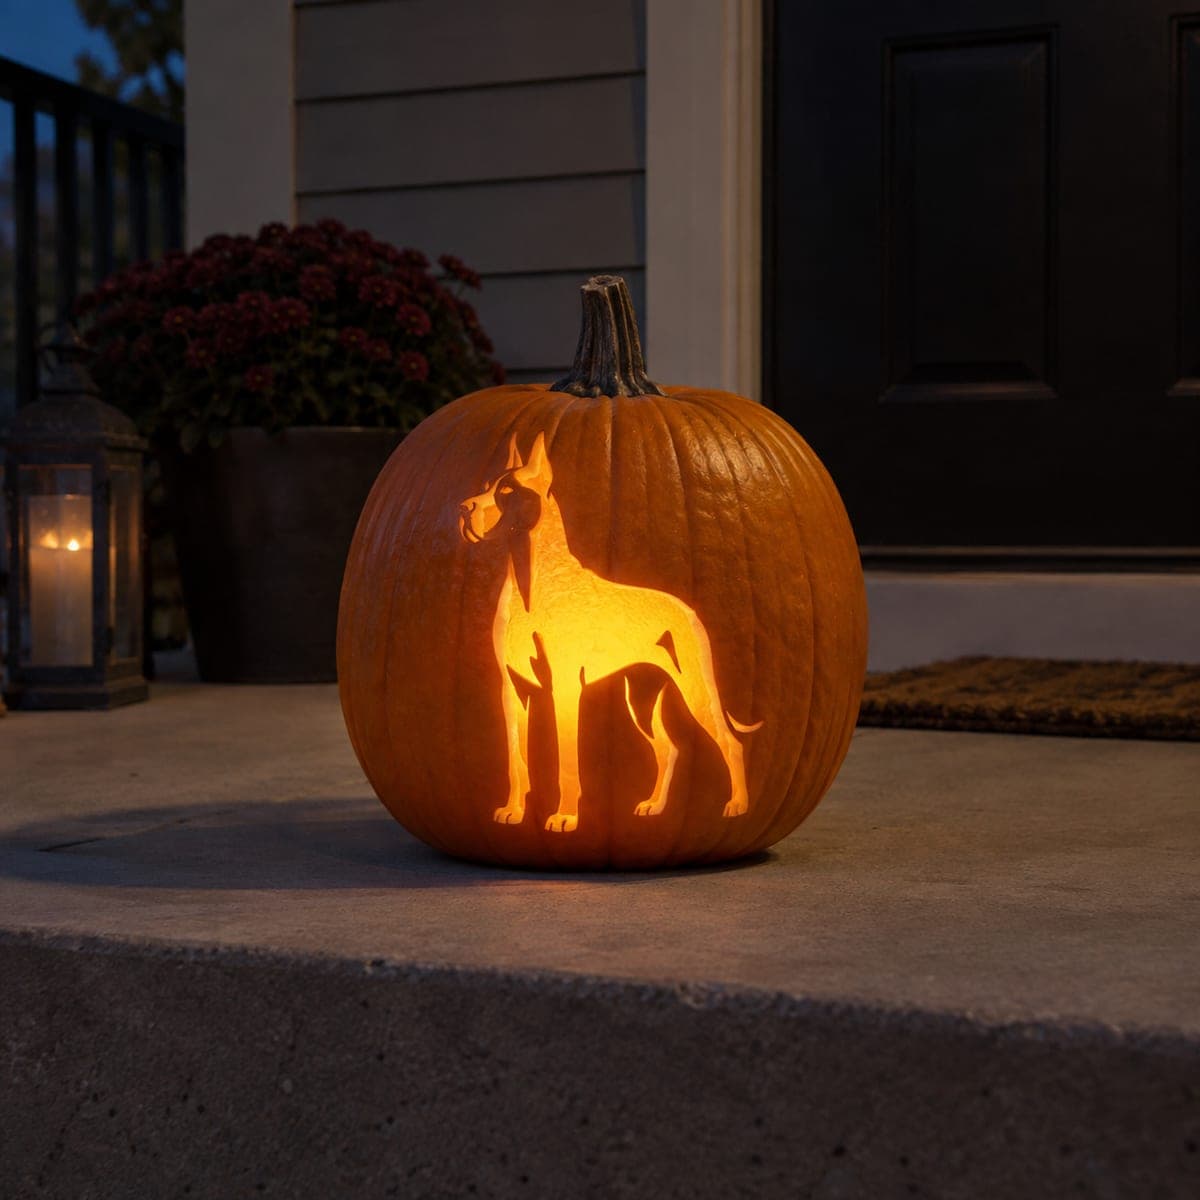
Droopy-Faced Mastiff Dog Pumpkin CarvingAI
0

Droopy-Faced Mastiff Dog Pumpkin Carving

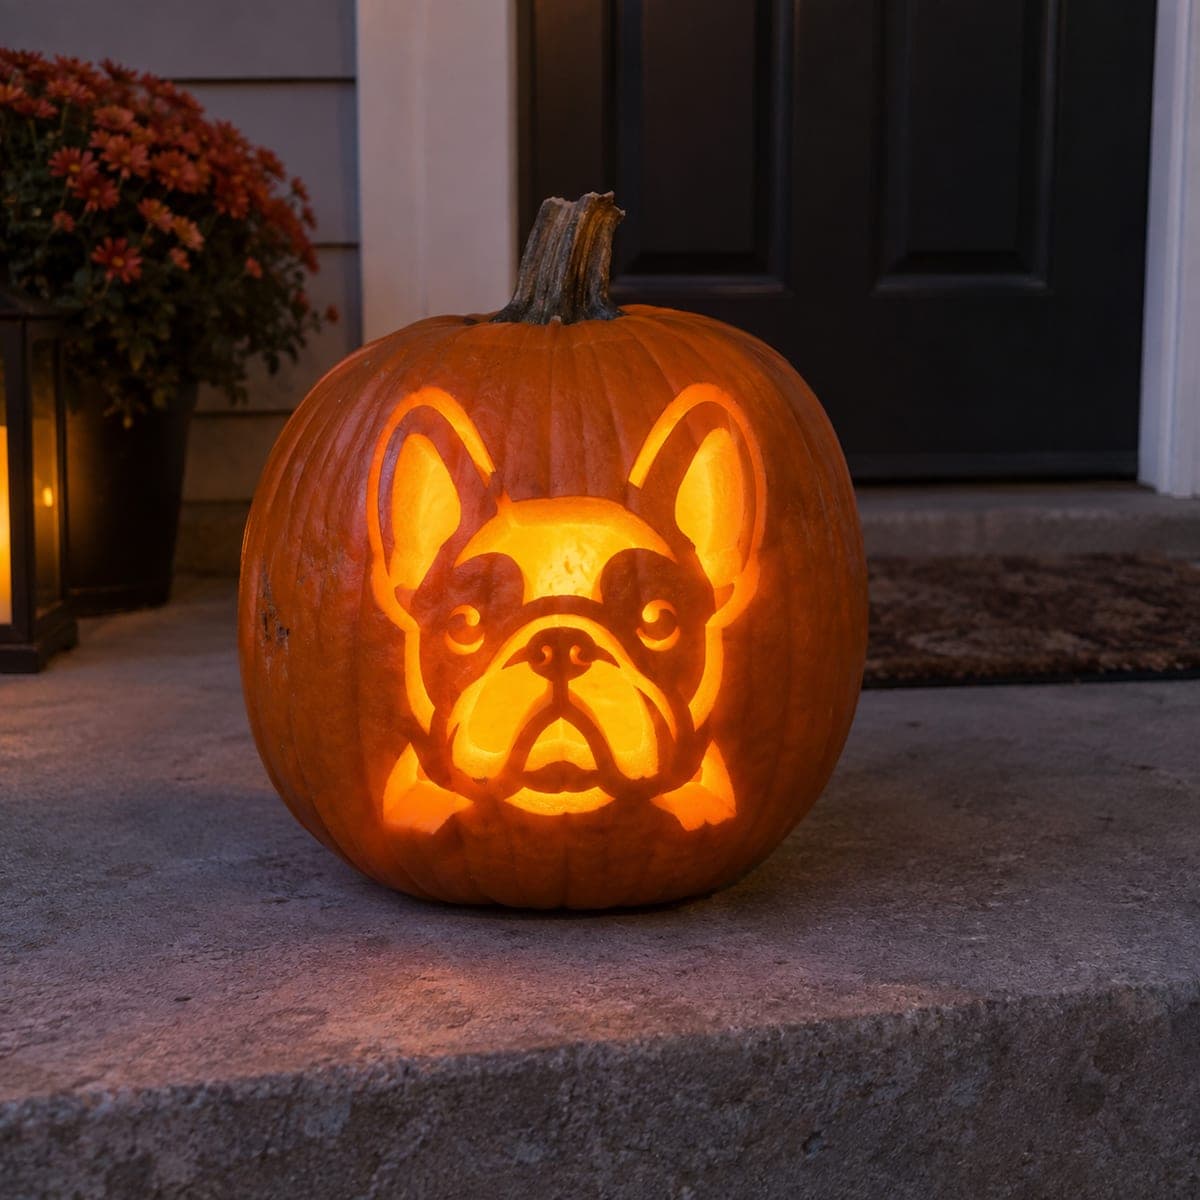
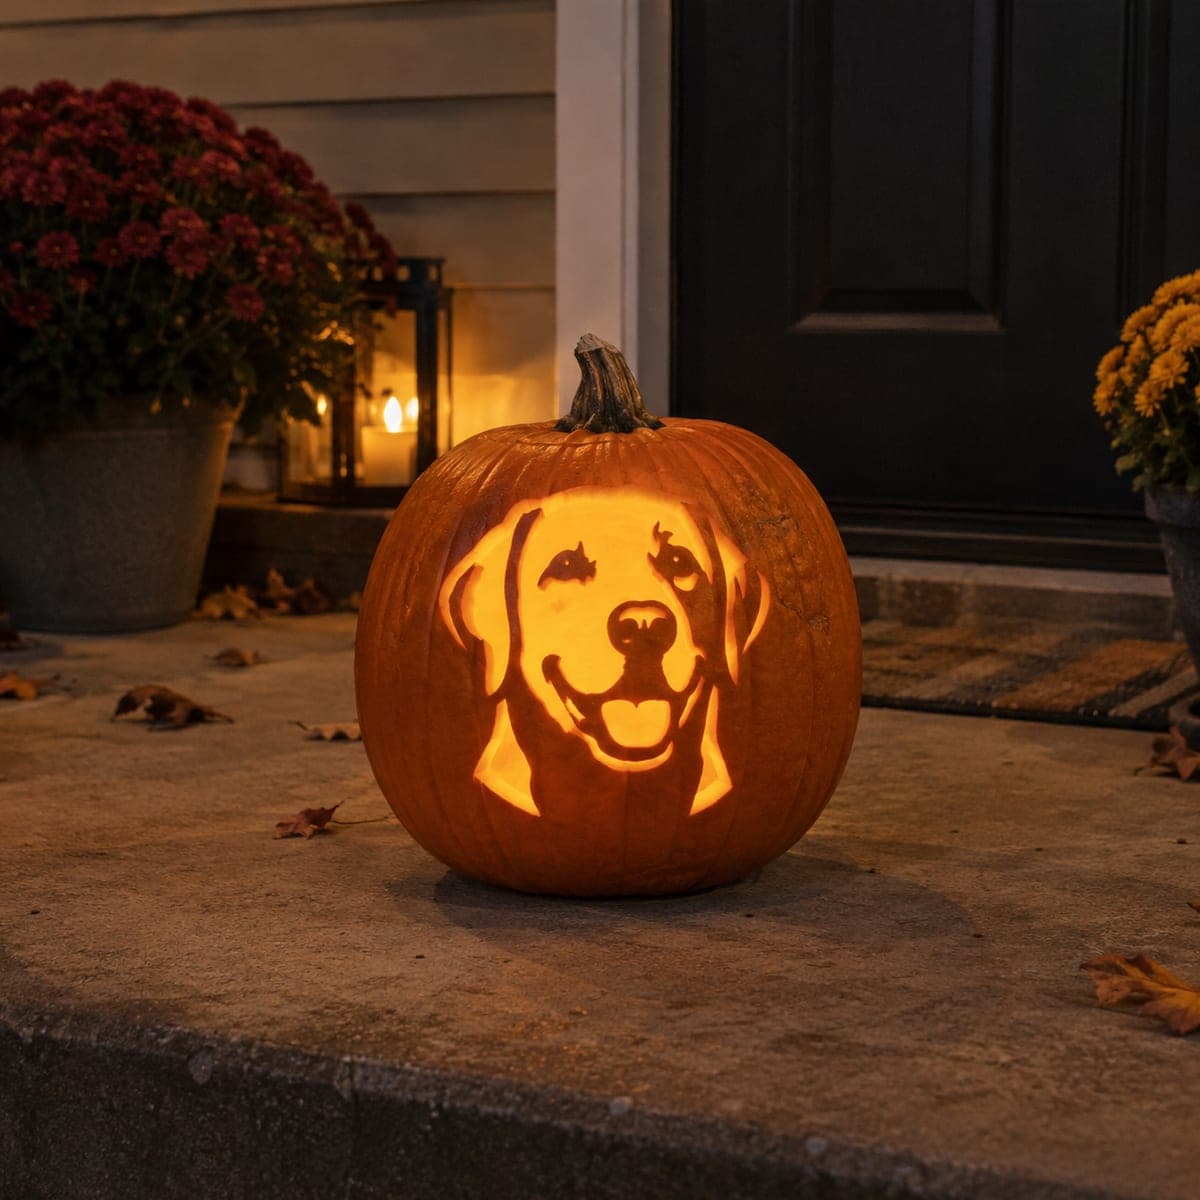
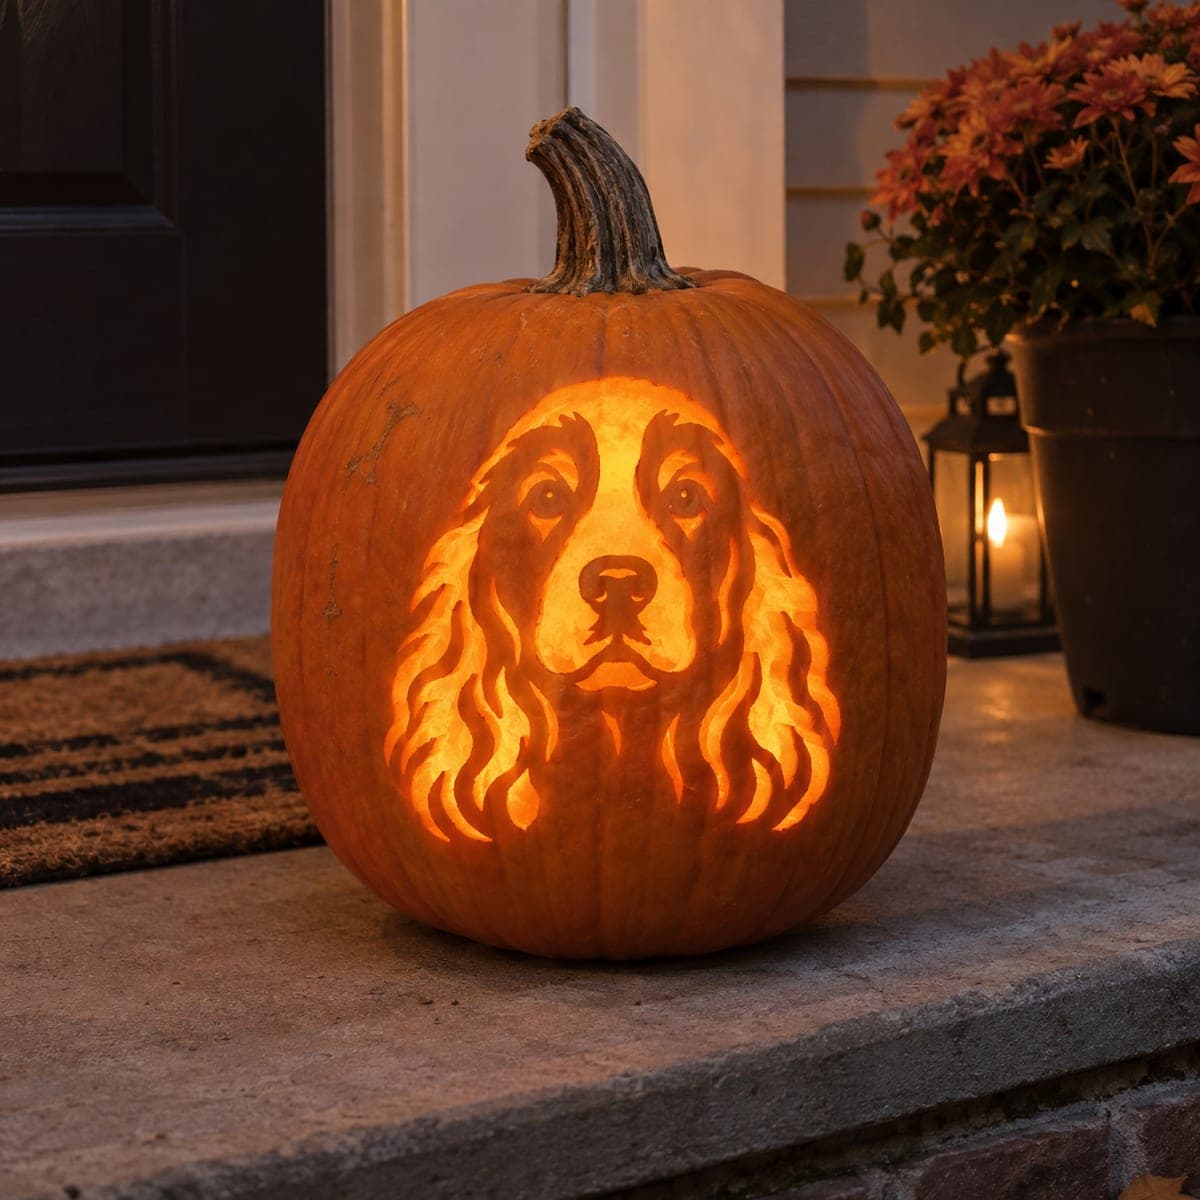
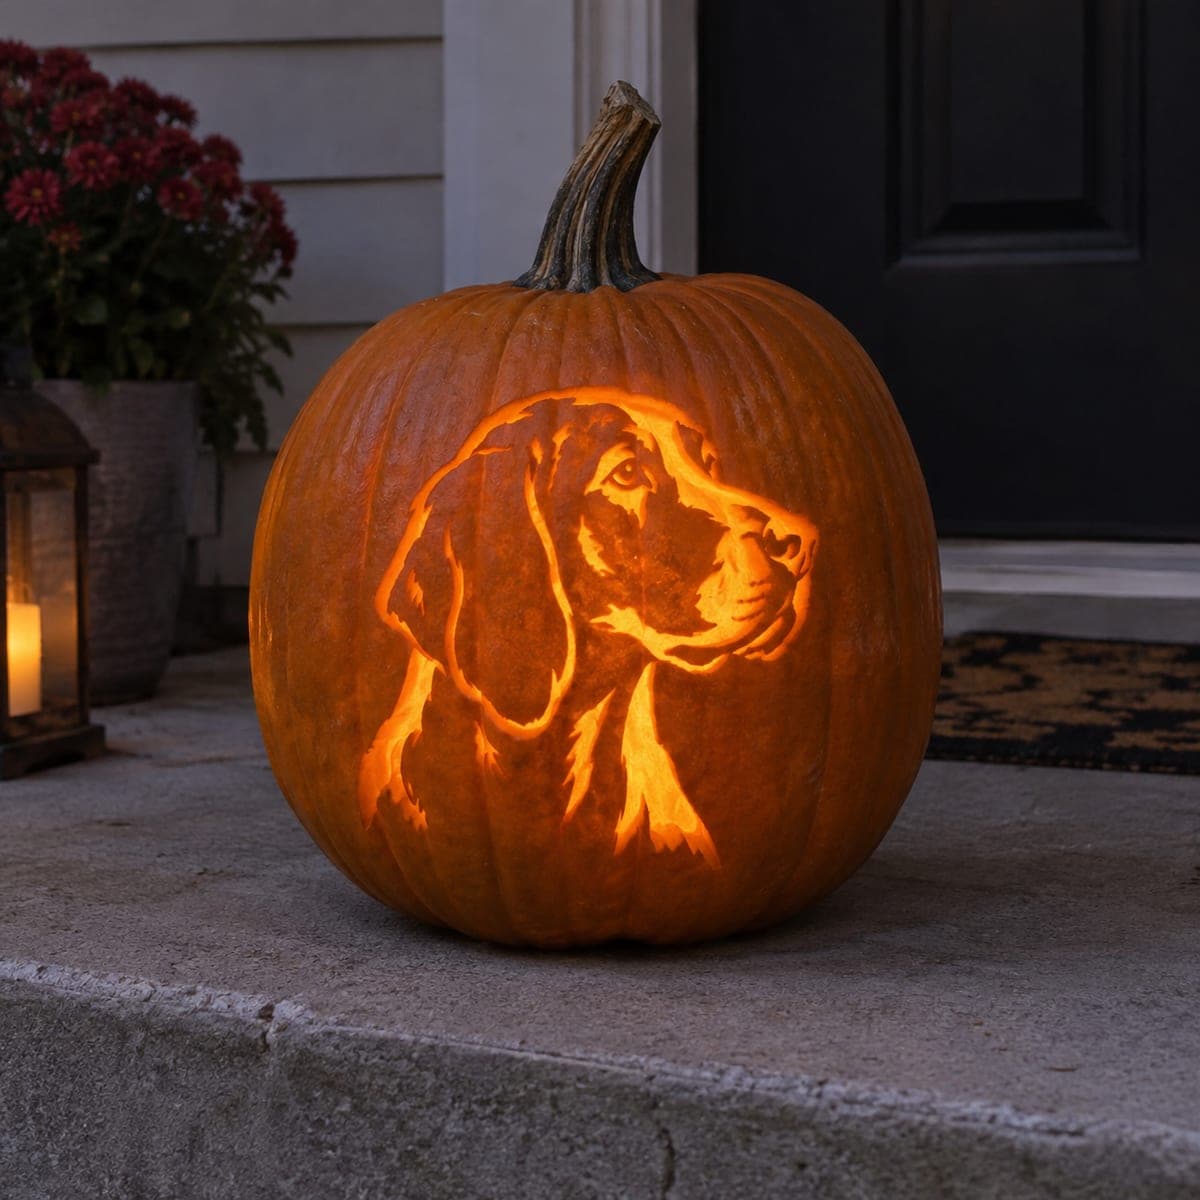
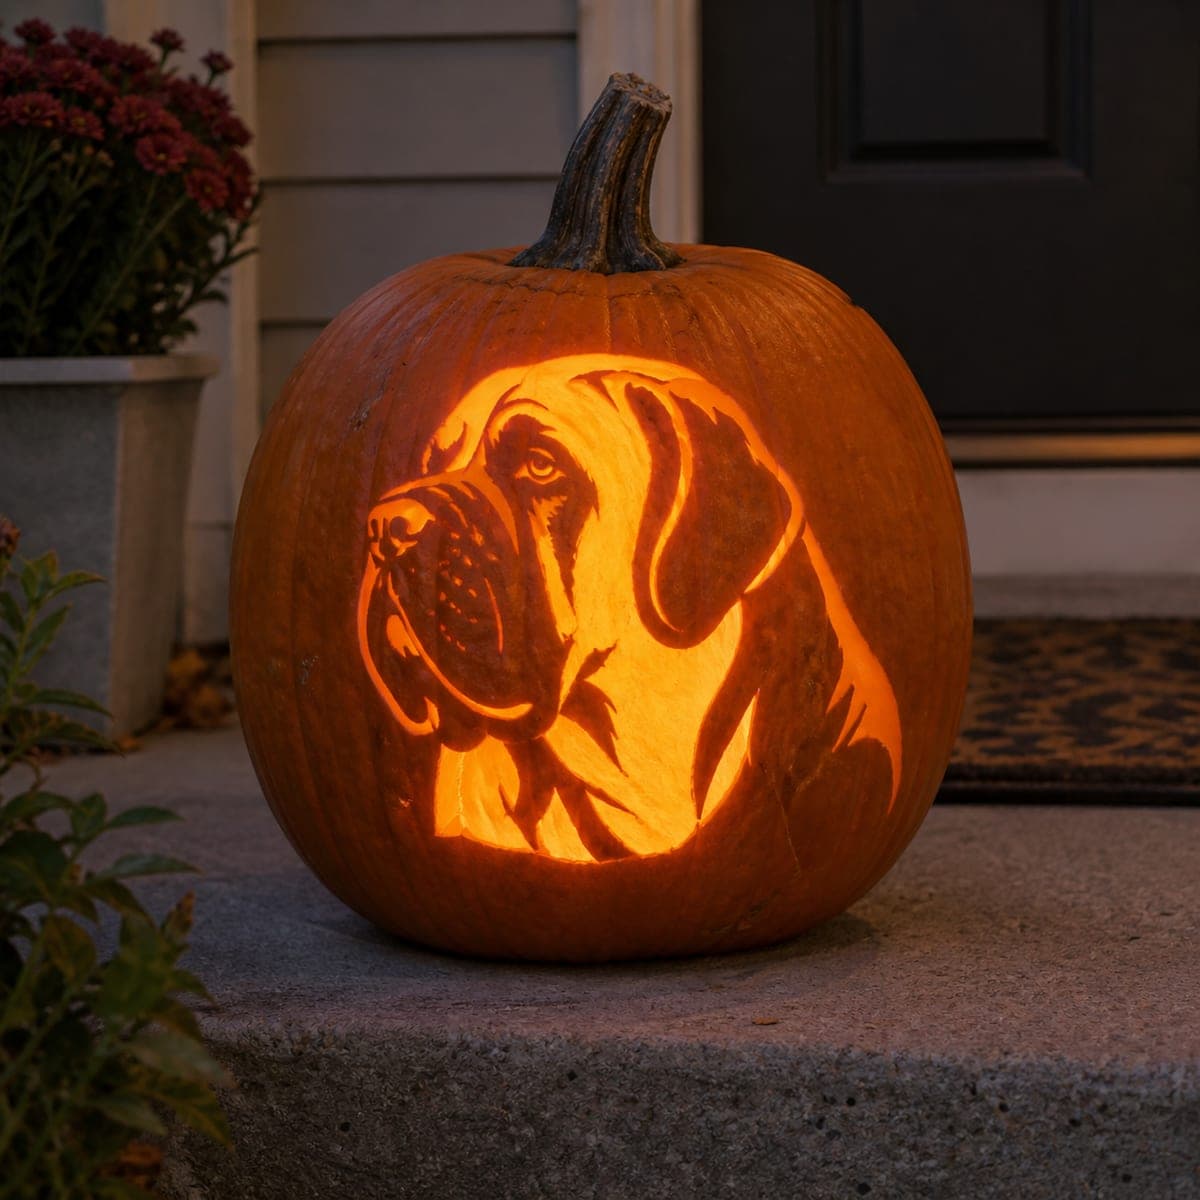
The soulful jowls and floppy ears of a mastiff glow from this dog lover's jack-o-lantern, carved stencil-style with bold connected sections. Dark bridges left in the rind form the eyes, nose folds, and ear edges, so plan those anchor pieces before cutting anything out. Transfer a breed stencil with a pounce wheel, remove the biggest background sections first, and back it with a warm LED for that fireside glow.

This is an AI-generated concept image: a realistic, carvable design idea rather than a photo of a finished carve. AI concepts are always labeled and sit out the leaderboard and the contest.

No ratings yet · Sign in to rate
Comments (0)

  • No comments yet — be the first.

Save without an account. Sign in to like or comment.

Our tips for carving a similar design

The core trick here is stencil-style cutout carving, where dark strips of rind are left standing to draw the eyes, nose folds, and ear edges while the bright openings shape the face. Plan those anchor bridges before you cut a single piece so the droopy jowls read clearly against the glow. Work from the biggest background openings inward and save the fine detail lines for last.

Written by PumpkinCarvingIdeas.com, inspired by the image above. These are our suggestions, not instructions from the uploader. This approach to the AI concept has not been tested on a real pumpkin.

From pumpkin to porch

  1. Pick your pumpkin and set up

    Choose a tall, smooth pumpkin with a broad flat face so the whole dog head fits without wrapping around a curve. Cut a lid from the bottom or the back rather than the top, which keeps the front face clean and makes it easy to seat an LED later. Scrape the inside wall behind the design down to about one inch thick with a loop tool. A thinner wall carves easier and lets more light through the peeled areas.

  2. Transfer the stencil

    Tape a mastiff portrait stencil snugly to the face, smoothing out wrinkles with a few relief cuts in the paper. Trace every line with a pounce wheel or poke closely spaced holes with a pushpin along each edge. Pay special attention to marking which shapes are cutouts, which are peeled shading, and which strips stay as dark bridges. Peel the paper and dab on baby powder to make the dotted lines pop.

  3. Map your bridges first

    Before any cutting, look over the whole face and confirm the anchor pieces that stay attached: the eyes, the folds around the nose and muzzle, and the outlines of the floppy ears. These thin strips of rind hold neighboring sections together and read as the dark lines of the portrait. Shade them lightly with a marker so you never cut through them by mistake. If two bridges sit very close, widen the gap between them a little for strength.

  4. Open the background sections

    Using a small saw-style carving blade, cut out the largest open areas first, such as the bright space framing the head and the lit patches on the muzzle and forehead. Cut with gentle sawing motions and let the blade do the work rather than forcing it. Push each freed piece out from the inside with your thumb to avoid cracking the edges. Removing the big shapes early relieves stress on the shell before you tackle the fine bits.

  5. Peel the shaded midtones

    For the softer contours of the jowls, cheeks, and ear surfaces, skin off just the outer orange rind with a loop tool and leave the flesh behind. These peeled zones glow a dim orange and give the face its rounded, three-dimensional look. Vary the depth slightly, going a touch deeper where you want more warmth. Step back often to check the balance between dark skin, dim peel, and bright cutout.

  6. Light it and photograph

    Set a warm-white LED puck or a string of battery lights inside and close up any gaps so the glow stays even. Wait for dusk, then shoot from straight on so the eyes and nose folds line up as intended. A dab of petroleum jelly on the cut edges slows drying and keeps the portrait crisp for a few days. Store it somewhere cool overnight to stretch its life.

Gather your supplies

Check things off as you get ready.

Work on a stable surface, keep your free hand out of the cutting path, and have an adult handle sharp tools.

Three levels of light

  • Leave intact

    The untouched dark rind that forms the eyes, nose folds, and ear outlines.

  • Peel & shade

    The skinned jowls, cheeks, and ear surfaces that glow a soft dim orange.

  • Cut through

    The full openings framing the head and the bright highlights on the muzzle and forehead.

Learn the carving basics

Before you start cutting

How do I keep the droopy jowls from looking like one flat blob?

Use the peeled midtone areas to build shape rather than cutting everything through. Skin the jowls and cheeks at slightly different depths so the folds catch light unevenly, which gives that rounded, saggy look. The thin dark bridges between folds do most of the work, so protect them.

This is a concept image, so can a real pumpkin actually hold all these thin lines?

Yes, as long as you plan the bridges. Keep each dark strip at least a quarter inch wide and avoid stacking two thin cutouts right next to each other. Where the stencil shows a very fine line, widen it a little or turn it into a peeled shading area instead of a full cut.

Should I carve the lid on top like usual?

For a portrait pumpkin it helps to cut the access hole in the back or bottom instead. That keeps the front face uninterrupted and lets you slide the LED in from behind. A bottom hole also lets you set the pumpkin down over the light like a cover, which is tidy and steady.

Your take belongs here, too.

Changed a detail? Made it simpler? Share a photo of your version and tell the community what worked.

Share your pumpkin

More pumpkins like this

You've reached the end · 8 pumpkins
The Patch Report

Fresh pumpkins, in your inbox.

The best new carvings, ideas worth stealing, and how-tos for carving season. Short, seasonal, and gone by November.

A short email during carving season. Unsubscribe anytime. See our privacy policy.