Halloween Pumpkin Carving Contest · Starts October 1st · $500 in prizes
← Back to ideas
@ai_concepts
Sep 11, 2026
Great Dane Silhouette Jack-O-Lantern for Dog LoversAI
0

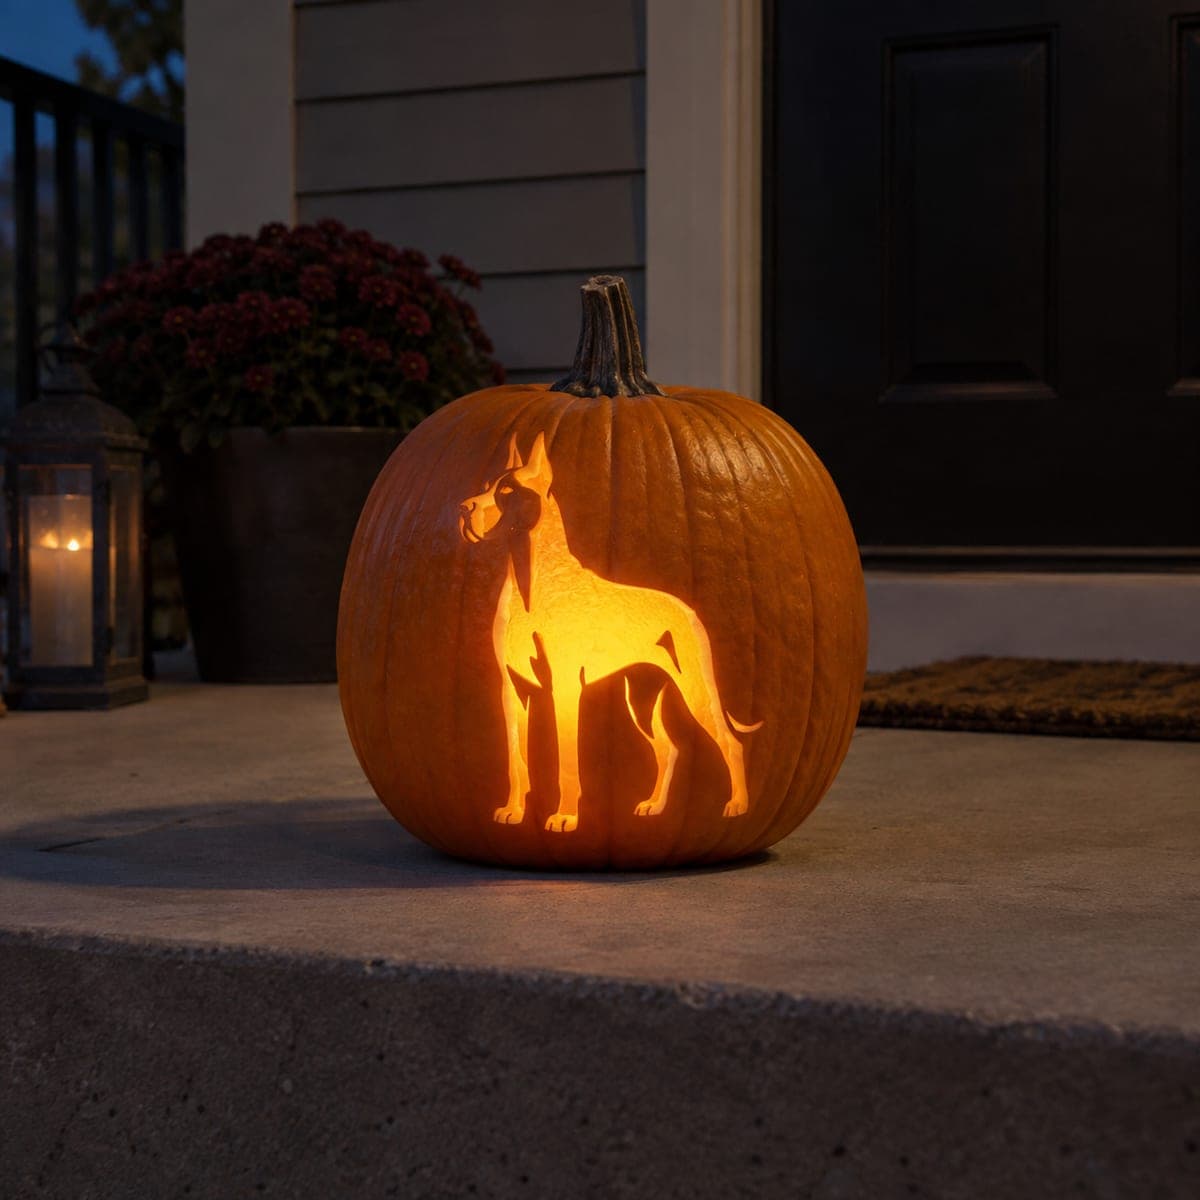
Great Dane Silhouette Jack-O-Lantern for Dog Lovers

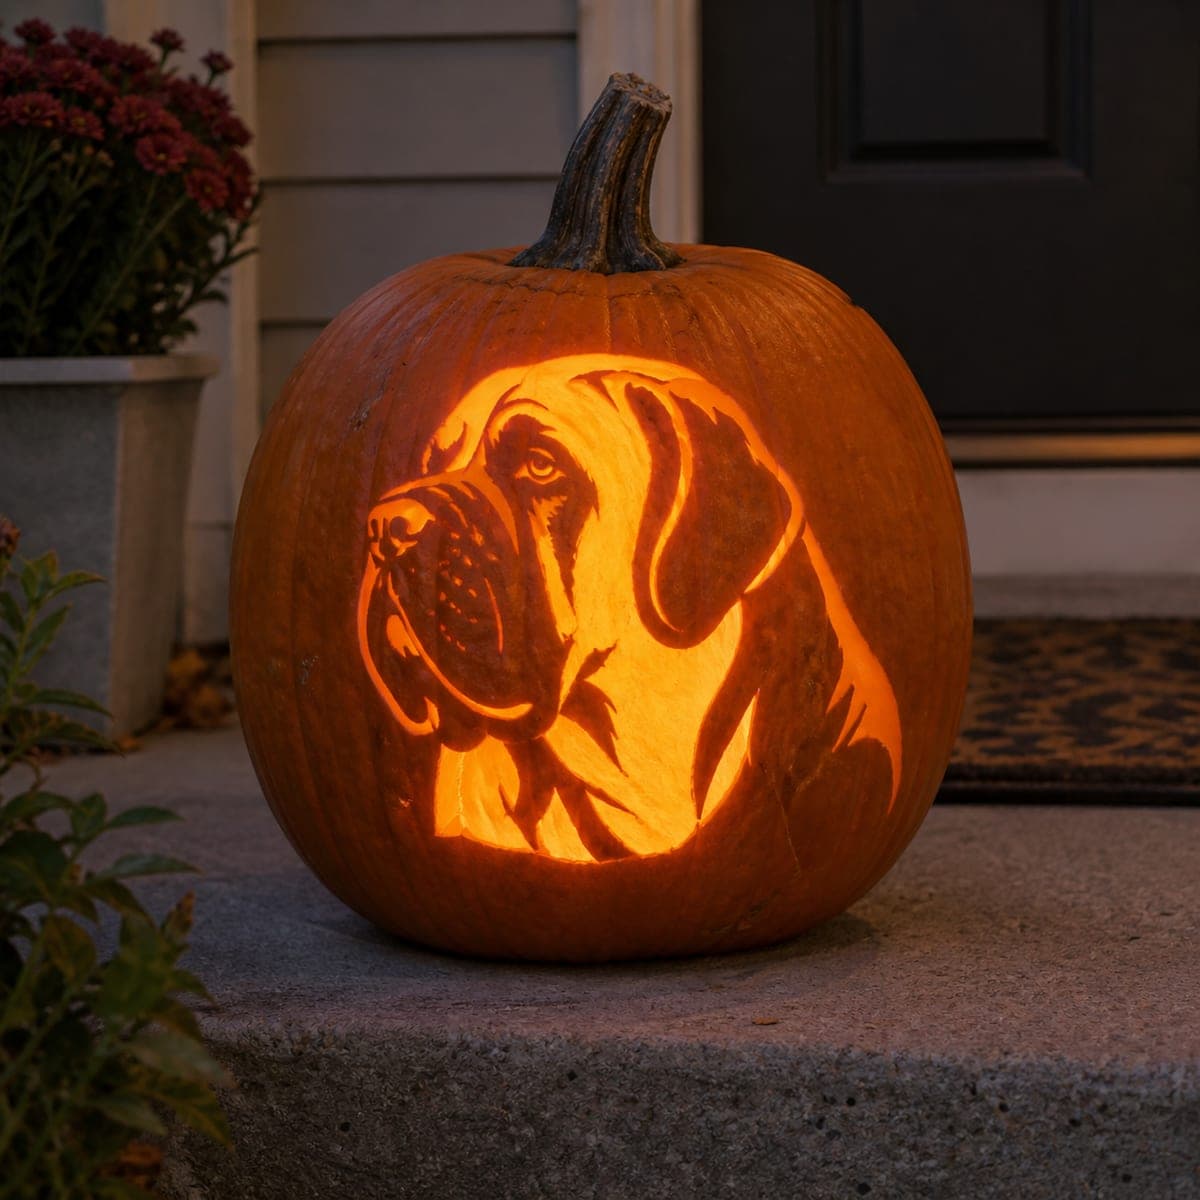
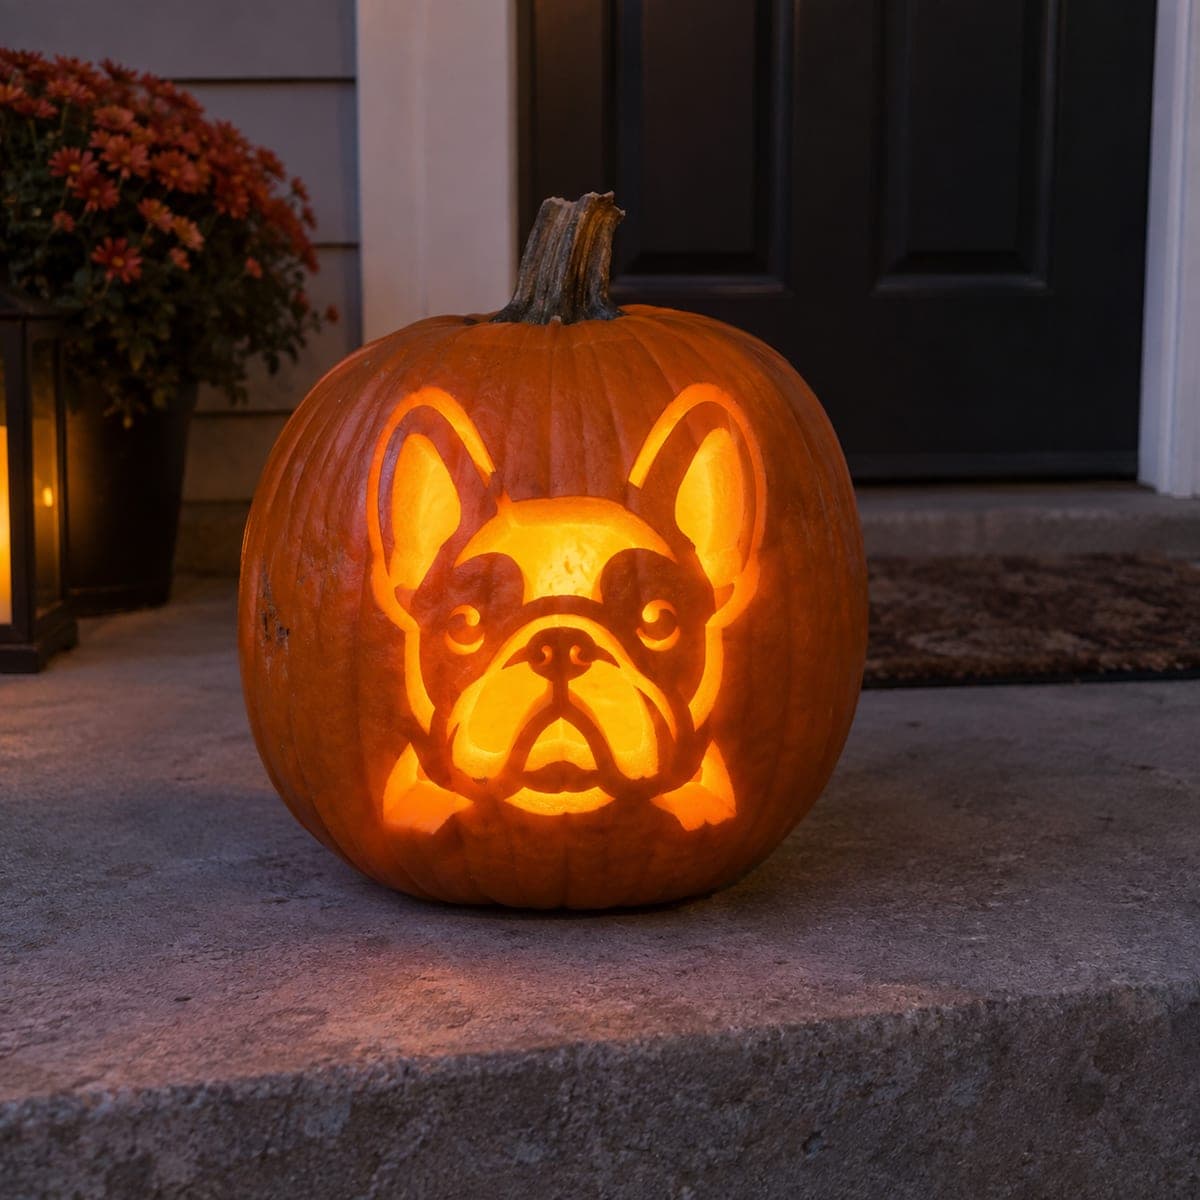
A stately Great Dane stands in full profile, its glowing outline carved clean through the pumpkin wall so the whole dog radiates candlelight. The pose reads instantly from the sidewalk, making it a strong pumpkin carving idea for anyone who wants to honor their breed. Print a side-profile photo, tape it to the pumpkin, and poke transfer holes along the outline before cutting the large body sections last so the shape stays supported.

This is an AI-generated concept image: a realistic, carvable design idea rather than a photo of a finished carve. AI concepts are always labeled and sit out the leaderboard and the contest.

No ratings yet · Sign in to rate
Comments (0)

  • No comments yet — be the first.

Save without an account. Sign in to like or comment.

Our tips for carving a similar design

The whole trick here is a single crisp profile: the entire Great Dane is one connected cutout so light pours through the shape. Keep the pose reading as a clean outline by transferring carefully and saving the big body opening for last so the pumpkin wall stays strong. A LED light behind it makes the silhouette read instantly from the street.

Written by PumpkinCarvingIdeas.com, inspired by the image above. These are our suggestions, not instructions from the uploader. This approach to the AI concept has not been tested on a real pumpkin.

From pumpkin to porch

  1. Pick and prep the pumpkin

    Choose a tall, smooth pumpkin with a flat front panel wide enough for the standing dog. Cut a lid from the bottom or the back rather than the top so the stem stays intact and the light is easy to swap. Scrape the inside wall behind the design down to about one inch thick with a scoop or loop tool. A thinner, even wall makes the outline much easier to cut.

  2. Transfer the profile

    Print a side-profile Great Dane photo sized to fit your front panel. Tape it flat, smoothing out wrinkles around the pumpkin's curve. Poke transfer holes with a pin or awl every quarter inch along the entire outline, including the ears, legs, and tail. Peel the paper and connect the dots lightly with a washable marker so you can see the full shape.

  3. Score the outline

    With a small serrated carving saw, trace the whole outline shallowly first before cutting through. Keep the blade straight in and out, following your dotted line slowly around the ears and legs. This score line acts as a guide and prevents the saw from wandering. Take your time on the pointed ears and slender legs, since those are the thinnest parts of the shape.

  4. Cut the tricky details first

    Work the delicate areas before the large body. Carefully cut around the erect ears, the raised front paw, and the gaps between the legs while the surrounding pumpkin is still solid for support. Remove these small pieces gently so you do not crack the thin necks of the legs. If a leg feels fragile, leave a tiny uncut bridge and clean it up at the very end.

  5. Open the body last

    Once the fine details are done, cut through the large body and head sections. Support each piece with your free hand as you finish the cut so it does not drop inward and chip the edges. Push the cutout gently outward or inward to release it cleanly. Trim any ragged edges from the inside with a small knife for a sharp silhouette.

  6. Light it and photograph

    Set a bright LED puck or string light inside, never a candle, so the whole dog glows evenly. Position the light low and centered so the legs and body all catch it. Take your photo at dusk on the porch when the surrounding orange skin still shows against the glowing shape. A little mist or a dark doorway behind it makes the silhouette pop.

Gather your supplies

Check things off as you get ready.

Work on a stable surface, keep your free hand out of the cutting path, and have an adult handle sharp tools.

Three levels of light

  • Leave intact

    The untouched orange skin all around the dog, framing the shape and keeping the background dark

  • Peel & shade

    Optional shallow-scraped areas just inside the outline can give a soft halo, though this design reads best with crisp edges

  • Cut through

    The full dog silhouette cut clean through the wall, so the entire body, head, ears, and legs radiate bright light

Learn the carving basics

Before you start cutting

How do I keep the thin legs from snapping?

Thin down the wall behind the design so you are cutting less material, and always cut the leg gaps before opening the big body area. Support each slender section with your fingers as the blade passes through. If a leg feels weak, leave a tiny uncut bridge and trim it last.

Should the whole dog be cut through or partly peeled?

For a true silhouette like this, cut the entire dog shape clean through so light fills the whole body. Peeling would only dim the effect and blur the crisp edges. Keep all the surrounding skin intact so the glowing outline stands out sharply.

Where should I cut the lid?

Cut your access hole in the bottom or the back rather than the top. This keeps the stem looking natural and lets you set the pumpkin down over the light. It also avoids weakening the top edge above a tall standing figure.

Your take belongs here, too.

Changed a detail? Made it simpler? Share a photo of your version and tell the community what worked.

Share your pumpkin

More pumpkins like this

You've reached the end · 8 pumpkins
The Patch Report

Fresh pumpkins, in your inbox.

The best new carvings, ideas worth stealing, and how-tos for carving season. Short, seasonal, and gone by November.

A short email during carving season. Unsubscribe anytime. See our privacy policy.