Halloween Pumpkin Carving Contest · Starts October 1st · $500 in prizes
← Back to ideas
@ai_concepts
Sep 25, 2026
Easy Wicked Musical Witch Hat Pumpkin CarvingAI
0

Report this carving

Tell us what is wrong. Reports are private.

Easy Wicked Musical Witch Hat Pumpkin Carving

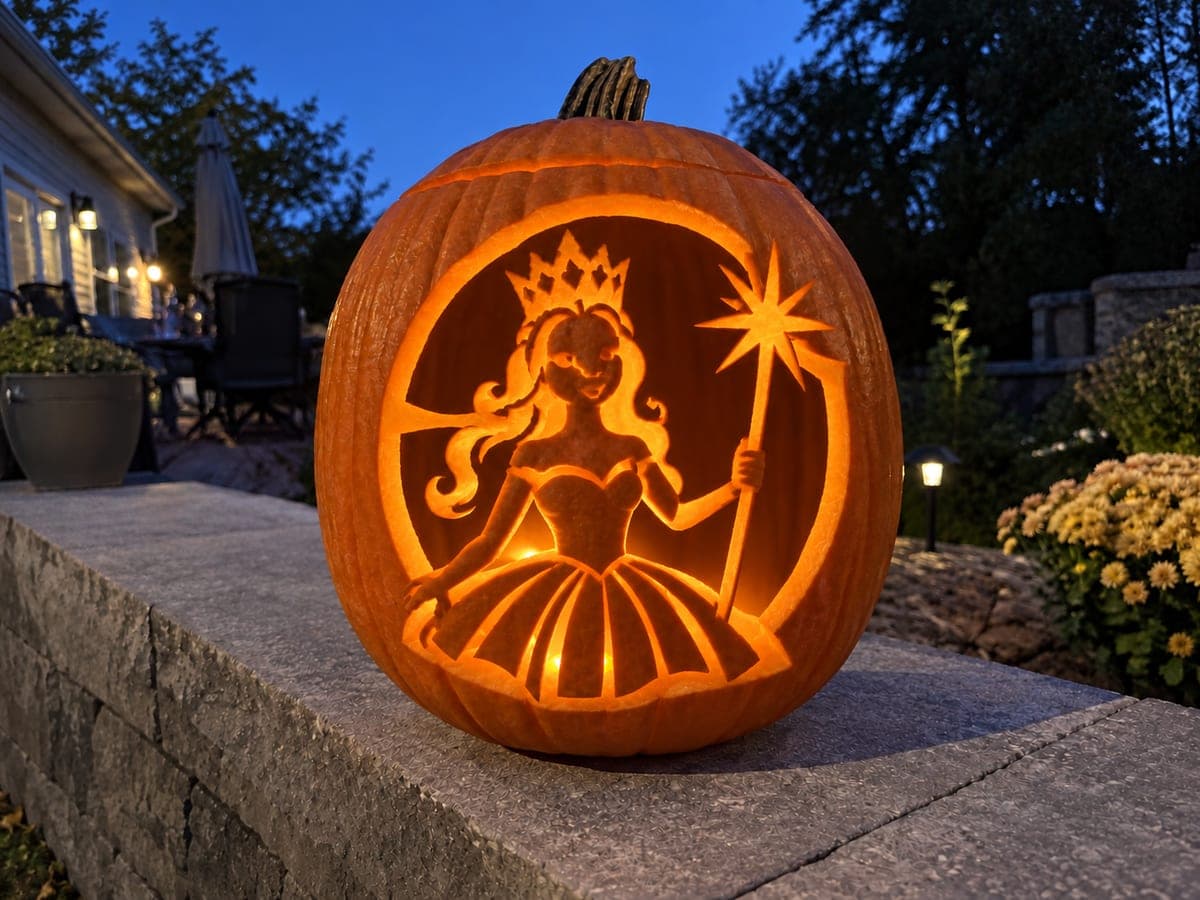
A large pointed-hat opening makes this easy Wicked pumpkin carving idea instantly recognizable to fans of the musical. The hat aperture is the primary cut, with a wand and star accent added using shallow-backed scoring for those who want a bit more detail. Cut the hat silhouette first while the rind is freshest, then score the secondary accents. A green-tinted LED inside makes the glowing hat feel like it belongs to Elphaba herself.

No ratings yet · Sign in to rate

Comments (0)

  • No comments yet — be the first.

Save without an account. Sign in to like or comment.

Our tips for carving a similar design

One large pointed-hat aperture is the primary cut, delivering an immediate Wicked reference that fans will spot from the street. The wand and star accents are optional shallow-backed scores for those who want a bit more character without additional through-cuts. Cutting the hat silhouette while the rind is freshest ensures the cleanest edges on the piece that matters most.

From pumpkin to porch

  1. Hollow and trace the hat

    Gut the pumpkin through the back. Center the pointed hat outline high on the face so it commands the space. Confirm the hat base sits no closer than an inch from the pumpkin edges to leave a solid rind border. Transfer the outline with a poking tool and connect the dots with a marker.

  2. Cut the hat aperture

    Plunge the blade at a mid-point on one straight edge of the hat rather than at the pointed tip, then saw around the perimeter. Save the tip point for last because the acute angle is the trickiest cut. Approach the tip from both edges and let the two cuts meet cleanly without over-running.

  3. Clean the hat edges

    Use a small paring knife to tidy any rough spots on the straight sides of the hat. Straight clean lines are what read as a witch hat silhouette. A ragged edge on the brim can look accidental rather than intentional from a distance.

  4. Score the wand outline (optional)

    If you want the wand detail, trace the wand and star accent beside the hat with a pencil, then score the outline lightly with a linoleum gouge. Remove only the rind skin and a thin layer beneath to create a mid-tone glow line. This is entirely optional and the design works without it.

  5. Score the star accent (optional)

    For the star at the wand tip, use the gouge to remove rind skin within the star shape, thinning it to about half wall depth. Work from the center outward toward each point and lift the gouge carefully at the sharp tips to avoid punching through.

  6. Light and set the mood

    Place a green-tinted LED inside the pumpkin. The hat will glow a vivid green that ties directly to Elphaba's signature color. Display at slightly above eye level so the hat point reads against the night sky.

Written with AI to match this design

Gather your supplies

Check things off as you get ready.

Work on a stable surface, keep your free hand out of the cutting path, and have an adult handle sharp tools.

Three levels of light

  • Leave intact

    The rind surrounding the hat and any unscored areas stay dark orange.

  • Peel & shade

    Optional scored wand and star accent glow as a soft mid-tone beside the hat.

  • Cut through

    The large pointed-hat opening is cut fully through.

Learn the carving basics

Before you start cutting

How do I cut a clean sharp tip on the pointed hat?

Cut along both straight sides of the hat and stop about a quarter inch short of the tip on each pass. Then make one final short straight cut from each direction and let them meet at the point. This two-direction approach prevents the blade from overshooting the tip and tearing the rind.

What if I want to add Elphaba's face or other details?

Keep face details as shallow scoring rather than through-cuts at this skill level. A scored crescent smile and two almond eye outlines beside the hat add personality without increasing structural risk. Use a linoleum gouge for face details and work slowly.

Can I use a regular kitchen knife instead of a pumpkin saw?

A thin serrated pumpkin saw is much safer than a kitchen knife for a curved shape like a witch hat. Kitchen knives are wide and can catch in the rind, especially around the curved brim. If a pumpkin saw is not available, a small hacksaw blade works reasonably well as a substitute.

Your take belongs here, too.

Changed a detail? Made it simpler? Share a photo of your version and tell the community what worked.

Share your pumpkin

More pumpkins like this

You've reached the end · 8 pumpkins
The Patch Report

Fresh pumpkins, in your inbox.

The best new carvings, ideas worth stealing, and how-tos for carving season. Short, seasonal, and gone by November.

A short email during carving season. Unsubscribe anytime. See our privacy policy.