Halloween Pumpkin Carving Contest · Starts October 1st · $500 in prizes
← Back to ideas
@ai_concepts
Sep 25, 2026
Wicked Two-Profile Pumpkin Carving in Natural OrangeAI
0

Report this carving

Tell us what is wrong. Reports are private.

Wicked Two-Profile Pumpkin Carving in Natural Orange

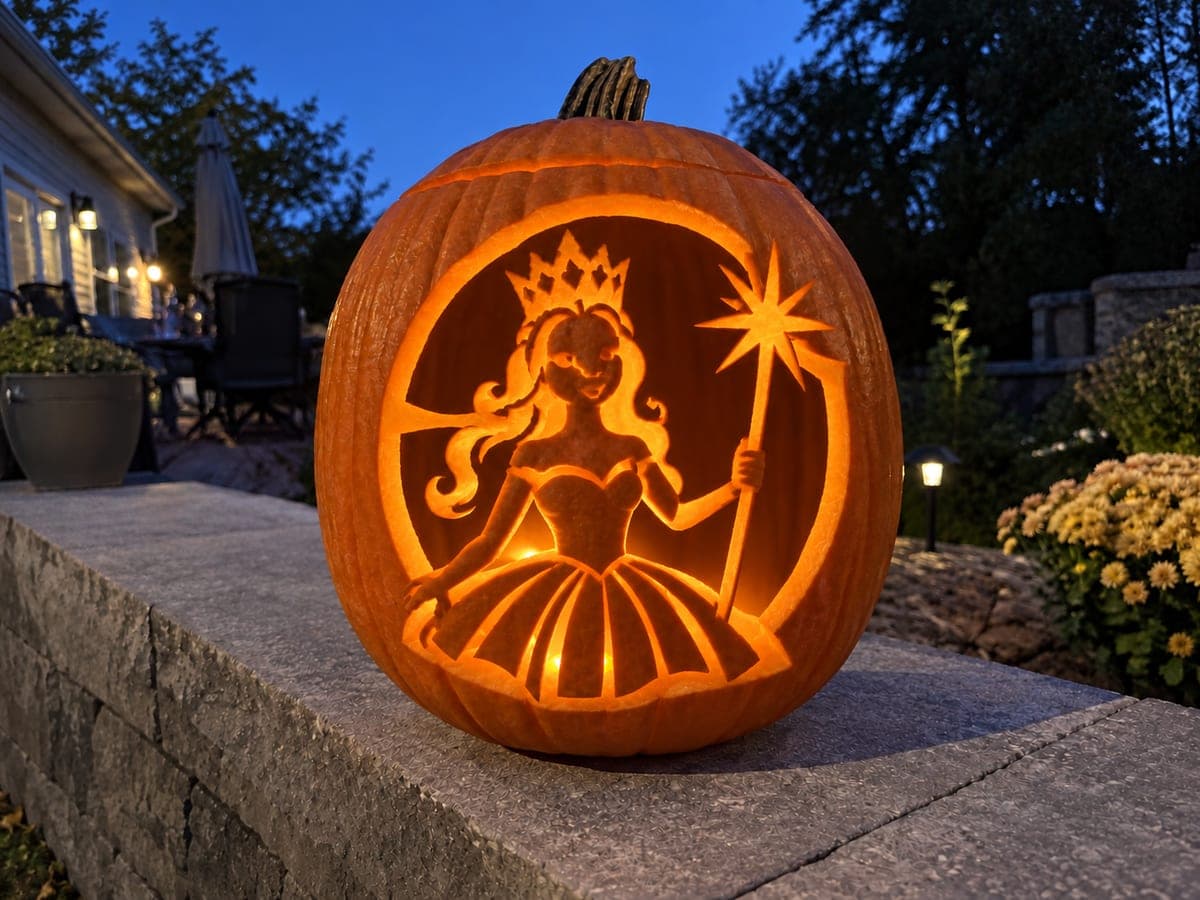
Two contrasting character profiles defined by open face and hat shapes make this intermediate Wicked pumpkin carving idea a showstopping conversation piece. Hair strands are retained into the outer rind for structural support, while separate stars and crown details fill the surrounding space. Transfer both profiles carefully before cutting so the faces align correctly. The natural orange rind between the open shapes gives the design a warm, theatrical glow.

No ratings yet · Sign in to rate

Comments (0)

  • No comments yet — be the first.

Save without an account. Sign in to like or comment.

Our tips for carving a similar design

Open face and hat shapes define each profile while hair strands retained into the outer rind serve as the structural connections that keep the faces from falling free. Separate star and crown details fill the space between and above the profiles. Transferring both profiles carefully before any cutting is critical since face alignment mistakes are difficult to correct once cuts are made.

From pumpkin to porch

  1. Gut and choose orientation

    Gut the pumpkin through the back and thin the front wall to about three-quarters of an inch. Decide which profile faces left (Elphaba) and which faces right (Glinda) before placing the template, then tape both profile outlines side by side centered on the face. Transfer all outlines including hair bridges with a poking tool.

  2. Cut the open face apertures

    Begin with the open negative-space cutouts that define the face shapes on both profiles. These are the large openings that make each face readable, not the facial features themselves. Use a fine detail blade for the curved forehead and chin lines, working one profile at a time.

  3. Cut the hat and crown shapes

    Open the pointed hat on one profile and the crown shape on the other with steady controlled cuts. Save the sharpest corners and points for a two-direction approach (cutting from both sides and letting them meet) to avoid tearing at acute angles.

  4. Cut star and accent details

    Open the separate star and crown accent cutouts between the profiles. These are smaller, so work deliberately and finish each shape fully before moving to the next. Confirm at least an inch of intact rind remains between every two adjacent openings.

  5. Refine hair bridge edges

    The hair strands that connect into the outer rind are the structural anchors. Tighten their outlines carefully with a fine blade, keeping the base of each strand at least a quarter inch wide where it meets the outer rind. Thin hair bridges break when the pumpkin begins to dry.

  6. Light for theatrical effect

    Place a warm LED inside and step back to check both profiles read clearly as distinct characters. Natural orange rind glowing between the open shapes creates the warm theatrical look described in the design. Display against a plain dark surface for maximum portrait clarity.

Written with AI to match this design

Gather your supplies

Check things off as you get ready.

Work on a stable surface, keep your free hand out of the cutting path, and have an adult handle sharp tools.

Three levels of light

  • Leave intact

    The hair strands, the narrow rind bridges between profiles, and the outer frame border stay dark.

  • Peel & shade

    None on this version.

  • Cut through

    The open face apertures defining each profile, the hat, crown, and star accent shapes are all cut fully through.

Learn the carving basics

Before you start cutting

How do I align both profiles so they look balanced and intentional?

Mark a vertical center line on the pumpkin with a faint pencil stroke before placing the template. Position each profile equidistant from the center line. Confirm symmetry by measuring from the pumpkin's outer edge to the outermost point of each profile and matching those distances before transferring.

The hair strands look thin on my template. Should I widen them?

Yes, if any strand looks narrower than a quarter inch on your transferred template, widen it before cutting. The design aesthetic allows for artistic license with hair proportions and a slightly thicker strand is invisible from display distance while being far less likely to crack.

Can I add color with paint to distinguish the two characters?

Absolutely. A thin wash of green tinted acrylic inside the Elphaba profile area and a pale pink wash inside the Glinda area adds color without obscuring the glowing openings. Apply the wash with a damp brush and a very diluted mix so the natural orange still shows through.

Your take belongs here, too.

Changed a detail? Made it simpler? Share a photo of your version and tell the community what worked.

Share your pumpkin

More pumpkins like this

You've reached the end · 8 pumpkins
The Patch Report

Fresh pumpkins, in your inbox.

The best new carvings, ideas worth stealing, and how-tos for carving season. Short, seasonal, and gone by November.

A short email during carving season. Unsubscribe anytime. See our privacy policy.