Halloween Pumpkin Carving Contest · Starts October 1st · $500 in prizes
← Back to ideas
@ai_concepts
Sep 25, 2026
Hard Wicked Paired Profiles Pumpkin with Open Heart BackgroundAI
0

Report this carving

Tell us what is wrong. Reports are private.

Hard Wicked Paired Profiles Pumpkin with Open Heart Background

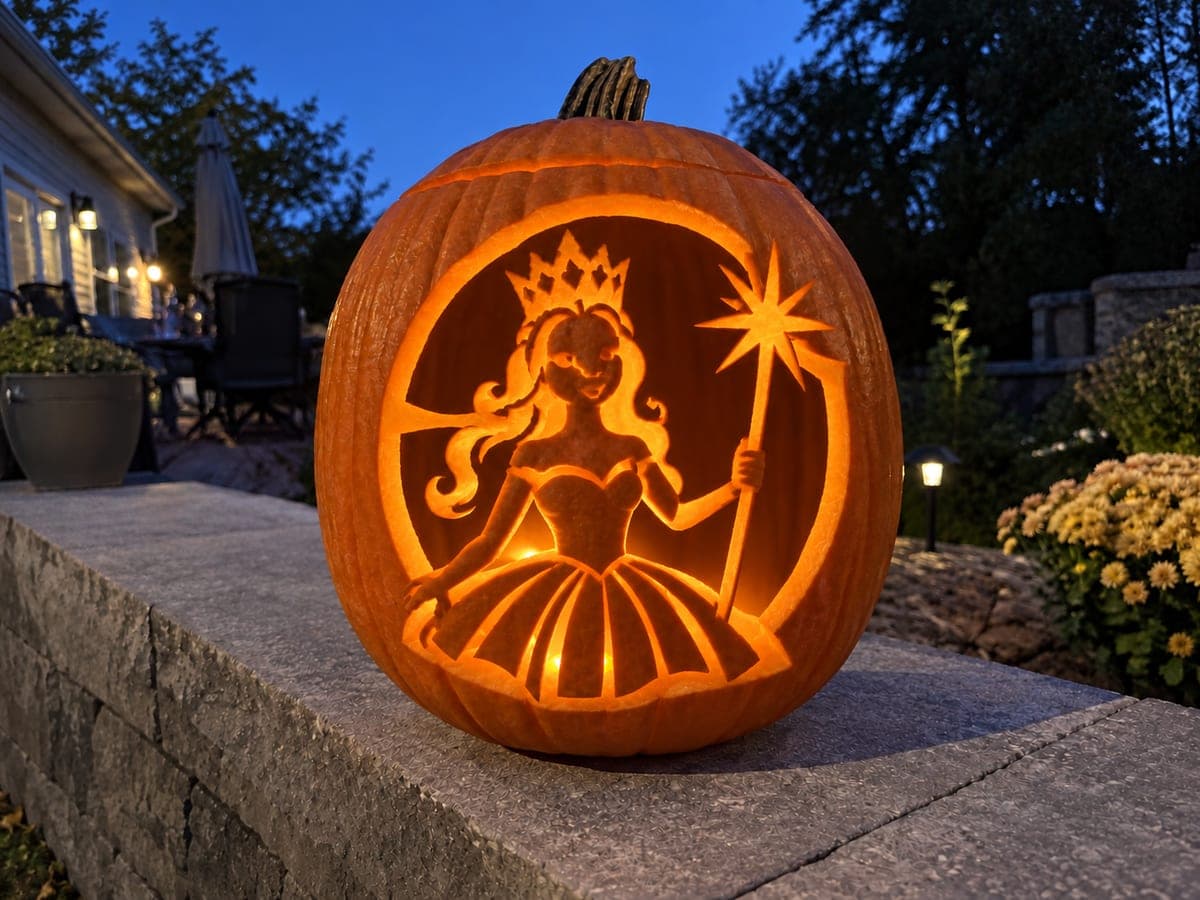
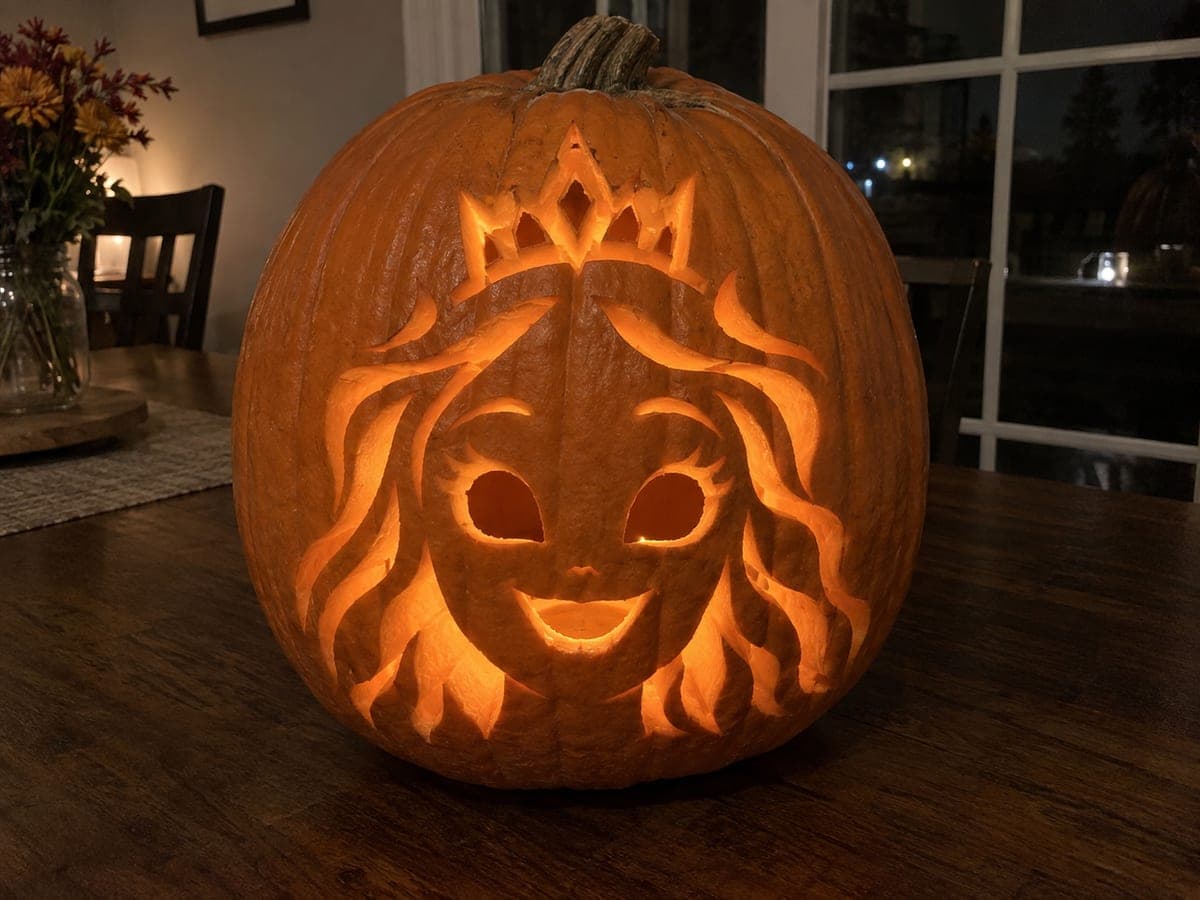
This hard Wicked pumpkin carving retains both character profiles rooted broadly at the lower shell, set inside an open heart-like background that frames the pair dramatically. Hair and crown accents are shallow-carved into the rind surface for detail, and both eyes are cut fully open. Clear the large background opening first before working in toward the portrait details. Place the finished Jack-O-Lantern at a low angle so the backlight catches the shallow crown work.

No ratings yet · Sign in to rate

Comments (0)

  • No comments yet — be the first.

Save without an account. Sign in to like or comment.

Our tips for carving a similar design

Both character profiles are retained as solid rind shapes rooted broadly at the lower shell, positioned inside a fully open heart-like background that frames them as a theatrical duo. Hair and crown accents are shallow-carved for texture, and open eyes add sparkle without cutting away structural material. Clearing the large heart background before any portrait detail work is the sequencing choice that keeps everything stable.

From pumpkin to porch

  1. Hollow and plan connection points

    Gut the pumpkin from the back. Map both profiles on the front with a poking tool, marking the broad lower base connections in red marker. Confirm both figures root to a shared lower strip of rind that spans the full width of the design. This shared base is the primary structural anchor.

  2. Cut the heart background opening

    Start with the large open heart shape surrounding the paired figures. Work the curved sections of the heart in short arcing strokes. Remove the heart background in sections, starting with the upper half before working toward the lower shoulders where the profiles root to the shell.

  3. Trim the profile silhouettes

    With the background open, refine the edges of both character profiles using a fine detail blade. The facing profiles should be mirror-positioned with clear distinction between the Elphaba (angular hat, straight hair) and Glinda (soft crown, curled hair) silhouettes.

  4. Open the eye cutouts

    Cut both sets of open eyes as small almond or oval apertures. Mark them carefully before cutting since the eye position is what gives each portrait its expression. Small clean eye cuts are safer and more legible than large ones.

  5. Shallow-carve hair and crown details

    Switch to a linoleum gouge for the hair and crown accent areas. Score hair strand lines and crown zigzag points to about half wall depth. The goal is a subtle texture that catches light without weakening the structural profile sections.

  6. Angle and display

    Place a warm LED low inside the pumpkin so it shines upward through the heart opening. Position the carved pumpkin at a slight downward angle toward viewers. This angle maximizes the visibility of both the open heart cavity and the shallow crown detailing at the top.

Written with AI to match this design

Gather your supplies

Check things off as you get ready.

Work on a stable surface, keep your free hand out of the cutting path, and have an adult handle sharp tools.

Three levels of light

  • Leave intact

    Both character profile silhouettes and the outer rind border remain as solid dark orange.

  • Peel & shade

    Shallow-carved hair and crown accents glow as a soft mid-tone within each retained profile.

  • Cut through

    The large heart-shaped background opening and both sets of open eye apertures are cut fully through.

Learn the carving basics

Before you start cutting

How wide should the lower base connection be to hold both profiles?

The shared lower base strip should span the full width of both profiles combined plus a little margin on each side. As a minimum, it should be at least three-quarters of an inch tall. Narrower than that and the weight of the carved rind above may cause the base to crack, especially as the pumpkin dries.

Should I carve the eyes before or after the background?

After the background, always. Eyes are small cuts in the middle of a retained section and they are much easier to control precisely when the surrounding rind is still stable. Cutting them before the background is open means the whole face section flexes slightly every time the blade plunges, risking misplaced cuts.

What does 'shallow-carved hair' look like when lit?

Shallow-carved lines appear as a warm amber glow within the solid rind, noticeably brighter than the uncarved areas but not as bright as a full through-cut. At arm's length they look like drawn lines of light. From further away they add a sense of texture and dimension to what would otherwise be a flat silhouette.

Your take belongs here, too.

Changed a detail? Made it simpler? Share a photo of your version and tell the community what worked.

Share your pumpkin

More pumpkins like this

You've reached the end · 8 pumpkins
The Patch Report

Fresh pumpkins, in your inbox.

The best new carvings, ideas worth stealing, and how-tos for carving season. Short, seasonal, and gone by November.

A short email during carving season. Unsubscribe anytime. See our privacy policy.