Halloween Pumpkin Carving Contest · Starts October 1st · $500 in prizes
← Back to ideas
@ai_concepts
Sep 25, 2026
Easy Glinda Crown Pumpkin Carving from WickedAI
0

Report this carving

Tell us what is wrong. Reports are private.

Easy Glinda Crown Pumpkin Carving from Wicked

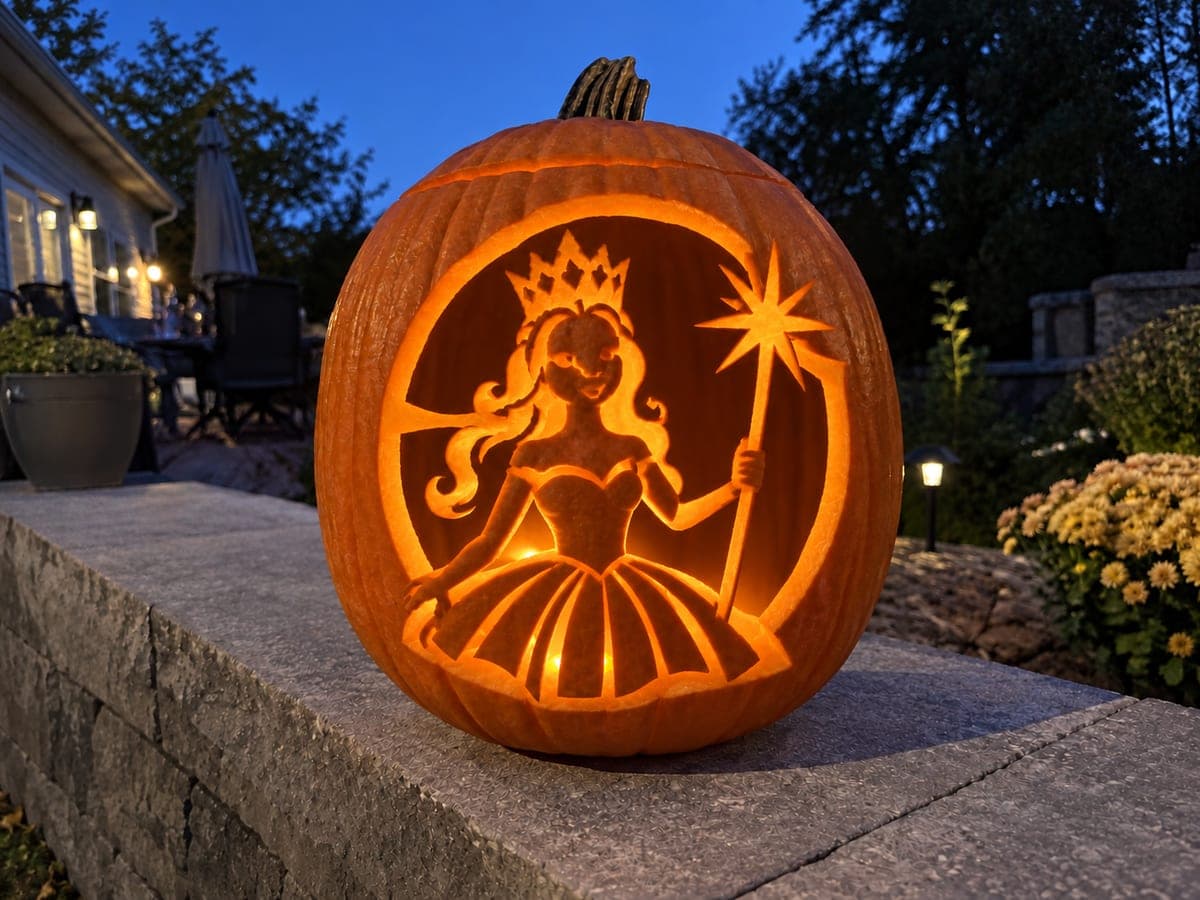
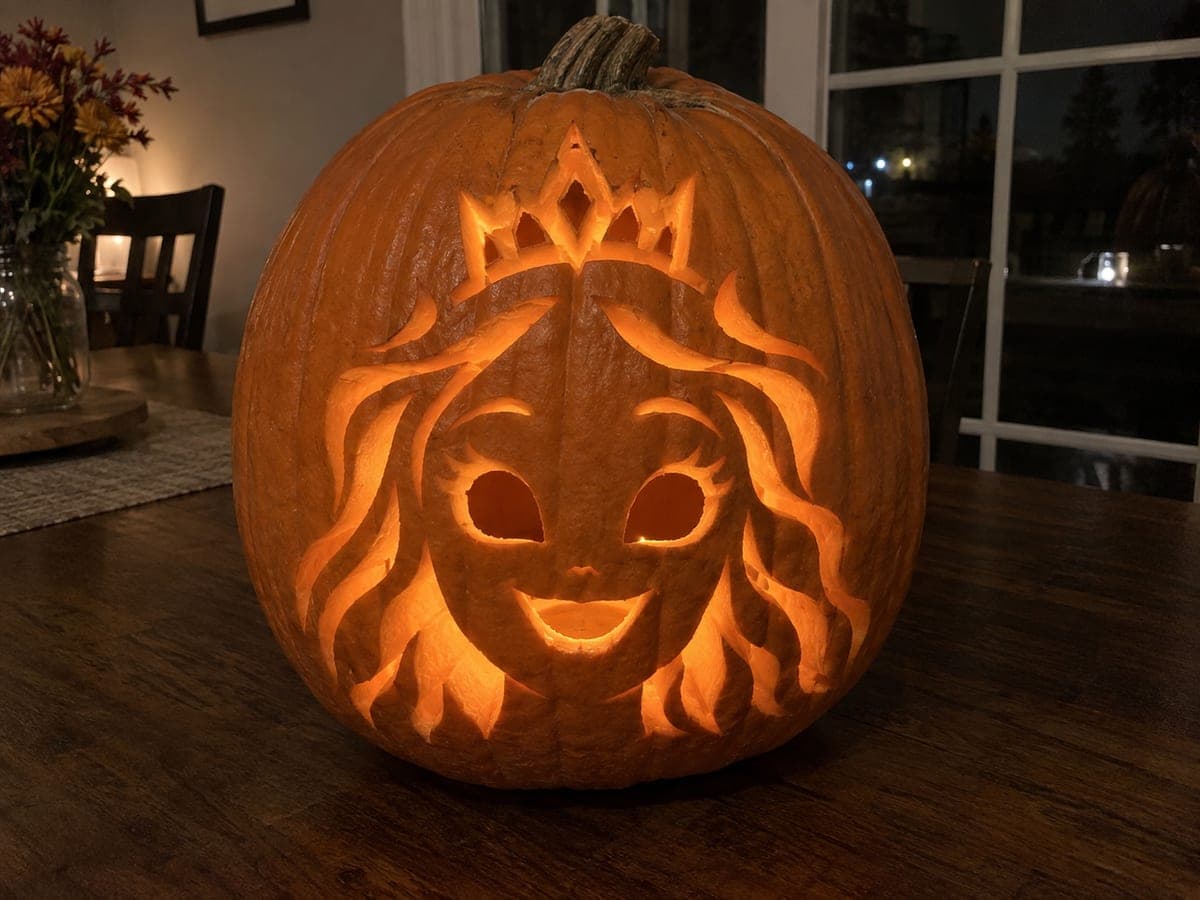
A single glowing crown aperture with three small sparkle accents is all it takes to capture Glinda's regal look in this easy pumpkin carving idea. The simplicity makes it accessible for any skill level, and the three tiny sparkle holes add a magical touch without complicating the cut sequence. Carve the crown opening first, then carefully punch the sparkle holes. Lit from inside, the crown reads immediately against a dark doorstep.

No ratings yet · Sign in to rate

Comments (0)

  • No comments yet — be the first.

Save without an account. Sign in to like or comment.

Our tips for carving a similar design

One bold crown aperture anchors the design and three small sparkle holes provide the magic without adding structural risk. The simplicity is intentional and accessible for first-time carvers or anyone working with younger helpers. Carving the crown opening while the rind is freshest ensures the cleanest edges, and punching the sparkle holes last keeps the rind fully supported throughout.

From pumpkin to porch

  1. Hollow and mark the crown

    Gut the pumpkin from the back. Sketch a crown shape centered on the face: a wide base with three or five pointed tips above it. Keep the whole crown opening within the center two-thirds of the pumpkin face so there is plenty of rind border all around. Transfer with a poking tool if using a printed template.

  2. Cut the crown base strip first

    Begin with the horizontal base of the crown before tackling the pointed tips. A straight or gently curved base is easier to start on than an acute point. Once the base is cut, the shape is established and the points become easier to judge.

  3. Cut each crown point

    Work the points one at a time using the two-direction meeting-cut technique: saw along one side of a point to within a millimeter of the tip, then saw along the other side until both cuts meet cleanly at the apex. Lift the blade out rather than pivoting it at the sharp tip.

  4. Remove the crown piece

    Once the outline is complete, press the crown piece through from the outside or push it inward carefully. Use a small paring knife to clean any ragged rind fibers from the interior edges. Clean straight edges on the crown base are as important as the points for the finished look.

  5. Punch the three sparkle holes

    Mark three small star or diamond shapes above and around the crown, spaced at least an inch from each other and from the crown edge. Punch each one through with a small chisel or apple corer. Star shapes can be approximated with five small straight cuts radiating from a center point.

  6. Place the LED and display

    Drop a warm white or pale pink LED inside the pumpkin and check that light reaches all three sparkle holes. The crown and sparkles together read as Glinda's magical presence immediately. Display at eye level near a dark surface for maximum glow impact.

Written with AI to match this design

Gather your supplies

Check things off as you get ready.

Work on a stable surface, keep your free hand out of the cutting path, and have an adult handle sharp tools.

Three levels of light

  • Leave intact

    All rind surrounding the crown and sparkle holes stays intact and dark.

  • Peel & shade

    None.

  • Cut through

    The crown aperture and three sparkle holes are cut fully through.

Learn the carving basics

Before you start cutting

How many points should the crown have?

Three points is the easiest version since it requires fewer acute-angle cuts. Five points looks more regal and is still manageable at easy difficulty if your pumpkin is large enough to keep each point at least a quarter inch wide. More than five points on a medium pumpkin risks having points too narrow to hold their shape.

Can I add Glinda's name or a star wand to the design?

A small star shape near the crown is a natural extension and still fits the easy category. Letter cuts require straight parallel walls that are harder to achieve cleanly on curved rind, so save lettering for a flat paint decoration rather than carving.

The crown tips look like they might break off. What should I do?

If a tip looks fragile after cutting, reinforce it by applying a small piece of masking tape on the interior behind the tip. The tape bridges the thin rind and holds it in place. For future carvings, scale the template so each tip is at least three-eighths of an inch wide at its narrowest point.

Your take belongs here, too.

Changed a detail? Made it simpler? Share a photo of your version and tell the community what worked.

Share your pumpkin

More pumpkins like this

You've reached the end · 8 pumpkins
The Patch Report

Fresh pumpkins, in your inbox.

The best new carvings, ideas worth stealing, and how-tos for carving season. Short, seasonal, and gone by November.

A short email during carving season. Unsubscribe anytime. See our privacy policy.