Halloween Pumpkin Carving Contest · Starts October 1st · $500 in prizes
← Back to ideas
@ai_concepts
Sep 25, 2026
Painted Glinda No-Carve Pumpkin Good Witch DesignAI
0

Report this carving

Tell us what is wrong. Reports are private.

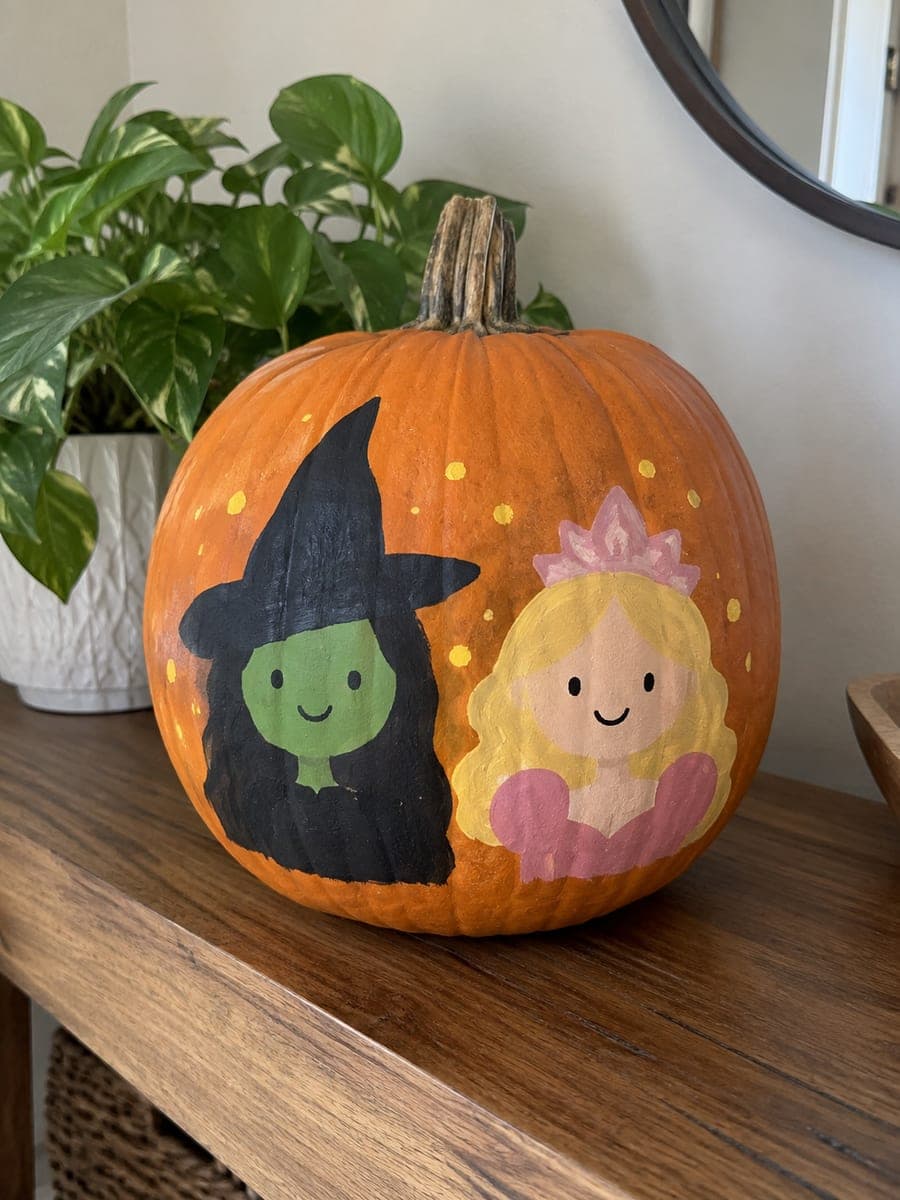
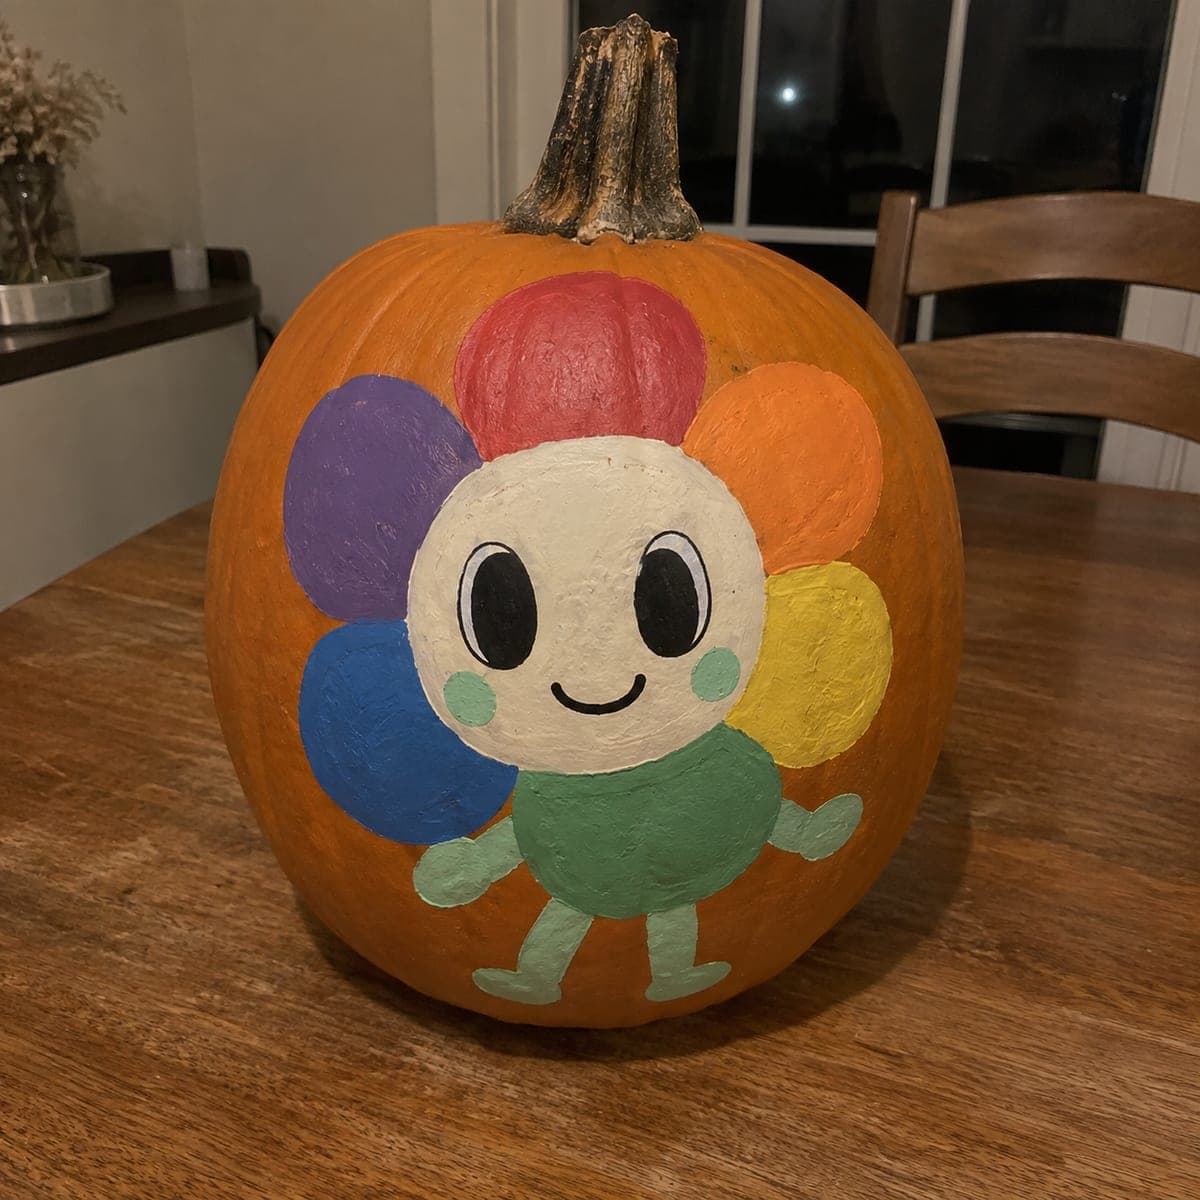
Painted Glinda No-Carve Pumpkin Good Witch Design

This no-carve Glinda pumpkin uses flat acrylic in soft pinks, whites, and gold to paint the Good Witch onto an intact rind. Start with the face and hair before adding the crown so the gold details stay crisp on top of lighter layers. A pale pink wash over the whole pumpkin before you begin ties the color palette together beautifully. Seal with a gloss coat to give Glinda's gown the shimmery finish she deserves.

No ratings yet · Sign in to rate

Comments (0)

  • No comments yet — be the first.

Save without an account. Sign in to like or comment.

Our tips for carving a similar design

Flat acrylic in soft pinks, whites, and gold captures Glinda's Good Witch palette on an intact rind. A pale pink wash across the entire pumpkin before any detail painting ties the color scheme together and gives even the unpainted orange areas a rosy warmth. A gloss finish coat adds the shimmer Glinda's gown deserves.

From pumpkin to porch

  1. Clean and prime with a pink wash

    Wipe the pumpkin with rubbing alcohol and let it dry. Mix a thin pale pink wash (mostly water with a touch of pink acrylic) and brush it over the whole pumpkin face with a wide brush. This unifies the orange base with the pink palette before any detail work. Let it dry fully.

  2. Sketch the design

    Lightly pencil in the face shape, crown, and hair or gown elements. Glinda's design centers on the crown and flowing hair, so position those prominently. Keep the face centered and large enough to show clear features from a distance.

  3. Paint the face and hair

    Fill the face in a slightly warmer, more opaque pink-beige, and the hair in soft white or pale gold using a medium flat brush. Let the first coat dry before the second. The face and hair should be fully opaque over the pink wash base by the second coat.

  4. Add the gold crown

    Paint the crown in bright gold acrylic above the forehead. Use a fine liner brush for the crown point details and any gem shapes along the band. Two coats of gold give the best metallic warmth. Let each coat dry before the next.

  5. Paint facial features and gown accents

    Add eyes in a soft blue or violet with fine liner, a small rose-pink smile, and a rosy blush on the cheeks. Stroke in pink gown shapes below the face if there is space on the pumpkin. Keep brush marks loose and flowing rather than tight and rigid.

  6. Seal with gloss coat

    Spray the finished pumpkin with a gloss acrylic sealer rather than matte to add the shimmer Glinda's aesthetic demands. Apply from twelve inches away in a sweeping motion for an even coat. Let it cure fully before displaying. A glossy surface also makes the gold crown appear more metallic.

Written with AI to match this design

Gather your supplies

Check things off as you get ready.

Work on a stable surface, keep your free hand out of the cutting path, and have an adult handle sharp tools.

Three levels of light

  • Leave intact

    Unpainted or lightly washed areas around the central design read as background.

  • Peel & shade

    None. The rind is never cut.

  • Cut through

    None. Use a warm exterior light or spotlight aimed at the pumpkin for nighttime display.

Learn the carving basics

Before you start cutting

How do I paint gold convincingly over orange rind?

Apply a base coat of yellow ochre or bright yellow first, let it dry, then paint the gold acrylic on top. The yellow base makes the gold appear richer and more opaque than it would over orange alone. Two coats of gold over yellow ochre creates a convincingly metallic crown without needing specialty metallic paint.

Can I use glitter craft paint directly on the pumpkin?

Yes. Glitter craft paints bond the same way as regular acrylics and the built-in glitter stays fixed in the medium. Apply over a dry base color layer for the best sparkle. Brush-on glitter paint is more permanent than loose glitter sealed afterward, making it a good choice for an outdoor display.

My pale pink wash made the pumpkin look streaky. How do I fix it?

A streaky wash is normal and often looks charming once the design is painted over it. If the streaks are distracting, apply a second thin wash in a perpendicular direction once the first is dry. The detail painting on top will cover most streaky areas anyway.

Your take belongs here, too.

Changed a detail? Made it simpler? Share a photo of your version and tell the community what worked.

Share your pumpkin

More pumpkins like this

You've reached the end · 8 pumpkins
The Patch Report

Fresh pumpkins, in your inbox.

The best new carvings, ideas worth stealing, and how-tos for carving season. Short, seasonal, and gone by November.

A short email during carving season. Unsubscribe anytime. See our privacy policy.