Halloween Pumpkin Carving Contest · Starts October 1st · $500 in prizes
← Back to ideas
@ai_concepts
Sep 25, 2026
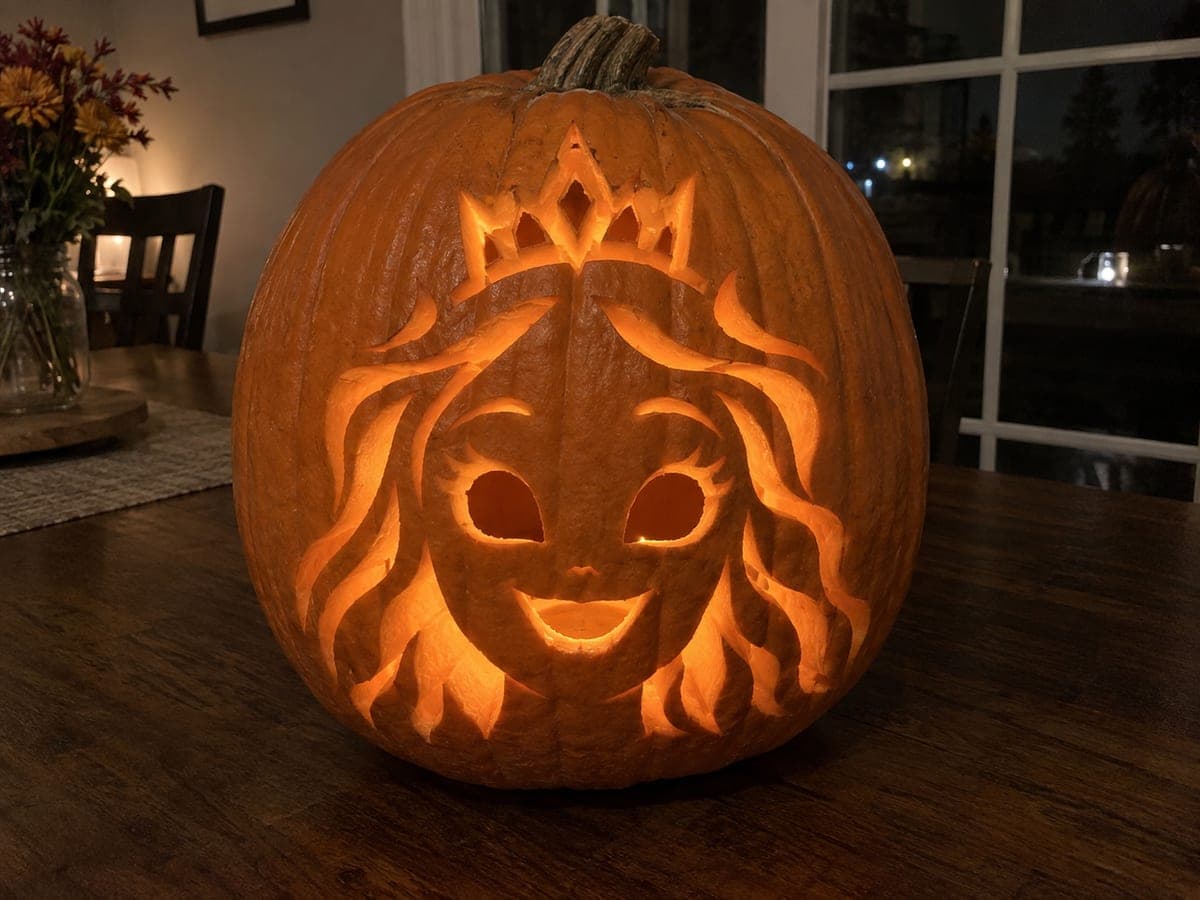
Glinda Smiling Face Pumpkin Carving with Crown DetailAI
0

Report this carving

Tell us what is wrong. Reports are private.

Glinda Smiling Face Pumpkin Carving with Crown Detail

Open pupil-free eyes, a curved smile, and curled hair channel cuts combine with a shallow-backed crown in this intermediate Glinda pumpkin carving idea. The broad intact muzzle area keeps the face structurally sound even after the eye and smile cuts. Work the hair channels before the face features so you have a stable grip on the rind. Adding a soft warm LED inside gives the finished glinda pumpkin carving a bubbly, cheerful glow.

No ratings yet · Sign in to rate

Comments (0)

  • No comments yet — be the first.

Save without an account. Sign in to like or comment.

Our tips for carving a similar design

Pupil-free open eyes and a curved smile set the cheerful expression, while curled hair channel cuts around the face and a shallow-backed crown add dimension. The broad intact muzzle area between the eyes and smile is the structural anchor that keeps the face rigid throughout the session. Working the hair channels before the face features is the order that keeps a stable rind grip when you need it most.

From pumpkin to porch

  1. Hollow and layout the face

    Gut the pumpkin from the back and thin the front wall to three-quarters of an inch. Transfer the full face layout including eye positions, smile curve, hair channel paths, and crown location with a poking tool. Mark the broad muzzle zone in pencil as a reminder of the area that must not be cut into.

  2. Cut the curled hair channels first

    Open the curved hair channel cuts around the face before doing any facial features. These channels frame the face and are easiest to cut when the central rind is still fully intact and rigid. Work each curve in short strokes, rotating the pumpkin to keep the blade angle comfortable.

  3. Cut the open eye shapes

    Mark both eyes equidistant from the face center and cut each one as a wide open oval or almond shape. Glinda's eyes are pupil-free, meaning the entire eye area is cut out rather than retaining a pupil island. Wide open eyes at this scale create a bright, bubbly expression that suits the character.

  4. Cut the curved smile

    Saw the smile in a steady upward curve, keeping the mouth smaller than each eye to maintain good face proportions. A smile that is too wide can weaken the muzzle zone. End each side of the smile with a slight upward flick for a cheerful expression.

  5. Score the crown detail

    Switch to a linoleum gouge for the crown above the face. Score the crown's outline and interior zigzag points to about half wall depth. Thin the entire crown area slightly so it glows as a warm mid-tone halo above the bright open eyes and smile.

  6. Light and final check

    Place a warm LED inside and assess the face from five feet away. The open eyes and smile should be the brightest elements, with the scored crown glowing softly above them. The hair channels should frame the face in warm amber. Seal all cut edges with petroleum jelly to slow drying.

Written with AI to match this design

Gather your supplies

Check things off as you get ready.

Work on a stable surface, keep your free hand out of the cutting path, and have an adult handle sharp tools.

Three levels of light

  • Leave intact

    The muzzle zone, outer face rind, and the rind between hair channels stay intact and dark.

  • Peel & shade

    The shallow-backed crown area above the face glows as a warm mid-tone.

  • Cut through

    The open pupil-free eye shapes, curved smile, and curled hair channels are cut fully through.

Learn the carving basics

Before you start cutting

Why are the eyes pupil-free on this design?

Pupil-free open eyes create a wide-eyed, joyful expression that reads immediately as Glinda's bubbly personality. Retaining a small pupil island inside each eye adds complexity and creates two small floating pieces that can fall out as the pumpkin dries. The open-eye approach is both more structurally sound and expressive.

How curved should the smile be?

A gentle upward arc about as wide as the distance between the inner corners of the two eyes looks proportional. Mark the center of the smile first with a pencil dot, then sketch the curve from each end up to that center point to ensure symmetry before cutting.

Can I add Glinda's wand to the design?

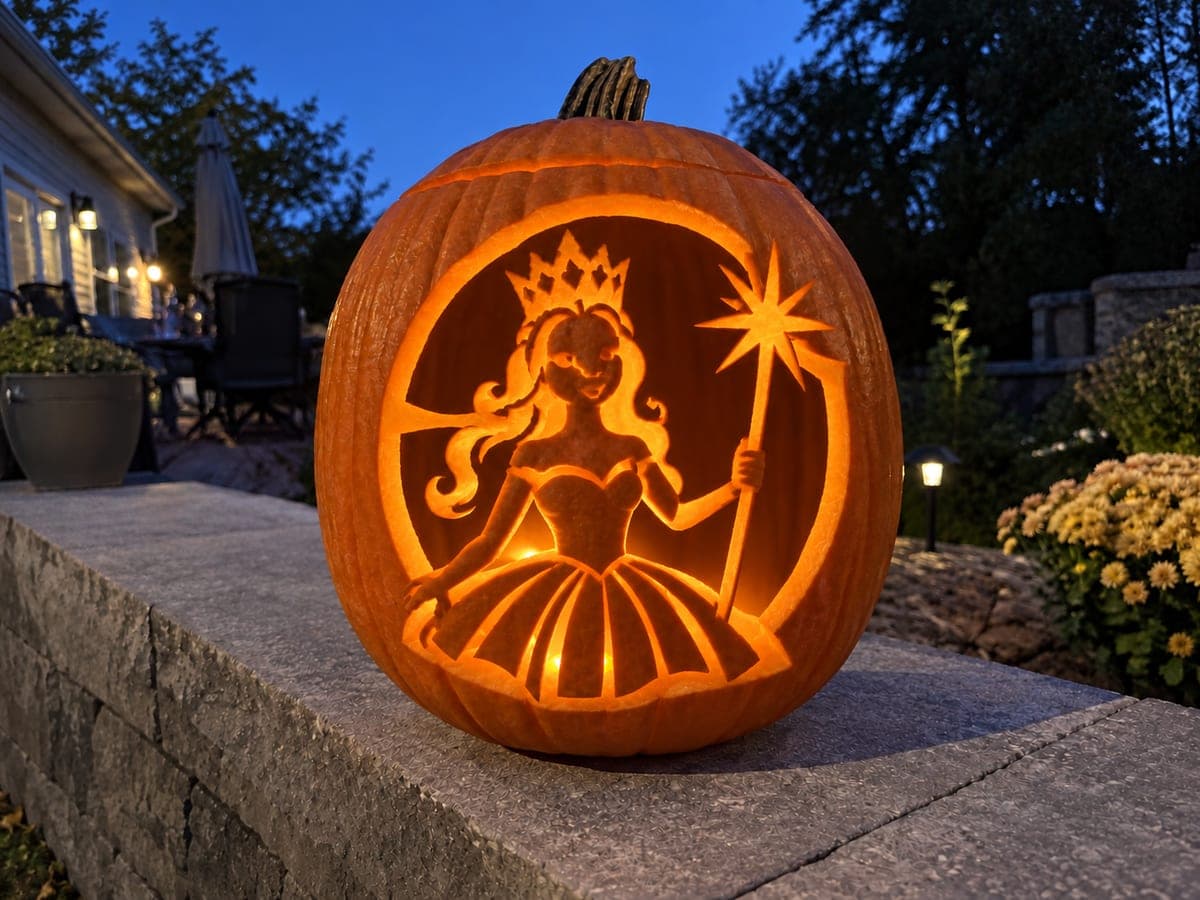
A shallow-scored wand shape beside the face is a nice addition. Score it with a gouge rather than cutting through to keep the design at intermediate difficulty. Position the wand in the negative space between a hair channel and the edge of the design to avoid overlapping any structural areas.

Your take belongs here, too.

Changed a detail? Made it simpler? Share a photo of your version and tell the community what worked.

Share your pumpkin

More pumpkins like this

You've reached the end · 8 pumpkins
The Patch Report

Fresh pumpkins, in your inbox.

The best new carvings, ideas worth stealing, and how-tos for carving season. Short, seasonal, and gone by November.

A short email during carving season. Unsubscribe anytime. See our privacy policy.