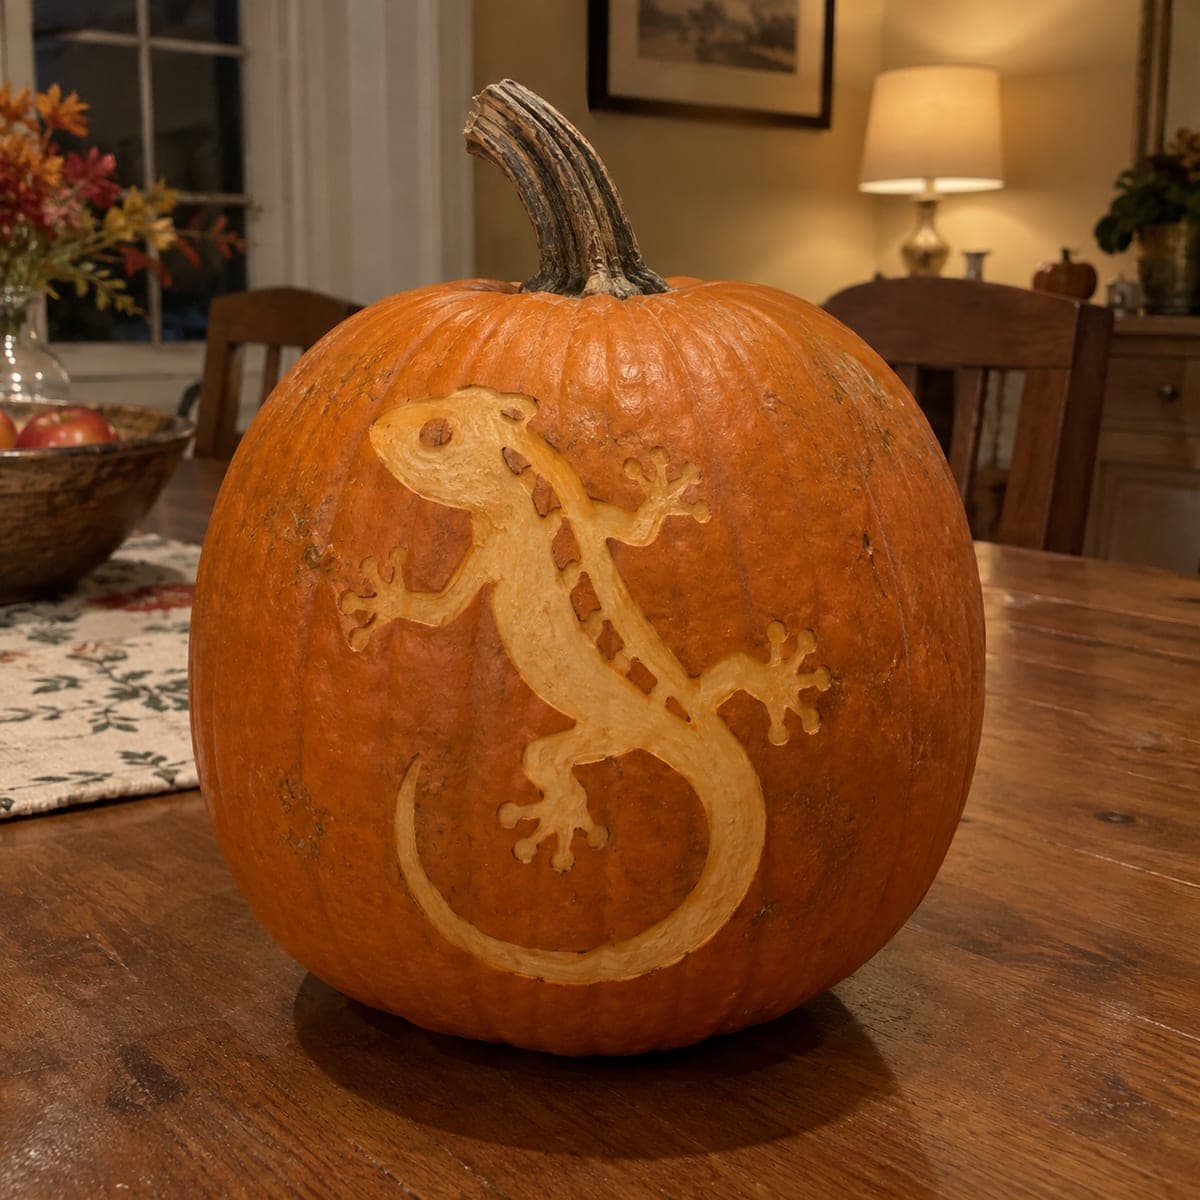
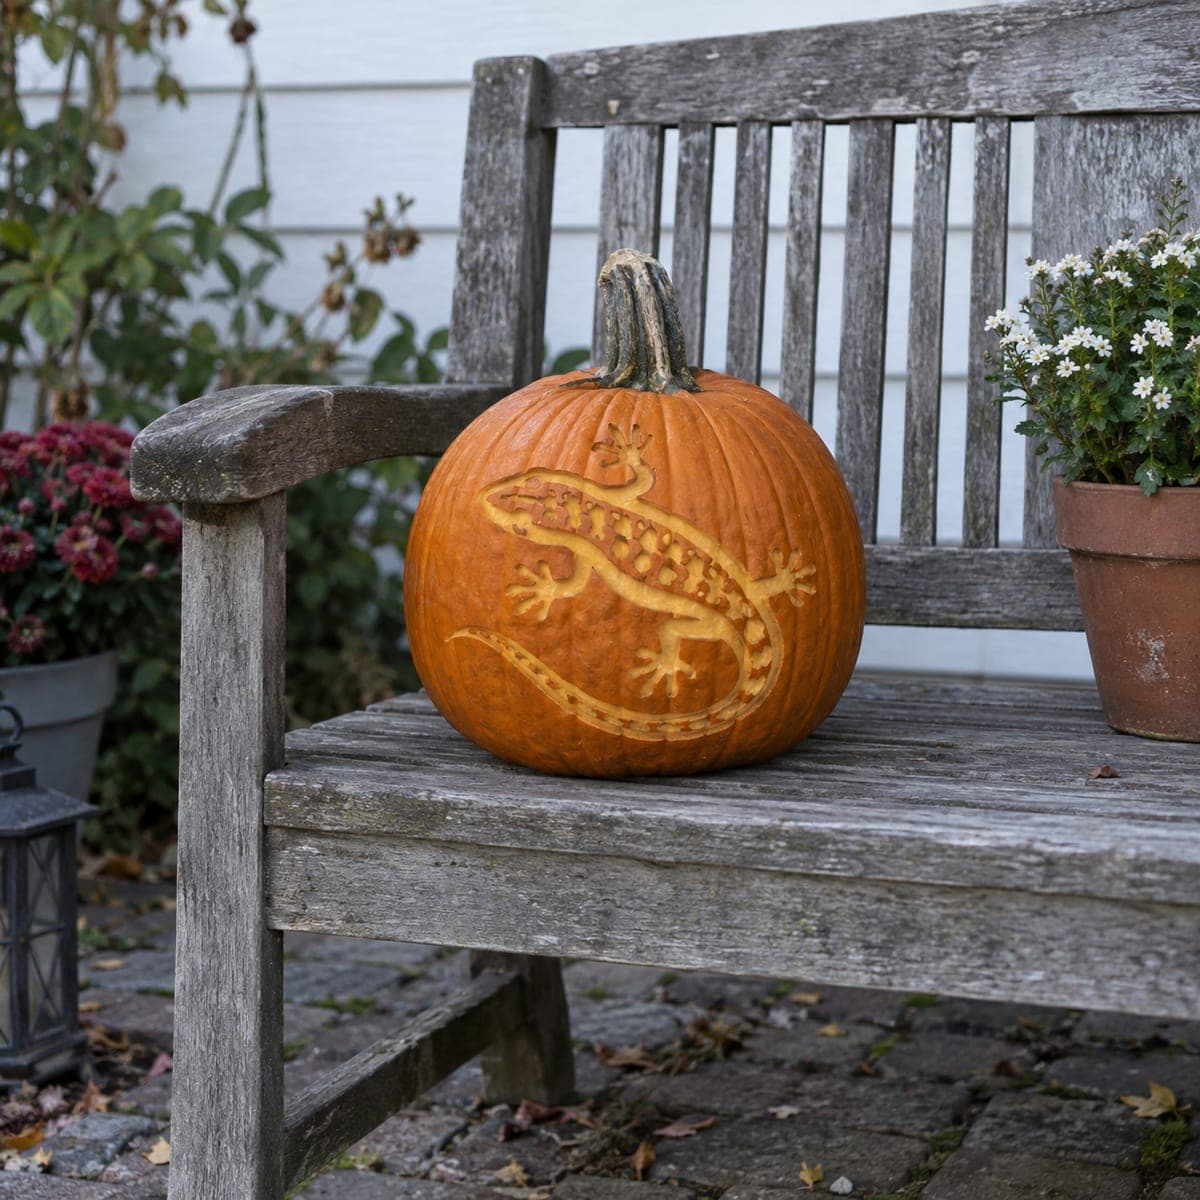
A gecko sprawls diagonally across the pumpkin, its splayed toe pads and long curled tail peeled from the skin so the pale flesh forms the design against the orange rind. Because nothing is cut through, this etched pumpkin lasts longer than a carved one and looks great in daylight on a table. Sketch the lizard on with a dry-erase marker, strip the skin inside the lines with a linoleum cutter or vegetable peeler, and leave small unpeeled ovals for the back spots.
This is an AI-generated concept image: a realistic, carvable design idea rather than a photo of a finished carve. AI concepts are always labeled and sit out the leaderboard and the contest.
The whole trick here is skin-peeling instead of cutting through: strip the thin outer rind inside the lizard shape so the pale flesh reads as a bright gecko on the darker orange skin. Because nothing is cut all the way through, the pumpkin stays sturdy, lasts longer, and looks great on a table in daylight. The plan is to sketch the gecko, peel the body, toes, and long curling tail, then leave small unpeeled ovals for the back spots.
Written by PumpkinCarvingIdeas.com, inspired by the image above. These are our suggestions, not instructions from the uploader. This approach to the AI concept has not been tested on a real pumpkin.
From pumpkin to porch
1
Pick a smooth panel and sketch the gecko
Choose the flattest, cleanest face of the pumpkin so the long tail has room to curl without wrapping over a ridge. Wipe the surface dry, then draw the gecko diagonally with a dry-erase marker, starting with the head and body, then the splayed feet, then the sweeping tail. Keep the toe pads as small rounded blobs rather than needle-thin points so they hold together. Step back and check the whole shape fits before you touch a blade.
2
Outline the shape with a shallow score
With a small detail knife or a linoleum cutter, trace just inside your marker line to set a clean edge. Cut only a couple of millimeters deep, staying in the skin, not into the wet flesh. This outline acts like a fence so when you peel the interior the edges stay crisp. Adults should handle all cutting tools, and always push the blade away from your hand.
3
Peel the body, feet, and tail
Switch to a vegetable peeler or a wide linoleum gouge and strip the orange skin off everything inside your outline. Aim for a consistent shallow depth so the exposed flesh glows evenly rather than looking patchy. Work in short strokes toward the outline you scored, letting that edge stop each pass. Take your time on the curling tail and the toe pads, since thin peeled areas show mistakes the most.
4
Leave the back spots and details unpeeled
Mark small ovals down the gecko's back and along the tail, plus the eye, and simply do not peel those spots. Left as untouched skin, they stay darker and read as the gecko's spotted pattern against the pale peeled body. If you want a little more contrast, you can peel those ovals only halfway for a middle tone. This is where the shading effect comes from, so keep the spots evenly spaced.
5
Clean the edges and even out the tone
Go back with the detail knife and tidy any ragged spots along the outline, especially the toes. Lightly scrape any peeled area that still looks too orange until the pale flesh shows through. Wipe away marker lines with a damp cloth. A thin coat of petroleum jelly on the peeled flesh slows browning and keeps the design bright for a few extra days.
6
Light it low and photograph in daylight
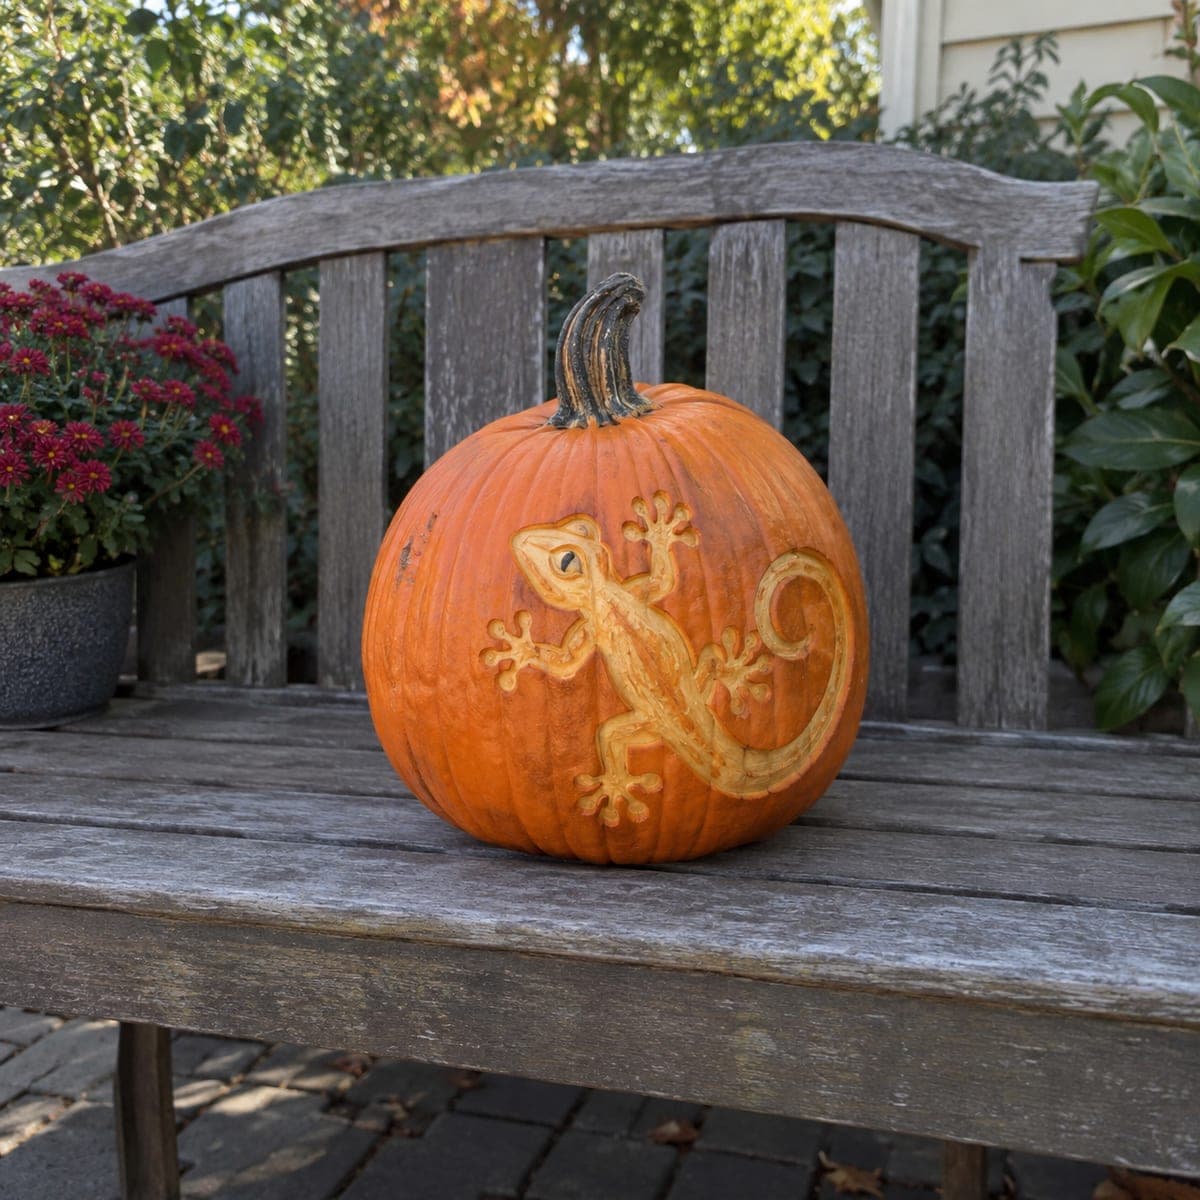
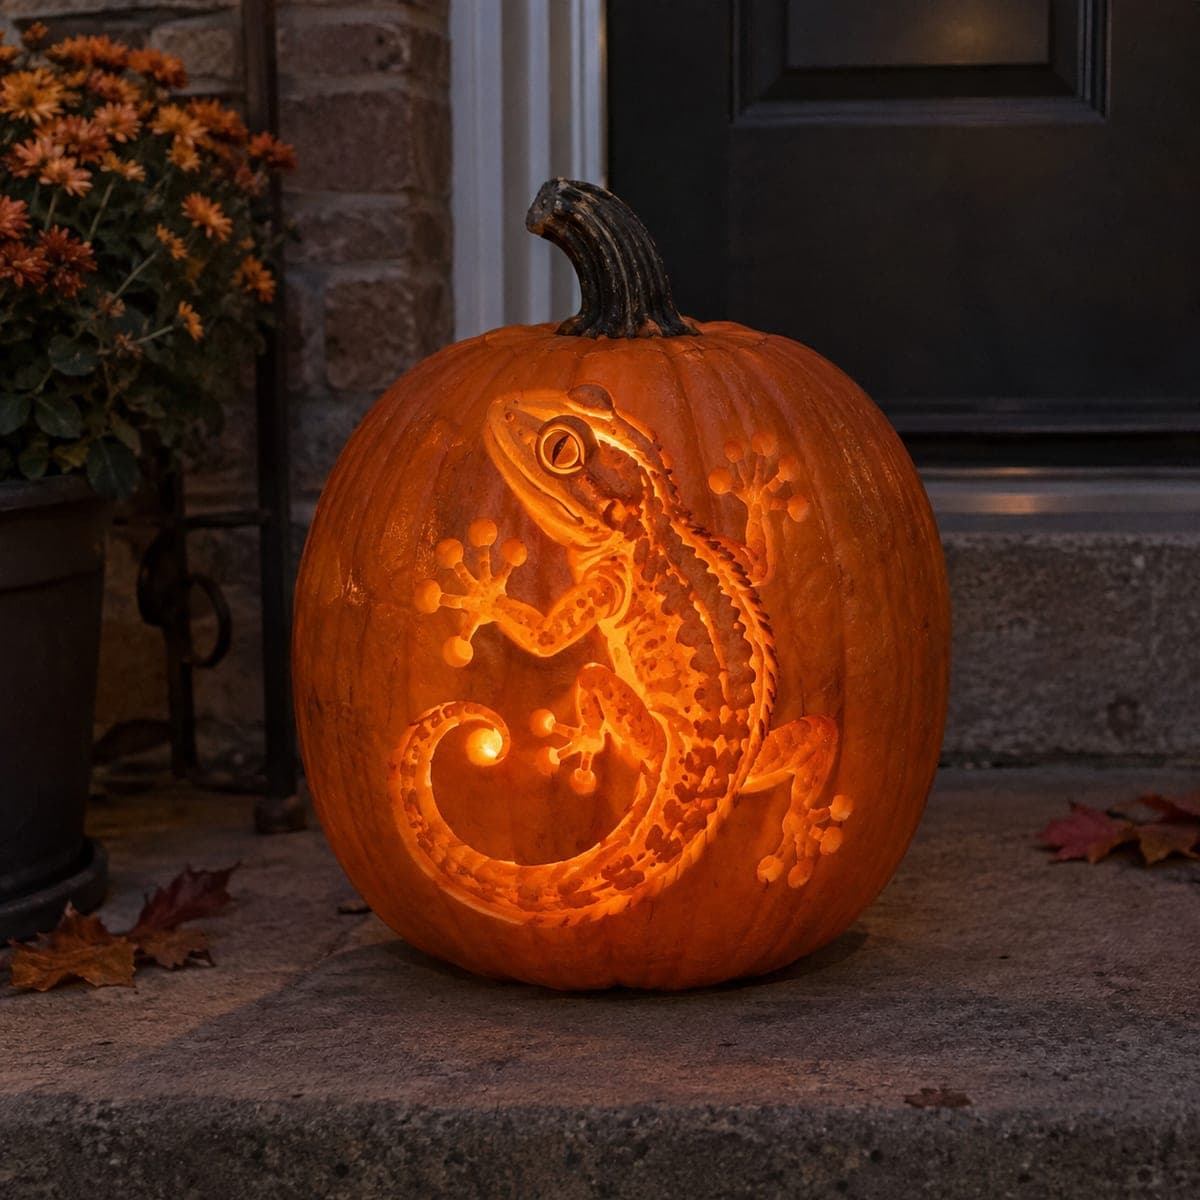
Because nothing is cut through, a light inside will barely show, so this design shines best by daylight or under a lamp on a table. If you want a glow, set a small battery LED beside or behind the pumpkin rather than inside it, and never use a candle. Shoot your photo in soft indoor light to catch the pale gecko against the orange rind. Refresh the peeled surface with a quick scrape if it dulls before your event.
Gather your supplies
Check things off as you get ready.
Work on a stable surface, keep your free hand out of the cutting path, and have an adult handle sharp tools.
Three levels of light
Leave intact
The orange rind background and the small unpeeled back and tail spots plus the eye stay dark.
Peel & shade
The gecko's body, splayed feet, toe pads, and long curling tail are peeled to glow pale against the skin.
Cut through
Nothing is cut all the way through on this design, which is what keeps it sturdy and long-lasting.
No, this is an etched design, so every part stays as peeled skin rather than a full opening. Cutting through would weaken the thin toes and tail and let the shape sag. Keep all your cuts shallow, in the rind only, and the gecko will hold its detail much longer.
How do I keep the thin toe pads and tail from tearing?
Draw the toes as small rounded blobs instead of sharp points, and score their outline before you peel. Peel toward that scored edge in short strokes so the flesh does not lift in a big chunk. Since nothing is cut through, the whole shape stays connected to the surrounding rind and supports itself.
It barely glows with a light inside. Is that normal?
Yes, etched pumpkins are meant to be seen by daylight or room light, not backlit like a cutout jack-o'-lantern. The pale peeled flesh shows off the gecko against the orange skin without any inner light. If you want a little glow for a photo, set a battery LED beside the pumpkin rather than inside.
Your take belongs here, too.
Changed a detail? Made it simpler? Share a photo of your version and tell the community what worked.
 AI
AI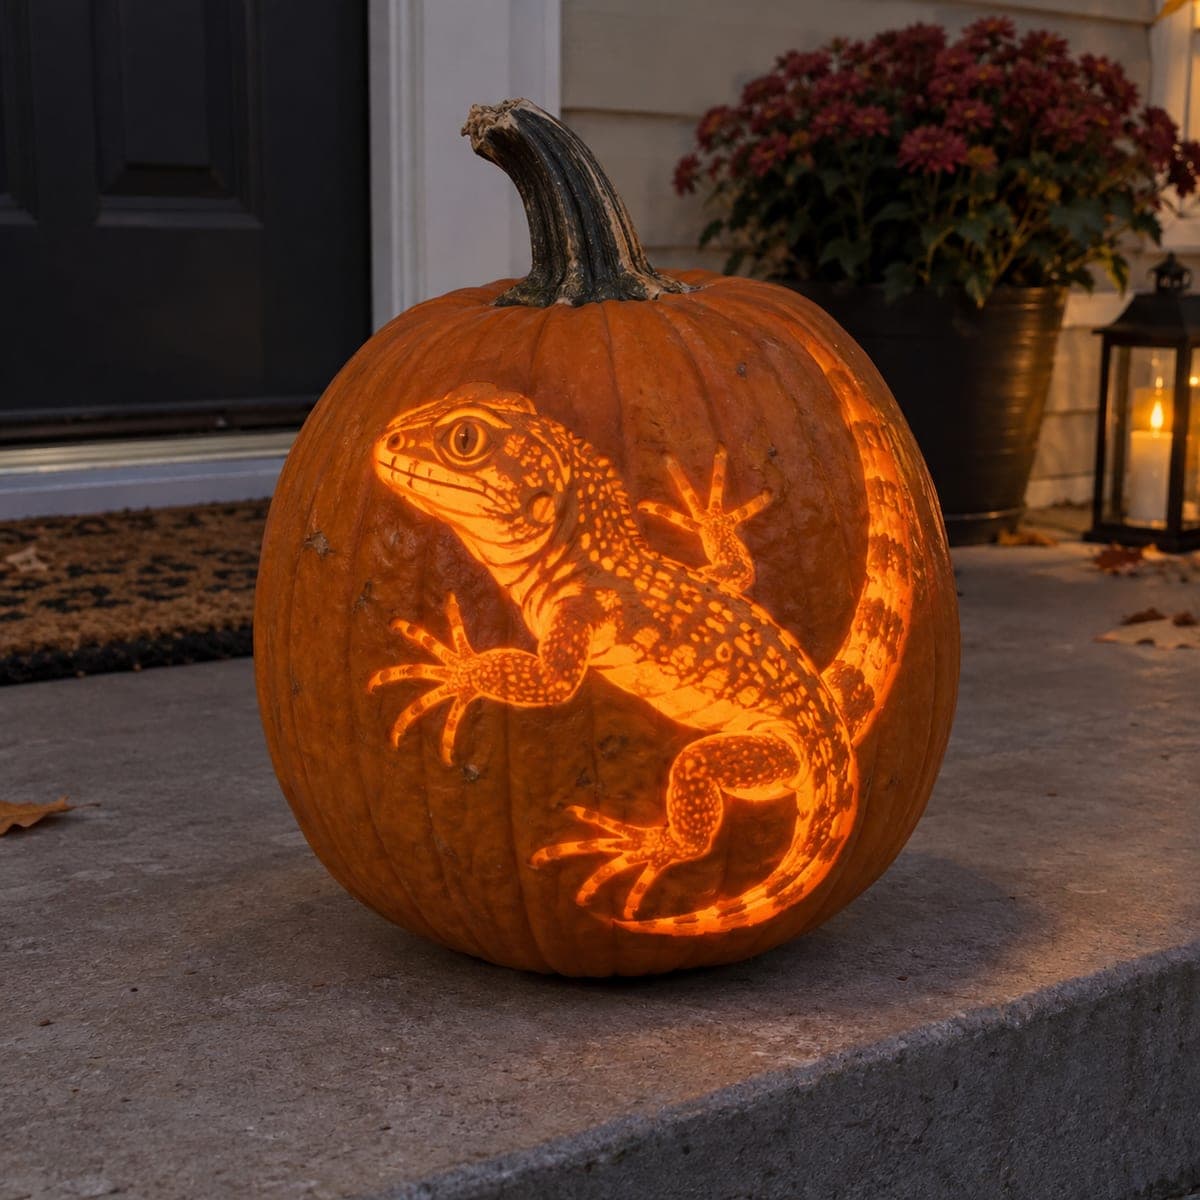

Comments (0)