@jackslantern
Sep 5, 2026
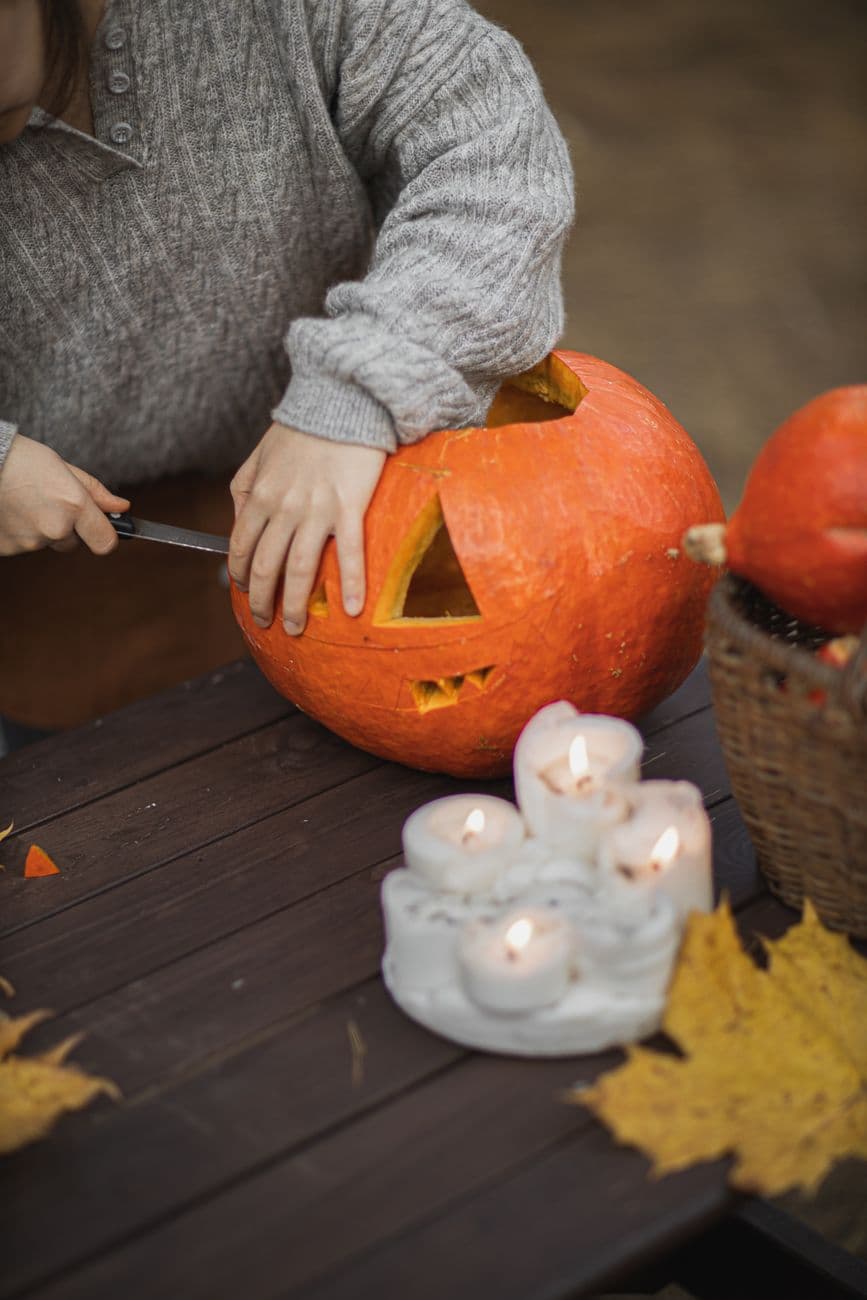
First cuts
Small hands steadying the pumpkin while the knife works the second triangle eye. Candles standing by for the reveal.
No ratings yet · Sign in to rate
Small hands steadying the pumpkin while the knife works the second triangle eye. Candles standing by for the reveal.
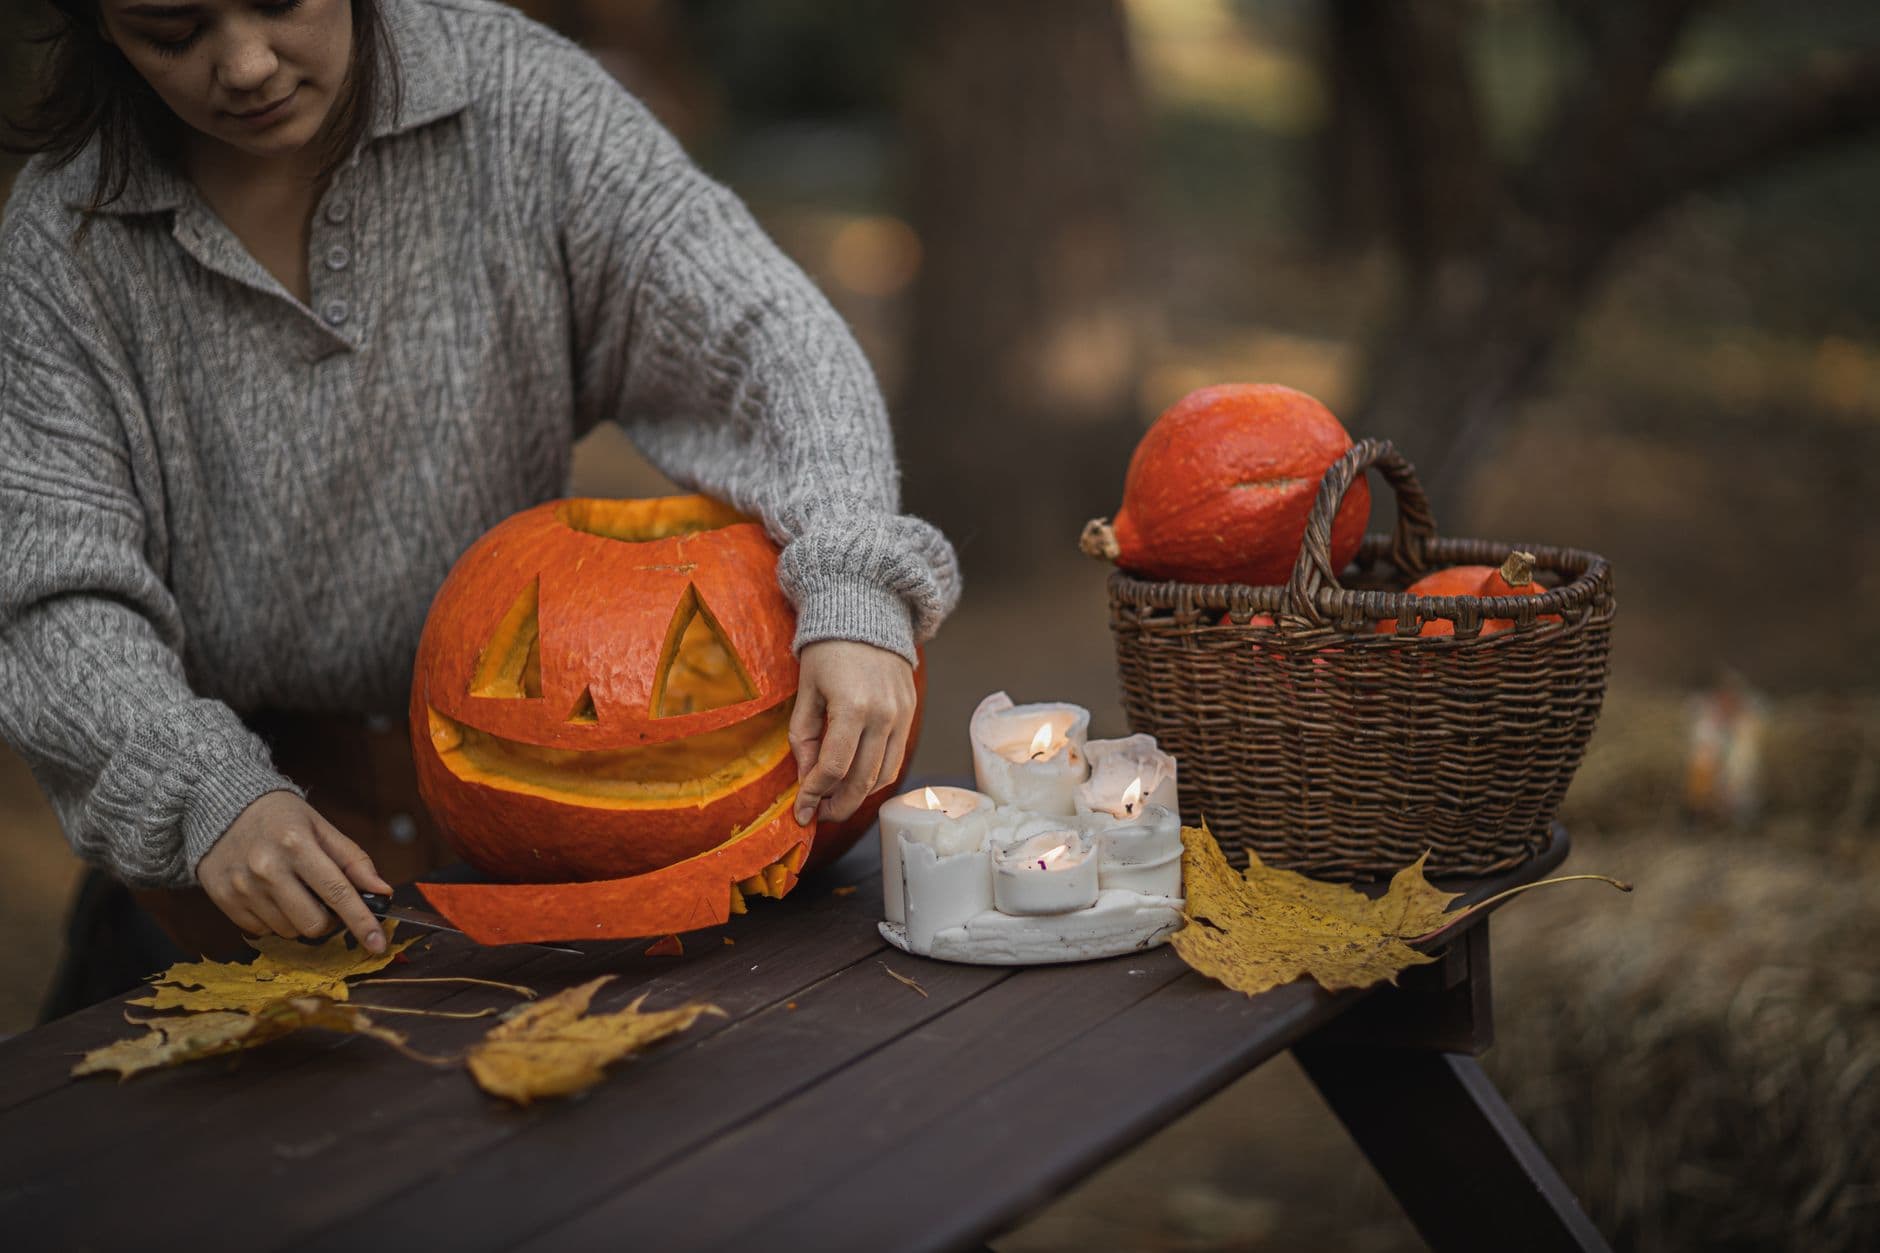
This is the timeless jack-o'-lantern face, built entirely from clean cutouts: two triangle eyes, a small triangle nose, and a grinning mouth with a couple of teeth. The trick is keeping every shape simple and symmetrical so the glow reads clearly from across the yard. Plan the face on paper first, then let the cutouts do all the work.
Written by PumpkinCarvingIdeas.com, inspired by @jackslantern's photo above. These are our suggestions, not instructions from the uploader, and this approach hasn't been tested on their exact carve.
Choose a firm pumpkin with a flat side facing out and a stable base so it will not roll while you work. Have an adult cut the lid at an angle so it rests back in place without falling in. Angling the cut also gives you a ledge to set the lid on later. Scoop the seeds and pulp until the front wall is about one inch thick.
Draw two matching triangles for the eyes, a smaller triangle for the nose, and a wide smile with one or two square teeth. Keep the shapes evenly spaced so the face looks balanced when lit. Step back and check the layout before you cut anything. A washable marker lets you wipe off and redraw until it looks right.
Start with the smaller shapes while the pumpkin wall is still fully intact and strong. Have the adult use a short serrated carving saw, sawing gently along each traced line rather than forcing the blade. Steady the pumpkin with your free hand well away from the blade path. Push each cut piece out from the inside with a fingertip.
The mouth is the biggest opening, so cut it after the eyes and nose to keep the pumpkin sturdy while you work. Leave the teeth attached to the top and bottom edges so they act as little bridges and do not snap off. Take slow, short strokes around the corners. Gently press the mouth section out once every line meets.
Trim any ragged edges with a paring knife so each shape has crisp sides. Wipe the face clean and dry it. Drop a battery LED tealight or two inside for a safe, steady glow, and skip real candles even though they look charming nearby. Set the lid back on and check the face from a few feet away.
Take your photo in low light so the cutouts pop against the dark skin. Set the pumpkin at eye level and turn off nearby lamps for the best contrast. A slightly angled lid adds a bit of character. Share the finished grin with the community.
Check things off as you get ready.
Work on a stable surface, keep your free hand out of the cutting path, and have an adult handle sharp tools.
The whole outer skin of the pumpkin stays dark and untouched.
Optional: lightly scrape a thin outline around the eyes for a soft halo, though this classic face needs none.
The two triangle eyes, triangle nose, and toothy mouth are cut all the way through for the brightest glow.
Aim for about one inch on the front where the face goes. That is thin enough for an adult to saw easily but thick enough that the corners of the triangles do not crumble. Scoop a little more if the saw feels like it is fighting the wall.
Yes, this is a great starter design for family carving. Kids can draw the shapes, scoop the insides, and steady the pumpkin, while an adult handles the saw. Keep young hands flat on top of the pumpkin and well clear of the blade.
Leaving each tooth joined to the top or bottom of the mouth turns them into small bridges that hold their shape. If you cut all the way around a tooth it can break off and leave a gap. Those attachment points keep the grin crisp and strong.
Changed a detail? Made it simpler? Share a photo of your version and tell the community what worked.
The best new carvings, ideas worth stealing, and how-tos for carving season. Short, seasonal, and gone by November.





Comments (0)