Halloween Pumpkin Carving Contest · Starts October 1st · $500 in prizes
← Back to ideas
@ai_concepts
Aug 8, 2026
Ghost Peeking Over BOO Letters PumpkinAI
0

Ghost Peeking Over BOO Letters Pumpkin

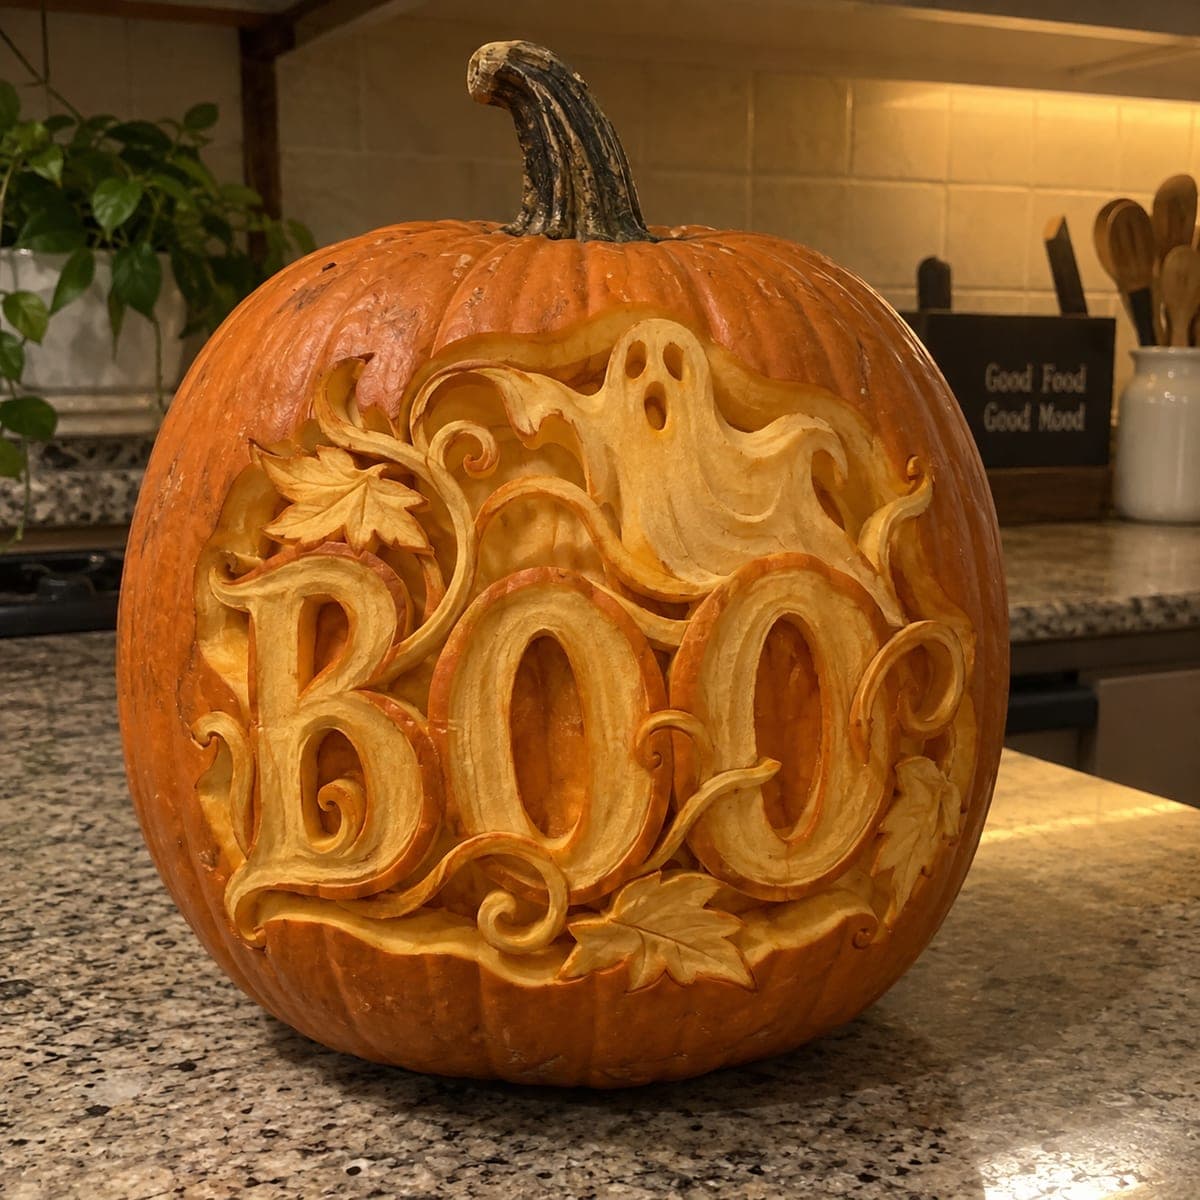
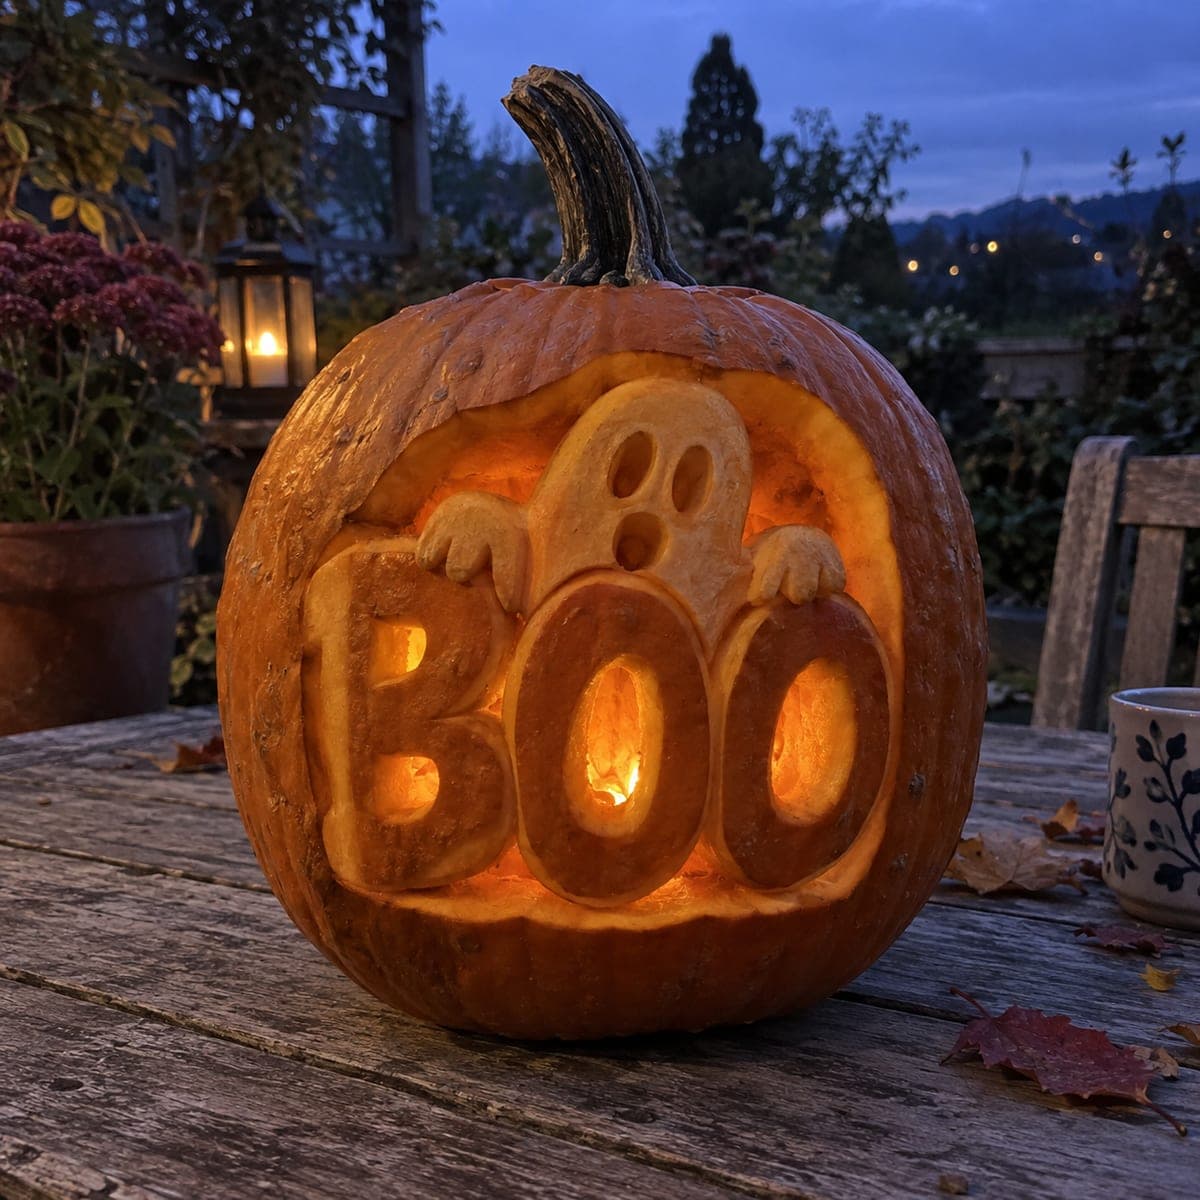
A friendly ghost peeks over chunky carved letters spelling BOO, its little hands draped over the B and O while candlelight spills through the letter openings. The word and ghost are sculpted in raised relief with the centers of the letters pierced through, giving you glow and daylight readability in one design. Lay out the letters with a stencil so the spacing stays even, carve the background away around them, then open the counters. Great curb appeal for trick-or-treat night.

This is an AI-generated concept image: a realistic, carvable design idea rather than a photo of a finished carve. AI concepts are always labeled and sit out the leaderboard and the contest.

No ratings yet · Sign in to rate
Comments (0)

  • No comments yet — be the first.

Save without an account. Sign in to like or comment.

Our tips for carving a similar design

The core trick here is raised relief: you carve the background away so the letters and ghost stand up as thick skin, then pierce only the centers of the letters for glow. This gives you a design that is readable in daylight and lit up at night. Since this is an AI concept, no real pumpkin was carved, but the same look is very doable if you keep the raised shapes thick and connected to the wall.

Written by PumpkinCarvingIdeas.com, inspired by the image above. These are our suggestions, not instructions from the uploader. This approach to the AI concept has not been tested on a real pumpkin.

From pumpkin to porch

  1. Pick a firm pumpkin and open the back

    Choose a large, evenly round pumpkin with a smooth front panel for your lettering. Cut a lid or a back door with a paring saw so an adult can reach in and scoop. Clean the inside wall behind your design down to about one inch thick so light passes through the thin areas later. Working from the back keeps the front face intact for carving.

  2. Transfer the BOO and ghost stencil

    Tape a chunky BOO stencil across the front with the ghost peeking over the top, and check that the letter spacing is even before you commit. Poke through the outlines with a pin or transfer tool so you have a dotted guide. Mark the outer edges of the letters, the ghost body, and the small hands draped over the letters. Take a photo of the layout so you can re-mark any dots that rub off.

  3. Lower the background around the shapes

    Using a lino or ribbon tool, shave away the skin and a thin layer of flesh in the background around the letters and ghost so those shapes stand up in relief. Keep the raised letters and ghost thick and firmly attached to the pumpkin wall. Work slowly at the edges of the ghost hands so they stay connected rather than breaking off. This carved-back area will glow a soft dim orange.

  4. Peel the raised faces for a mid glow

    Gently skin just the top surface of the ghost body and the front of the letters to brighten them without cutting through. This surface shading makes the ghost read as a pale, friendly figure and gives the letters a warm face. Leave the eyes and mouth of the ghost as skinned recesses so they stay soft rather than sharp. Vary the depth a little for a hand-sculpted look.

  5. Pierce the letter counters last

    Now cut fully through the centers: the two holes in the B, the middle of each O, and the ghost's eyes and mouth if you want them brightest. Save these full cutouts for last so the panel stays strong while you do the heavier relief work. Angle the blade outward slightly so the openings catch more light. Support the surrounding raised letters with your free hand as you push the pieces out.

  6. Light it and photograph outdoors

    Set one or two battery LED lights inside, never a candle, and aim for a warm flicker bulb. Place the pumpkin on a porch step or table at dusk and check that the letters read from the sidewalk. If any letter looks dim, thin its inner wall a touch more from the back. Snap your photo while there is still a little blue in the sky for that cozy evening look.

Gather your supplies

Check things off as you get ready.

Work on a stable surface, keep your free hand out of the cutting path, and have an adult handle sharp tools.

Three levels of light

  • Leave intact

    The uncarved outer skin around the panel and the pumpkin body stays dark.

  • Peel & shade

    The skinned faces of the raised letters and the ghost body glow a soft dim orange.

  • Cut through

    The pierced letter counters in B, O, O and the ghost's eyes and mouth are the brightest points.

Learn the carving basics

Before you start cutting

How do I keep the ghost's little hands from breaking off?

Carve them in relief rather than cutting all the way around them, so they stay part of the pumpkin wall. Keep each hand short and thick, and shade the top surface instead of undercutting the edges. If a hand feels loose, leave a small skin bridge connecting it to the letter it drapes over.

What is the difference between the relief carving and the cutouts?

Relief means you shave away the background so the letters and ghost stand up as thick raised skin, which reads well in daylight. Cutouts are the pierced centers that let light shine straight through at night. This design uses both, so save the full cutouts for last to keep the panel strong.

How do I keep the BOO letters evenly spaced?

Use a printed stencil rather than freehand, and tape it flat across the roundest part of the front. Check the spacing before you poke the outline, since the curve of the pumpkin can stretch letters at the edges. Marking the outer edges of all three letters first helps you catch a crooked layout early.

Your take belongs here, too.

Changed a detail? Made it simpler? Share a photo of your version and tell the community what worked.

Share your pumpkin

More pumpkins like this

You've reached the end · 8 pumpkins
The Patch Report

Fresh pumpkins, in your inbox.

The best new carvings, ideas worth stealing, and how-tos for carving season. Short, seasonal, and gone by November.

A short email during carving season. Unsubscribe anytime. See our privacy policy.