Halloween Pumpkin Carving Contest · Starts October 1st · $500 in prizes
← Back to ideas
@ai_concepts
Aug 3, 2026
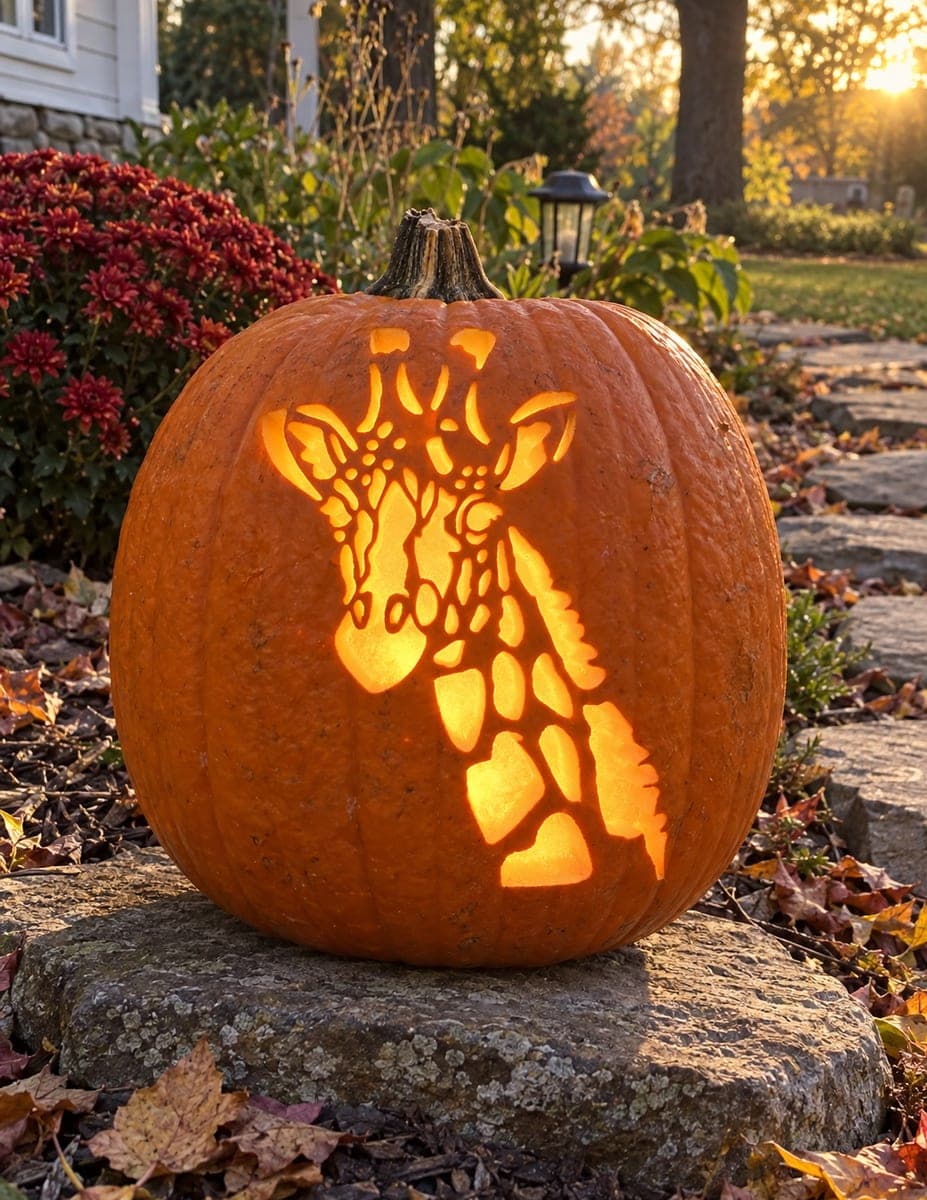
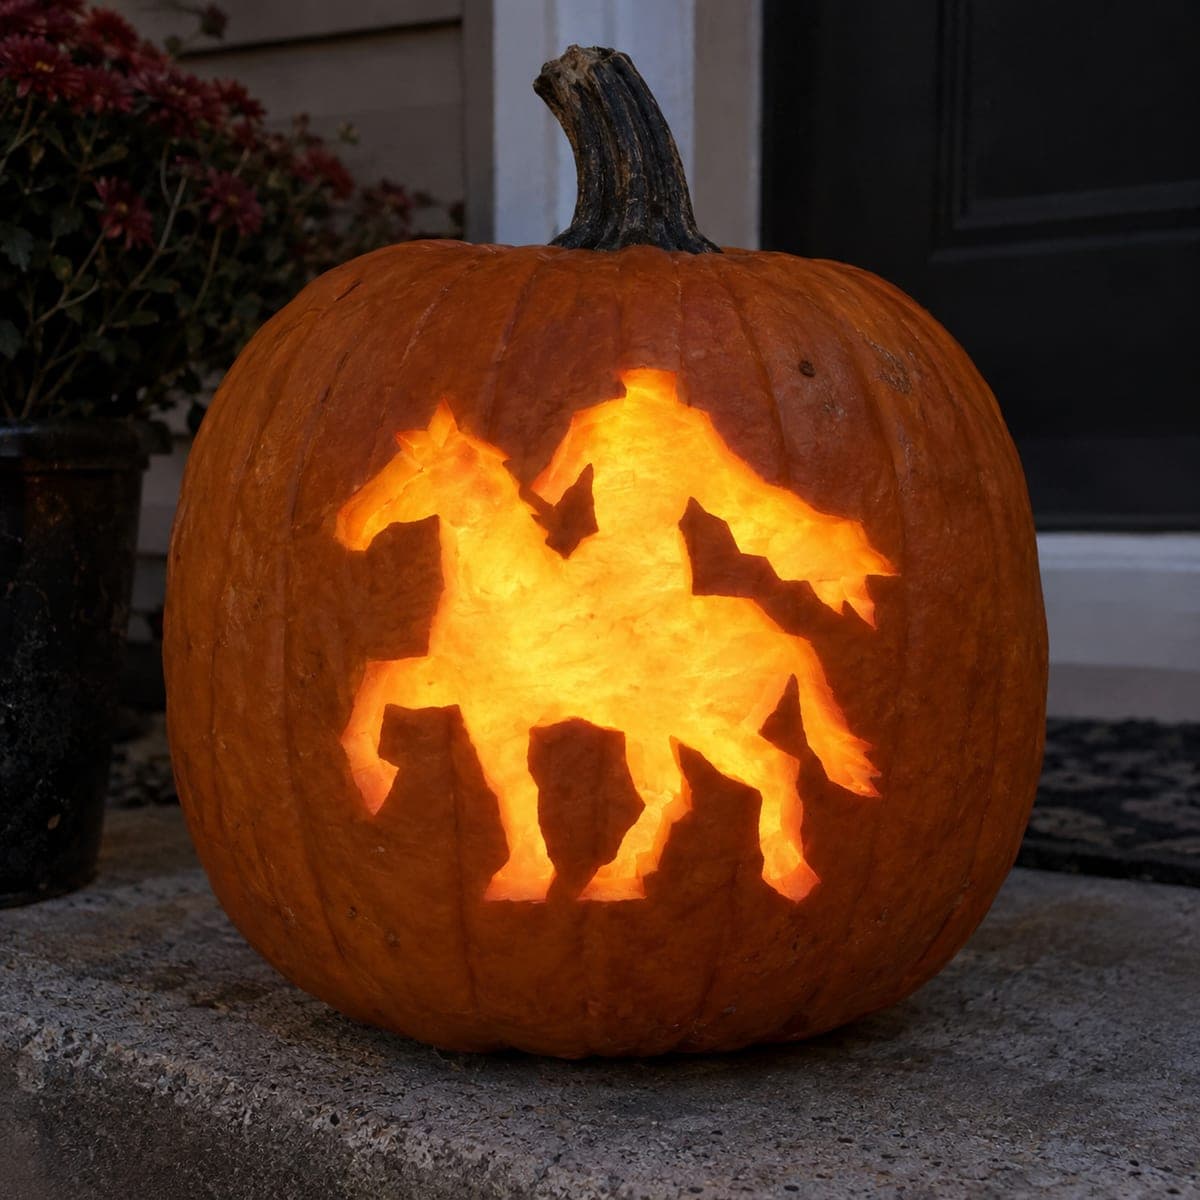
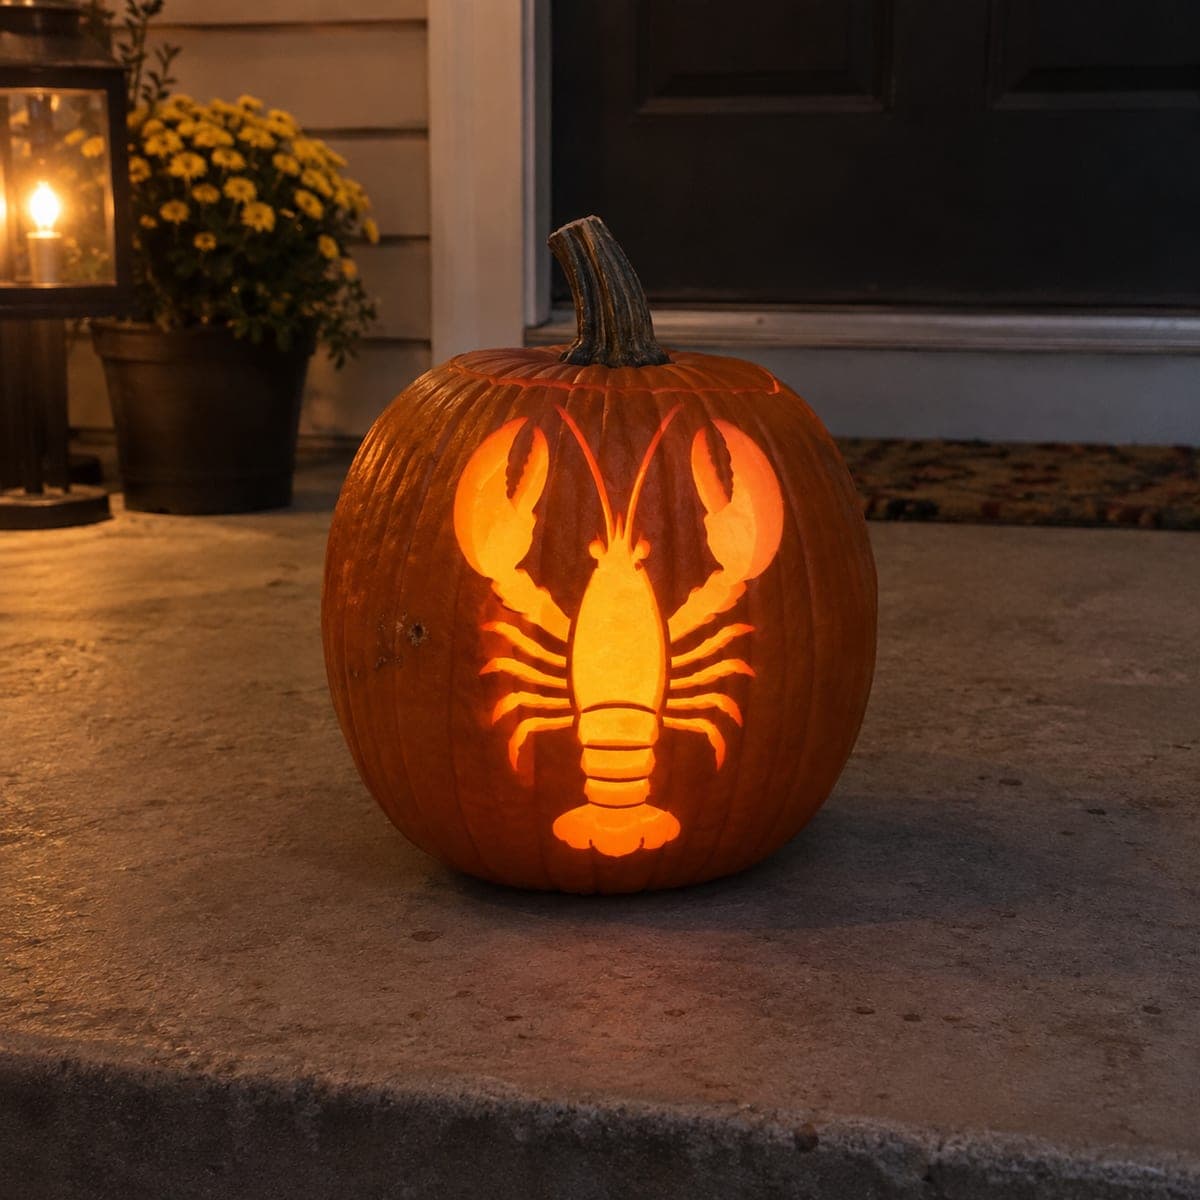
Giraffe Cutout Jack-O-Lantern with Spot PatternAI
0

Giraffe Cutout Jack-O-Lantern with Spot Pattern

A full-body giraffe with its distinctive hexagonal spot pattern is cut through this pumpkin, the spots glowing as individual warm patches of light while the giraffe silhouette itself remains in shadow. The bold graphic design is recognizable from across the yard and achievable with patience and a basic pumpkin saw. Print or draw a giraffe outline scaled to your pumpkin, poke-trace the outline and spot pattern, then cut carefully around each spot before cutting the outer silhouette. This pumpkin carving idea is a great alternative to the usual Halloween motifs.

This is an AI-generated concept image: a realistic, carvable design idea rather than a photo of a finished carve. AI concepts are always labeled and sit out the leaderboard and the contest.
No ratings yet · Sign in to rate

Comments (0)

  • No comments yet — be the first.

Save without an account. Sign in to like or comment.

Our tips for carving a similar design

The trick here is treating the giraffe as two layers of light: a thin cut-through outline that traces the whole animal, plus a scatter of small hexagonal spots that read as separate warm patches. You keep the body skin dark so the shape stays graphic, then let the outline and spots do all the glowing. Plan your spacing before you cut so the leg lines and spots never crowd into one weak strip of shell.

Written by PumpkinCarvingIdeas.com, inspired by the image above. These are our suggestions, not instructions from the uploader. This approach to the AI concept has not been tested on a real pumpkin.

From pumpkin to porch

  1. Pick a tall pumpkin and clean it out

    Choose a pumpkin with a smooth, fairly flat front panel so the neck and legs have room to stretch upward. Cut a lid from the bottom or back rather than the top, which keeps the front face uninterrupted for the tall design. Scoop the insides and thin the carving wall to about one inch so your saw glides through. A thinner wall also lets the spots light up evenly.

  2. Size and transfer the giraffe

    Print or draw a full-body giraffe scaled so the head sits near the top curve and the hooves rest above the bottom. Tape the pattern flat, darting the paper if it wrinkles on the curve. Poke-trace the outer silhouette line and every spot with a pushpin or poker tool, spacing dots close together on tight curves like the muzzle and hooves. Peel the paper away and connect the dots lightly with a marker so you can see the full map.

  3. Cut the spots first

    Start with the interior hexagonal spots while the shell is still solid and strong. Use a fine pumpkin saw and cut each spot as its own little opening, keeping a clear band of skin between neighbors so nothing tears out. Work from the center of the body outward so your hand always rests on supported shell. Take your time here, since the spots carry most of the personality of the piece.

  4. Cut the outline last

    Once the spots are done, saw along the thin outer silhouette line that defines the neck, back, legs, and head. Cut the legs one at a time and leave the belly and background skin fully intact so the four legs stay anchored top and bottom. Keep the outline narrow and consistent so it reads as a crisp glowing edge rather than a wide gap. Gently push each freed sliver out toward you to avoid cracking the surrounding wall.

  5. Clean edges and add light

    Run your saw or a small detail blade back through any ragged cuts so the spots have clean sides that throw sharper light. Rub a little petroleum jelly on the cut edges to slow drying and keep the glow even for a few nights. Set one or two battery LED lights inside, warm white or amber, and skip candles near a doorway. Push the light toward the front wall so both the outline and the spots brighten together.

  6. Stage and photograph

    Place the pumpkin on a step where the tall shape has headroom and shoot at dusk for the best contrast between dark body and glowing spots. Angle the camera straight on so the giraffe silhouette stays true and does not skew on the curve. A second dim porch light keeps the pumpkin skin visible without washing out the interior glow. Snap a few frames before the shell softens overnight.

Gather your supplies

Check things off as you get ready.

Work on a stable surface, keep your free hand out of the cutting path, and have an adult handle sharp tools.

Three levels of light

  • Leave intact

    The giraffe body skin between the spots and the whole background stay untouched, holding the animal in dark silhouette.

  • Peel & shade

    Shave a thin skin ridge just inside the outline if you want a soft halo without widening the cut.

  • Cut through

    The thin outer silhouette line and every hexagonal spot are cut clean through for the brightest glow.

Learn the carving basics

Before you start cutting

How do I keep the four thin legs from breaking off?

Cut only the narrow outline of each leg and leave all the background skin and the belly fully intact, so each leg is anchored to the shell at both ends. Cut the legs one at a time rather than freeing a big block. A one-inch wall and a sharp fine saw reduce the pressure that snaps thin sections.

Should the spots be cutouts or just peeled?

For the bold look in this concept, cut the spots all the way through so they glow as separate patches. If your pumpkin wall is thin or the spots sit close together, peel a few instead to keep the shell strong. You can mix both, cutting the larger spots and peeling the tiny ones.

This is a concept image, so is it actually carvable?

Yes, the design works on a real pumpkin as long as you keep the outline narrow and the spots spaced with skin between them. Cut the small spots first while the shell is solid, then cut the silhouette line last. Avoid making the leg gaps too wide, since that is where a real pumpkin is most likely to sag.

Your take belongs here, too.

Changed a detail? Made it simpler? Share a photo of your version and tell the community what worked.

Share your pumpkin

More pumpkins like this

You've reached the end · 8 pumpkins
The Patch Report

Fresh pumpkins, in your inbox.

The best new carvings, ideas worth stealing, and how-tos for carving season. Short, seasonal, and gone by November.

A short email during carving season. Unsubscribe anytime. See our privacy policy.