Halloween Pumpkin Carving Contest Β· Starts October 1st Β· $500 in prizes
← Back to ideas
@ai_concepts
Sep 5, 2026
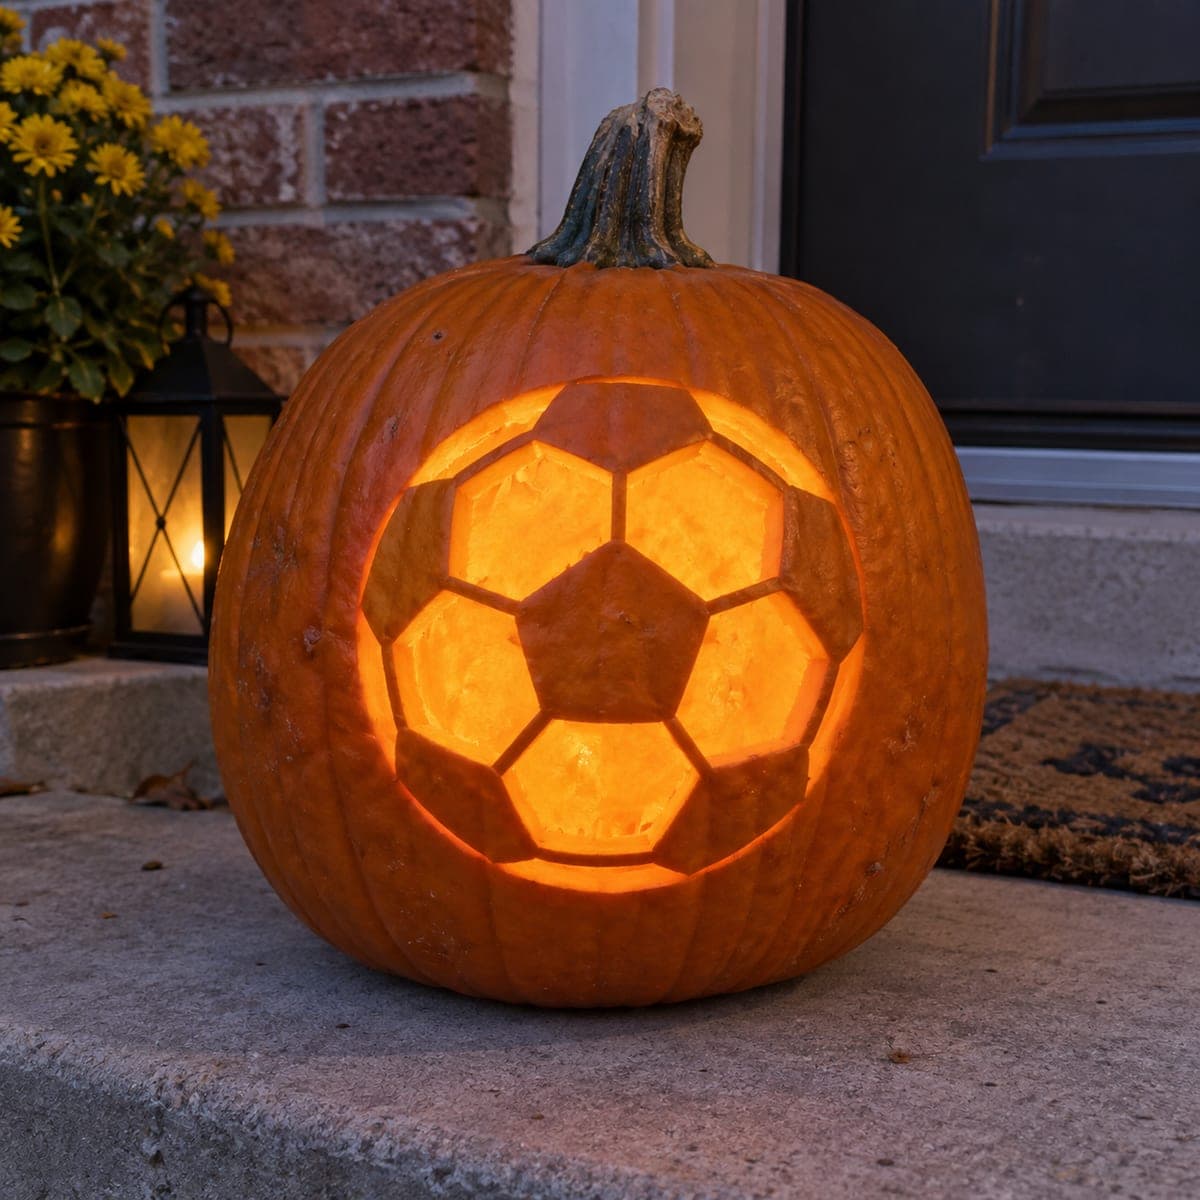
Glowing Soccer Ball Jack-O-LanternAI
0

Glowing Soccer Ball Jack-O-Lantern

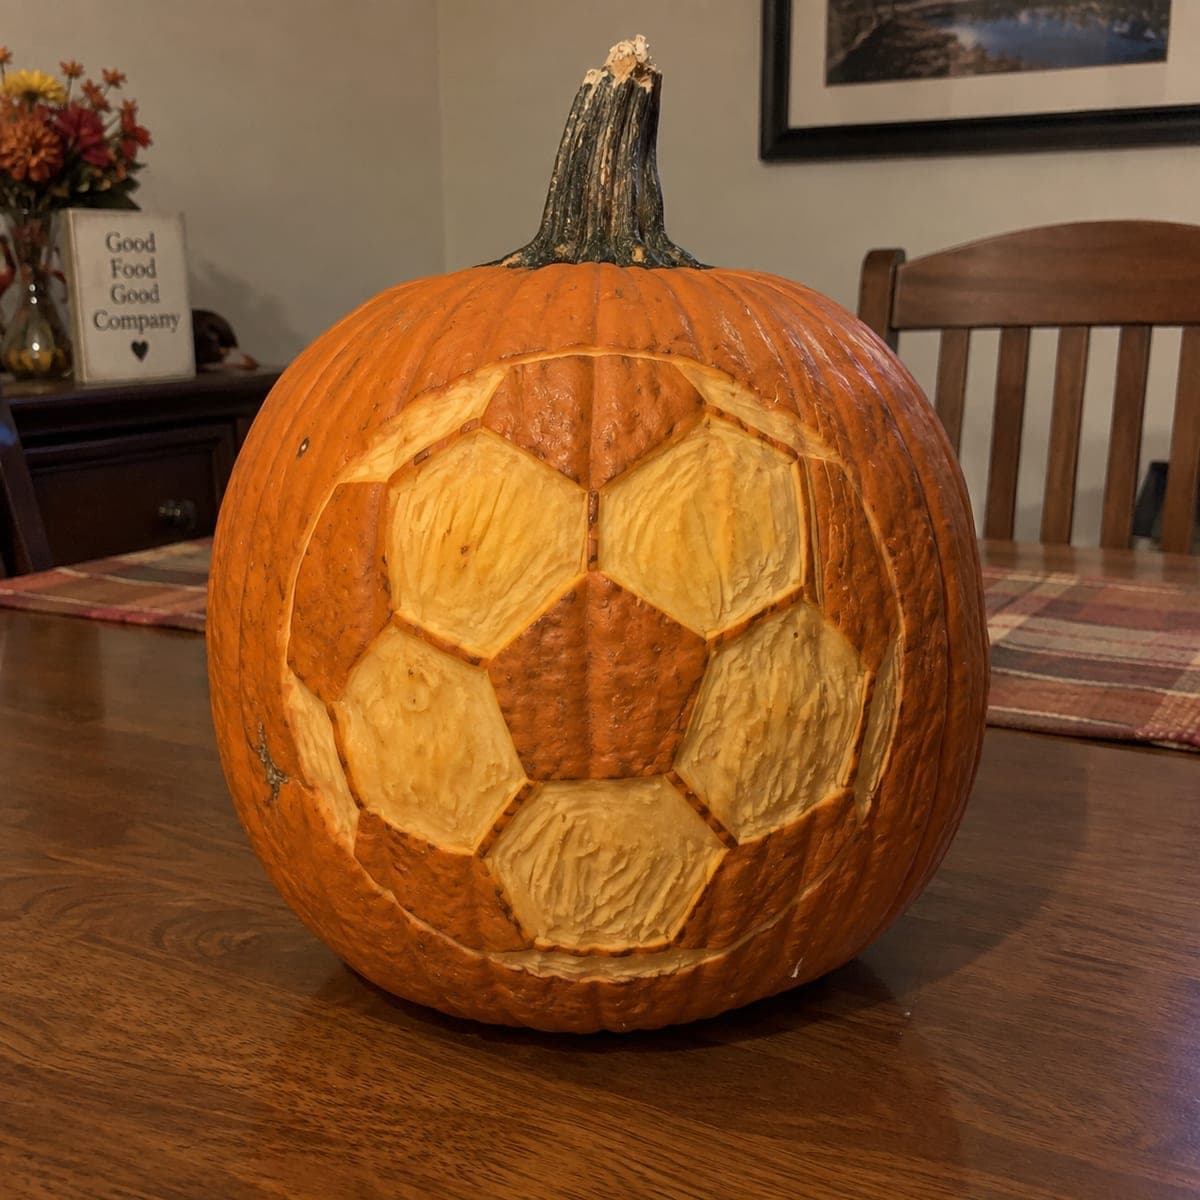
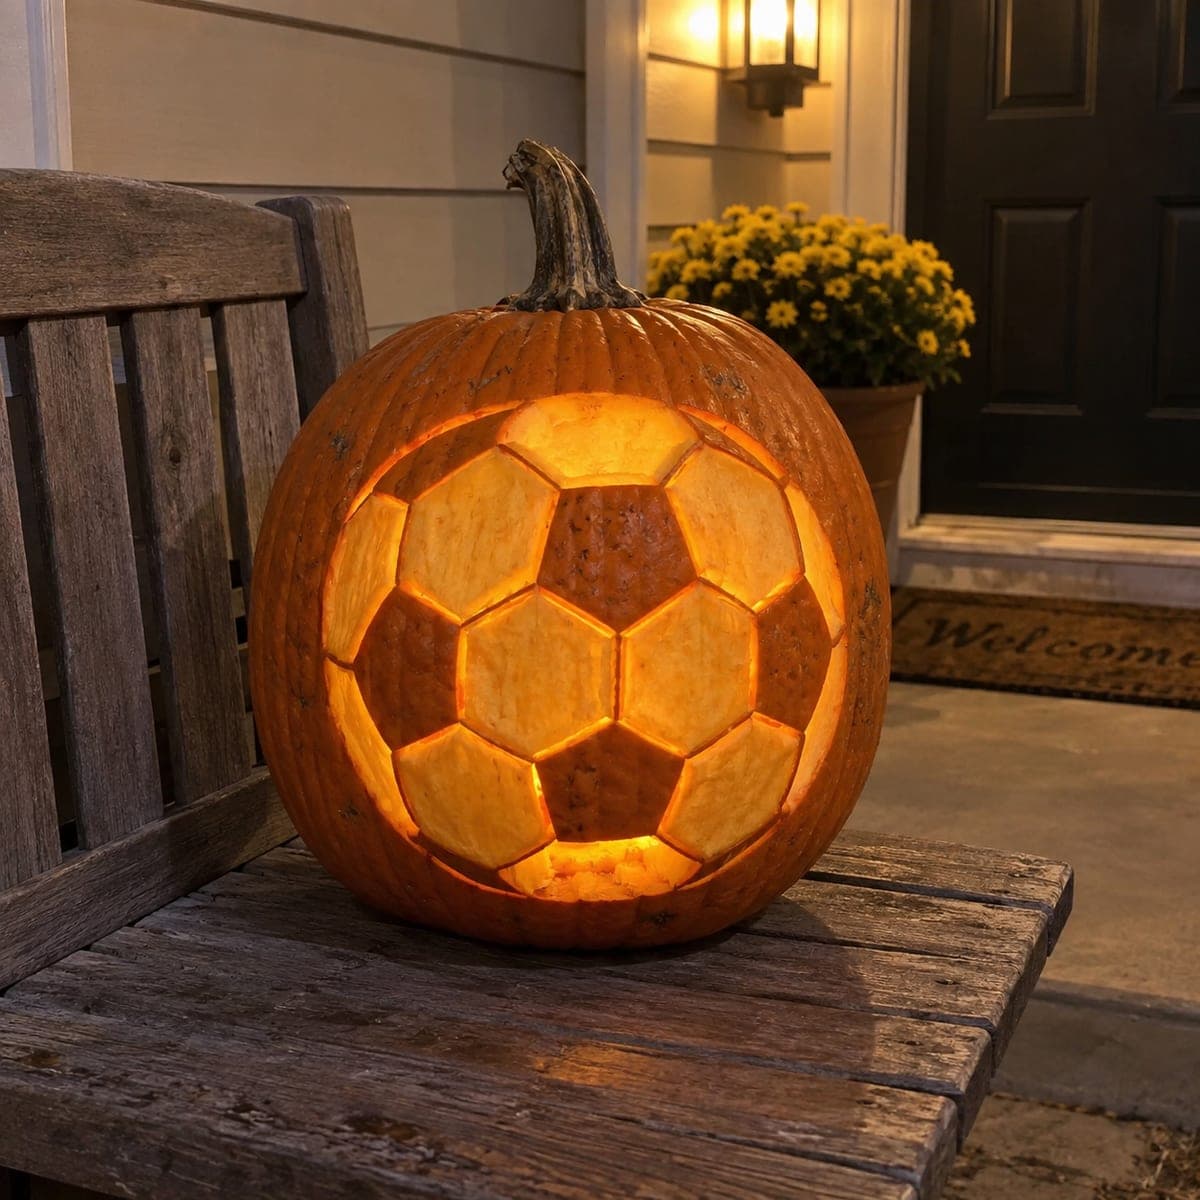
Etched hexagons and dark pentagon panels turn the front of this pumpkin into a glowing soccer ball, a natural pick for a team party or a soccer-loving household. Draw the honeycomb pattern with a flexible ruler before cutting, then shave the light panels down to a uniform depth so they glow evenly, leaving the pentagons as untouched skin. Keep the outer circle crisp, since it sells the ball shape at a glance.

This is an AI-generated concept image: a realistic, carvable design idea rather than a photo of a finished carve. AI concepts are always labeled and sit out the leaderboard and the contest.

No ratings yet Β· Sign in to rate

Comments (0)

  • No comments yet β€” be the first.

Save without an account. Sign in to like or comment.

Our tips for carving a similar design

The whole trick here is contrast between glowing panels and dark ones, so the shape reads as a soccer ball from the curb. You keep the classic pentagons as untouched skin, shave the surrounding hexagons down to a thin, even layer that glows, and hold a crisp outer circle to frame the ball. Plan the layout first, since even spacing is what makes the pattern convincing.

Written by PumpkinCarvingIdeas.com, inspired by the image above. These are our suggestions, not instructions from the uploader. This approach to the AI concept has not been tested on a real pumpkin.

From pumpkin to porch

  1. Pick a round pumpkin and plan the layout

    Choose the roundest pumpkin you can find, since the ball illusion depends on that curve. Wipe the front flat panel clean and dry it. A pumpkin with a smooth, low-rib front will hold the honeycomb pattern better than a deeply ribbed one. Think about where the center pentagon should sit at eye level.

  2. Draw the honeycomb pattern

    Use a washable marker and a flexible ruler to sketch the outer circle first, then place one pentagon in the middle. Ring that center with hexagons and half-panels, following a stencil or reference photo so the spacing stays even. Mark which shapes are pentagons, since those stay dark, and which are the glowing hexagon panels. Take your time here, because clean lines now save cleanup later.

  3. Open the lid and clean the wall

    Have an adult cut a lid from the bottom or back rather than the top, which keeps the front face intact and hides the opening. Scoop out the pulp and scrape the inside of the front wall until it is about one inch thick. A thinner, even wall makes the shaved panels glow uniformly. Save some pulp scraps in case you need to test light later.

  4. Shave the glowing panels

    Using a shallow gouge or a loop tool, shave each hexagon panel down to the same depth, aiming for a thin, translucent layer without cutting all the way through. Work slowly and check the depth by holding a light behind the wall. Leave every pentagon at full skin thickness so it stays dark. Keep the narrow lines between panels intact, since those seams are what draw the ball together.

  5. Crisp the outer circle and seams

    Go back over the outer circle and the seam lines with a detail knife to sharpen them, deepening the grooves slightly so they read as shadow. Do not cut through; you only want a clean recessed line. This edge work is what sells the shape at a glance, so keep the circle smooth and continuous. Wipe away any remaining marker.

  6. Light it and photograph

    Set a battery LED puck or string light inside and never use a candle, since the thin panels can scorch. Test in a dark room and adjust the light so the hexagons glow evenly and the pentagons stay dark. Rub a little petroleum jelly on cut edges to slow drying. Photograph it at dusk on a porch step for the best warm glow.

Gather your supplies

Check things off as you get ready.

Work on a stable surface, keep your free hand out of the cutting path, and have an adult handle sharp tools.

Three levels of light

  • Leave intact

    The pentagon panels stay untouched skin so they read as the dark spots on a soccer ball.

  • Peel & shade

    The hexagon panels are shaved to a thin, even layer for a uniform mid glow.

  • Cut through

    Only the recessed seam lines and outer circle are cut deep, and nothing is opened all the way through on the front.

Learn the carving basics

Before you start cutting

How do I keep all the glowing panels the same brightness?

Shave each hexagon to the same depth and keep the interior wall an even thickness before you start. Hold a light behind the wall as you work and thin any panel that stays too dark. Consistent depth is the single biggest factor in an even glow.

Should I cut the pattern all the way through?

No, this design relies on shading rather than full cutouts. Leave a thin skin on every glowing hexagon so the light diffuses softly and the panels look solid. Cutting through would make harsh bright holes and weaken the ball illusion.

This is a concept image, so can a real pumpkin hold this pattern?

Yes, as long as you pick a round, smooth-front pumpkin and keep the seam lines shallow rather than cut through. The thin panels are the fragile part, so avoid over-shaving and keep the wall about an inch thick. A structurally sound layout like this holds up fine for a party evening.

Your take belongs here, too.

Changed a detail? Made it simpler? Share a photo of your version and tell the community what worked.

Share your pumpkin

More pumpkins like this

You've reached the end Β· 8 pumpkins
The Patch Report

Fresh pumpkins, in your inbox.

The best new carvings, ideas worth stealing, and how-tos for carving season. Short, seasonal, and gone by November.

A short email during carving season. Unsubscribe anytime. See our privacy policy.