Halloween Pumpkin Carving Contest · Starts October 1st · $500 in prizes
← Back to ideas
@ai_concepts
Jul 22, 2026
Soccer Ball Painted No-Carve PumpkinAI
0

Soccer Ball Painted No-Carve Pumpkin

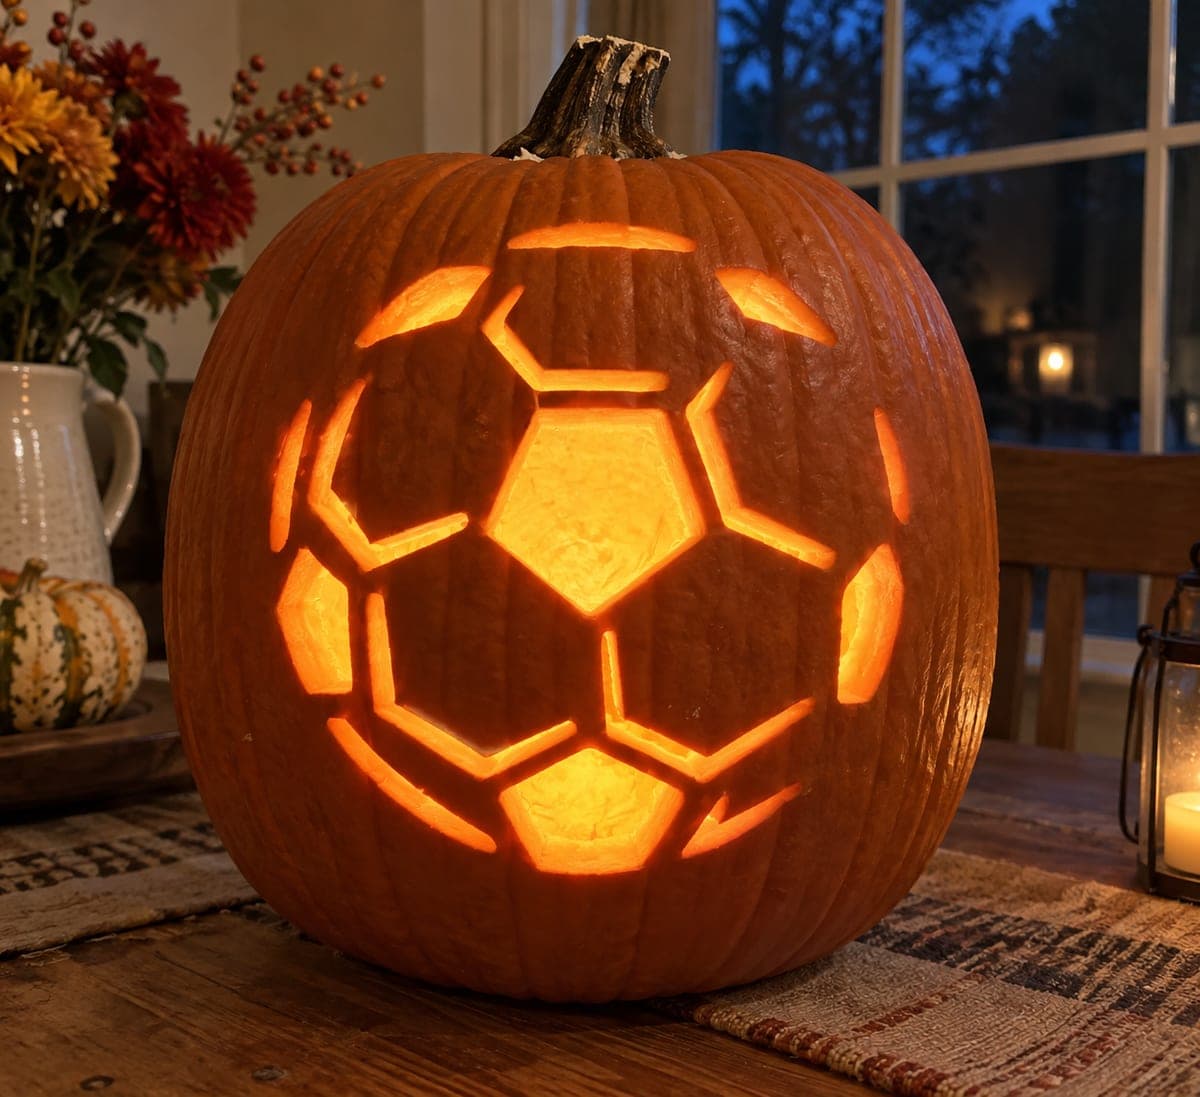
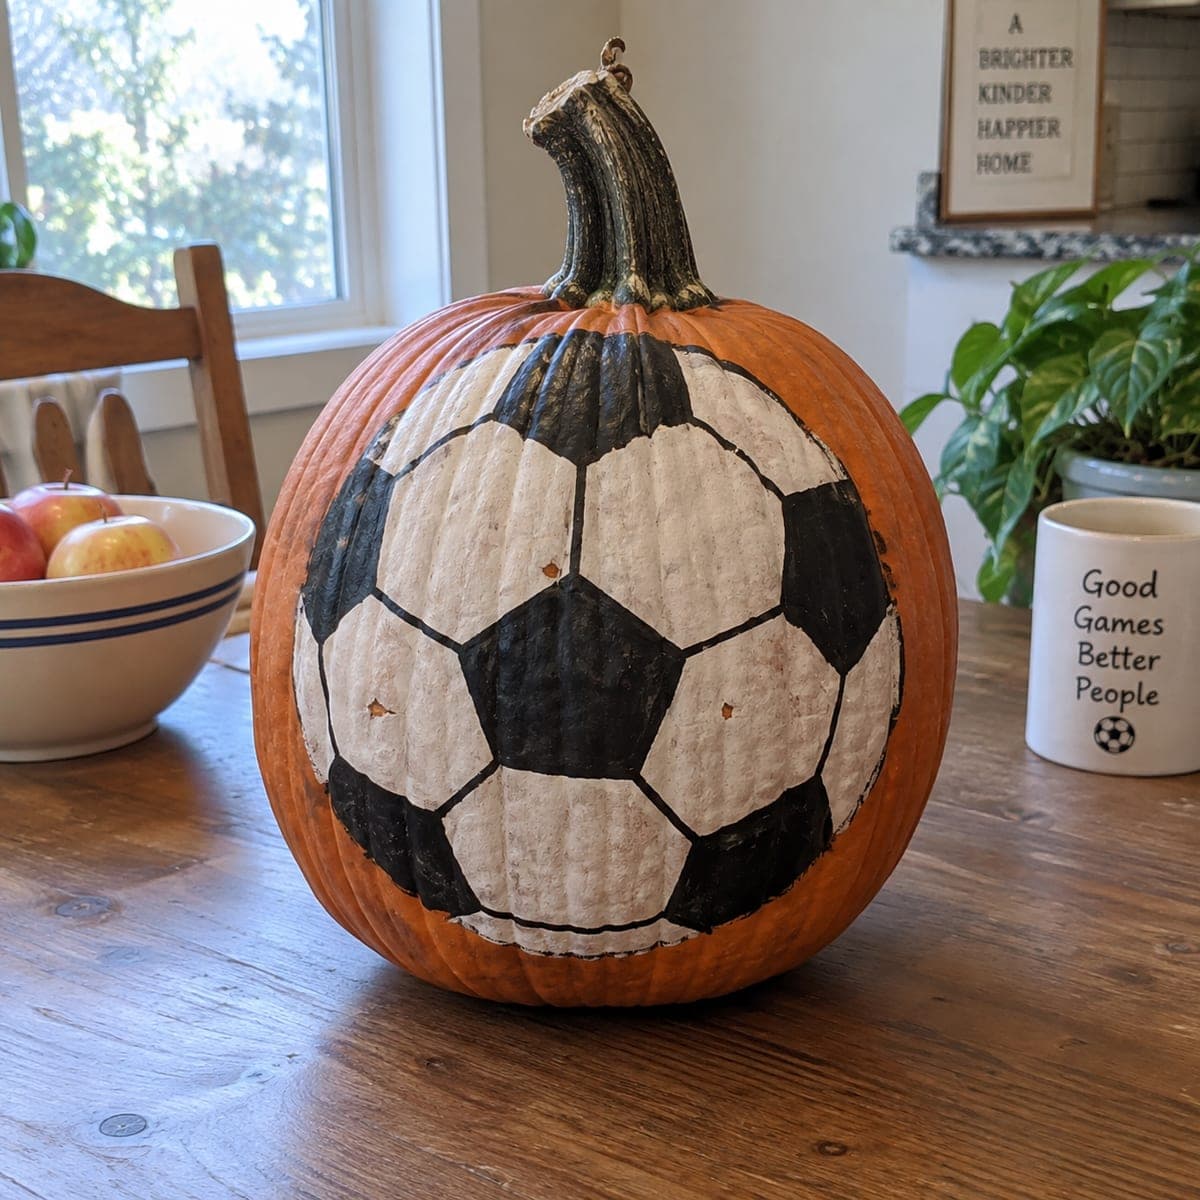
A classic black-and-white soccer ball pattern is painted across the surface of a tall pumpkin, the pentagons and hexagons carefully mapped to follow the pumpkin's natural ribs. This no-carve sports pumpkin idea is a go-to for soccer families and school spirit displays. Lightly sketch the panel divisions with pencil first, paint all white areas and let dry fully before adding the black panels to avoid muddiness. The pumpkin's ridges naturally guide the panel shapes, making alignment easier than it looks.

This is an AI-generated concept image: a realistic, carvable design idea rather than a photo of a finished carve. AI concepts are always labeled and sit out the leaderboard and the contest.

No ratings yet · Sign in to rate
Comments (0)

  • No comments yet — be the first.

Save without an account. Sign in to like or comment.

Our tips for carving a similar design

The core trick here is letting the pumpkin's natural ribs stand in for the panel seams, so the black pentagons and white hexagons line up almost on their own. This is a no-carve, paint-only design, which means no lights or cutting are needed. The plan is to sketch the panel grid in pencil, paint every white area first, let it dry completely, then add the black panels last for clean edges.

Written by PumpkinCarvingIdeas.com, inspired by the image above. These are our suggestions, not instructions from the uploader. This approach to the AI concept has not been tested on a real pumpkin.

From pumpkin to porch

  1. Pick and clean a tall pumpkin

    Choose a rounded, evenly ribbed pumpkin so the panels wrap smoothly around the front face. Wipe the surface with a damp cloth and dry it fully so paint grips well. Set it on a folded towel to keep it from rolling while you work. Leave the stem on as a natural handle and accent.

  2. Sketch the panel grid in pencil

    Start with one central pentagon on the widest part of the front, then draw hexagons radiating out from each of its sides. Let the pumpkin's vertical ribs guide where each seam falls, which keeps the shapes even. Keep lines light so you can erase and adjust. Step back often to check the pattern looks balanced across the curve.

  3. Paint all the white areas first

    Use acrylic craft paint and fill in the white hexagon fields, staying just inside your pencil seams. Two thin coats cover better than one thick coat and resist streaking. Let each coat dry fully before the next. Painting white first prevents the black from smearing into it and turning muddy.

  4. Add the black panels last

    Once the white is bone dry, paint the pentagons and any black hexagon sections. Use a smaller brush to keep the seam edges sharp and even. Follow your pencil lines and rotate the pumpkin as you go so your hand stays steady. Touch up any thin spots after the first pass dries.

  5. Seal and clean up the seams

    When everything is dry, go over the panel borders once more to tidy any wobbly edges. A thin coat of matte clear sealer helps the paint last outdoors and shed light rain. Erase any stray pencil marks that still show through. Let the sealer cure before handling.

  6. Stage and photograph

    Place the finished pumpkin where the painted face catches soft, even light, like a shaded porch or near a window. A plain background makes the black-and-white pattern pop. Add a small battery LED nearby if you want an evening glow, since nothing is cut into this design. Snap your photo straight on to keep the panels looking round.

Gather your supplies

Check things off as you get ready.

Work on a stable surface, keep your free hand out of the cutting path, and have an adult handle sharp tools.

Three levels of light

  • Leave intact

    The natural orange skin around the top, shoulders, and stem stays bare for a bright pop of color.

  • Peel & shade

    The white-painted hexagon fields read as the light, open panels of the ball.

  • Cut through

    No cutouts are needed on this no-carve design; the black-painted pentagons act as the darkest accents instead.

Learn the carving basics

Before you start cutting

How do I keep the black paint from bleeding into the white?

Paint all the white areas first and let them dry completely, ideally a few hours or overnight. Only then add the black panels with a smaller brush. Dry white gives the black a firm edge to sit against, so the seams stay crisp.

Do I need to cut into the pumpkin at all?

No, this is a fully painted no-carve design, so the skin stays intact. That also means it lasts longer than a carved pumpkin since there is no exposed flesh to rot. If you want a glow, set a battery LED beside it rather than inside.

How do I get the panels to line up around the curve?

Let the pumpkin's natural vertical ribs act as your seam guides and start from one central pentagon on the widest front face. Sketch lightly in pencil first and step back often to check the spacing. Small adjustments before painting are much easier than fixing them later.

Your take belongs here, too.

Changed a detail? Made it simpler? Share a photo of your version and tell the community what worked.

Share your pumpkin

More pumpkins like this

You've reached the end · 8 pumpkins
The Patch Report

Fresh pumpkins, in your inbox.

The best new carvings, ideas worth stealing, and how-tos for carving season. Short, seasonal, and gone by November.

A short email during carving season. Unsubscribe anytime. See our privacy policy.