Halloween Pumpkin Carving Contest · Starts October 1st · $500 in prizes
← Back to ideas
@ai_concepts
Jul 10, 2026
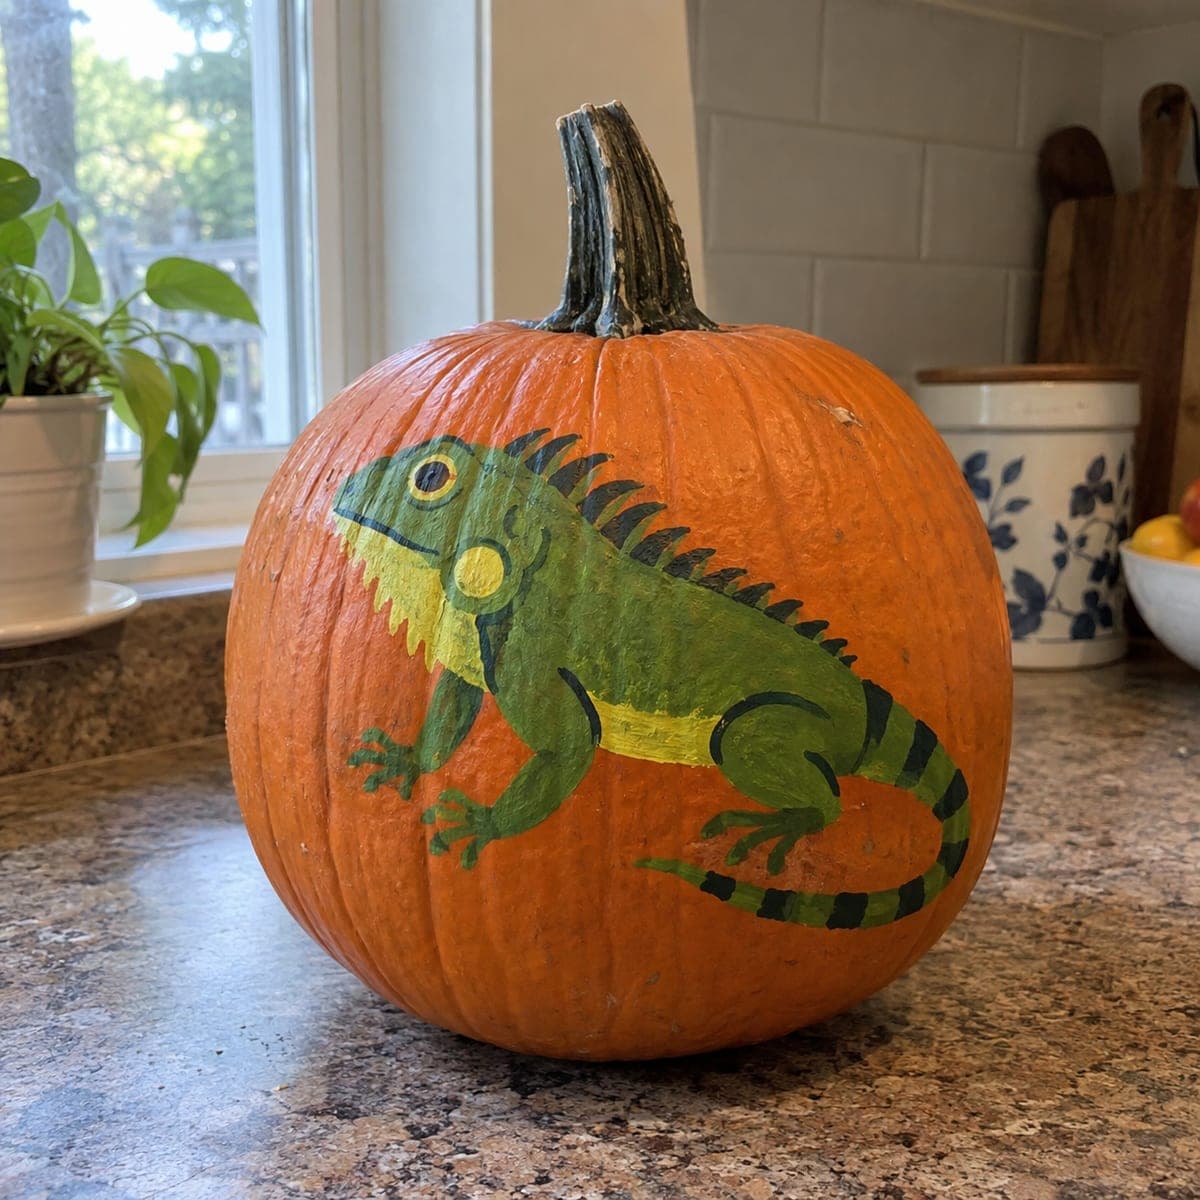
Green Iguana Painted Pumpkin for Reptile LoversAI
0

Green Iguana Painted Pumpkin for Reptile Lovers

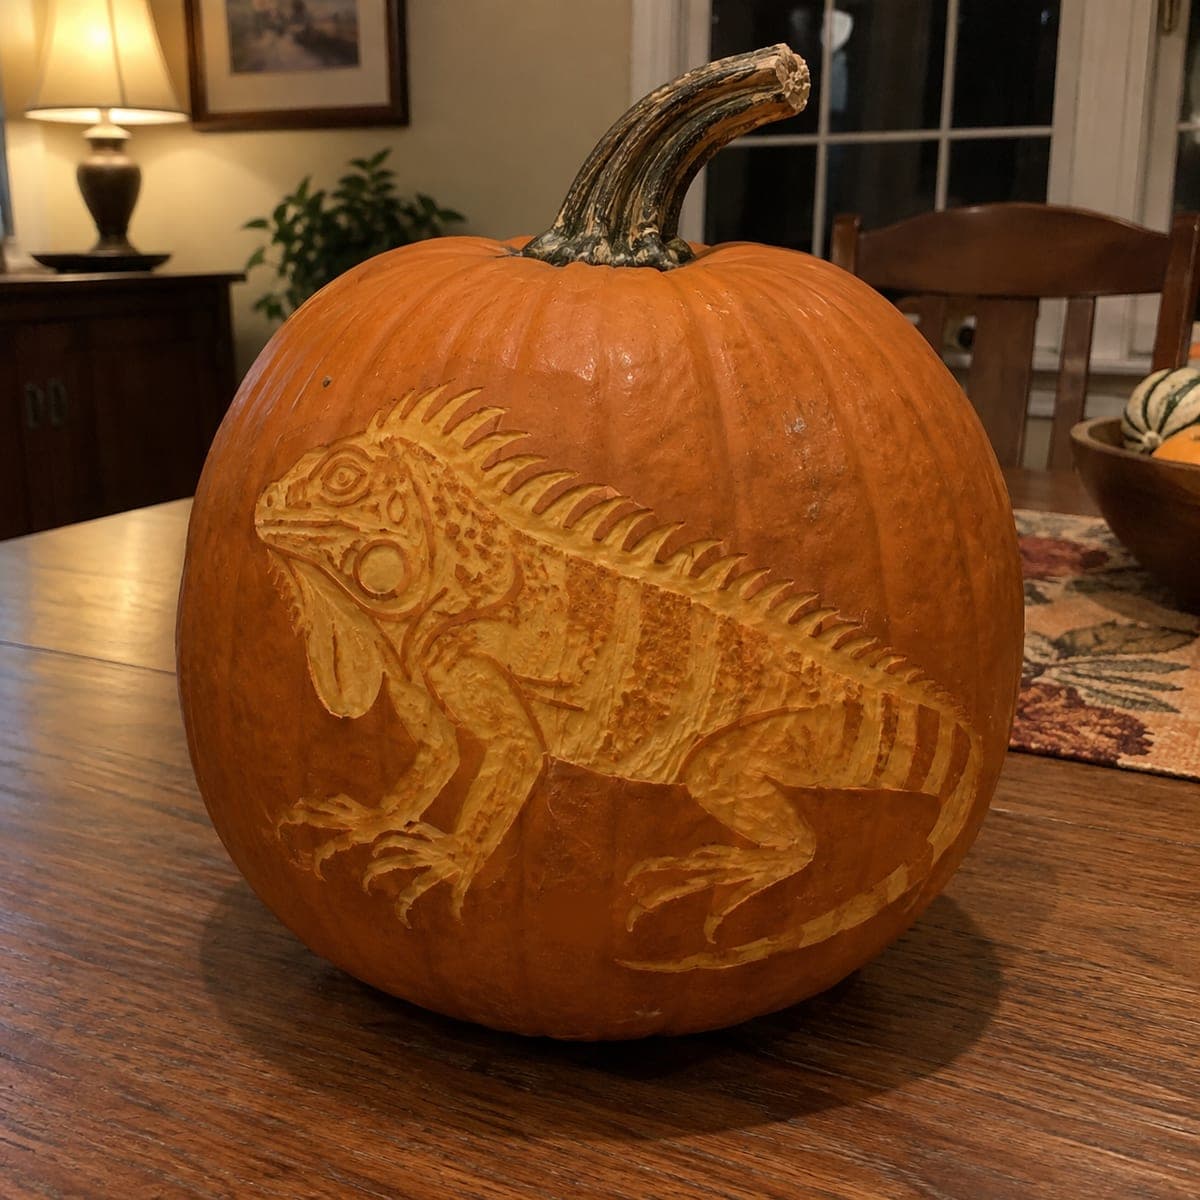
A bright green iguana with a striped tail and spiny crest crawls across this painted pumpkin, a fun pick for reptile fans who want something besides ghosts and bats. The lizard pops because it sits on the bare orange shell, so resist the urge to paint a background. Outline the body in chalk, fill it with two greens and a yellow belly stripe, then add the dark spines and toes last with a fine liner brush.

This is an AI-generated concept image: a realistic, carvable design idea rather than a photo of a finished carve. AI concepts are always labeled and sit out the leaderboard and the contest.

No ratings yet · Sign in to rate
Comments (0)

  • No comments yet — be the first.

Save without an account. Sign in to like or comment.

Our tips for carving a similar design

The core trick here is contrast: the iguana reads clearly because it sits on the untouched orange shell with no background around it. This is a no-carve painted design, so the plan is to sketch the lizard in chalk, block in two shades of green plus a yellow belly, then finish the crisp spines, stripes, and toes with a fine brush. Since this is an AI concept image, treat it as a template for how you could paint a similar iguana on a real pumpkin.

Written by PumpkinCarvingIdeas.com, inspired by the image above. These are our suggestions, not instructions from the uploader. This approach to the AI concept has not been tested on a real pumpkin.

From pumpkin to porch

  1. Clean and dry the pumpkin

    Wipe the whole pumpkin with a damp cloth and let it dry fully so paint grips the skin. Pick the smoothest, roundest side as your canvas and turn it so the natural ribs run vertically behind the lizard. A dry surface keeps acrylic from beading or peeling later. Set the pumpkin on a towel so it does not roll while you work.

  2. Sketch the iguana in chalk

    Use a piece of white or yellow chalk to draw the iguana in profile, head near the stem side and the striped tail curling toward the base. Keep the body large enough to fill most of the flat face so it stays bold. Chalk wipes off easily, so redraw the crest, legs, and toes until the pose feels right. Do not draw any background scenery; the bare shell is your background.

  3. Block in the base greens

    Fill the body with a medium green acrylic and let it dry. Add a darker green along the back, upper legs, and tail for shading, blending while the base is still slightly wet. Paint the throat and belly line in yellow to match the classic iguana look. Work in thin coats and let each dry so the colors stay clean instead of muddy.

  4. Add the eye and cheek scale

    Paint the round cheek scale and the eye ring in yellow, then dot a dark pupil in the center once dry. A clean eye gives the whole design personality, so take your time and use a small brush. Keep the yellow bright against the green so the face stands out. Let everything dry before moving to the fine details.

  5. Paint spines, stripes, and toes last

    Switch to a fine liner brush and dark green or near black paint for the spiny crest along the back, the bands on the tail, and the long toes on each foot. These thin marks are what make it read as an iguana, so paint them slowly with a steady hand. Rest your painting hand on your other hand for control. Save these smallest details for the end so you do not smear them.

  6. Seal and stage your photo

    Once fully dry, brush on a coat of clear acrylic sealer or matte spray to protect the paint from smudges and moisture. Set the pumpkin on a counter or porch with soft daylight or a nearby lamp for your photo. Because nothing is cut, there is no inner light to worry about, so just angle it so the green pops against the orange. Snap your picture before the pumpkin softens with age.

Gather your supplies

Check things off as you get ready.

Work on a stable surface, keep your free hand out of the cutting path, and have an adult handle sharp tools.

Three levels of light

  • Leave intact

    The whole orange shell stays bare and untouched, both as the background and as the glowing contrast around the lizard.

  • Peel & shade

    Optional only: if you ever want a faint halo, you could lightly skin-peel a thin border behind the tail, but the painted look needs no peeling.

  • Cut through

    Nothing is cut on this no-carve design, so there are no full openings and no inner light.

Learn the carving basics

Before you start cutting

Do I really leave the background bare?

Yes. The iguana pops precisely because it sits alone on the plain orange shell. Painting scenery or leaves around it would crowd the lizard and mute the contrast. Let the natural pumpkin color do the work.

What paint holds up best on a pumpkin skin?

Craft or artist acrylics grip pumpkin skin well and dry fast. Build color in thin layers rather than one thick coat so it does not crack or peel. A finishing coat of clear sealer or matte spray protects your work from smudges and light moisture.

How do I keep the thin spines and toes crisp?

Paint every large area first and let it dry completely, then add the spines, tail stripes, and toes last with a fine liner brush. Thin the paint just slightly so it flows off the tip in a clean line. Steady your hand on your free hand and pull each stroke slowly.

Your take belongs here, too.

Changed a detail? Made it simpler? Share a photo of your version and tell the community what worked.

Share your pumpkin

More pumpkins like this

You've reached the end · 8 pumpkins
The Patch Report

Fresh pumpkins, in your inbox.

The best new carvings, ideas worth stealing, and how-tos for carving season. Short, seasonal, and gone by November.

A short email during carving season. Unsubscribe anytime. See our privacy policy.