@lanternlane
Sep 7, 2026

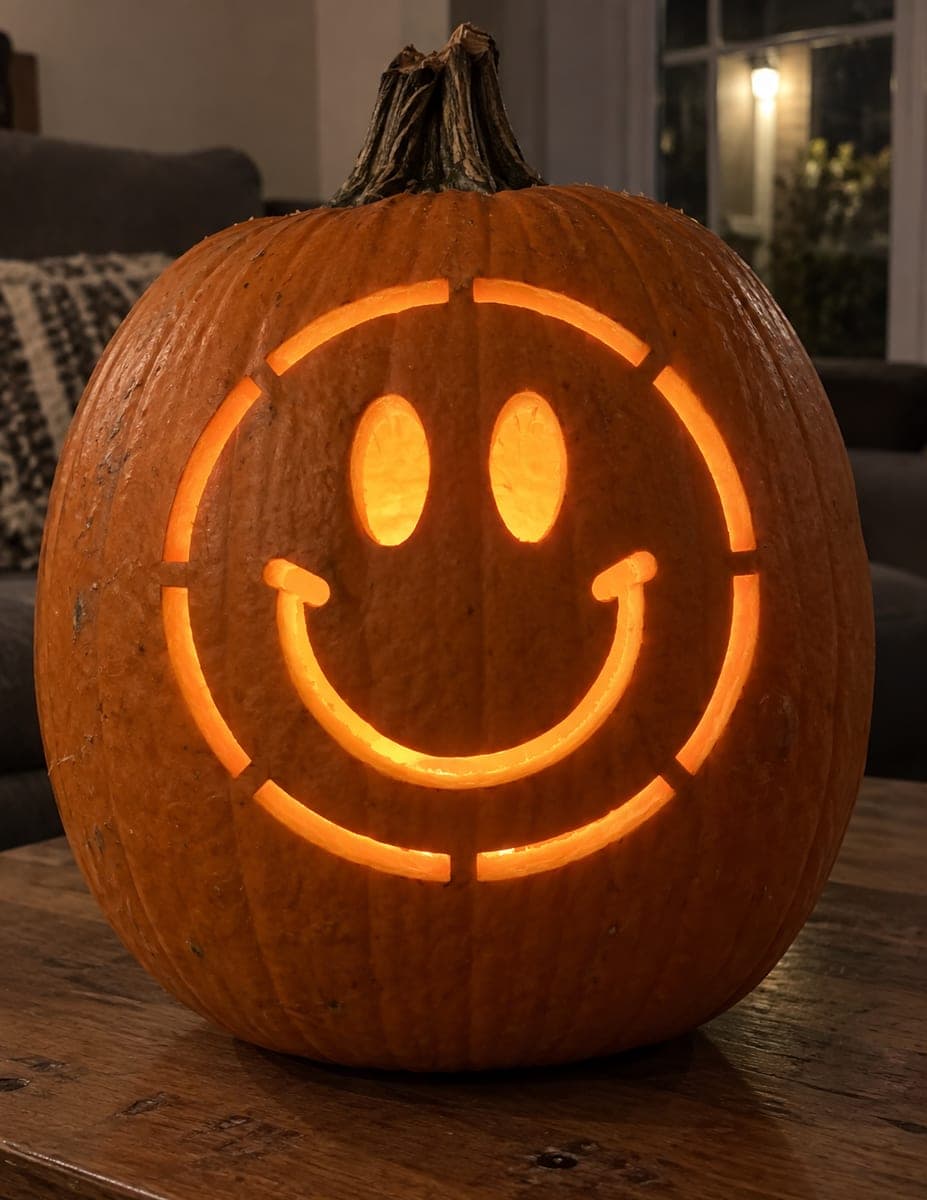
The whole charm of this design is its simplicity, a classic jack-o-lantern grin built from a few clean cutout shapes. You carve two triangle eyes, a small triangle nose, and a wide toothy smile, then let the LED glow do the rest. Keep the shapes bold and slightly rounded so the face reads as cheerful rather than spooky.
Written by PumpkinCarvingIdeas.com, inspired by @lanternlane's photo above. These are our suggestions, not instructions from the uploader, and this approach hasn't been tested on their exact carve.
Choose a round, medium pumpkin with a smooth, flat-ish front so the face sits square to the viewer. Wipe it clean and set it on a stable table at a comfortable height. Have an adult cut a lid or, better for lighting, a hole in the back so you can drop in an LED later. This keeps the front face intact and clean.
Use a sturdy scoop to remove the seeds and stringy pulp. Thin the inside of the front wall down to about one inch thick so your blade passes through easily. A thinner wall also lets more light shine through the cuts. Save the seeds for roasting if you like.
With a washable marker, draw two triangle eyes angled slightly inward, a small triangle nose below and between them, and a wide curved smile. Add a couple of squared-off gaps in the mouth to suggest teeth, just like the pictured grin. Step back and check the spacing before you cut. Symmetry matters most with the eyes, so measure if you want them even.
Start with the eyes and nose using a small carving saw or a serrated poking tool, keeping steady pressure and cutting straight in. Work slowly on the triangle points so the tips stay crisp. Do the mouth last since it is the largest opening and removing it early weakens the pumpkin. Leave small bridges of skin between the teeth so they hold their shape.
Push each cut piece out from the inside so the front stays neat. Trim any ragged edges with the tip of your tool, and bevel the back of the openings slightly so more light escapes. Rub a little petroleum jelly on the cut edges to slow drying. Wipe away any leftover marker lines with a damp cloth.
Drop a battery LED inside through the back hole and switch it off any overhead lights to see the glow. A warm white or orange LED gives that cozy classic look. Snap your photo in near darkness with the camera steady so the grin reads bright and clear. Share it with the community when you are happy with it.
Check things off as you get ready.
Work on a stable surface, keep your free hand out of the cutting path, and have an adult handle sharp tools.
The full orange body of the pumpkin stays untouched and dark, framing the face.
Optionally shave a thin outline around the smile to add a soft dim halo around the grin.
The two triangle eyes, triangle nose, and toothy smile are cut all the way through for the brightest glow.
Leave small uncut bridges of skin between each tooth so they anchor to the pumpkin above and below. Cut the mouth last, after the eyes and nose, so the front wall stays strong while you work. Go slow around the narrow gaps and avoid twisting your blade.
For this front-facing grin, a hole in the back is the better choice because it keeps the smooth front intact and hides the light source. It also makes swapping the LED easy. If you prefer a traditional lid, cut it at an angle so it rests without falling in.
Keep the smile wide and gently curved upward, and angle the eye triangles only slightly inward. Rounder, larger shapes read as friendly, while sharp narrow angles read as menacing. Softening the mouth corners a touch also helps the grin feel cheerful.
Changed a detail? Made it simpler? Share a photo of your version and tell the community what worked.
The best new carvings, ideas worth stealing, and how-tos for carving season. Short, seasonal, and gone by November.







Comments (0)