The 2026 contest winners are inGrand Prize, People's Choice and Most Creative, all crowned.
@ai_concepts
Sep 23, 2026
Grotopia Pixel Jack-o-Lantern pumpkin carvingAI
0

Report this carving

Tell us what is wrong. Reports are private.

Grotopia Pixel Jack-o-Lantern

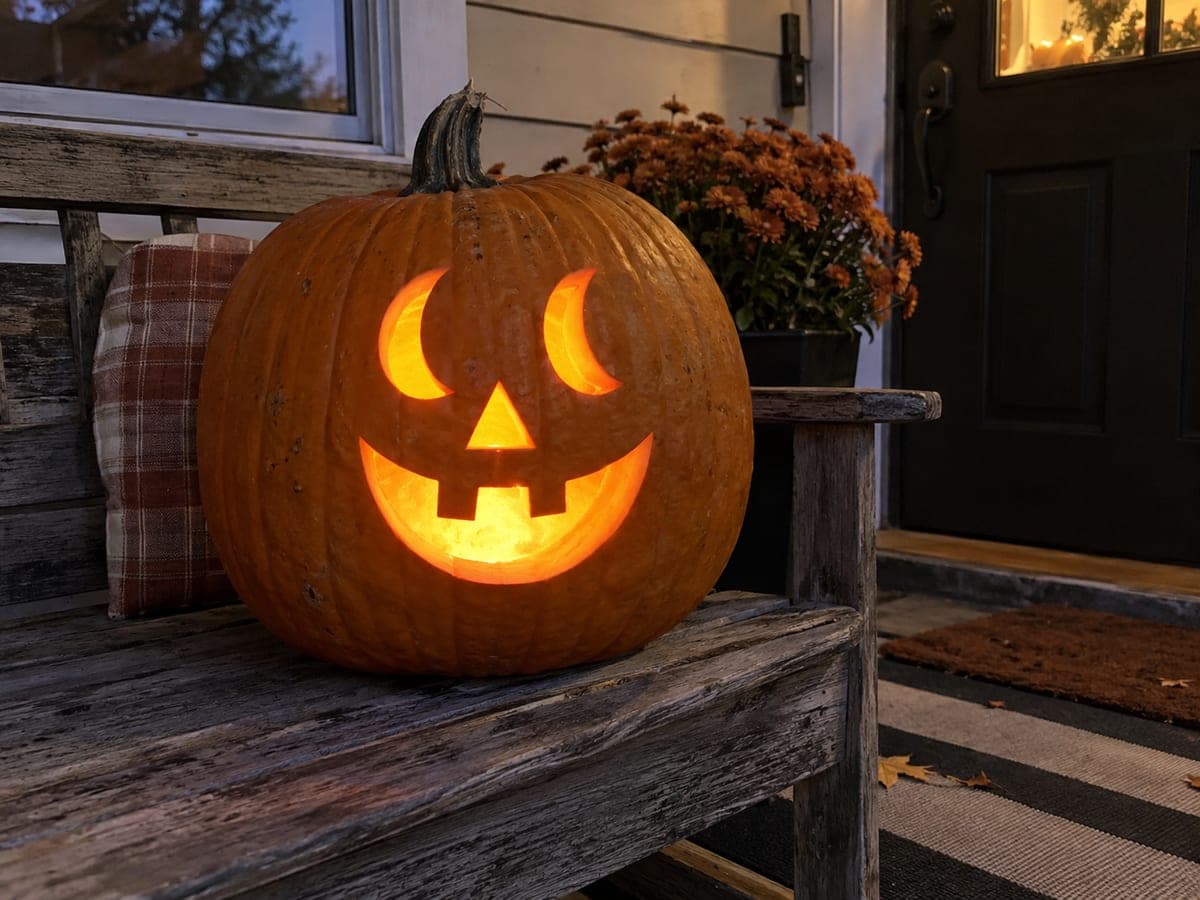
A retro 8-bit take on the classic jack-o-lantern: blocky pixel eyes, a stepped triangle nose, and a grinning square-toothed mouth, all built from clean right-angle cuts. Inspired by Grotopia, it glows like a video-game sprite come to life on the porch. The straight edges make it a forgiving, beginner-friendly carve, just mark a grid and cut along the squares. Great for gamers and anyone who wants a fresh spin on the traditional grin.

No ratings yet · Sign in to rate
EasyFacesClassicClassic Cutout
jack-o-lanternpixel8-bitretrogaminggrotopiaclassicfaceeasyvideo-game

Save this design for carving night, then share a photo of your own jack-o'-lantern once it's glowing.

All related characters, names, logos, and trademarks are the property of their respective owners. This is an unofficial fan carving shared by our community for inspiration only. PumpkinCarvingIdeas.com is not affiliated with, sponsored by, or endorsed by any rights holder or person depicted, and no such connection is implied.

Comments (0)

  • No comments yet. Be the first.

Our tips for carving a similar design

Blocky pixel eyes, a stepped triangle nose, and a square-toothed grin come together from nothing but straight right-angle cuts on a marked grid. Straight edges are far more forgiving than curves, which makes this retro face a genuinely easy carve that looks sharper than the effort it takes.

From pumpkin to porch

  1. Hollow and flatten your canvas

    Prep a pumpkin with a broad, relatively flat face and thin the wall to an inch. Flat matters more than usual here; the grid illusion depends on straight lines staying straight.

  2. Mark the grid

    Draw a light square grid across the face with a ruler and marker, around one-inch squares. Every feature will snap to this grid, so take a minute to keep the rows level.

  3. Plot the pixel face

    Fill in the grid squares that form the eyes, stepped nose, and square-toothed grin, checking symmetry by counting squares from the center line. Counting beats eyeballing every time.

  4. Cut the straight runs

    Saw along the marked squares using long straight strokes, turning only at corners. Cut each feature's outline fully before removing pieces, and pop the chunks out from inside.

  5. Square the corners

    Go back over every corner with a detail knife so each is a crisp right angle. Sharp corners are the entire pixel effect; two minutes of cleanup doubles the look.

  6. Light like a sprite

    A steady LED gives the flat, even glow of a game sprite. Wipe the remaining grid marks off with a damp cloth before display.

Written with AI to match this design

Gather your supplies

Check things off as you get ready.

Work on a stable surface, keep your free hand out of the cutting path, and have an adult handle sharp tools.

Three levels of light

  • Leave intact

    The rind between pixels and around the face stays dark, reading as the sprite's background.

  • Peel & shade

    None, pixel art wants pure on-off contrast with no mid tones.

  • Cut through

    The blocky eyes, stepped nose, and square-toothed grin are cut fully through along the grid.

Learn the carving basics

Before you start cutting

How do I keep the cuts perfectly straight on a curved pumpkin?

Mark the grid with a ruler first and let the marked lines, not your eye, guide the saw. Slight curve across the pumpkin is fine; the effect survives as long as lines stay parallel to each other.

What grid size should I use?

Around one-inch squares on a standard pumpkin. Smaller pixels look impressive but multiply the corner cleanup; bigger pixels read boldly from the street and carve twice as fast.

Why does this design suit beginners so well?

Every cut is a straight line, every corner is the same right angle, and symmetry is just counting squares. There are no curves to wander and no thin details to snap, so first-timers get a crisp result almost by default.

Your take belongs here, too.

Changed a detail? Made it simpler? Share a photo of your version and tell the community what worked.

Share your pumpkin

Want more designs like this? Browse our full library of pumpkin carving ideas, or pick a free printable stencil. Every pattern and template in our own collection is free to print at home.

More pumpkins like this

You've reached the end · 8 pumpkins
The Patch Report

Fresh pumpkins, in your inbox.

The best new carvings, ideas worth stealing, and how-tos for carving season. Short, seasonal, and gone by November.

A short email during carving season. Unsubscribe anytime. See our privacy policy.