Halloween Pumpkin Carving Contest · Starts October 1st · $500 in prizes
← Back to ideas
@ai_concepts
Aug 1, 2026
Hand-Painted Gray Wolf Face PumpkinAI
0

Hand-Painted Gray Wolf Face Pumpkin

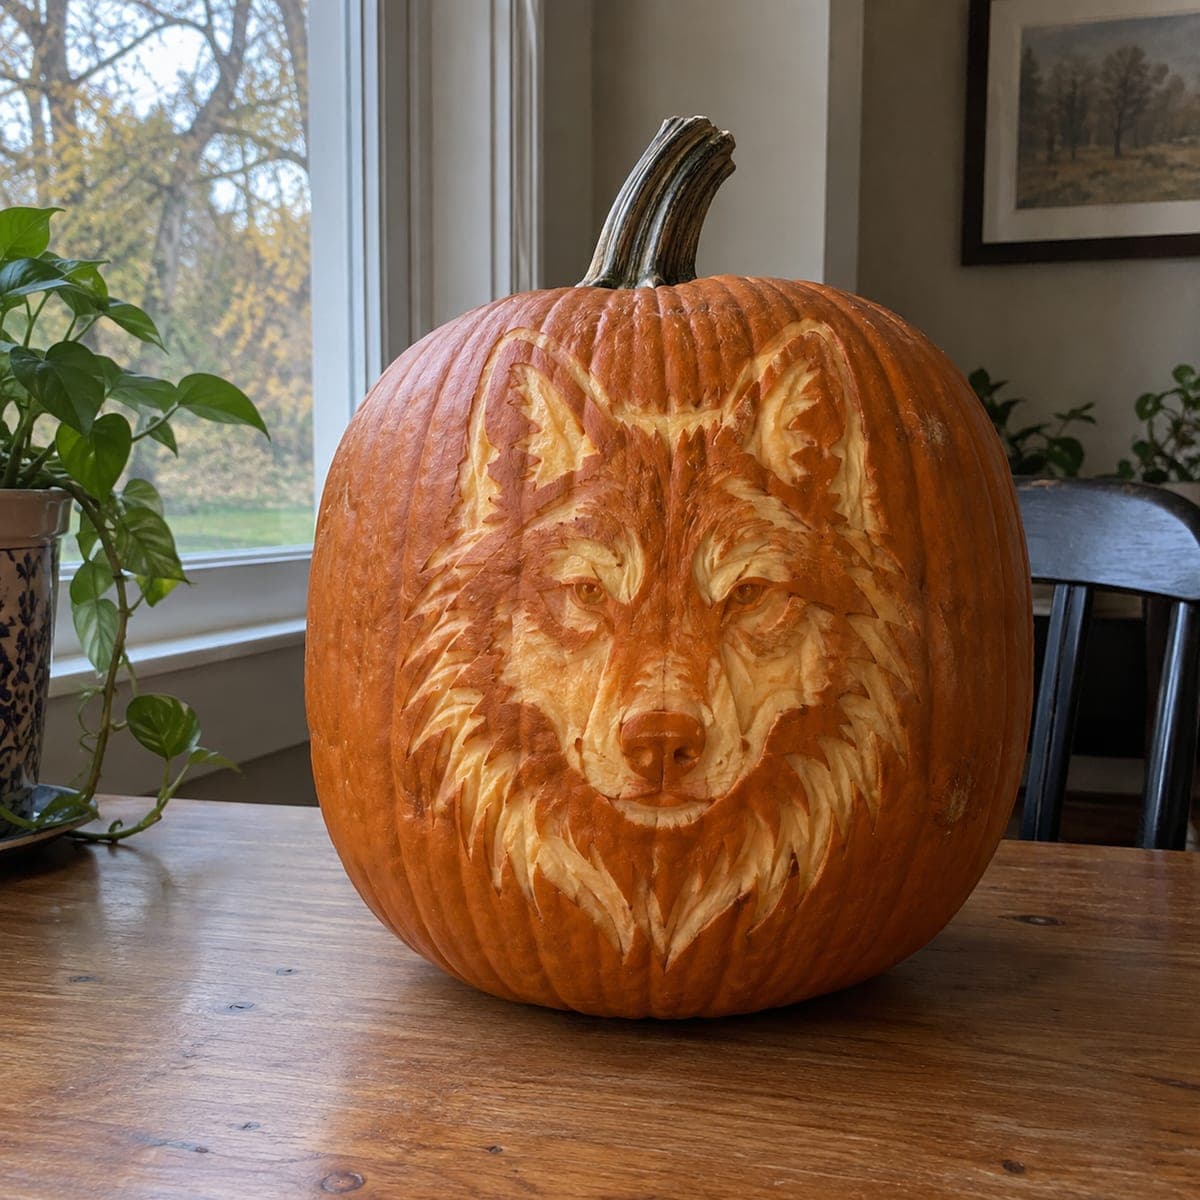
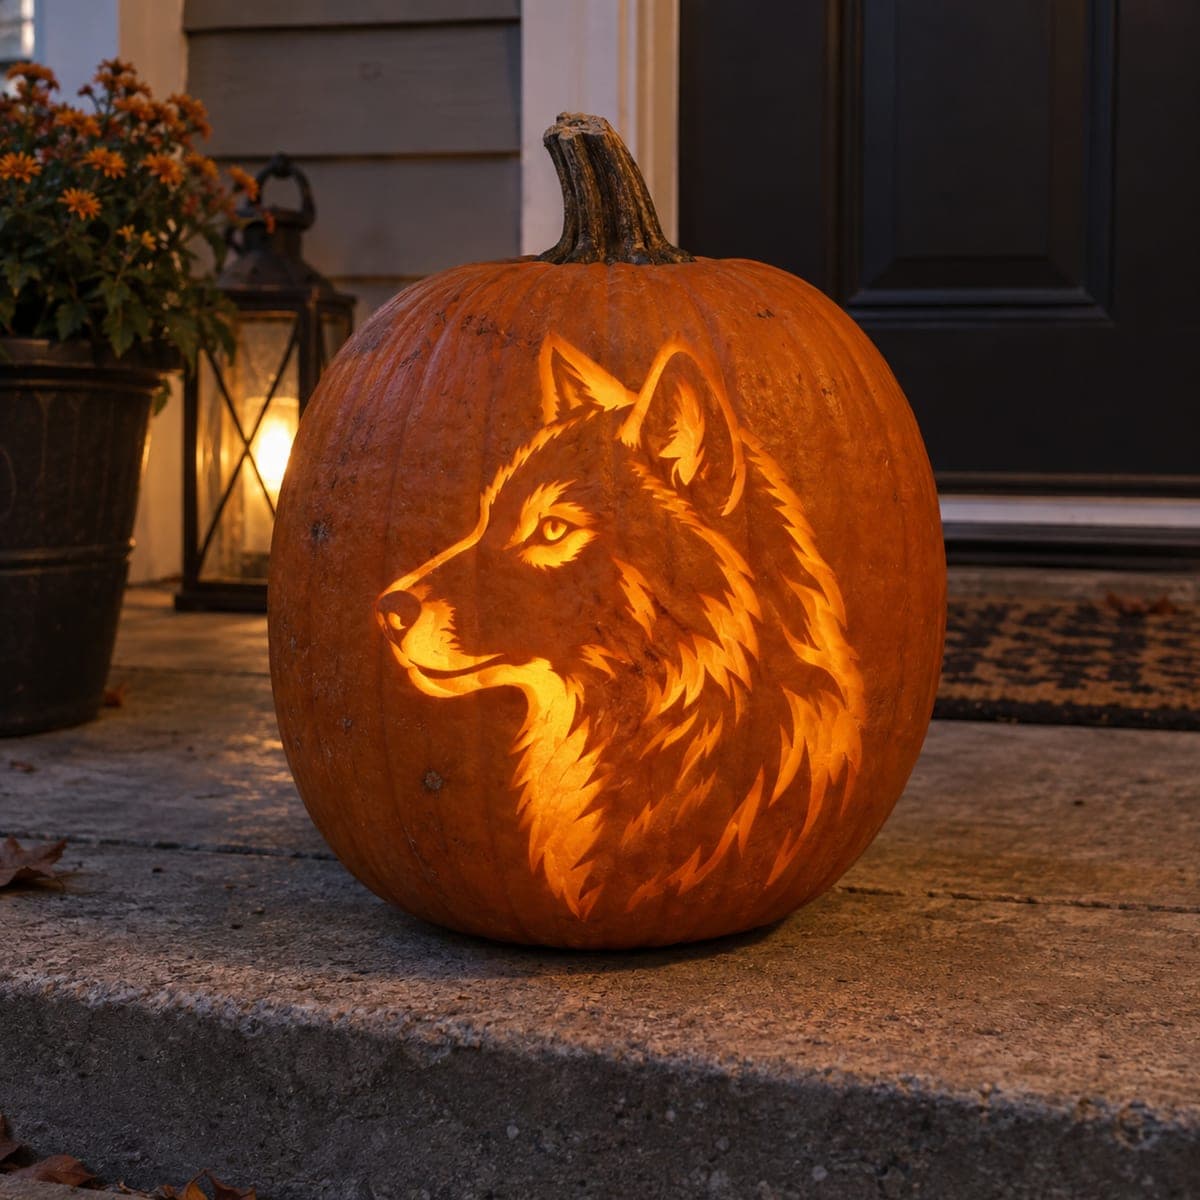
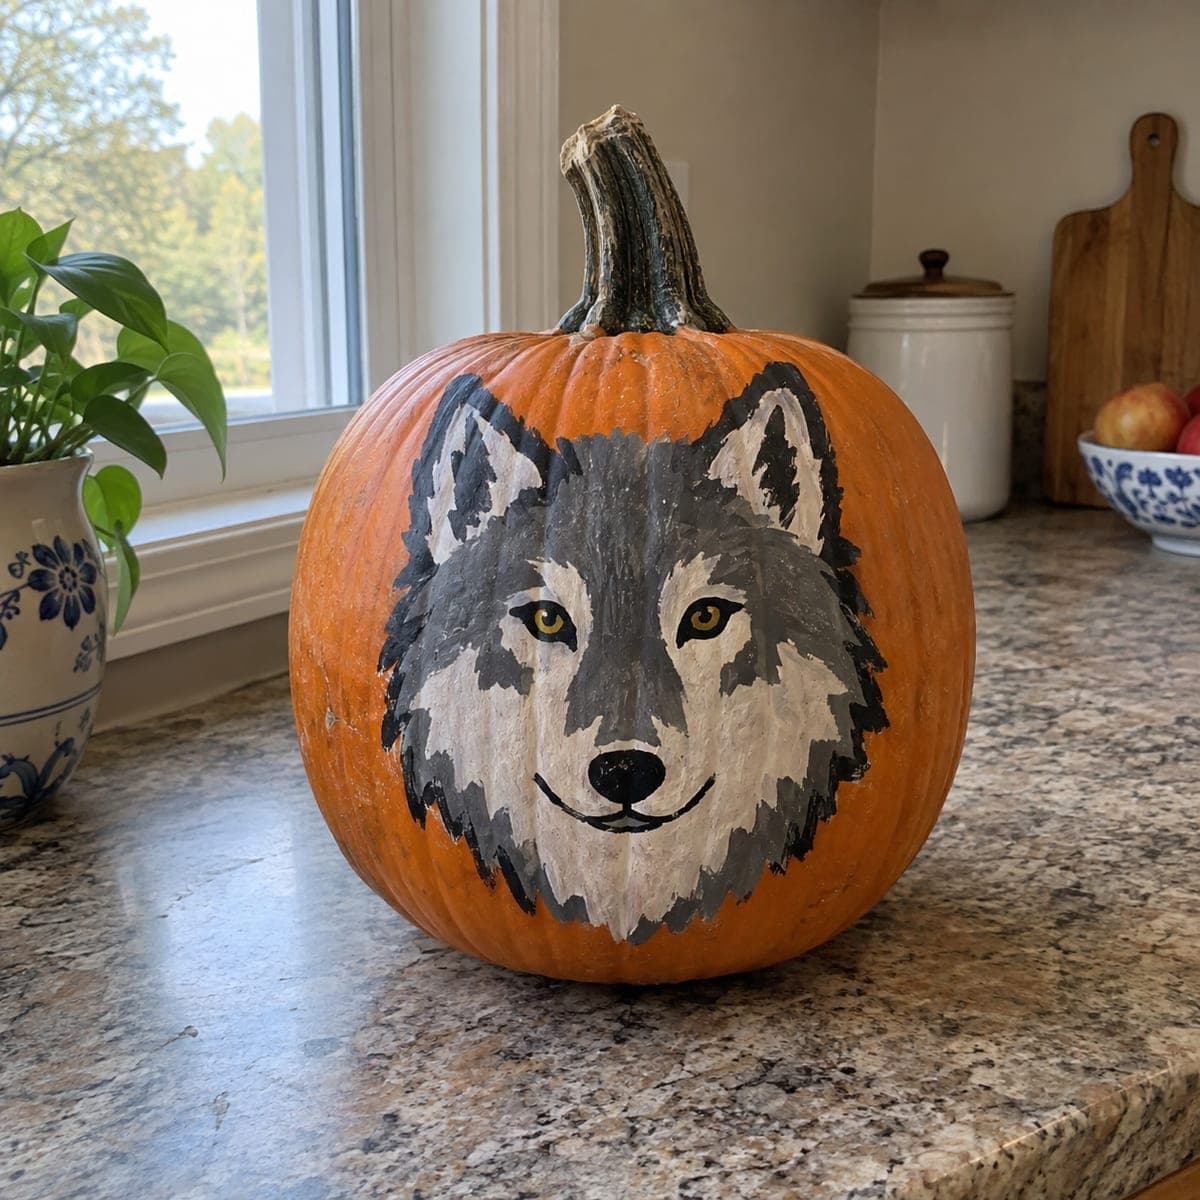
A gray wolf gazes calmly from this no-carve pumpkin, painted in layered grays, cream, and amber-eyed detail that pops against the orange rind. Acrylic craft paint handles the whole design: base in the head shape first, then dry-brush lighter fur strokes outward from the nose to build that shaggy texture. Sketch the outline in chalk before you commit, since chalk wipes off cleanly. Because nothing is cut, this wolf pumpkin will last from early October straight through Halloween.

This is an AI-generated concept image: a realistic, carvable design idea rather than a photo of a finished carve. AI concepts are always labeled and sit out the leaderboard and the contest.

No ratings yet · Sign in to rate
Comments (0)

  • No comments yet — be the first.

Save without an account. Sign in to like or comment.

Our tips for carving a similar design

The core trick here is dry-brushing layered grays and cream outward from the nose so the fur reads shaggy and real without a single cut. You block in the head shape first, then build lighter fur strokes on top, and finish with the amber eyes and dark nose that anchor the face. Because nothing is carved, this is all about patient paint layers rather than tool work.

Written by PumpkinCarvingIdeas.com, inspired by the image above. These are our suggestions, not instructions from the uploader. This approach to the AI concept has not been tested on a real pumpkin.

From pumpkin to porch

  1. Pick and clean your pumpkin

    Choose a large round pumpkin with a smooth, unblemished front panel so the face has room to sit centered. Wipe the surface with a damp cloth and let it dry fully, since paint grips better on clean, dry rind. Set it on a towel so it does not roll while you work. A flatter front area photographs the wolf best.

  2. Sketch the wolf in chalk

    Lightly draw the head shape, ears, muzzle, and eye placement with chalk, keeping the face roughly centered on the front. Chalk wipes off cleanly with a damp rag, so redraw as many times as you need until the proportions feel right. Keep the muzzle low and the ears near the top for a natural gaze. Step back often to check symmetry before committing to paint.

  3. Base in the head shape

    Fill the whole head with a mid gray acrylic as your foundation layer, staying inside your chalk lines. Let this coat dry completely before adding anything on top, which usually takes fifteen to twenty minutes. A second base coat gives fuller coverage over the orange rind. Leave the outer edges a little rough so fur strokes can blend into them later.

  4. Build fur with dry-brushing

    Load a flat brush with a small amount of cream or light gray, then wipe most of it off on a paper towel so the bristles are nearly dry. Pull short flicking strokes outward from the nose and down the cheeks to build that shaggy, layered texture. Work light over dark in several passes, adding the darkest grays around the ears and eye mask last. Let each layer dry so the strokes stay crisp instead of muddying together.

  5. Add the eyes, nose, and mouth

    Paint the two almond eyes in amber or yellow, then add a small dark pupil and a tiny white dot for a lifelike catchlight. Fill the nose solid black and pull a thin dark line down to a gentle curved mouth. Keep these details small and even, since they carry the whole expression. Let everything dry, then seal with a clear matte spray if you want it to last outdoors.

  6. Stage and photograph

    Set the finished pumpkin on a clean counter or porch step with soft daytime light coming from the side. Angle the front toward the light so the fur texture and amber eyes catch it. Since nothing is cut, this wolf holds up for weeks, so enjoy it through the whole season. Snap a photo straight on to show the face at its best.

Gather your supplies

Check things off as you get ready.

Work on a stable surface, keep your free hand out of the cutting path, and have an adult handle sharp tools.

Three levels of light

  • Leave intact

    The orange rind all around the wolf stays untouched and bright, framing the painted face.

  • Peel & shade

    This is a no-carve design, so no skin is peeled; the layered gray and cream paint stands in for any glow.

  • Cut through

    Nothing is cut through on this wolf, which is what lets it last from early October through Halloween.

Learn the carving basics

Before you start cutting

Do I need to carve anything for this wolf?

No, this is a fully painted, no-carve design. Everything from the fur to the eyes is built with acrylic paint layers. That means no interior light, but it also means the pumpkin will not rot from cut edges and can last for weeks.

How do I get the fur to look shaggy instead of flat?

The secret is dry-brushing. Wipe most of the paint off your brush before touching the pumpkin, then flick short strokes outward from the nose and cheeks. Building several light layers over the darker base creates the soft, layered fur texture without any blending mess.

What if my chalk sketch looks off before I paint?

That is exactly why chalk is the right tool here. It wipes away cleanly with a damp rag, so you can redraw the ears, muzzle, or eyes as many times as you need. Only start painting once the proportions and symmetry feel right to you.

Your take belongs here, too.

Changed a detail? Made it simpler? Share a photo of your version and tell the community what worked.

Share your pumpkin

More pumpkins like this

You've reached the end · 8 pumpkins
The Patch Report

Fresh pumpkins, in your inbox.

The best new carvings, ideas worth stealing, and how-tos for carving season. Short, seasonal, and gone by November.

A short email during carving season. Unsubscribe anytime. See our privacy policy.