Halloween Pumpkin Carving Contest · Starts October 1st · $500 in prizes
← Back to ideas
@ai_concepts
Aug 11, 2026
Woodland Badger Painted Pumpkin PortraitAI
0

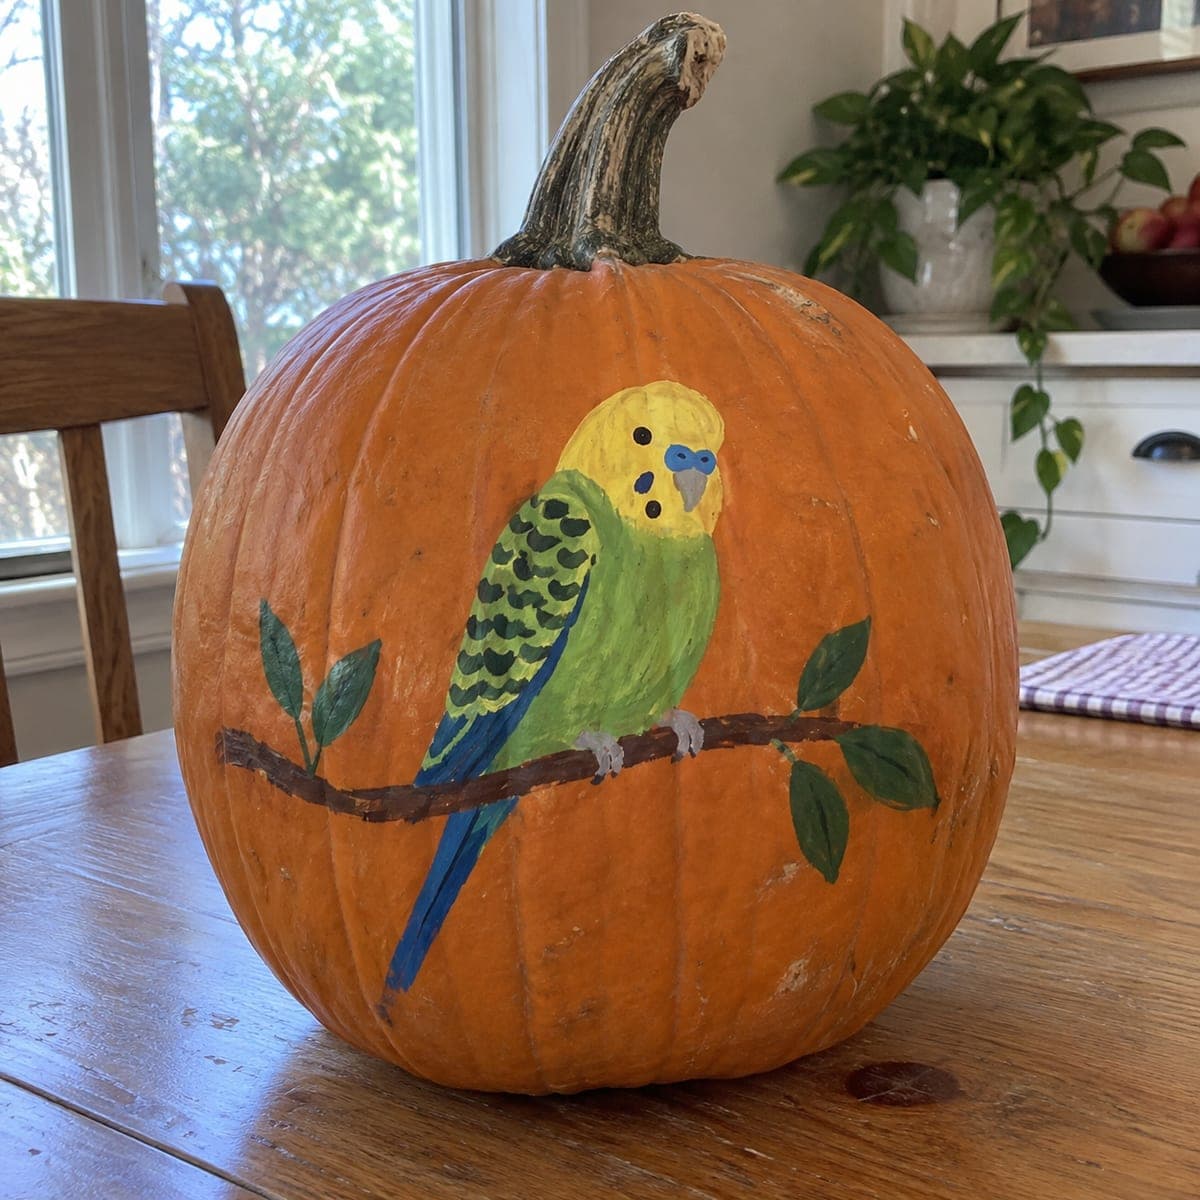
Woodland Badger Painted Pumpkin Portrait

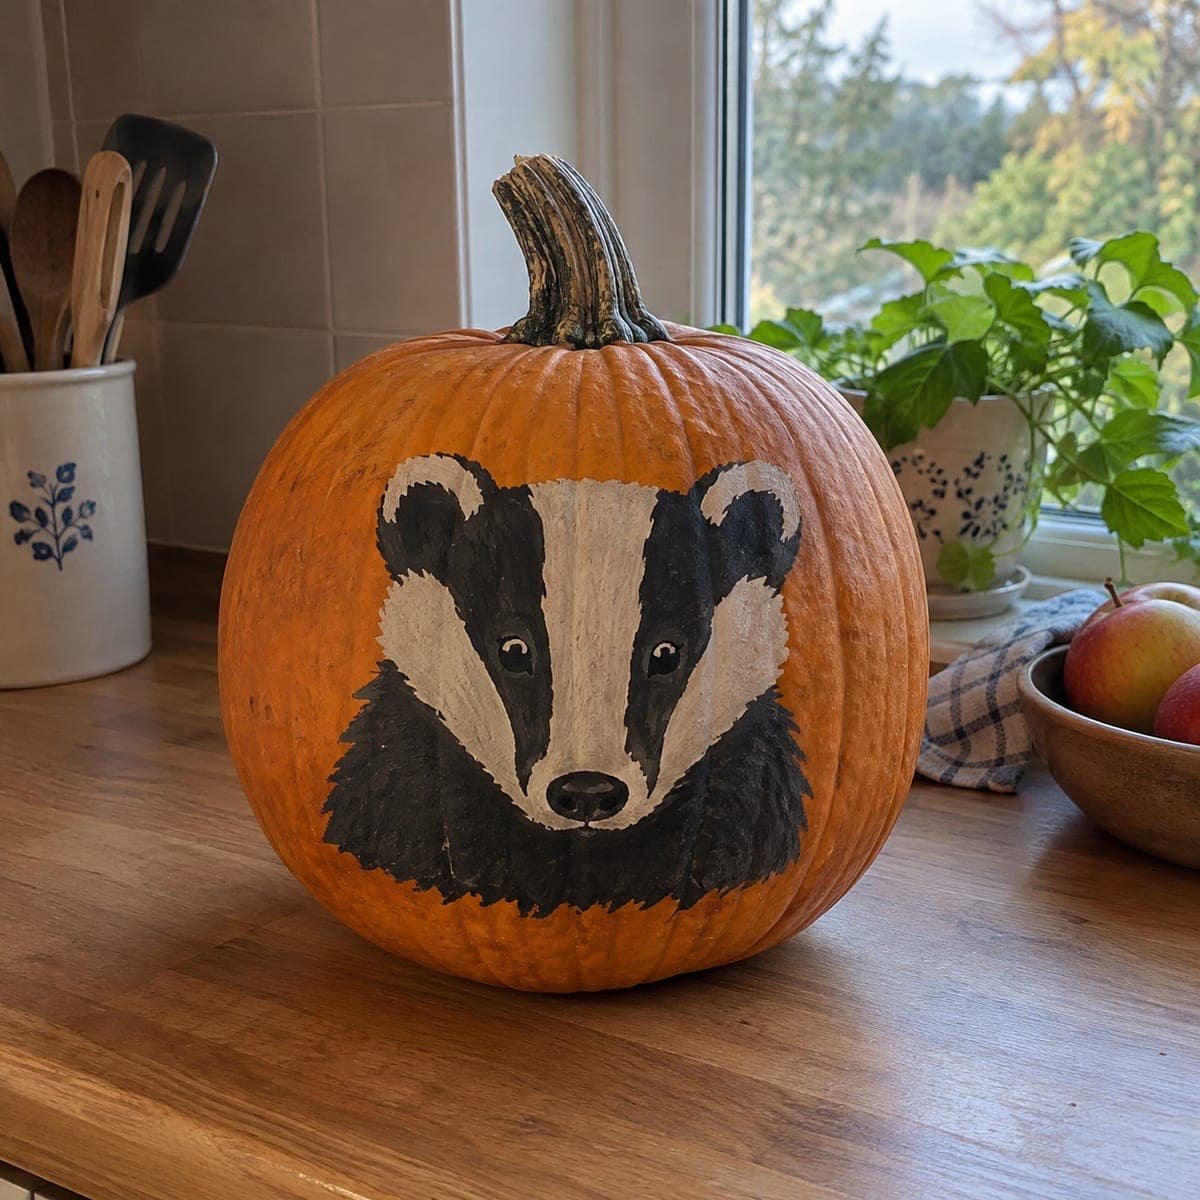
Bold black and white stripes make this painted badger portrait instantly readable from across the room, with shaggy brushwork giving the fur real depth. Because nothing is cut, this no-carve pumpkin will stay fresh indoors well past Halloween and into autumn. Start with the white face wedge, add the two black eye stripes, then drag a nearly dry brush outward along the cheeks and ruff to get that bristly woodland texture.

This is an AI-generated concept image: a realistic, carvable design idea rather than a photo of a finished carve. AI concepts are always labeled and sit out the leaderboard and the contest.

No ratings yet · Sign in to rate
Comments (0)

  • No comments yet — be the first.

Save without an account. Sign in to like or comment.

Our tips for carving a similar design

The whole design leans on one bold contrast: a crisp white face wedge framed by two black eye stripes that make the badger read instantly from across a room. Because nothing gets carved, this is a painted concept you build up in layers, saving loose dry-brush strokes for last to fake shaggy fur. Plan your shapes lightly in pencil first, then commit to paint from light colors to dark.

Written by PumpkinCarvingIdeas.com, inspired by the image above. These are our suggestions, not instructions from the uploader. This approach to the AI concept has not been tested on a real pumpkin.

From pumpkin to porch

  1. Clean and sketch the face

    Wipe the pumpkin with a damp cloth and let it dry fully so paint grips the skin. Pick the flattest, widest panel facing your room. With a soft pencil, lightly sketch the center white wedge running from the forehead down to the snout, plus the rounded ear positions. Keep lines faint since you will paint over them.

  2. Lay down the white face wedge

    Load a medium flat brush with white acrylic and fill the central wedge and the two ear patches. Two thin coats look better than one thick one, so let the first dry before adding the second. Keep the edges of the wedge clean for now because the black stripes will define them. Let this layer dry completely before moving on.

  3. Paint the two black eye stripes

    Switch to black acrylic and paint the bold stripes that run from each ear down through the eyes toward the snout, hugging the sides of the white wedge. Fill in the dark ears and the lower muzzle and ruff as solid black shapes. Work slowly along the border with the white so the edge stays sharp. Let it dry.

  4. Dry-brush the shaggy fur

    Wipe most of the paint off your brush onto a paper towel until it is nearly dry, then drag short strokes outward along the cheeks, jaw, and ruff. Pull black strokes into the white edges and a few white strokes into the black to blur the border like real fur. Keep the bristly strokes going in the direction the fur would grow, fanning down and out. This broken texture is what gives the portrait its depth.

  5. Add the eyes and nose

    With a fine detail brush, paint two small dark eyes and add a tiny white dot in each for a lively catchlight. Fill the nose as a rounded black shape at the base of the wedge and leave a soft gray highlight on top so it looks glossy. Step back often to check both eyes sit level. Fix any stray edges with a small touch-up.

  6. Seal and stage your photo

    Once everything is bone dry, brush on a thin coat of matte acrylic sealer to protect against smudges and humidity. Set the pumpkin on a wood surface near a window for soft daylight and shoot slightly above eye level so the face looks back at you. Because there are no cuts, keep it indoors and it will stay fresh well into autumn. Wipe with a dry cloth if it gets dusty.

Gather your supplies

Check things off as you get ready.

Work on a stable surface, keep your free hand out of the cutting path, and have an adult handle sharp tools.

Three levels of light

  • Leave intact

    The entire pumpkin stays uncut, so the orange skin around the badger remains the dark, natural backdrop.

  • Peel & shade

    If you want a subtle glow accent, you could shallow-scrape a thin halo of skin behind the head, though the classic look keeps everything painted.

  • Cut through

    No full cutouts here; this is a no-carve portrait meant to be seen by daylight or gentle room light, not lit from within.

Learn the carving basics

Before you start cutting

Do I need to carve anything for this to work?

No, this is a fully painted design, which is part of why it lasts so long. Every shape, from the white wedge to the fur, is built with acrylic paint. If you later want a soft inner glow, you could shallow-scrape a small area behind the head, but it is not needed.

How do I get the fur to look shaggy instead of flat?

The trick is a nearly dry brush. Wipe most of the paint off onto a paper towel, then drag short quick strokes outward along the cheeks and ruff. Let a few black and white strokes cross into each other at the border so the edge looks bristly rather than clean.

What kind of pumpkin should I choose?

Look for one with a large, fairly flat and smooth panel facing forward, since deep ribs will break up the crisp stripes. A tall shape gives the face room to sit above the ruff. Clean and dry the surface well so the acrylic grips.

Your take belongs here, too.

Changed a detail? Made it simpler? Share a photo of your version and tell the community what worked.

Share your pumpkin

More pumpkins like this

You've reached the end · 8 pumpkins
The Patch Report

Fresh pumpkins, in your inbox.

The best new carvings, ideas worth stealing, and how-tos for carving season. Short, seasonal, and gone by November.

A short email during carving season. Unsubscribe anytime. See our privacy policy.