Halloween Pumpkin Carving Contest · Starts October 1st · $500 in prizes
← Back to ideas
@ai_concepts
Jul 27, 2026
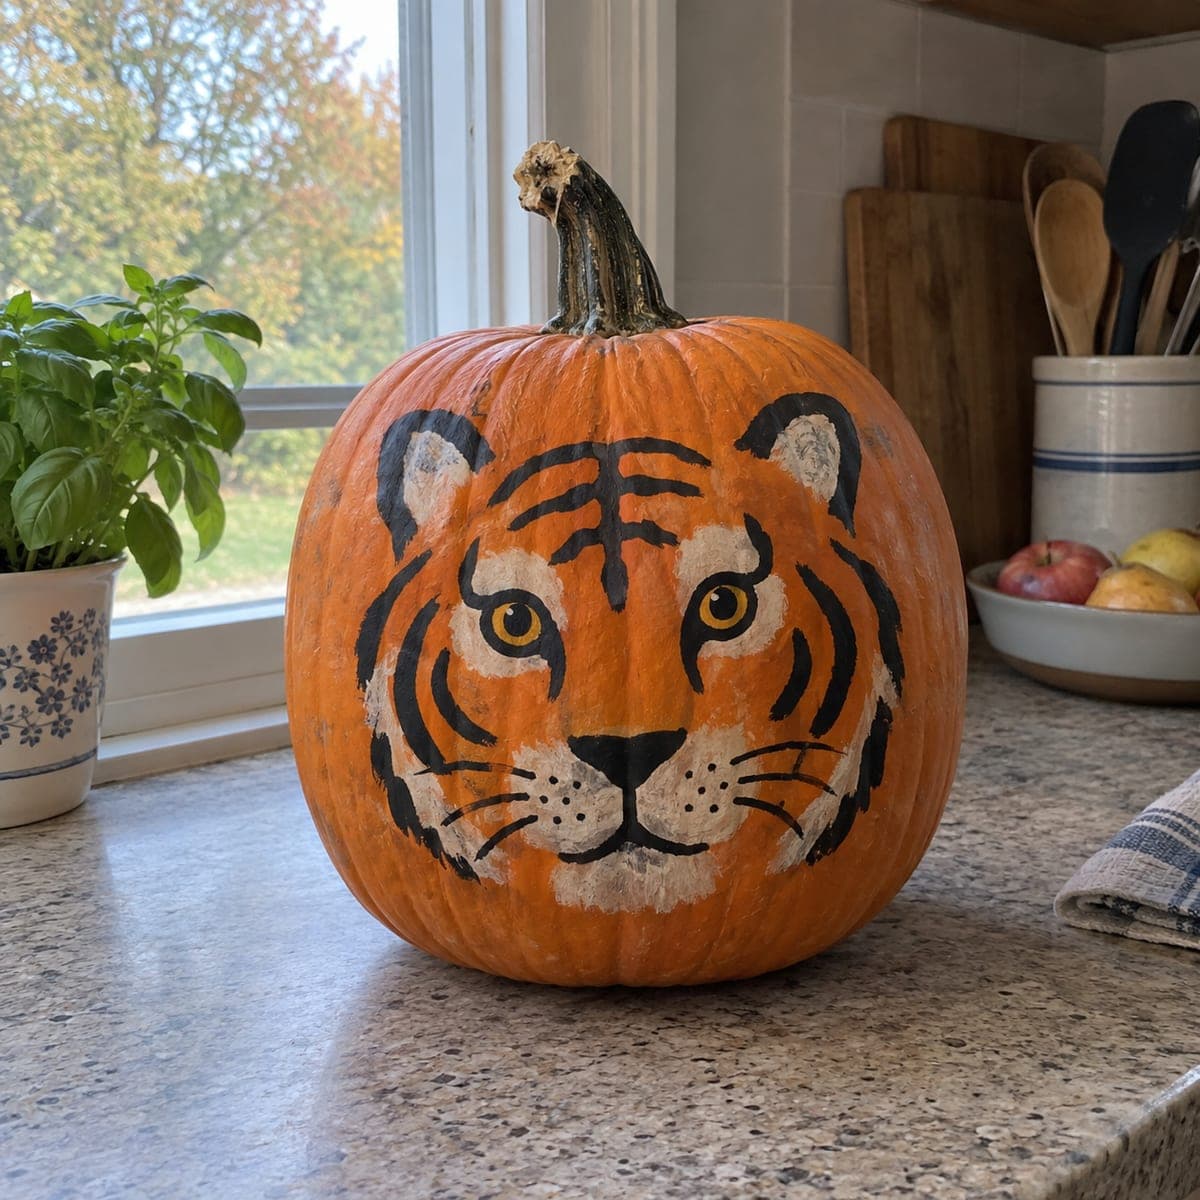
Bold Tiger Face Painted Pumpkin IdeaAI
0

Bold Tiger Face Painted Pumpkin Idea

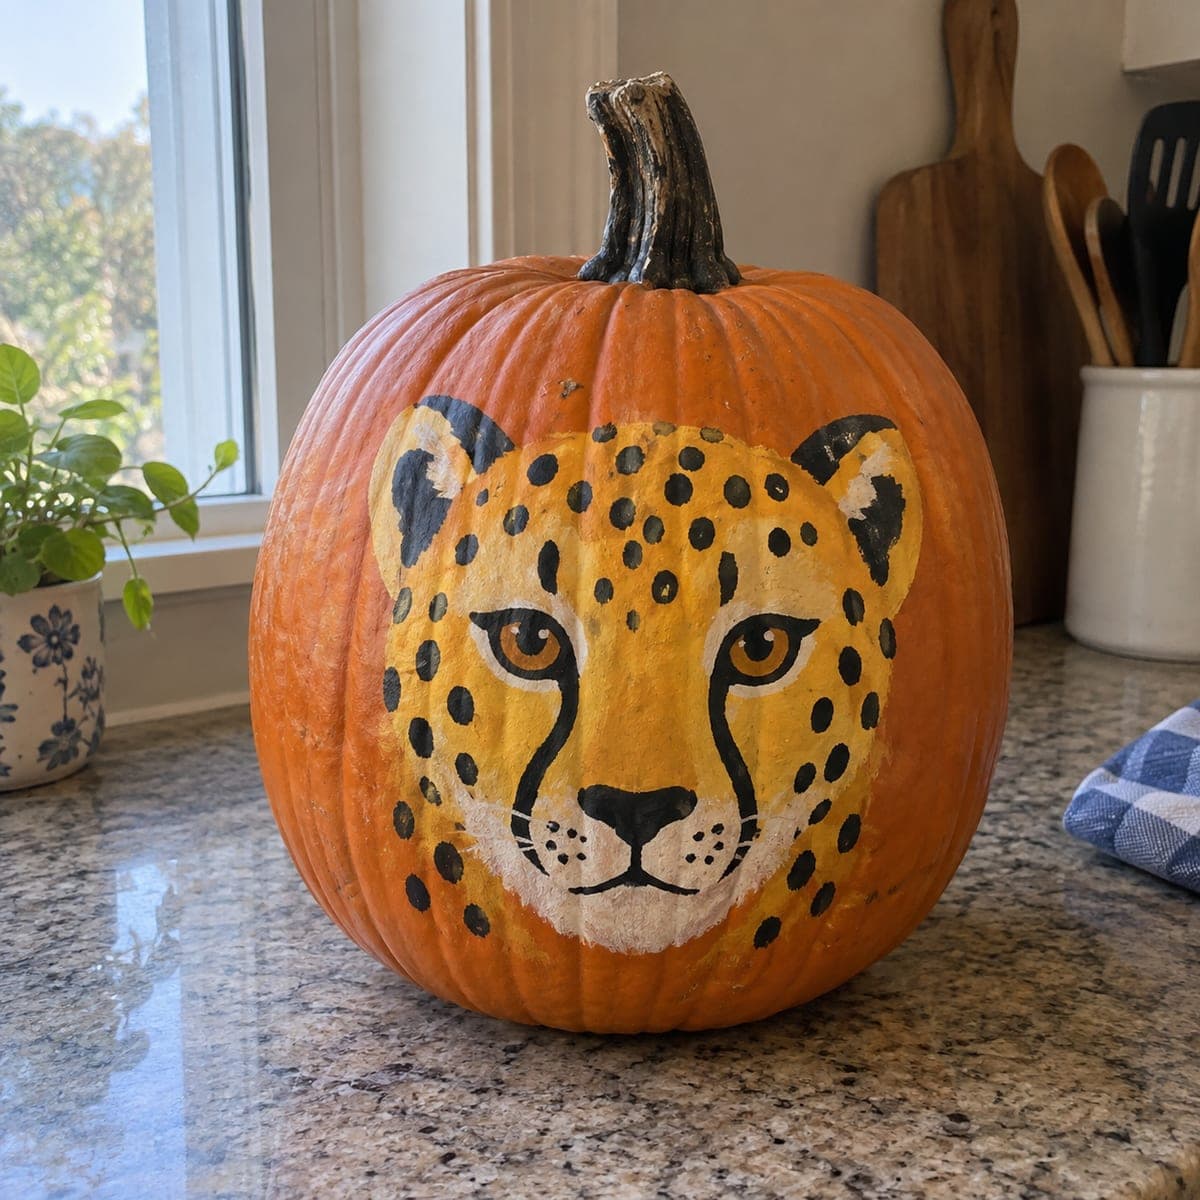
A tiger face with amber eyes and sweeping black stripes stares straight ahead from this painted pumpkin, using the orange shell as the cat's own coat. That shortcut is what makes it work: only the stripes, white muzzle, and ear patches need paint, so the design comes together in an afternoon. Map the symmetry lightly in chalk first, then commit to the stripes with confident single strokes for a clean, graphic look.

This is an AI-generated concept image: a realistic, carvable design idea rather than a photo of a finished carve. AI concepts are always labeled and sit out the leaderboard and the contest.

No ratings yet · Sign in to rate

Comments (0)

  • No comments yet — be the first.

Save without an account. Sign in to like or comment.

Our tips for carving a similar design

The core trick is letting the natural orange shell serve as the tiger's fur, so you only add the black stripes, white muzzle, and pale ear patches. That keeps the whole face a paint job you can finish in an afternoon with no messy scooping. Sketch the symmetry in chalk first, then commit to each stripe with a single confident stroke for a clean, graphic look.

Written by PumpkinCarvingIdeas.com, inspired by the image above. These are our suggestions, not instructions from the uploader. This approach to the AI concept has not been tested on a real pumpkin.

From pumpkin to porch

  1. Pick and prep the pumpkin

    Choose a tall, rounded pumpkin with a smooth, evenly orange front to act as the coat. Wipe the surface with a damp cloth and let it dry fully so paint grips well. Set it on the counter and turn it until the flattest, cleanest face points at you. A stable base matters, so nudge it until it sits without rocking.

  2. Map the symmetry in chalk

    Find the vertical centerline of the face and mark it lightly with chalk. Sketch the two amber eyes at equal height, the triangular nose below center, and the rounded ear patches near the top. Rough in the sweeping stripe lines so both sides mirror each other. Chalk wipes off easily, so redraw until the balance looks right before any paint touches the shell.

  3. Block in the light areas

    Paint the white muzzle, the fur around the eyes, and the inner ear patches with acrylic craft paint. Use a soft flat brush and let this base layer dry, then add a second coat for solid coverage. Keep the edges a little feathery so they read like fur rather than hard shapes. Let everything dry completely before adding dark detail on top.

  4. Lay down the stripes

    Load a round brush with black paint and pull each stripe in one smooth stroke, starting thick and lifting to a point. Work from the center outward so the pattern stays symmetrical. Add the nose, the outlines around the eyes, and a few thin whisker dots on the muzzle. If a stripe wobbles, let it dry and touch it up rather than fixing it wet.

  5. Finish the eyes and glaze

    Fill the eyes with amber or yellow, add a black pupil, and leave a tiny white dot for a lifelike glint. Once fully dry, brush on a thin coat of matte sealer to protect the paint from moisture. This step keeps the colors crisp for the whole season. Wipe your brushes and step back to check both sides match.

  6. Optional glow and final photo

    If you want a little light, an adult can cut a small back hatch and drop in a battery LED puck so a faint glow rims the pumpkin at night, keeping the painted face fully intact. Skip open flames since the shell stays whole and paint can scorch. Set the pumpkin near a window or on the counter and snap your photo in soft daylight to show the stripes best. Store it somewhere cool between showings.

Gather your supplies

Check things off as you get ready.

Work on a stable surface, keep your free hand out of the cutting path, and have an adult handle sharp tools.

Three levels of light

  • Leave intact

    The bare orange shell across the cheeks and forehead, which becomes the tiger's coat.

  • Peel & shade

    If you want texture, lightly scrape the white muzzle and ear areas instead of painting them for a soft dim tone.

  • Cut through

    Only the eyes, if an adult chooses to cut them, would let full light shine through for a glowing stare.

Learn the carving basics

Before you start cutting

Since this is painted and not carved, does it last as long?

A painted pumpkin often lasts longer than a carved one because the shell stays sealed against air and moisture. Adding a matte sealer coat helps even more. Keep it out of direct sun and heat, and it can hold up for a couple of weeks.

How do I keep the stripes even on both sides?

Start with a chalk centerline and mark matching points before you paint. Work outward from the center and glance at both sides often as you go. Painting one stripe on the left, then its mirror on the right, keeps the symmetry honest.

Can I add real cutouts to this tiger?

You can, but keep them small and let an adult handle the blade. The eyes are the best candidates for a glowing effect, cut last after the paint has dried. Leave the striped areas solid so the graphic face stays crisp and the shell stays strong.

Your take belongs here, too.

Changed a detail? Made it simpler? Share a photo of your version and tell the community what worked.

Share your pumpkin

More pumpkins like this

You've reached the end · 8 pumpkins
The Patch Report

Fresh pumpkins, in your inbox.

The best new carvings, ideas worth stealing, and how-tos for carving season. Short, seasonal, and gone by November.

A short email during carving season. Unsubscribe anytime. See our privacy policy.