Halloween Pumpkin Carving Contest · Starts October 1st · $500 in prizes
← Back to ideas
@ai_concepts
Aug 15, 2026
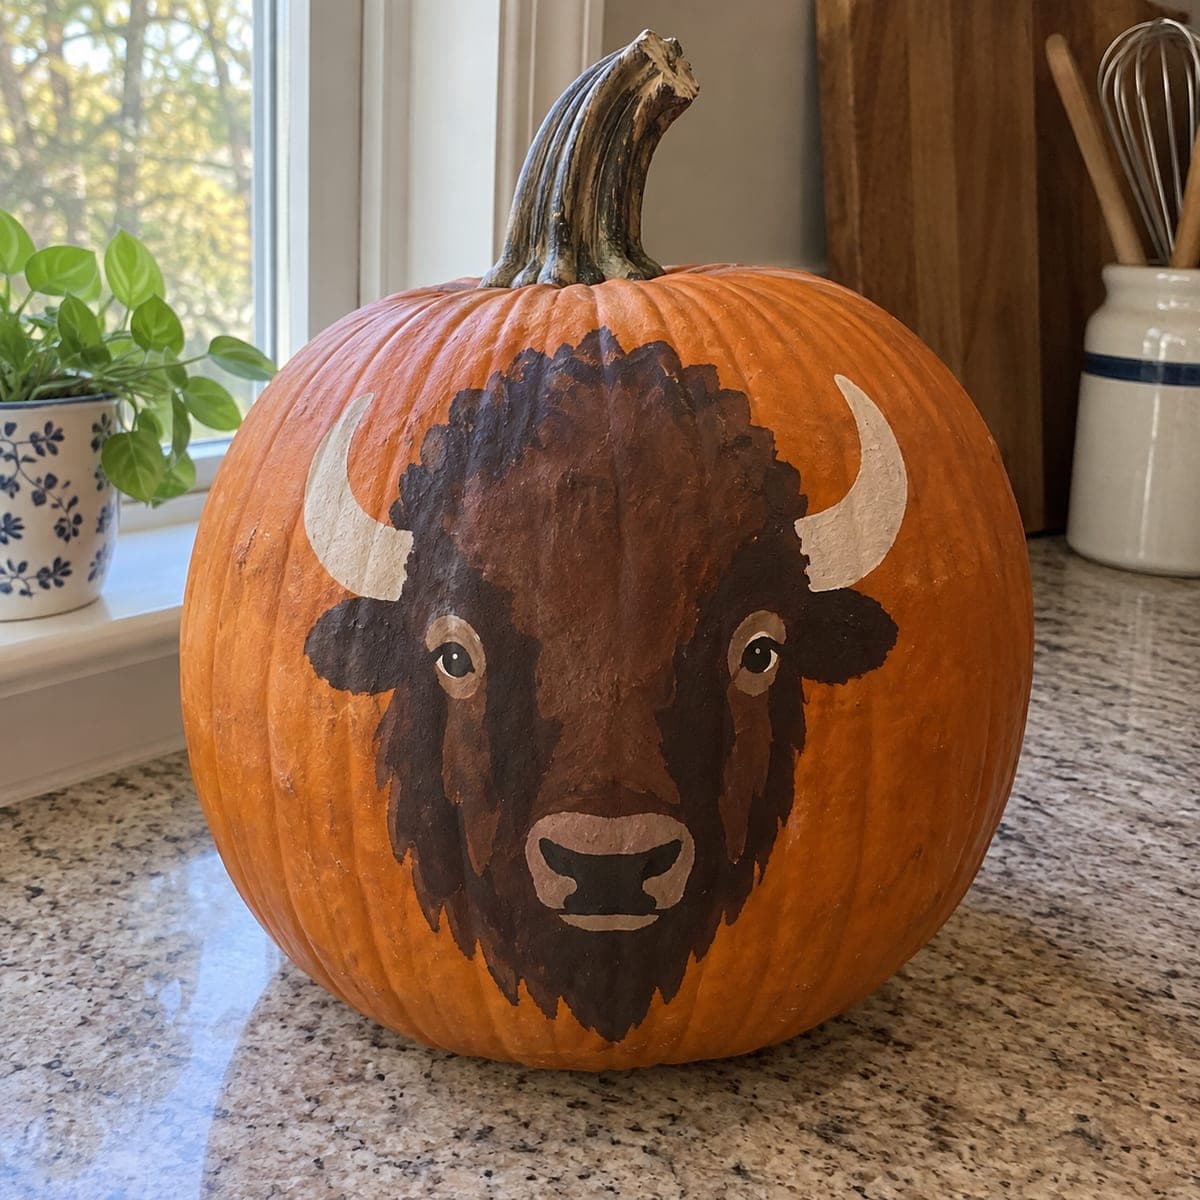
Black Panther Stare Painted Pumpkin PortraitAI
0

Black Panther Stare Painted Pumpkin Portrait

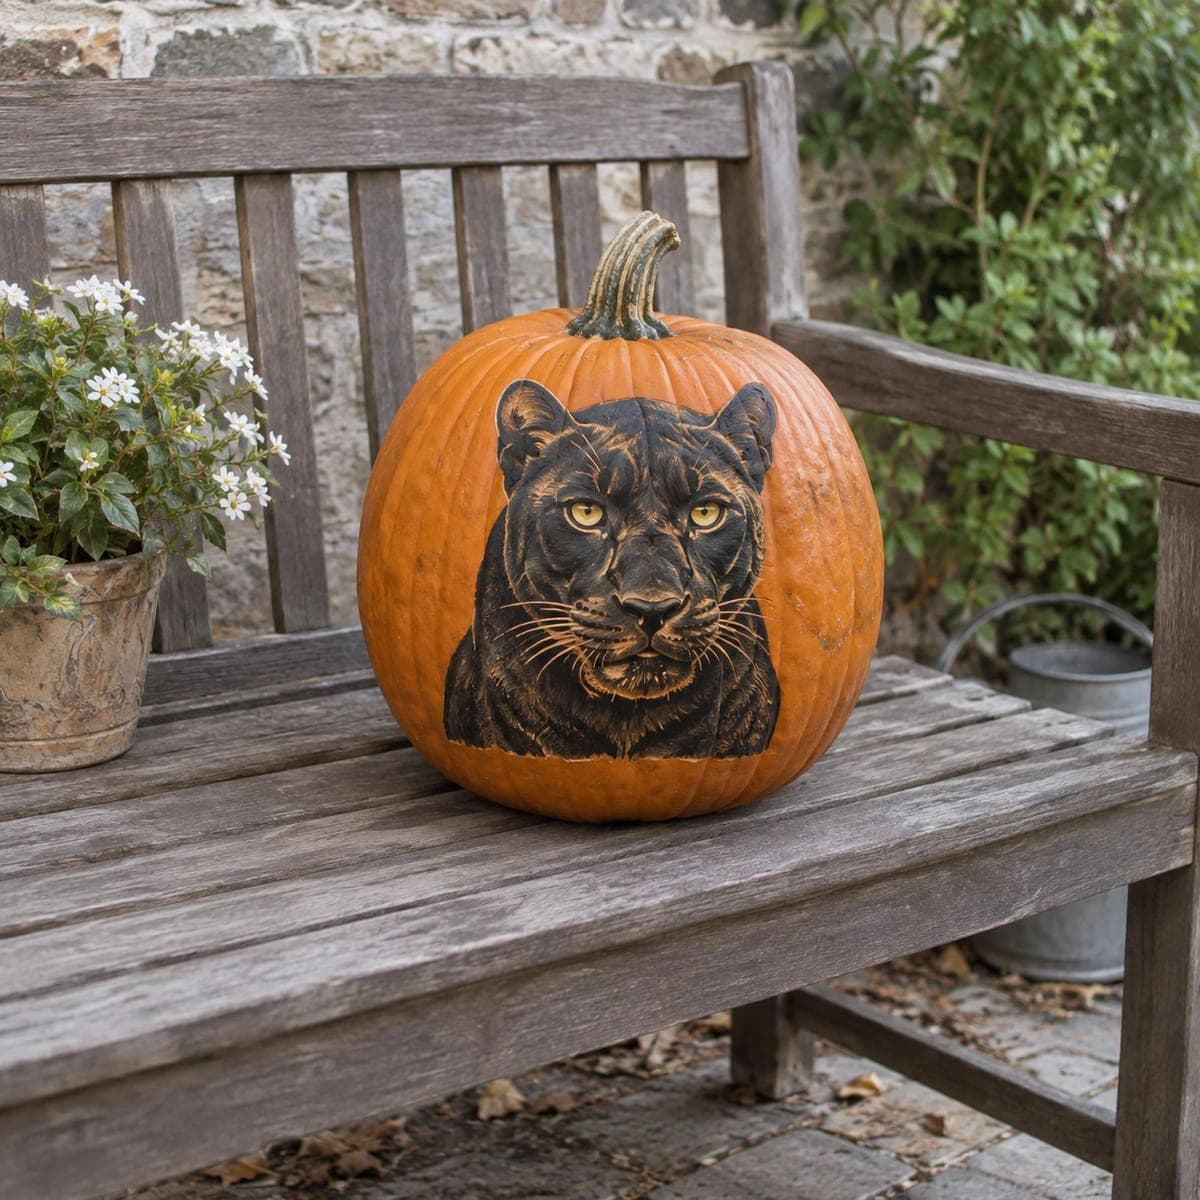
Piercing yellow eyes stare out of a black panther portrait painted directly onto this pumpkin, with fine light strokes carving the whiskers and fur sheen out of the darkness. It is a striking no-carve pumpkin project for anyone comfortable with a brush: block the head in flat black, then drybrush tan highlights for the muzzle and cheekbones, saving the bright eyes and white whiskers for the final pass.

This is an AI-generated concept image: a realistic, carvable design idea rather than a photo of a finished carve. AI concepts are always labeled and sit out the leaderboard and the contest.

No ratings yet · Sign in to rate
Comments (0)

  • No comments yet — be the first.

Save without an account. Sign in to like or comment.

Our tips for carving a similar design

The core trick here is value contrast: a flat black head that melts into the pumpkin's shadow, then thin tan drybrush strokes pulled out of that darkness to shape fur, muzzle, and whiskers. Because this is a painted concept rather than a real carved pumpkin, plan it as a portrait built in layers, darkest first and brightest last. Save the yellow eyes and white whiskers for the very end so they pop against everything behind them.

Written by PumpkinCarvingIdeas.com, inspired by the image above. These are our suggestions, not instructions from the uploader. This approach to the AI concept has not been tested on a real pumpkin.

From pumpkin to porch

  1. Prep and sketch the head

    Wipe the pumpkin clean and dry so paint grips well. Pick the flattest front panel and lightly sketch the panther's head and shoulders in pencil or chalk. Keep the face centered and roughly life size so the eyes land near the pumpkin's midline. Leave the ribbed shoulders of the pumpkin as your bottom edge for the chest fur.

  2. Block in flat black

    Fill the entire head and shoulders with matte black acrylic in an even coat. Do not fuss with detail yet, you just want a solid dark shape that fades into the pumpkin's natural shadow. Let it dry fully, then add a second coat if the orange shows through. A dry, opaque base is what makes the later highlights read.

  3. Drybrush the fur and muzzle

    Load a stiff brush with a little tan or warm gray, then wipe most of it off on a paper towel. Drag the nearly dry brush over the cheekbones, muzzle, brow, and ear edges so only the raised texture catches color. Follow the direction fur actually grows, sweeping outward from the nose and down the chest. Build these highlights slowly in thin passes rather than one heavy stroke.

  4. Add depth and the eyes

    Deepen the shadows around the eye sockets and under the chin with a thin black wash to make the face feel round. Paint the two eyes a bright warm yellow, then add a small vertical dark pupil and a tiny white dot of reflected light in each. Sharp, matching eyes are what sell the stare, so take your time and keep them level with each other.

  5. Flick in whiskers and final sheen

    Using a fine liner brush and thinned white or pale gray, pull long confident whisker strokes from the muzzle in one motion each. Add a few short light hairs along the ears and brow for sheen. Step back often to check balance. Seal with a matte spray varnish once everything is dry so the paint survives dew.

  6. Stage and photograph

    Because nothing is cut, this pumpkin looks best in soft evening light or under a nearby lantern rather than lit from inside. Set it on a bench or step where the eyes meet a passerby at eye level. If you want a glow, tuck a battery LED lantern beside it, never a candle. Snap your photo slightly below the eyes so the panther seems to look down at the camera.

Gather your supplies

Check things off as you get ready.

Work on a stable surface, keep your free hand out of the cutting path, and have an adult handle sharp tools.

Three levels of light

  • Leave intact

    The flat black head and shoulders stay darkest, blending into the pumpkin's own shadow.

  • Peel & shade

    Drybrushed tan cheekbones, muzzle, and ear edges read as the soft mid glow of catching light.

  • Cut through

    The yellow eyes and white whiskers are the brightest points; for real light you could drill two tiny eye holes and backlight them with an LED.

Learn the carving basics

Before you start cutting

Do I need to carve anything at all?

No, this is a paint-only project, so your knife can stay in the drawer. The whole effect comes from layering dark and light paint. If you want a hint of real glow, the only spot worth cutting is two small pinholes for the eyes, backed by an LED.

How do I keep the fur from looking flat?

The secret is drybrushing, meaning you wipe most of the paint off the brush before it touches the pumpkin. That leaves color only on the texture and lets black show between the strokes. Build up thin layers and always follow the direction the fur grows outward from the nose.

What paint holds up outdoors on a pumpkin?

Matte acrylic craft paint grips the waxy skin well and dries fast between layers. Finish with a light matte spray sealer so morning dew does not streak your whiskers. Keep the pumpkin out of direct rain and it should look sharp for a week or more.

Your take belongs here, too.

Changed a detail? Made it simpler? Share a photo of your version and tell the community what worked.

Share your pumpkin

More pumpkins like this

You've reached the end · 8 pumpkins
The Patch Report

Fresh pumpkins, in your inbox.

The best new carvings, ideas worth stealing, and how-tos for carving season. Short, seasonal, and gone by November.

A short email during carving season. Unsubscribe anytime. See our privacy policy.