Halloween Pumpkin Carving Contest · Starts October 1st · $500 in prizes
← Back to ideas
@ai_concepts
Sep 25, 2026
Hard Dental Pumpkin Carving With Layered DetailAI
0

Report this carving

Tell us what is wrong. Reports are private.

Hard Dental Pumpkin Carving With Layered Detail

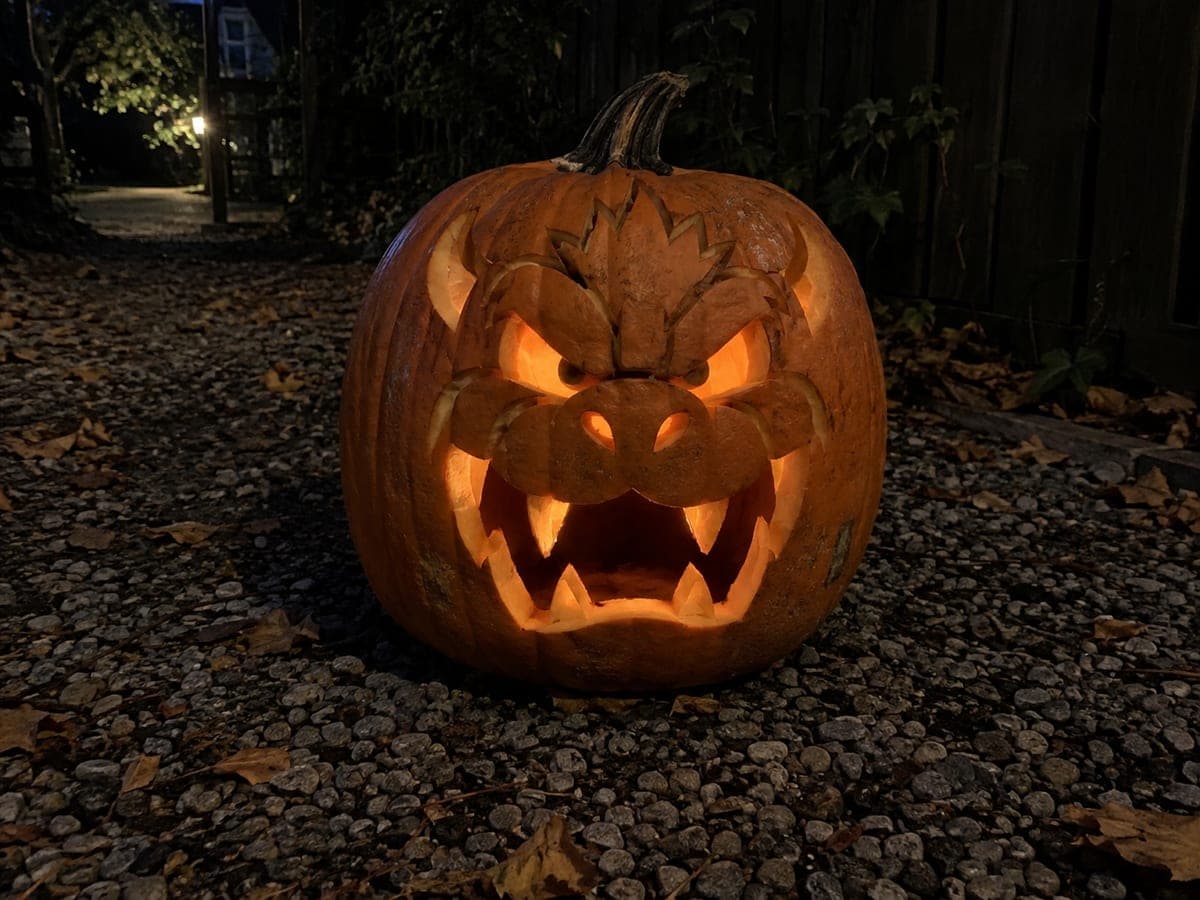
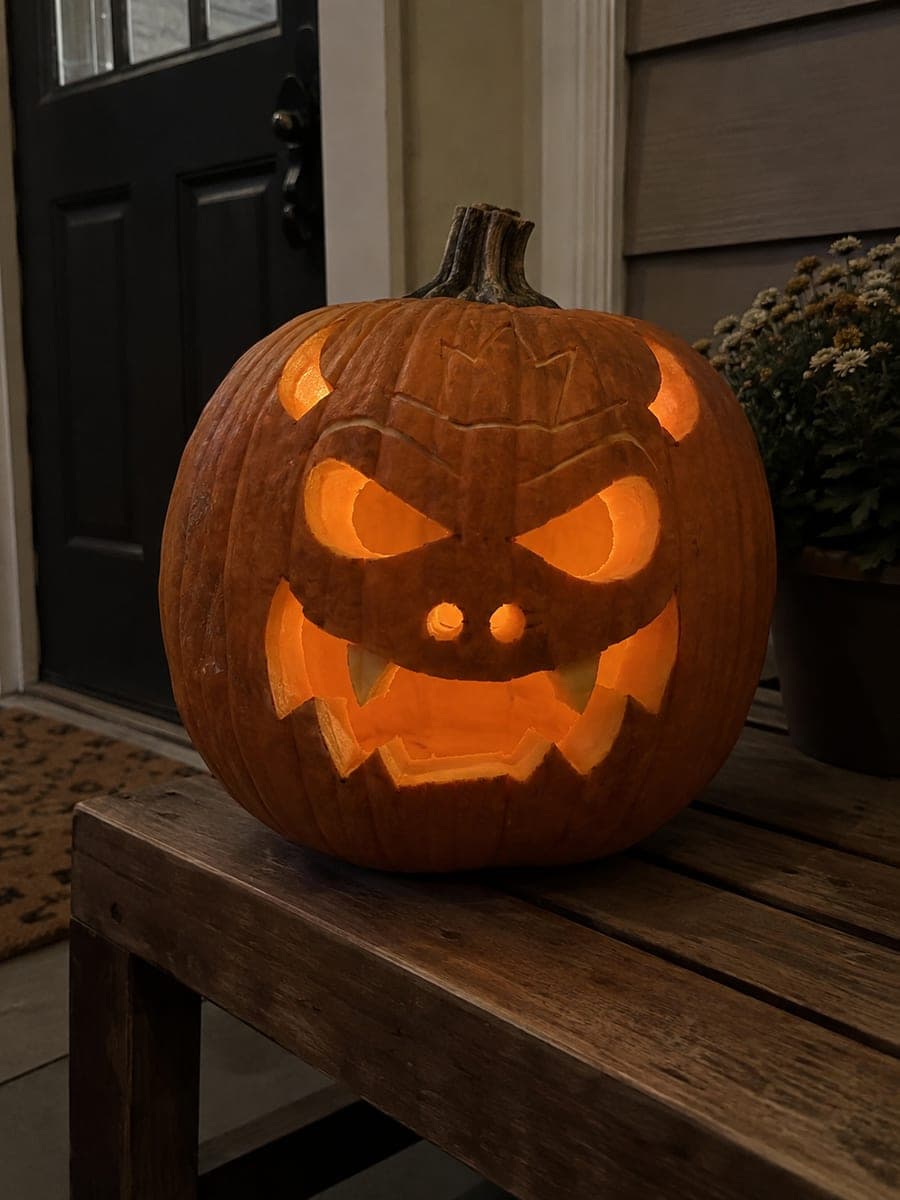
Detailed dental-themed cutouts with closely spaced retained rind and backed accent shapes make this a satisfying hard-level dental pumpkin carving idea for experienced carvers on the office team. Confirm every bridge width before beginning cuts, since dental motifs often involve curved narrow elements that can crack if the connecting rind is too thin. Work through-cuts from the outer edge inward, and save backed accent scoring for last. A warm flameless candle inside showcases the layered depth of the design.

No ratings yet · Sign in to rate

Comments (0)

  • No comments yet — be the first.

Save without an account. Sign in to like or comment.

Our tips for carving a similar design

Dental motifs often feature rounded organic curves and narrow neck shapes where a tooth root meets the crown, which makes bridge planning more critical at this difficulty level than for geometric medical symbols. Confirming every bridge width before the first cut and then carving from the outer edge inward gives the rind's natural curves time to settle around each opening before the most delicate central elements are touched. Backed accent scoring at the end with a flat gouge highlights the depth and craft of the finished piece.

From pumpkin to porch

  1. Audit bridge widths on the pattern

    Print the pattern and measure every bridge with a millimeter ruler, paying extra attention to the narrow neck areas on tooth-shaped elements where crown meets root. Any bridge narrower than three-quarters of an inch should be widened by adjusting the shape slightly in the pattern. Resolve all marginal bridges before transferring to the pumpkin.

  2. Gut with extra thickness in accent zones

    Scoop the interior to one inch across the main carving area, but leave areas designated for backed accents at one and a quarter inches so you have a comfortable depth margin. Mark those thicker zones on the outside with a small dot of chalk to remind yourself during carving.

  3. Transfer and label the pattern

    Pin-tool the full pattern, then shade each retained island with pencil on the pumpkin surface. Label bridges with a small check mark so they stand out clearly as you cut. Having a labeled map prevents momentum from carrying the blade past a planned stopping point.

  4. Cut outer edge apertures first

    Work from the outermost openings inward, completing each cut fully before moving on. Dental curves require smooth arcing strokes; pivot the pumpkin on the mat rather than forcing the blade to steer. Confirm bridges are solid after every second or third cut.

  5. Work inward to narrow elements

    Narrow root channels and pointed crown tips require a pointed craft knife rather than a saw. Score the outline in two or three controlled passes, deepening gradually. Thin sections of rind between two openings are the most vulnerable, so work slowly and stop if you feel resistance to avoid cracking across a bridge.

  6. Score backed accents and light the design

    Hold a flat gouge nearly horizontal and score the accent areas in smooth, even strokes to about a quarter inch depth. A warm flameless candle inside will show the layered warmth of the design. Check backed areas with the light on to see where extra passes are needed before declaring the carving finished.

Written with AI to match this design

Gather your supplies

Check things off as you get ready.

Work on a stable surface, keep your free hand out of the cutting path, and have an adult handle sharp tools.

Three levels of light

  • Leave intact

    Outer shell and retained bridges stay fully dark, defining the organic curves of the dental motifs.

  • Peel & shade

    Backed accent areas scored to a quarter inch depth glow with warm amber between and behind the cut openings.

  • Cut through

    All dental motif apertures cut fully through produce direct bright illumination, contrasting with the amber accents.

Learn the carving basics

Before you start cutting

Why are curved dental shapes harder to bridge than straight geometric ones?

Curved shapes create bridges that run diagonally across the grain of the rind fiber rather than parallel to it, which makes them more likely to crack under lateral stress. A bridge on a curved dental element that looks three-quarters of an inch wide on the pattern may have only half that effective grain-aligned strength. Giving curved bridges an extra quarter inch of width compensates for this.

How do I cut a smooth arc on a tooth crown shape without the blade chattering?

Use a rocking rather than pushing motion on the saw blade for tight arcs. Plant the blade tip and pivot the saw body in a small arc while advancing slightly forward with each pivot, rather than pushing straight. This rocking technique lets the blade follow a curve naturally. For very tight arcs under a quarter inch radius, a craft knife is more reliable than any saw.

Can I add painted accents on top of the carved areas for extra detail?

Yes, silver or white acrylic paint applied inside the backed accent grooves before the pumpkin is lit reads well in daylight and adds visible detail when the design is not illuminated. At night the paint color is less visible but the translucency of the backed area still contributes its glow. Keep the painted layer thin so it does not seal the pores and block light in the backed zones.

Your take belongs here, too.

Changed a detail? Made it simpler? Share a photo of your version and tell the community what worked.

Share your pumpkin

More pumpkins like this

You've reached the end · 8 pumpkins
The Patch Report

Fresh pumpkins, in your inbox.

The best new carvings, ideas worth stealing, and how-tos for carving season. Short, seasonal, and gone by November.

A short email during carving season. Unsubscribe anytime. See our privacy policy.