Halloween Pumpkin Carving Contest · Starts October 1st · $500 in prizes
← Back to ideas
@ai_concepts
Sep 25, 2026
Painted Dental Theme No-Carve Pumpkin DisplayAI
0

Report this carving

Tell us what is wrong. Reports are private.

Painted Dental Theme No-Carve Pumpkin Display

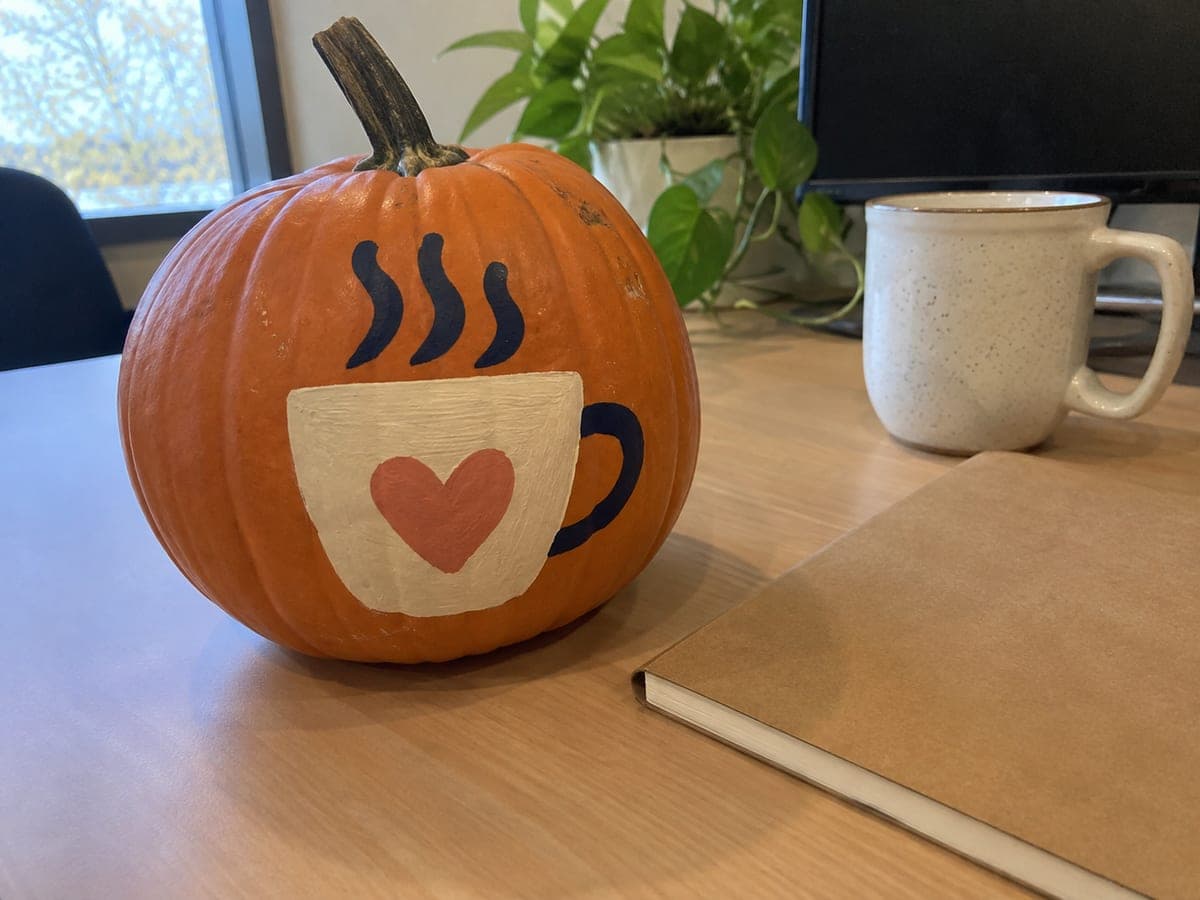
Simple flat dental symbols painted onto an intact pumpkin create a festive no-carve dental pumpkin carving idea that looks professional in any office environment. Use a medium flat brush and white acrylic for tooth shapes, then add details with a fine liner brush once the base layers are fully dry. A soft gray or blue background coat applied first makes the white dental symbols pop against the painted surface. Matte sealer protects the design from fingerprints in a high-traffic waiting room.

No ratings yet · Sign in to rate

Comments (0)

  • No comments yet — be the first.

Save without an account. Sign in to like or comment.

Our tips for carving a similar design

This no-carve design relies on a contrasting background coat that makes the white dental symbols pop against the painted surface rather than blending into the natural orange rind. Building up the tooth shapes in two thin base coats ensures solid coverage without drips, and fine liner details added last bring the symbols to a professional level of finish. Matte sealer protects the design in a high-traffic waiting room where the pumpkin may get frequent attention.

From pumpkin to porch

  1. Clean and dry the pumpkin

    Wipe the surface with a lightly damp cloth and allow it to air dry for at least 30 minutes. A clean, dry rind surface accepts acrylic paint far more reliably than a dusty or damp one. Choose the orientation that presents the smoothest face forward before painting.

  2. Apply a background coat

    Brush a smooth, thin coat of soft gray or light blue acrylic over the planned painting area. This background color makes white tooth shapes and other dental symbols read vividly against the surface. Let the background coat dry completely, usually 20 to 30 minutes, before applying any symbol colors.

  3. Sketch and apply tooth base shapes

    Lightly sketch the tooth outlines in chalk over the dried background, then fill each shape with white acrylic using a medium flat brush. Two thin coats of white achieve solid opacity over most background colors. Let each coat dry fully before applying the next to prevent pulling and streaking.

  4. Add fine detail lines

    Once the white base coats are dry, load a liner brush with thinned black or dark gray acrylic to add fine detail lines, crevices, and root definitions. Keep the brush slightly drier than usual to prevent fine lines from bleeding into the still-porous white paint. A magnifying glass helps on very small detail work.

  5. Seal and place on display

    Coat the entire painted area with a thin layer of matte acrylic sealer once all paint is fully dry. Matte finish reduces fingerprint visibility and looks more professional in a waiting room setting than a shiny gloss coat. Allow the sealer to cure for one hour before placing the pumpkin on the display counter.

Written with AI to match this design

Gather your supplies

Check things off as you get ready.

Work on a stable surface, keep your free hand out of the cutting path, and have an adult handle sharp tools.

Three levels of light

  • Leave intact

    The painted background color and any bare orange rind outside the symbol area remain as the design background.

  • Peel & shade

    None. The shell stays fully intact.

  • Cut through

    None. Use a table lamp or directed spotlight to illuminate the painted dental symbols from the front.

Learn the carving basics

Before you start cutting

Why use a background coat instead of painting white directly onto the orange rind?

White acrylic applied directly over orange can look peachy or cream-colored rather than truly white, especially in warm lighting. A gray or blue background coat neutralizes the orange undertone so the white symbols appear bright and clean. The extra coat adds only five minutes of work and makes a visible difference in the final result.

How do I paint realistic-looking teeth rather than flat white blobs?

Add very thin lines of light gray along the inner edges of each tooth shape to suggest the shadows between teeth. A warm cream color applied to the center of each crown creates a highlight that makes the tooth look rounded and three-dimensional. These small tonal variations are subtle but move the result from flat to professional instantly.

Can I use paint pens instead of brushes for the fine detail work?

Yes, fine-tip paint pens in white and black work well for outlining and detail on a painted pumpkin surface. They require a fully dry, sealed undercoat to flow smoothly without bleeding. Test the pen on the back of the pumpkin first to confirm the tip size and flow rate suit your detail scale before working on the main face.

Your take belongs here, too.

Changed a detail? Made it simpler? Share a photo of your version and tell the community what worked.

Share your pumpkin

More pumpkins like this

You've reached the end · 8 pumpkins
The Patch Report

Fresh pumpkins, in your inbox.

The best new carvings, ideas worth stealing, and how-tos for carving season. Short, seasonal, and gone by November.

A short email during carving season. Unsubscribe anytime. See our privacy policy.