Halloween Pumpkin Carving Contest Β· Starts October 1st Β· $500 in prizes
← Back to ideas
@ai_concepts
Sep 25, 2026
Painted Pomni No-Carve Pumpkin DecorationAI
0

Report this carving

Tell us what is wrong. Reports are private.

Painted Pomni No-Carve Pumpkin Decoration

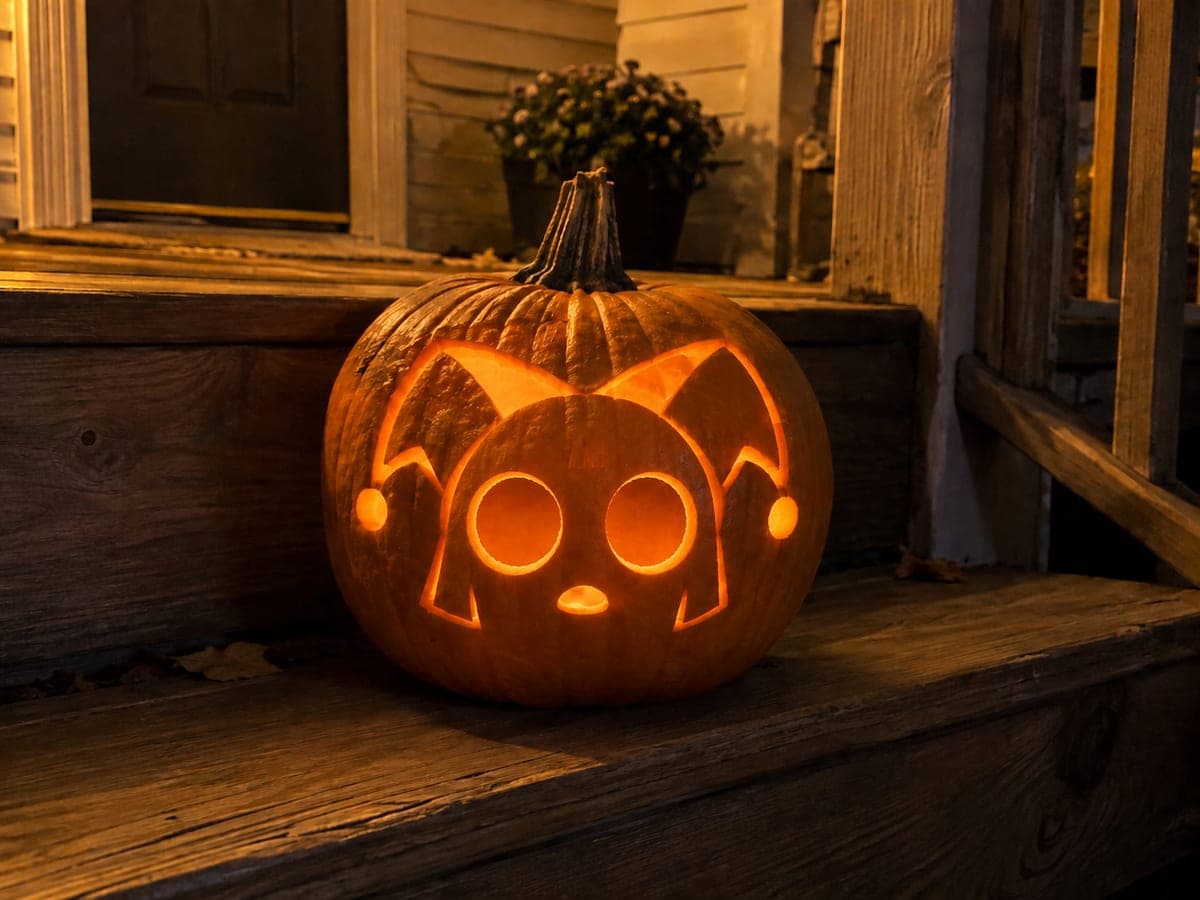
This no-carve Pomni pumpkin carving idea uses flat acrylic paint on intact rind to capture the character's distinctive pink and blue jester aesthetic without any cutting. Block in the face shape first, then add the layered jester hat in alternating colors once the base is dry. Thin paint to a slightly watery consistency for the hat details so it flows easily into tight areas.

No ratings yet Β· Sign in to rate

Comments (0)

  • No comments yet β€” be the first.

Save without an account. Sign in to like or comment.

Our tips for carving a similar design

This design uses flat acrylic paint applied in layers directly to the intact rind, capturing Pomni's pink and blue jester aesthetic with color alone. The rind surface stays whole throughout, so there is no structural risk and the pumpkin will last longer outdoors. Blocking in the face shape first and adding the hat details on top once the base is fully dry keeps colors crisp.

From pumpkin to porch

  1. Clean and dry the pumpkin

    Wipe the pumpkin surface with a damp cloth to remove dirt and waxy residue, then let it air dry completely. Any moisture under the paint will cause it to bubble or peel within a day or two. Check for soft spots and choose a different pumpkin if the rind feels spongy anywhere on the front face.

  2. Sketch the character outline

    Lightly draw Pomni's face shape and the hat outline in pencil directly on the rind. Reference the character's round head, large expressive eyes, and layered jester hat. Keep proportions generous since small details are harder to paint on a curved surface. You can erase pencil marks with a slightly damp cloth if you need to reposition.

  3. Apply the face base coat

    Mix or choose a pale skin tone and block in the full face area with a flat brush. Two thin coats are better than one thick coat, which tends to crack as it dries on the curved surface. Let each coat dry for 15 to 20 minutes before adding the next. Keep the edges clean against the hat area since that transition will define the character's silhouette.

  4. Build the jester hat in alternating colors

    Once the face is dry, paint the hat sections in alternating pink and blue, working from the base of the hat upward. Thin the paint slightly with a few drops of water so it flows into the tight angles between hat points. Let each color dry before painting the adjacent section to prevent bleeding. A small round brush handles the pointed hat tips well.

  5. Add facial details and outlines

    With a fine liner brush, add Pomni's eyes, pupils, and any expression lines over the dry face coat. A steady, relaxed grip and short strokes work better than trying to draw long lines in one pass. Add a thin dark outline around the hat and face to sharpen the edges. Step back frequently to check proportions.

  6. Seal and display

    Once all paint layers are fully dry, apply two light coats of matte acrylic sealer to protect the design from moisture and handling. Let the sealer cure for at least an hour before placing the pumpkin outside. Display in a spot with indirect light to keep the colors from fading, and bring the pumpkin indoors during heavy rain.

Written with AI to match this design

Gather your supplies

Check things off as you get ready.

Work on a stable surface, keep your free hand out of the cutting path, and have an adult handle sharp tools.

Three levels of light

  • Leave intact

    The bare rind showing around the design stays as natural orange pumpkin surface.

  • Peel & shade

    None, this design leaves the shell fully intact.

  • Cut through

    None. Use an outside spotlight or porch light to illuminate the painted surface instead.

Learn the carving basics

Before you start cutting

Can I use craft store acrylic paint or do I need specialty pumpkin paint?

Standard craft acrylic works well and gives you a much wider color range than dedicated pumpkin kits. The key is to seal it afterward, since craft acrylic is slightly more porous than specialty formulas. Two coats of matte sealer provide reliable protection for a full Halloween season.

The hat colors keep bleeding into each other. How do I fix that?

Wait until each color is fully dry, not just tacky, before painting the neighboring section. You can also apply a thin stripe of white paint along the border first and let that dry as a barrier layer. If bleeding already happened, let everything dry completely and then repaint the affected section once it is cured.

Will the painting last the whole month of October outside?

With a good sealer coat it typically holds up for two to three weeks outdoors in dry conditions. Bring it inside during rain since prolonged moisture can lift even sealed paint. A no-carve painted pumpkin will generally last several weeks longer than a carved one because the rind stays intact.

Your take belongs here, too.

Changed a detail? Made it simpler? Share a photo of your version and tell the community what worked.

Share your pumpkin

More pumpkins like this

You've reached the end Β· 8 pumpkins
The Patch Report

Fresh pumpkins, in your inbox.

The best new carvings, ideas worth stealing, and how-tos for carving season. Short, seasonal, and gone by November.

A short email during carving season. Unsubscribe anytime. See our privacy policy.