Halloween Pumpkin Carving Contest · Starts October 1st · $500 in prizes
← Back to ideas
@ai_concepts
Sep 25, 2026
Painted Jax No-Carve Pumpkin With Bold ColorsAI
0

Report this carving

Tell us what is wrong. Reports are private.

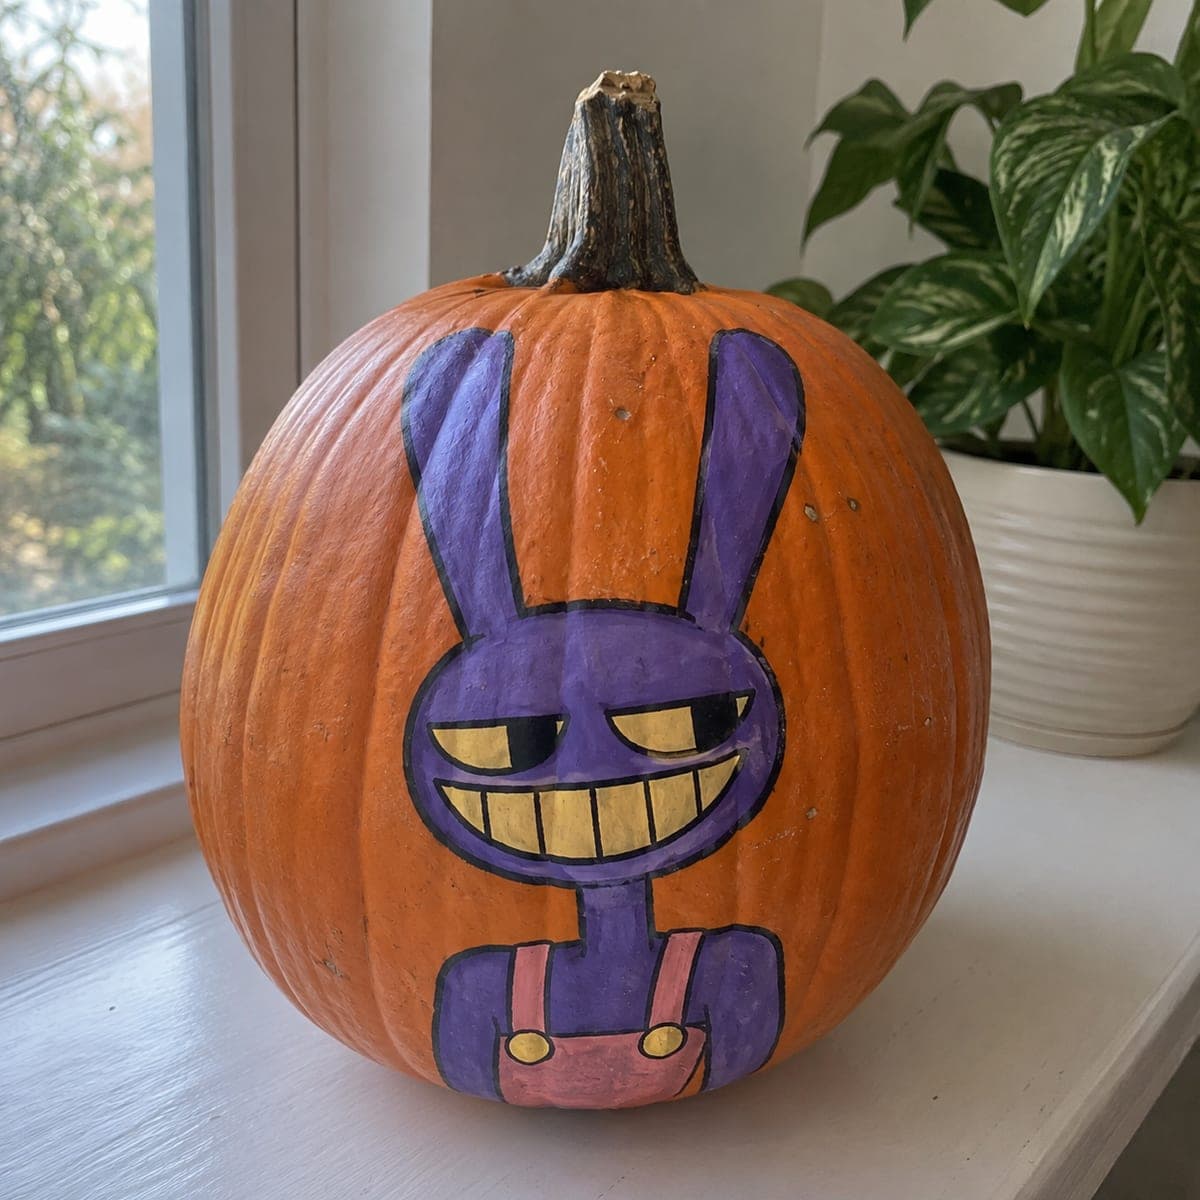
Painted Jax No-Carve Pumpkin With Bold Colors

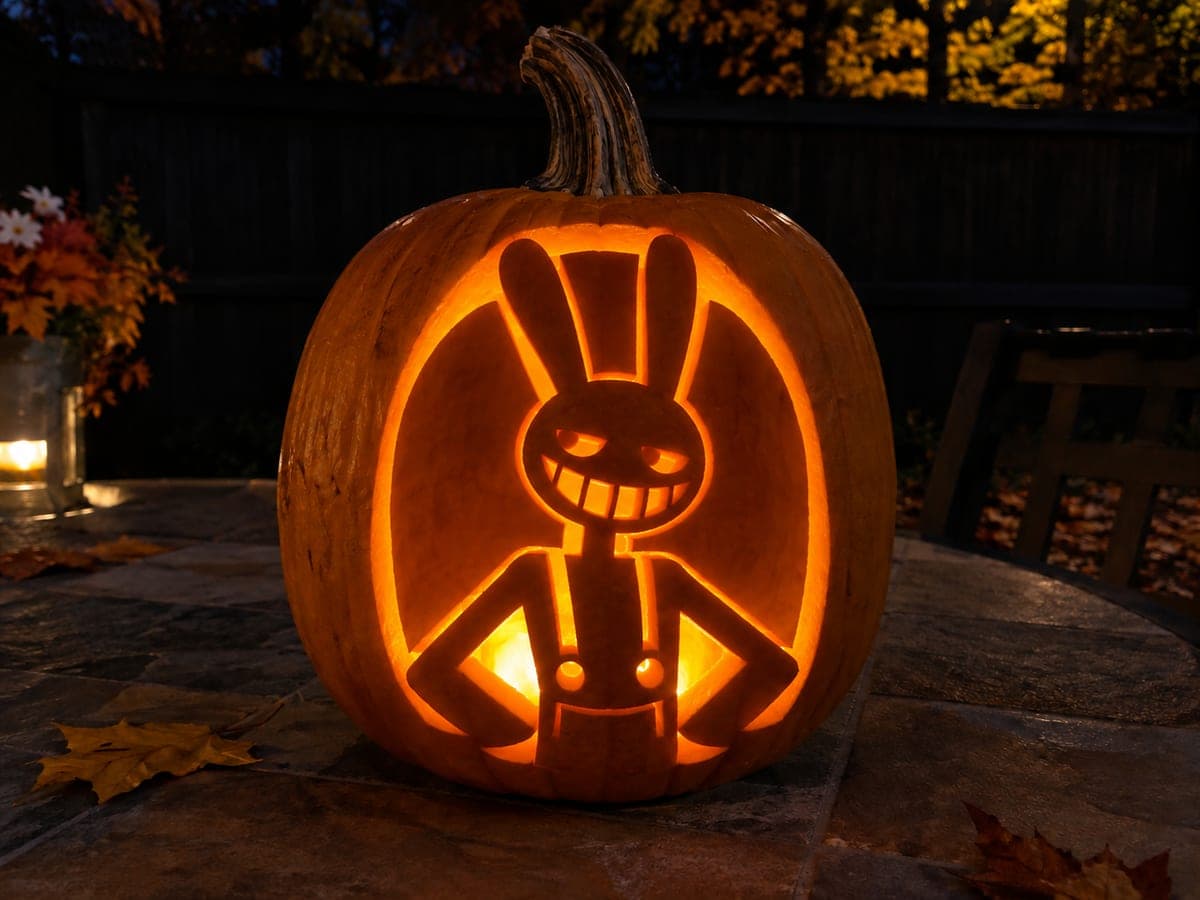
This no-carve Jax pumpkin carving idea renders the green rabbit character from the Amazing Digital Circus in flat acrylic paint on intact rind. Lay down a solid green base coat first, then add the dark outline and facial expression details with a fine brush once it dries. The naturally curved pumpkin surface gives the painted character a pleasing dimensional quality.

No ratings yet · Sign in to rate

Comments (0)

  • No comments yet — be the first.

Save without an account. Sign in to like or comment.

Our tips for carving a similar design

Painting Jax directly onto an intact rind uses the pumpkin's natural orange color as a contrast backdrop for his bright green body. A solid base coat laid down first ensures the green is opaque and vivid, and the dark outlines added on top with a fine brush give the character its clean cartoon style. The pumpkin's natural curve gives the character a subtle dimensionality that a flat canvas would not provide.

From pumpkin to porch

  1. Clean and dry the pumpkin

    Wipe the pumpkin with a slightly damp cloth to remove surface wax and dust, then let it dry completely before touching paint to the rind. A dry, clean surface is essential for good adhesion. Choose a pumpkin with a broad, relatively flat face so the painted character does not distort too much over the curve.

  2. Sketch the outline lightly

    Draw Jax's rabbit head, ears, and body outline with a soft pencil directly on the rind. Keep the character large enough to fill most of the front face for impact. Pencil marks can be wiped away with a damp cotton swab if you need to adjust proportions before painting.

  3. Lay down the green base coat

    Use a flat brush to apply a solid green acrylic base coat within the character outline. Work in two thin layers rather than one heavy coat to avoid cracking and peeling. Let the first layer dry for 15 to 20 minutes before applying the second. Jax's bright lime green reads well against the natural orange rind peeking out at the edges.

  4. Add the face and costume colors

    Once the green base is dry, block in any secondary color areas such as Jax's eyes, any costume details, and the inner ear tones with appropriately colored acrylic. Use a medium round brush for larger sections and a fine liner for smaller areas. Keep colors bright and saturated since they will appear slightly muted after the sealer coat.

  5. Outline the character

    With a fine liner brush and dark acrylic, trace the outer edge of the character and any interior detail lines. Short strokes are more controlled than long sweeping ones on a curved surface. Jax's expression lines, especially the eyes, are the most character-defining part so take extra care to get these right.

  6. Seal and display

    Apply two light passes of matte acrylic sealer spray once all paint layers are completely dry. Hold the can about 12 inches from the surface and use a sweeping motion to avoid pooling. Let the sealer cure for at least an hour before placing the pumpkin on display. Bring indoors during heavy rain for best longevity.

Written with AI to match this design

Gather your supplies

Check things off as you get ready.

Work on a stable surface, keep your free hand out of the cutting path, and have an adult handle sharp tools.

Three levels of light

  • Leave intact

    Unpainted orange rind around the design remains as natural pumpkin surface.

  • Peel & shade

    None, the shell stays completely intact.

  • Cut through

    None. Use a porch lamp or spotlight to illuminate the painted face for display.

Learn the carving basics

Before you start cutting

How do I get Jax's green to look bright and not dull against the orange rind?

Apply a thin coat of white acrylic paint first as an undercoat within the character outline, then paint the green on top once the white is dry. The white base neutralizes the orange undertone of the rind and makes the green appear much more vivid and true to the character's color.

Can I use a projector to get Jax's proportions right instead of sketching freehand?

A mini projector pointed at the pumpkin in a dark room is a great trick for getting accurate proportions. Project the reference image directly onto the rind and trace the outline with a pencil. This works especially well for characters with distinctive asymmetrical features like Jax's expression.

The paint is cracking after it dries. What went wrong?

Cracking usually happens when the paint layer is applied too thickly in a single coat. Thin each layer with a drop or two of water and build up opacity gradually. It can also happen if the rind was slightly moist when you painted. Let the pumpkin dry in a warm room for a few extra hours before starting if cracking was an issue before.

Your take belongs here, too.

Changed a detail? Made it simpler? Share a photo of your version and tell the community what worked.

Share your pumpkin

More pumpkins like this

You've reached the end · 8 pumpkins
The Patch Report

Fresh pumpkins, in your inbox.

The best new carvings, ideas worth stealing, and how-tos for carving season. Short, seasonal, and gone by November.

A short email during carving season. Unsubscribe anytime. See our privacy policy.