Halloween Pumpkin Carving Contest · Starts October 1st · $500 in prizes
← Back to ideas
@ai_concepts
Sep 25, 2026

Jax Jack-O-Lantern Intermediate Pumpkin IdeaAI
0

Report this carving

Tell us what is wrong. Reports are private.

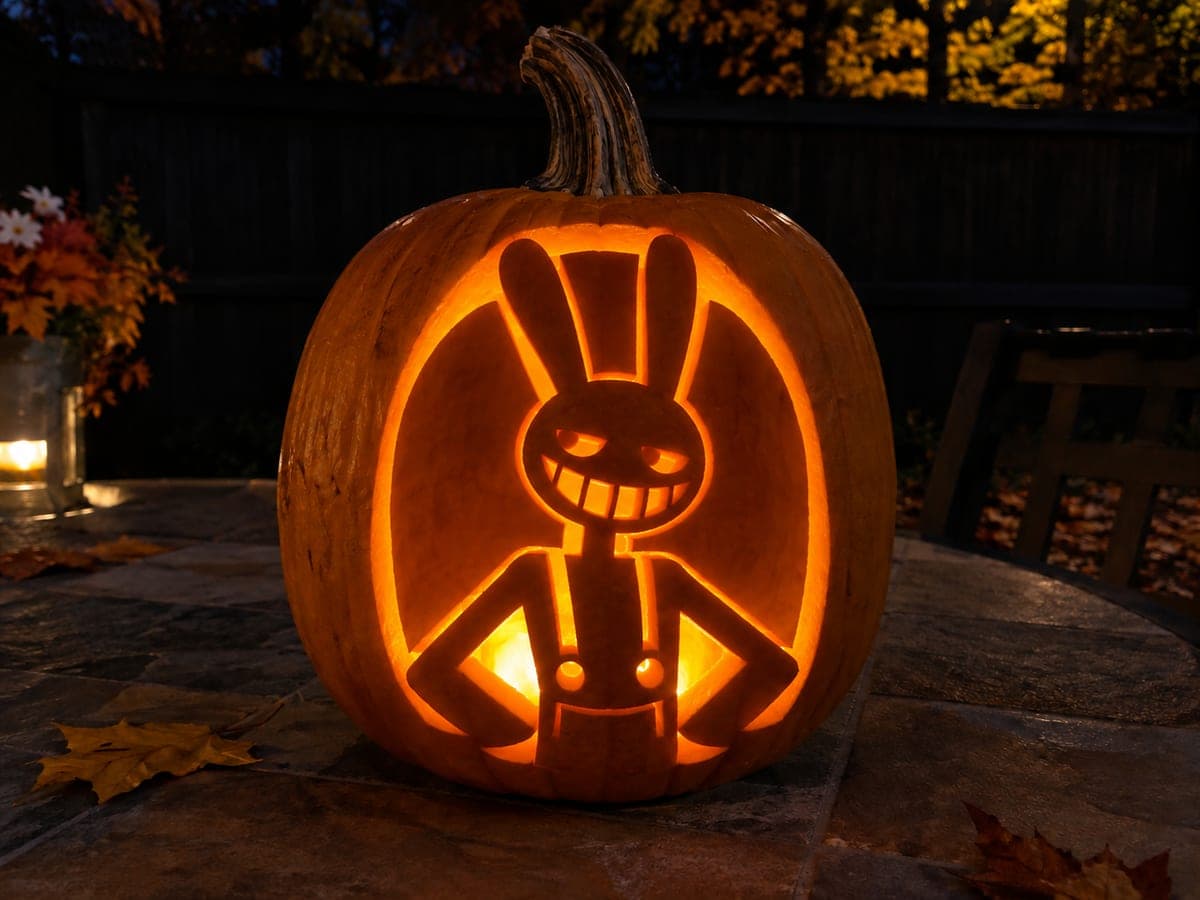
Jax Jack-O-Lantern Intermediate Pumpkin Idea

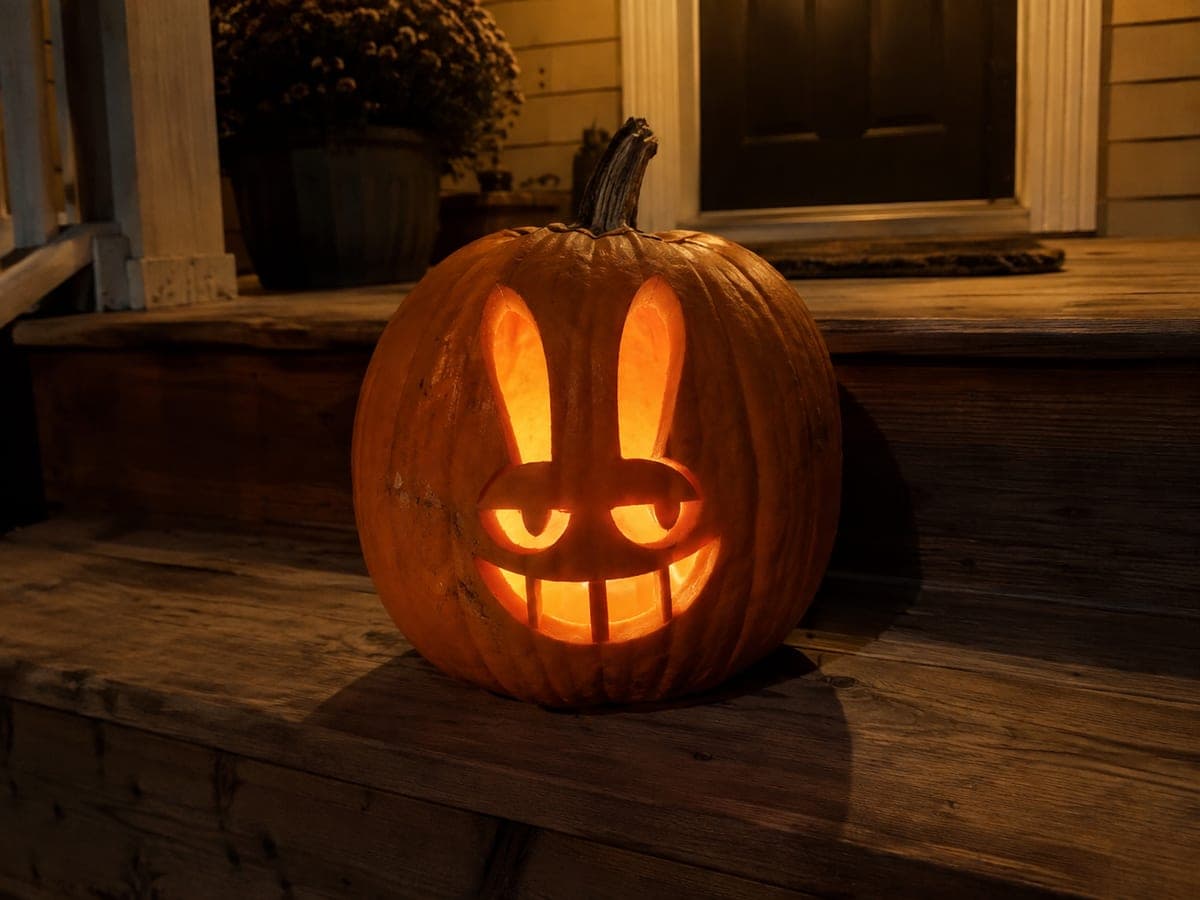
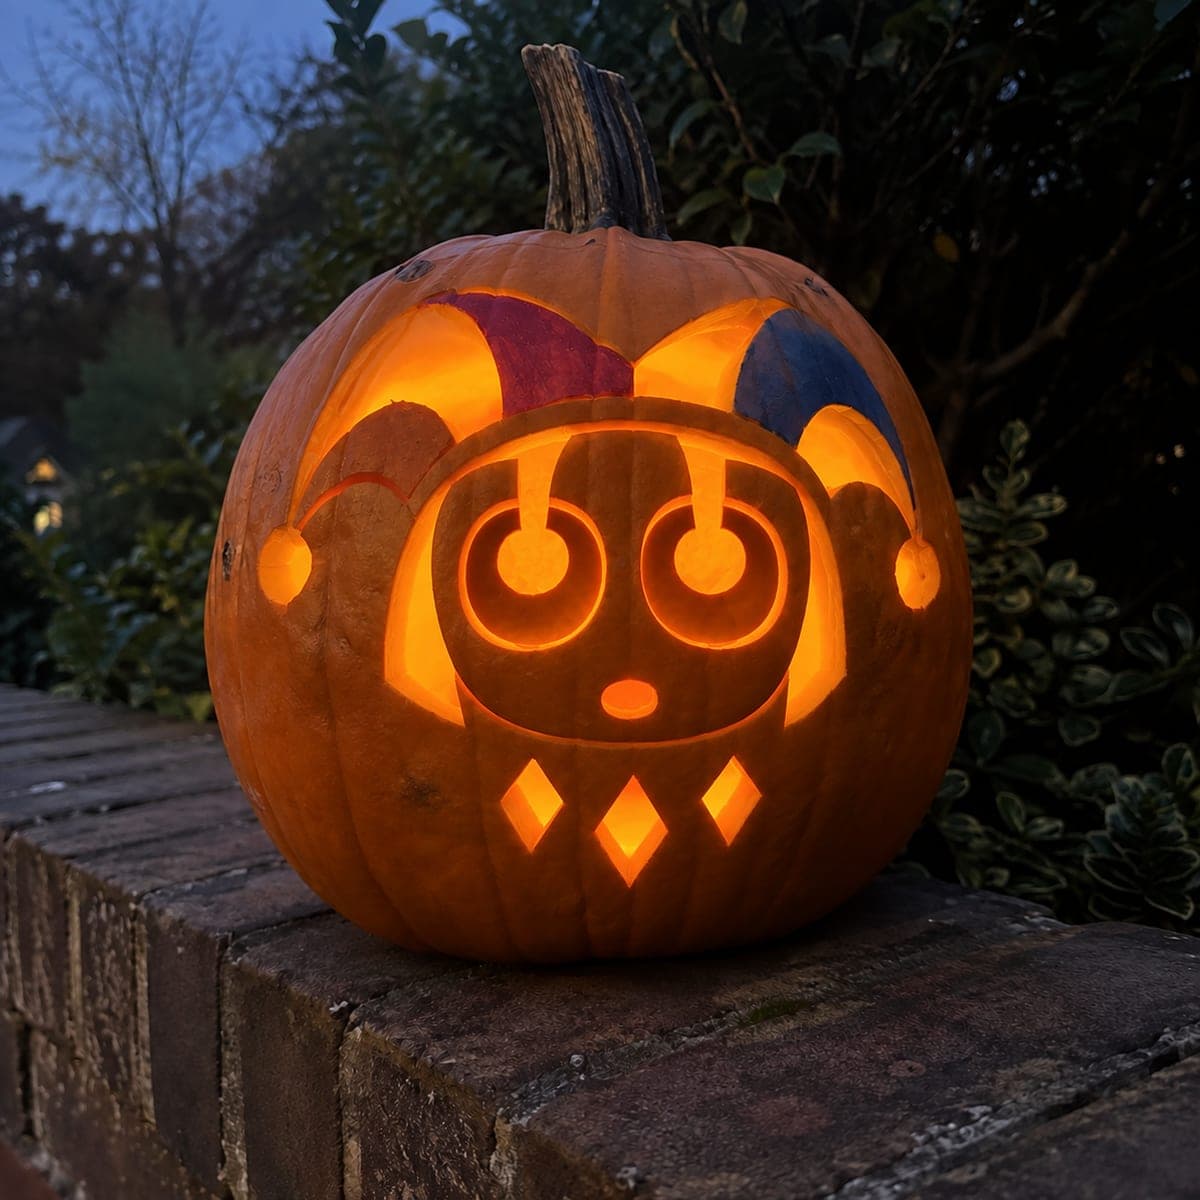
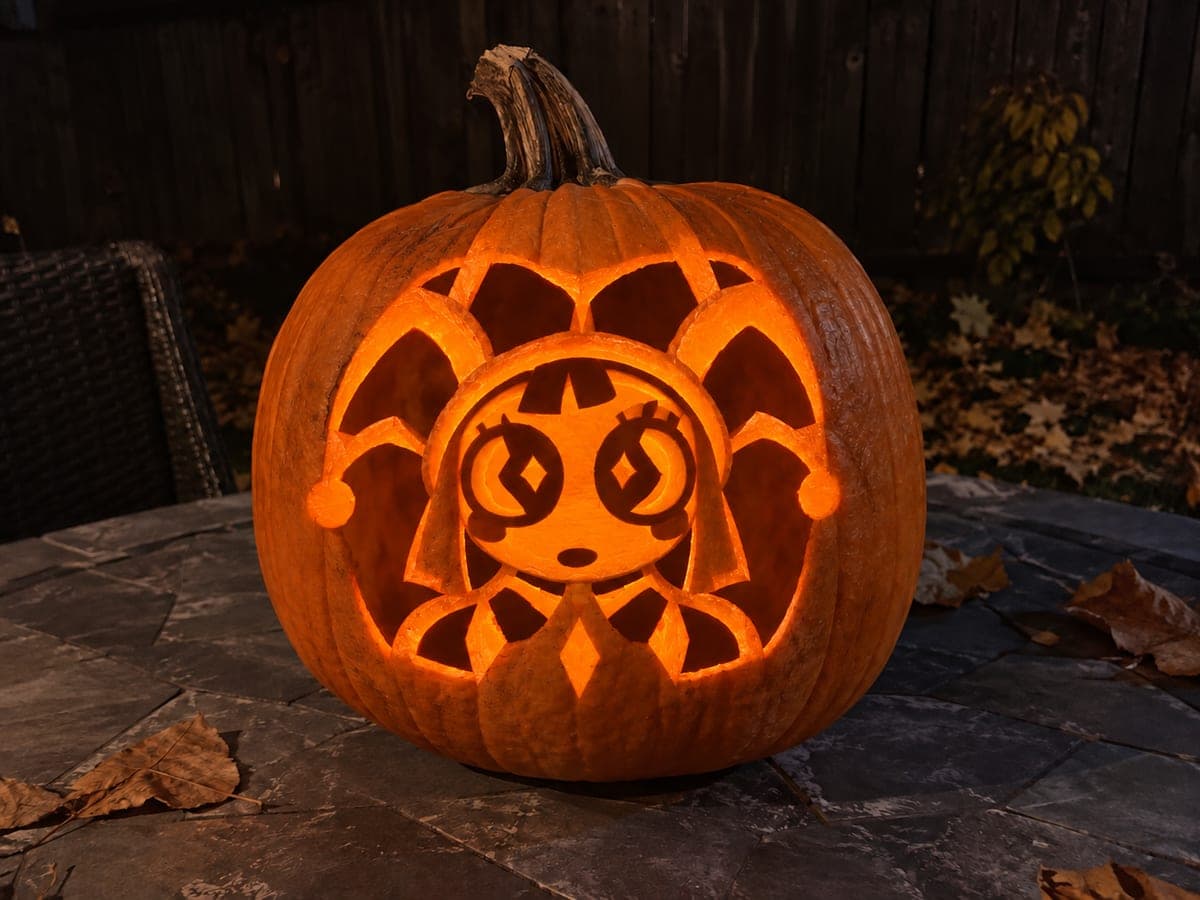
This intermediate Jax pumpkin carving idea separates the rabbit ears, face, and limb motifs into distinct cut openings while keeping all retained rind pieces anchored by broad roots. Secondary details like the character's smug expression get a shallow backing scored into the rind. Transfer a stencil with a pin tool before cutting to keep Jax's asymmetrical design proportionally correct.

No ratings yet · Sign in to rate

Comments (0)

  • No comments yet — be the first.

Save without an account. Sign in to like or comment.

Our tips for carving a similar design

At the intermediate level, Jax's rabbit ears, facial features, and limb shapes each become distinct cut openings rather than one unified silhouette. Broad rind roots anchor every retained piece, and the character's smug expression is scored into the rind at a shallow depth rather than cut through. Using a stencil and pin-wheel transfer is particularly important here because Jax's asymmetrical design needs to be proportionally accurate across multiple separate openings.

From pumpkin to porch

  1. Select and hollow the pumpkin

    A medium to large round pumpkin with an even front face gives the most room for Jax's features. Cut the lid from the base and clean the interior to a consistent wall thickness of about 1 to 1.5 inches. Uneven walls will make the shallow-backed expression details look inconsistent once lit. Rinse and dry the interior fully before transferring the stencil.

  2. Transfer the design with a pin tool

    Print the stencil, tape it flat against the pumpkin face, and trace every cut line and bridge marker with a poking wheel or pin tool. The asymmetrical design requires careful alignment, so take a moment to center the stencil horizontally and vertically before securing the tape. Mark the broad root positions with a second ink color before removing the paper.

  3. Cut the ears first, then the face openings

    Start with the ear outlines, which are the widest and most stable areas of the design. Move to the main face feature openings next, working from larger cuts down to smaller ones. Use a keyhole saw for longer straight sections and a detail knife for tight curved cuts. Keep each retained rind piece attached to its designated broad root throughout.

  4. Shallow-back the expression details

    Switch to a linoleum gouge or paring knife tip for the smug-expression accents such as the brow angle and mouth corners. Score at roughly half the rind depth, checking by pressing gently on the back from inside. These sections should flex slightly but not push through. The contrast between these scored areas and the full cutouts adds visible depth when the lantern is lit.

  5. Cut limb motifs last

    With the face structure secure, add the limb or side-character cutouts. These tend to have longer thin spans, so keep their base roots as wide as possible. A thin serrated blade handles the curved limb outlines. If any edge feels fragile, leave a thin bridge of rind intact to support it and trim only if the pumpkin is stable.

  6. Light and assess

    Insert an LED puck, seal the base, and turn off the room lights to evaluate the glow. Check that every scored section reads at a softer light level than the full cutouts. Touch up any area that looks too bright by adding a thin patch of opaque tape inside the cavity to dim it slightly. Rub cut edges with petroleum jelly before displaying.

Written with AI to match this design

Gather your supplies

Check things off as you get ready.

Work on a stable surface, keep your free hand out of the cutting path, and have an adult handle sharp tools.

Three levels of light

  • Leave intact

    The main rind panel, connecting bridges, and background rind stay dark.

  • Peel & shade

    Shallow-backed brow angle and mouth expression details glow softly at mid-brightness.

  • Cut through

    Ear openings, eye holes, mouth aperture, and limb cutouts glow fully through for bright light.

Learn the carving basics

Before you start cutting

How deep should the shallow-backed expression scores be?

Aim for about half the wall thickness, roughly a half inch on a standard pumpkin with one-inch walls. Too shallow and the scored areas won't show any glow. Too deep and you risk punching through. Work in light passes, checking the depth from inside with a finger until the rind flexes slightly without giving way.

The separate ear and face openings make the design feel fragile. What helps?

Make sure every floating island of rind between openings connects to the main shell through a root that is at least as wide as it is tall. A small connecting strip that looks thin from the front is actually strong as long as it spans the full rind thickness. Avoid cutting those roots narrower than about a half inch wide.

Can I add acrylic paint to the shallow-scored areas to enhance Jax's green color?

Yes, painting the scored areas with diluted green acrylic before lighting is a good way to tint the glow. Let the paint dry fully before placing an LED inside. Keep the paint thin so it doesn't seal the pores and prevent the faint light from passing through the thinned rind sections.

Your take belongs here, too.

Changed a detail? Made it simpler? Share a photo of your version and tell the community what worked.

Share your pumpkin

More pumpkins like this

You've reached the end · 8 pumpkins
The Patch Report

Fresh pumpkins, in your inbox.

The best new carvings, ideas worth stealing, and how-tos for carving season. Short, seasonal, and gone by November.

A short email during carving season. Unsubscribe anytime. See our privacy policy.