Halloween Pumpkin Carving Contest · Starts October 1st · $500 in prizes
← Back to ideas
@ai_concepts
Sep 25, 2026
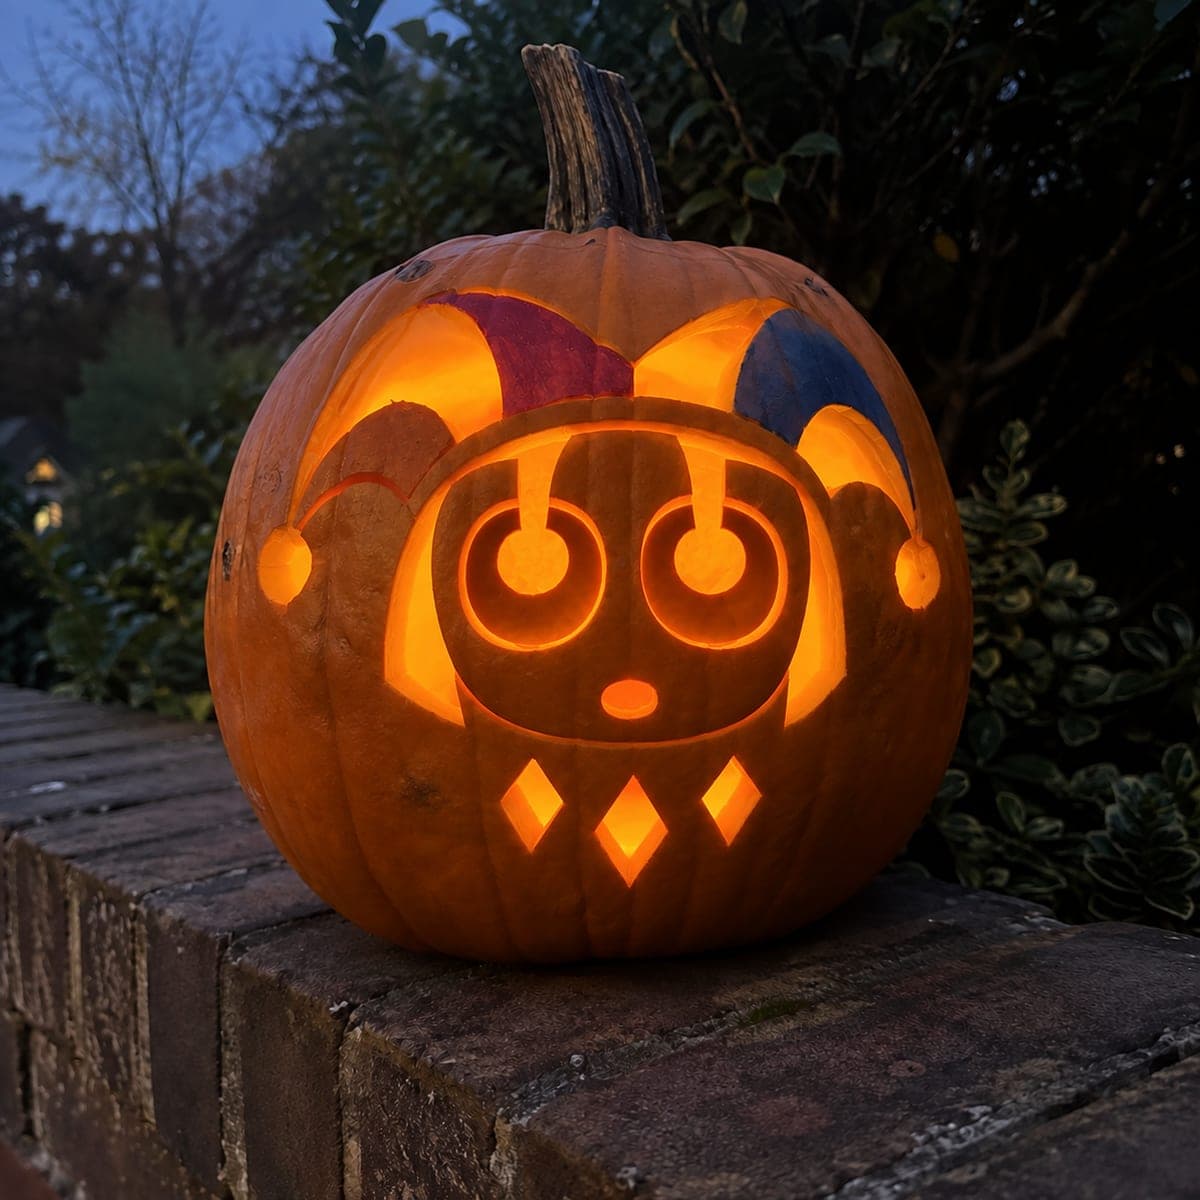
Amazing Digital Circus Intermediate Jack-O-LanternAI
0

Report this carving

Tell us what is wrong. Reports are private.

Amazing Digital Circus Intermediate Jack-O-Lantern

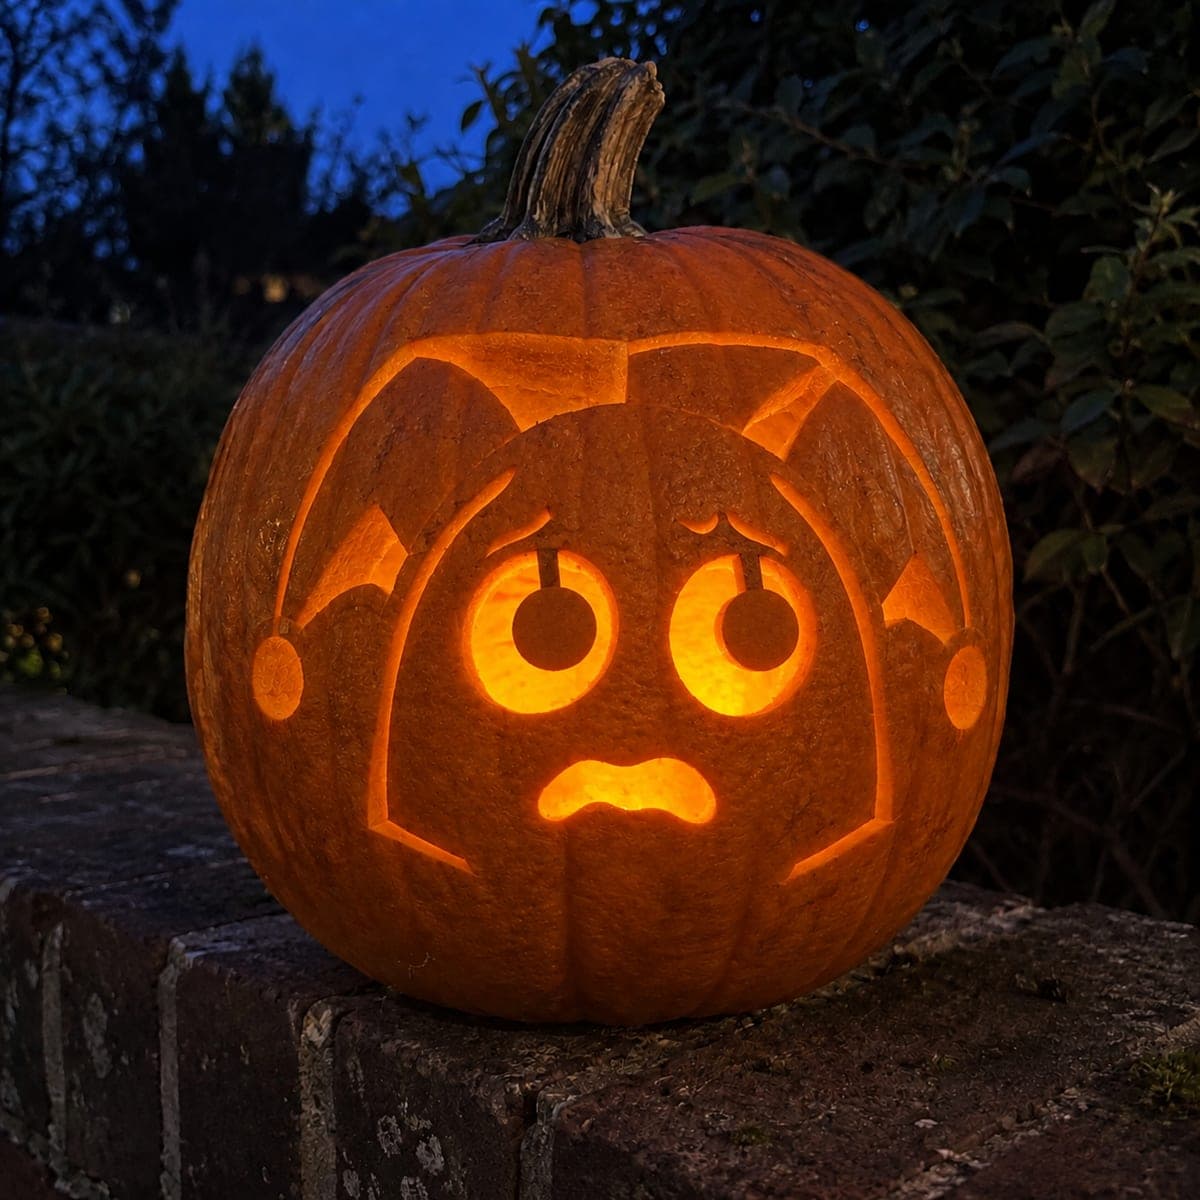
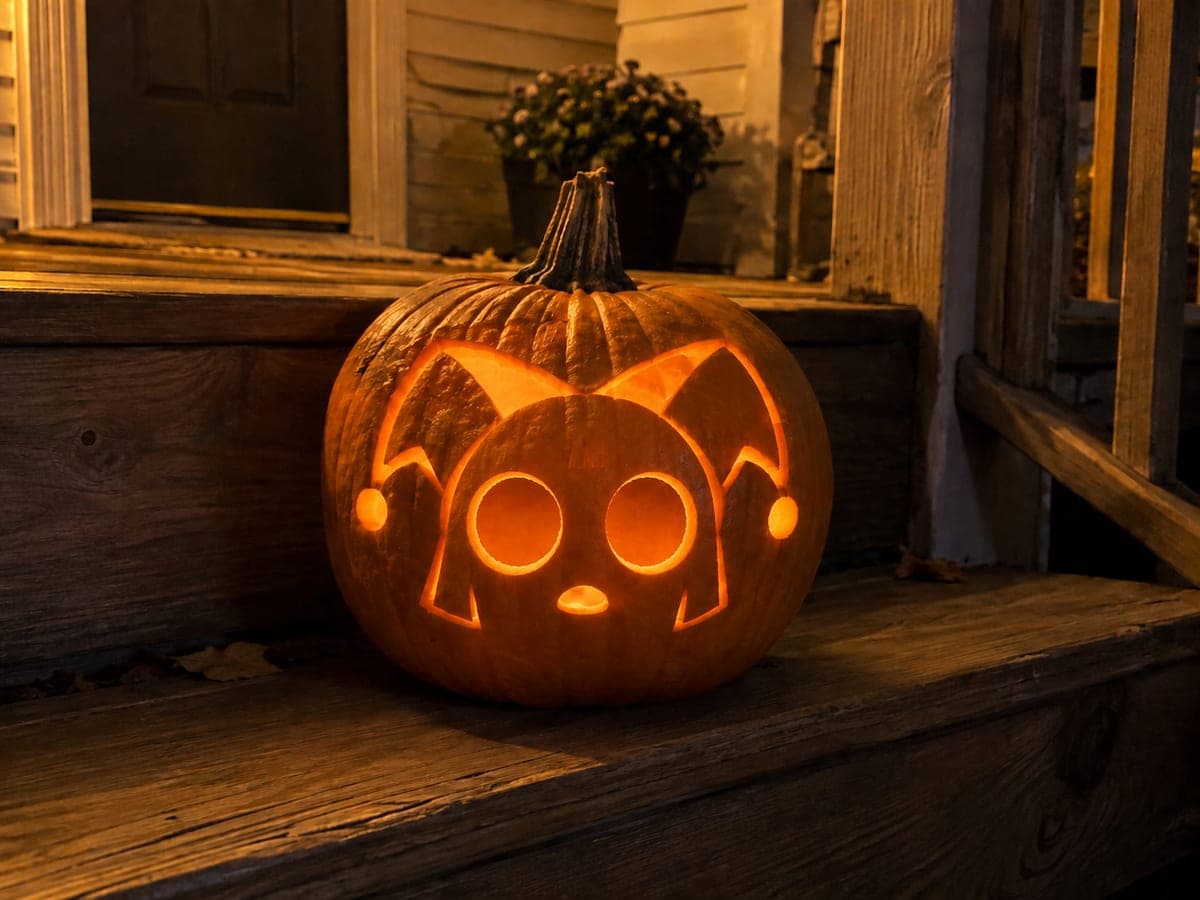
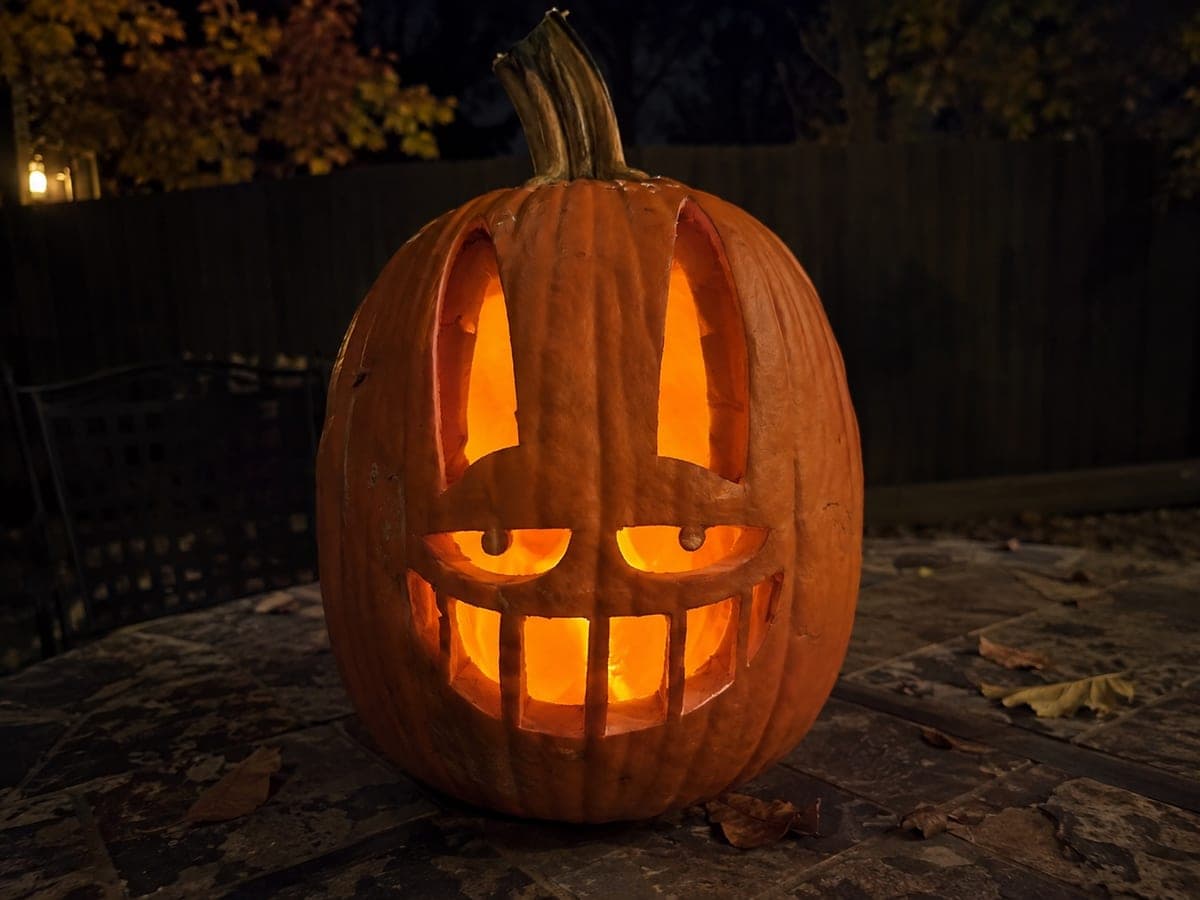
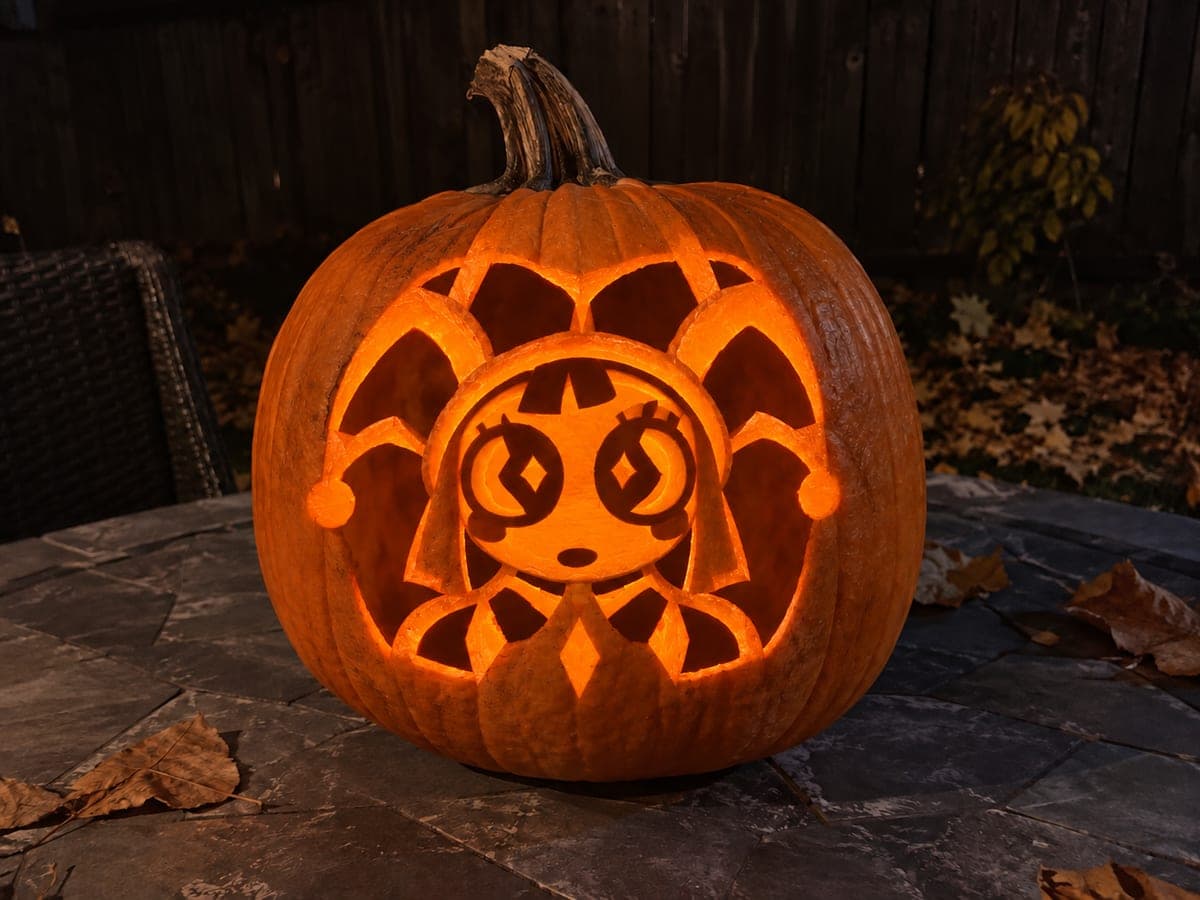
This intermediate Amazing Digital Circus pumpkin carving idea increases the detail level with more separated cuts for character features while keeping all retained pieces anchored by broad rind roots. Secondary details are shallow-backed into the rind surface rather than fully removed, so the design holds together well. Transfer a printed stencil with a pin wheel before cutting to keep the character proportions accurate.

No ratings yet · Sign in to rate
Comments (0)

  • No comments yet — be the first.

Save without an account. Sign in to like or comment.

Our tips for carving a similar design

More cuts for character features, separated from each other with solid rind between them, raise the detail level over the easy version while all retained rind still anchors by broad roots to the shell. Secondary design details are shallow-backed rather than fully cut, adding surface texture and depth without creating fragile isolated pieces. Transferring a printed stencil accurately and following it closely is the single biggest factor in keeping proportions consistent across the more numerous cut elements.

From pumpkin to porch

  1. Prep and stencil transfer

    Scoop to 3/4 inch through a bottom plug and dry the exterior. Tape the stencil and trace all cut outlines and shallow-backing boundaries with a dense pin wheel pass. Verify that every retained piece has at least one clearly marked broad root connection before you begin cutting.

  2. Shallow-back secondary detail zones

    Use a linoleum cutter to work through all the shallow-backing areas first, while the shell is fully rigid. Secondary details like costume texture, character symbols, and interior accents all benefit from being scored at half-wall depth before any full cuts are made nearby.

  3. Cut the main body opening

    Open the largest primary cut to establish the overall character shape. Keep the saw perpendicular to the rind surface and follow the stencil line closely. Adults handle all saw work.

  4. Cut separated feature openings

    Work through the secondary and detail feature cuts in order from largest to smallest. Maintain at least 1/4 inch of solid rind between any two adjacent openings. Check each retained piece for stability after completing its surrounding cuts.

  5. Add fine detail finishing

    Use a craft knife to clean up any rough edges on the tighter cut areas and to finish the shallow-backed zone edges where the gouge left an uneven boundary. A craft knife used as a scoring tool along stencil lines gives clean, graphic definition.

  6. Light and display

    Place an LED inside and observe the full design from a few feet back. The combination of full cuts and shallow-backed zones should give a layered, multi-depth glow. Adjust the LED position to bring out the secondary texture in the shallow-backed areas.

Written with AI to match this design

Gather your supplies

Check things off as you get ready.

Work on a stable surface, keep your free hand out of the cutting path, and have an adult handle sharp tools.

Three levels of light

  • Leave intact

    All retained character shapes, broad root connections, and rind between separated features stay as solid dark areas

  • Peel & shade

    Shallow-backed secondary detail zones glow at a softer mid level across the character surface

  • Cut through

    All main and secondary feature openings are cut fully through

Learn the carving basics

Before you start cutting

What is the best way to pin-wheel trace multiple small separated cuts without losing track of which lines are which?

Use two pin wheels or two tracing passes: one for full-cut outlines and a second with lighter pressure for shallow-backing zone boundaries. You can also use different colored markers after the transfer to distinguish full-cut lines (solid marker) from shallow-back zones (dashed marker). Clear labeling before you pick up the saw prevents confusion mid-session.

How do I keep shallow-backed areas from varying too much in depth?

Set a consistent grip pressure and use the same tool angle for every stroke. Checking depth with a toothpick every few passes helps; the toothpick should penetrate to about half its length in a correctly shallow-backed area. Inconsistent depth creates uneven glow bands that look unintentional.

A retained piece with a broad root is still slightly wobbly. What should I do?

A loose retained piece usually means the root width is narrower than it looked on the stencil, possibly from a slightly off-center cut. Press the piece gently back into alignment and insert a thin wooden toothpick through the root from the inside to stabilize it. Seal the toothpick with petroleum jelly and avoid pressing on that zone during display.

Your take belongs here, too.

Changed a detail? Made it simpler? Share a photo of your version and tell the community what worked.

Share your pumpkin

More pumpkins like this

You've reached the end · 8 pumpkins
The Patch Report

Fresh pumpkins, in your inbox.

The best new carvings, ideas worth stealing, and how-tos for carving season. Short, seasonal, and gone by November.

A short email during carving season. Unsubscribe anytime. See our privacy policy.