Halloween Pumpkin Carving Contest · Starts October 1st · $500 in prizes
← Back to ideas
@ai_concepts
Sep 25, 2026
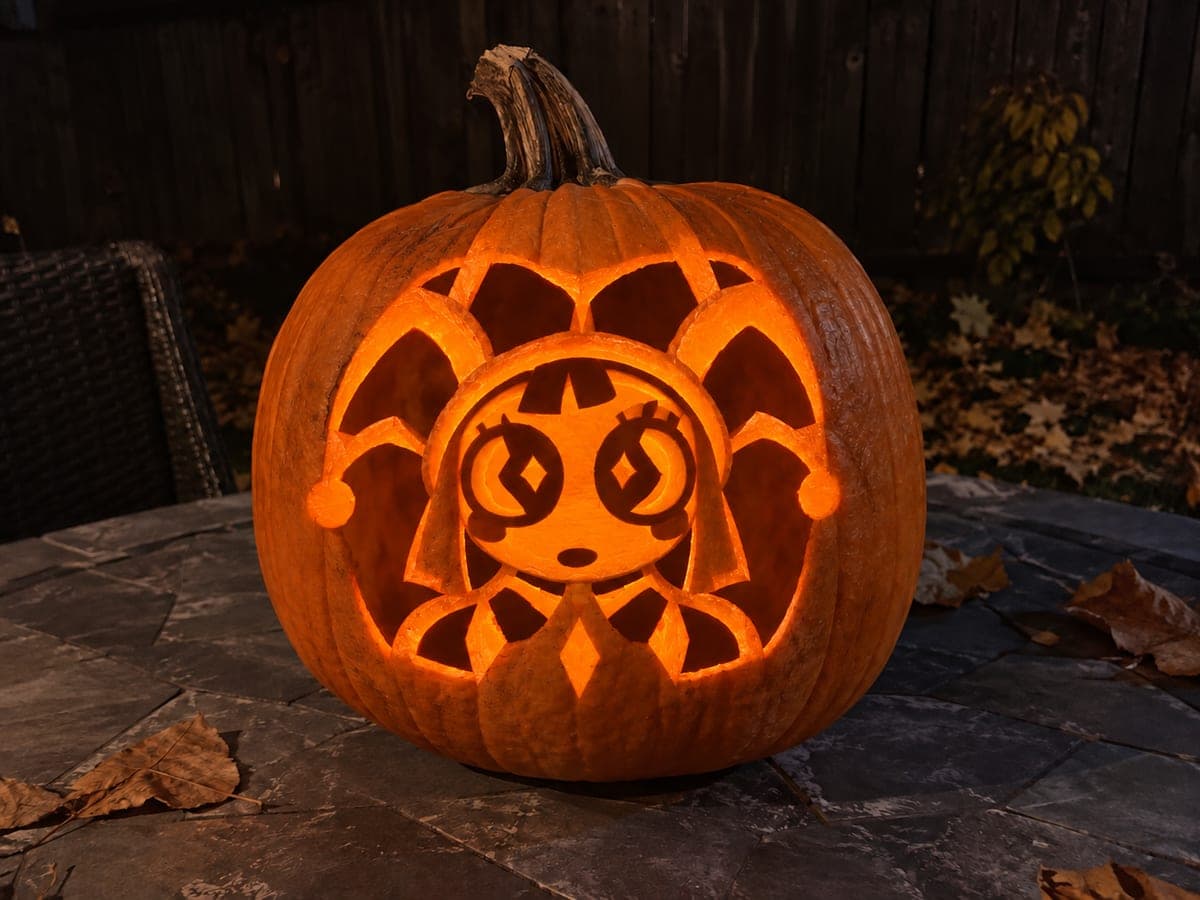
Expert Pomni Pumpkin Carving Idea With Fine DetailsAI
0

Report this carving

Tell us what is wrong. Reports are private.

Expert Pomni Pumpkin Carving Idea With Fine Details

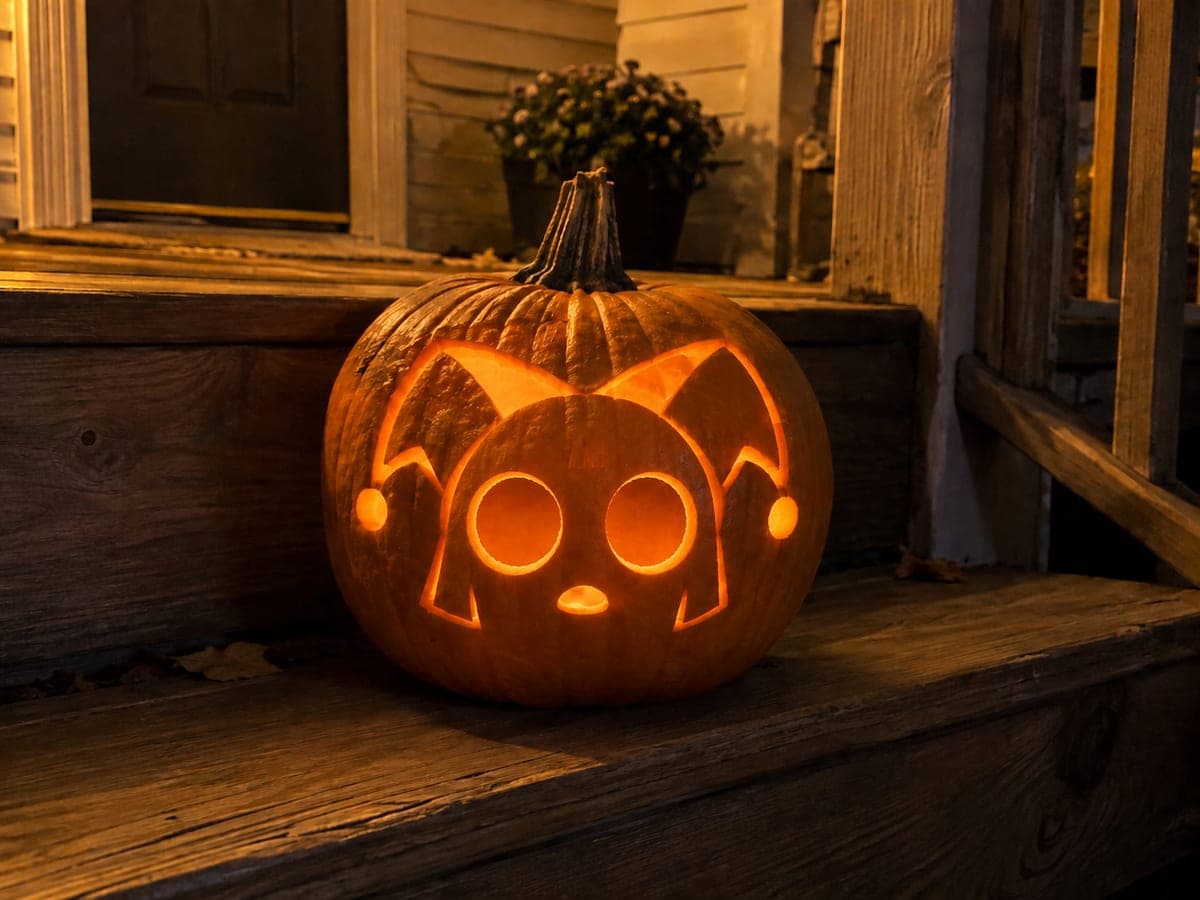
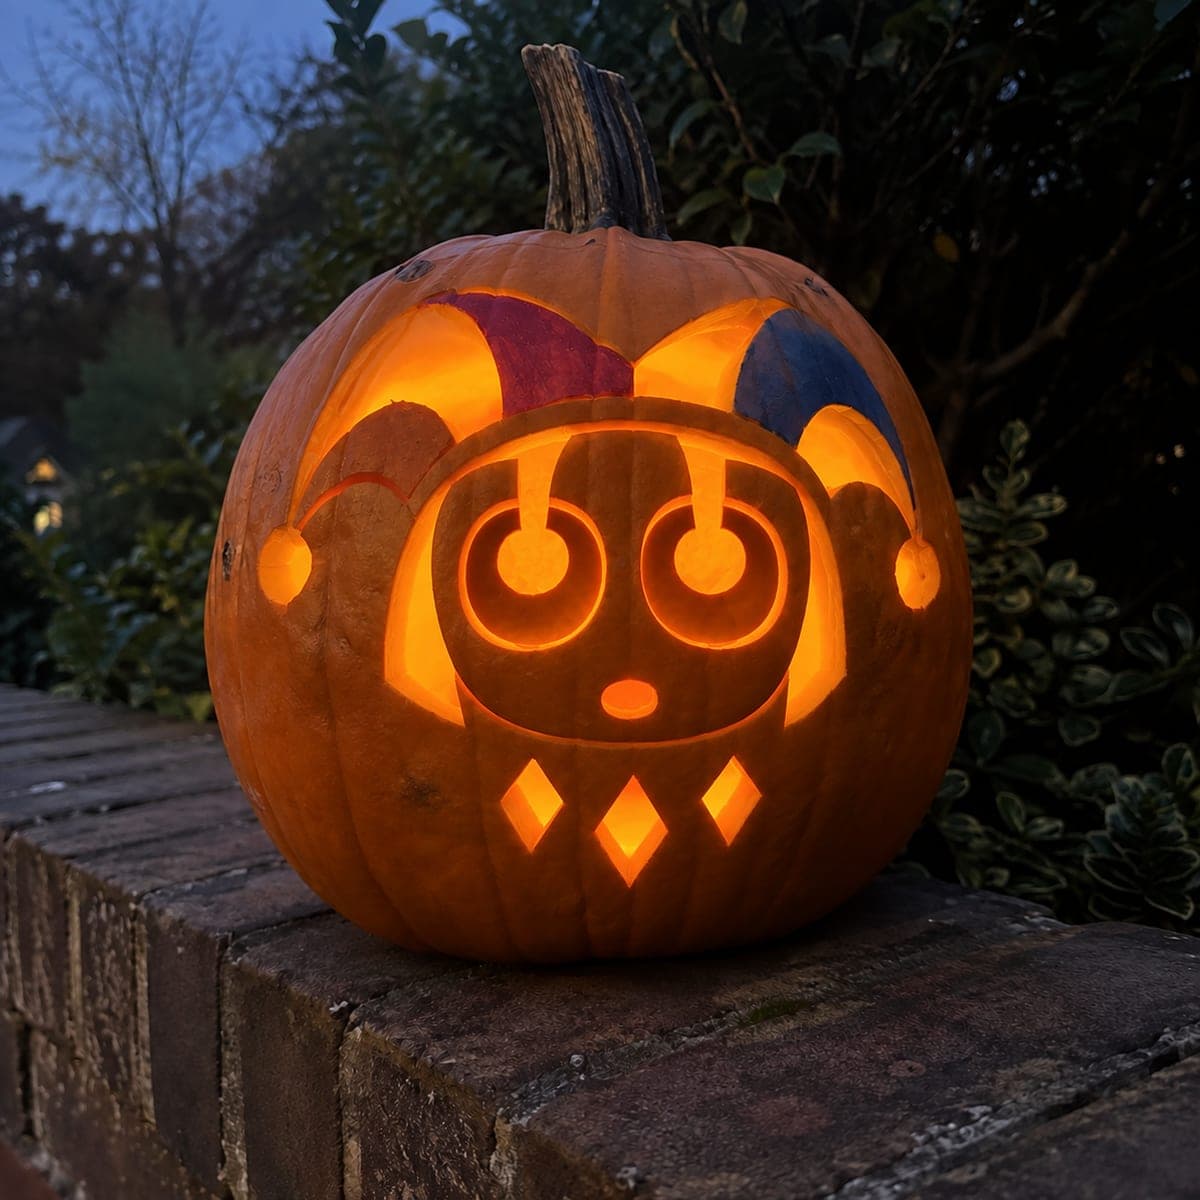
This expert Pomni pumpkin carving idea achieves the most detailed version of the character, with all main motifs cut through and every fine retained piece anchored by planned broad roots. Secondary costume and face surface details are shallow-backed to add dimension. Work from the outermost cuts inward, finishing with the smallest facial details once the surrounding structure is fully carved.

No ratings yet · Sign in to rate
Comments (0)

  • No comments yet — be the first.

Save without an account. Sign in to like or comment.

Our tips for carving a similar design

This design treats Pomni's jester hat and face as a layered system: the main openings cut fully through to produce a bright glow, while secondary costume textures are scored into the rind at a shallow depth to add dimension. The key challenge is keeping every thin retained piece anchored by a broad root at its base. Working from the outermost perimeter inward preserves structural support at every stage.

From pumpkin to porch

  1. Choose and prep your pumpkin

    Pick a tall pumpkin with a flat carving face and firm, even rind. Cut the lid from the bottom rather than the top so the interior is easy to access and the pumpkin sits flat. Scoop the cavity until the wall is a consistent 1 to 1.5 inches thick, checking with a measuring tool as you go. Thinner walls make cutting easier but reduce structural strength for fine details. Pat the interior dry with paper towels.

  2. Transfer the stencil precisely

    Print the stencil at full size and tape it to the pumpkin face. Use a poking tool or pin wheel to trace every cut line and every bridge outline through the paper. Mark bridges and anchor roots with a colored marker before removing the paper so you never accidentally cut them. Double-check that each retained piece has at least one broad connection point to the surrounding rind before you begin.

  3. Cut outermost openings first

    Start with the largest perimeter cuts, working your way inward. Use a thin serrated carving knife for straight runs and a detail blade for tight curves. Saw with short back-and-forth strokes rather than pushing straight through, which gives you better control. Keep your non-cutting hand away from the blade path at all times. Remove each piece cleanly and set it aside.

  4. Score shallow-backed costume details

    Switch to a linoleum gouge or the tip of a paring knife for the secondary surface details. Remove only the outer skin and a thin layer of rind, aiming for roughly half the wall depth. Work slowly to avoid breaking through. These shallower areas will glow softly compared to the full cutouts, creating visible layering when lit. Score in short strokes and wipe away rind shavings frequently.

  5. Carve the smallest facial features last

    With the surrounding structure fully supported, tackle the fine facial details using your narrowest detail blade. Keep all connecting bridges intact, trimming them only if they are thick enough to leave without cracking. Adults should handle all cutting; keep children clear of the workspace. Rinse the carved face gently with cool water and pat dry once you are done.

  6. Light and display

    Place a bright LED puck low in the cavity so light travels upward through every layer. Avoid real candles, which generate heat that softens thinned rind sections. Rub the exposed cut edges with petroleum jelly to slow dehydration. Set the pumpkin at eye level so viewers can appreciate the depth between the full cutouts and the shallow-scored areas. Photograph in a dark room to capture the full glow effect.

Written with AI to match this design

Gather your supplies

Check things off as you get ready.

Work on a stable surface, keep your free hand out of the cutting path, and have an adult handle sharp tools.

Three levels of light

  • Leave intact

    The broad rind bridges, costume outline panels, and hat background stay fully dark as uncut orange rind.

  • Peel & shade

    Secondary costume textures, hat bell shapes, and expression accents are shallow-scored so they glow at a softer mid-level.

  • Cut through

    Pomni's main hat openings, face features, and character outline apertures are cut fully through for bright white-orange light.

Learn the carving basics

Before you start cutting

How do I keep the thin jester hat points from breaking off?

Each hat tip needs a broad rind root at its base, at least as wide as the tip is tall. Mark those roots on your stencil before cutting and never trim them. If a tip feels loose after carving, a small dab of toothpick-and-wood-glue repair can stabilize it overnight.

My detail cuts keep crumbling. What am I doing wrong?

Crumbling usually means the blade is dull or the rind is dehydrated. Replace the blade often during expert-level work, and keep a damp towel nearby to wipe the surface between cuts. Working on a freshly carved pumpkin the same day you gut it also helps, since rind gets drier and more brittle after a few hours.

Should I use a candle or an LED for this design?

Use an LED only. The shallow-backed sections are thin and a candle's heat will soften them within hours, causing the rind to sag or crack. A bright LED puck also produces more consistent light across the full carved area, which is important for showing off the depth contrast between cut and scored zones.

Your take belongs here, too.

Changed a detail? Made it simpler? Share a photo of your version and tell the community what worked.

Share your pumpkin

More pumpkins like this

You've reached the end · 8 pumpkins
The Patch Report

Fresh pumpkins, in your inbox.

The best new carvings, ideas worth stealing, and how-tos for carving season. Short, seasonal, and gone by November.

A short email during carving season. Unsubscribe anytime. See our privacy policy.