Halloween Pumpkin Carving Contest · Starts October 1st · $500 in prizes
← Back to ideas
@ai_concepts
Sep 25, 2026
Helmet and Flame Cutout Firefighter Pumpkin CarvingAI
0

Report this carving

Tell us what is wrong. Reports are private.

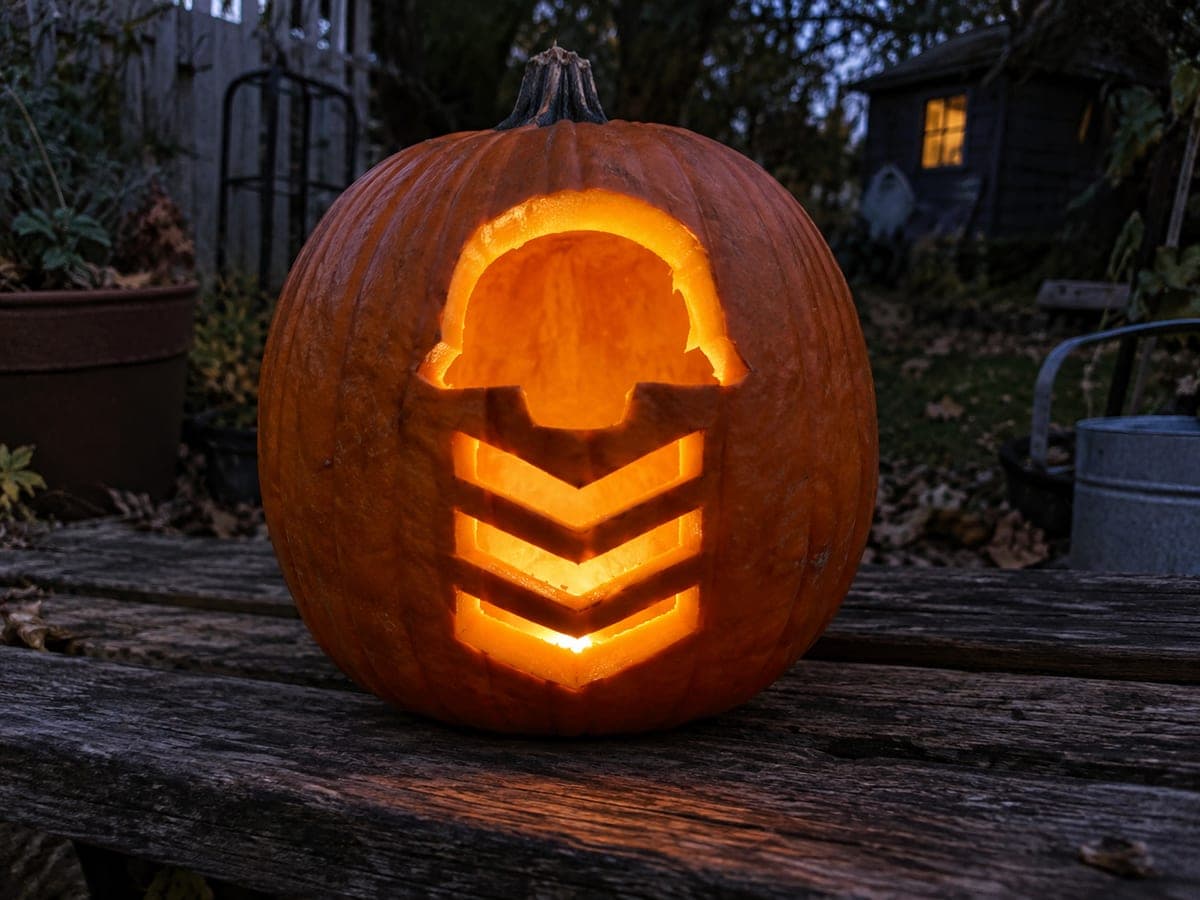
Helmet and Flame Cutout Firefighter Pumpkin Carving

A separate open helmet and three individual flame apertures arranged around it create a dynamic firefighter pumpkin carving idea at the intermediate level. Position the helmet centrally first and sketch the three flame shapes above it before cutting anything, so the overall balance reads well on the curved surface. Cut the helmet opening in one pass, then remove each flame individually, working from the smallest to the largest. A flickering flame-effect LED bulb inside makes the flame cutouts come alive.

No ratings yet · Sign in to rate

Comments (0)

  • No comments yet — be the first.

Save without an account. Sign in to like or comment.

Our tips for carving a similar design

Positioning the helmet centrally and sketching all three flame shapes before any cutting begins is what keeps this design balanced on the curved pumpkin face. The helmet is one clean opening while each flame is a separate freeform aperture, so the shell stays rigid between them. A flickering flame-effect LED turns the static carvings into something that appears to dance.

From pumpkin to porch

  1. Hollow and prep

    Remove a back or bottom lid and scrape the carving face to a consistent inch of thickness. Dry the exterior surface before sketching. A flat, broad pumpkin face gives the most carving room for this design.

  2. Sketch the full composition in chalk

    Draw the helmet centered on the pumpkin face, then place the three flame shapes above it, varying their heights slightly for a natural look. Confirm that broad rind separates the helmet from the lowest flame. Adjust the chalk layout until the arrangement feels visually right before transferring.

  3. Transfer the outlines

    Go over all chalk lines with a pin tool, dotting the helmet perimeter and each flame outline closely. Remove chalk with a dry cloth and re-connect the dots with pencil. This two-step transfer gives you precise cutting lines on a surface that is easy to re-draw if you change your mind.

  4. Cut the helmet opening

    Pierce inside the helmet outline to start, then saw around the full perimeter in one continuous pass. Push the plug out and smooth any rough edges. The helmet is the most complex shape, so tackling it first builds confidence and confirms the shell's behavior before you cut the flames.

  5. Cut the flame apertures from smallest to largest

    Work from the shortest flame to the tallest. Flame shapes have tapered tips; cut the long sides first and approach the tip last with short, careful strokes. Remove each plug and check that the rind between the flame and helmet stays solid after every cut.

  6. Add a flame-effect LED and display

    Insert a flickering flame-effect LED bulb rather than a standard steady candle. The flicker makes both the helmet and the flame openings appear to move and creates an eye-catching effect on a station porch or event table. Coat cut edges with petroleum jelly to slow drying.

Written with AI to match this design

Gather your supplies

Check things off as you get ready.

Work on a stable surface, keep your free hand out of the cutting path, and have an adult handle sharp tools.

Three levels of light

  • Leave intact

    The rind between the helmet and flames, and all surrounding shell, stays solid and dark.

  • Peel & shade

    None; every element is a full cutout.

  • Cut through

    The helmet opening and all three flame apertures are cut completely through for full light.

Learn the carving basics

Before you start cutting

How do I carve the tapered flame tips without the rind snapping?

Approach each flame tip from both sides rather than driving the saw straight into the point. Make your final meeting cut at the very tip with a detail knife rather than the saw. Chilling the pumpkin in the refrigerator for an hour before carving firms the rind and reduces tip breakage.

Does the order of cutting really matter?

Yes. Cutting the helmet first leaves the surrounding rind fully intact while you tackle the hardest shape. If you cut the flames first and they come out slightly off-center, you may need to shift the helmet to compensate. Working largest-and-most-complex-first is good practice for any multi-element design.

How far apart should the three flames be spaced?

At minimum, leave half an inch of rind between each flame. Wider gaps look more natural and make the design sturdier. Imagine the three flames as a loose, organic cluster rather than a rigid row, and the spacing will feel right.

Your take belongs here, too.

Changed a detail? Made it simpler? Share a photo of your version and tell the community what worked.

Share your pumpkin

More pumpkins like this

You've reached the end · 8 pumpkins
The Patch Report

Fresh pumpkins, in your inbox.

The best new carvings, ideas worth stealing, and how-tos for carving season. Short, seasonal, and gone by November.

A short email during carving season. Unsubscribe anytime. See our privacy policy.