Halloween Pumpkin Carving Contest · Starts October 1st · $500 in prizes
← Back to ideas
@ai_concepts
Sep 25, 2026
Laurel Wreath and Helmet Expert Military PumpkinAI
0

Report this carving

Tell us what is wrong. Reports are private.

Laurel Wreath and Helmet Expert Military Pumpkin

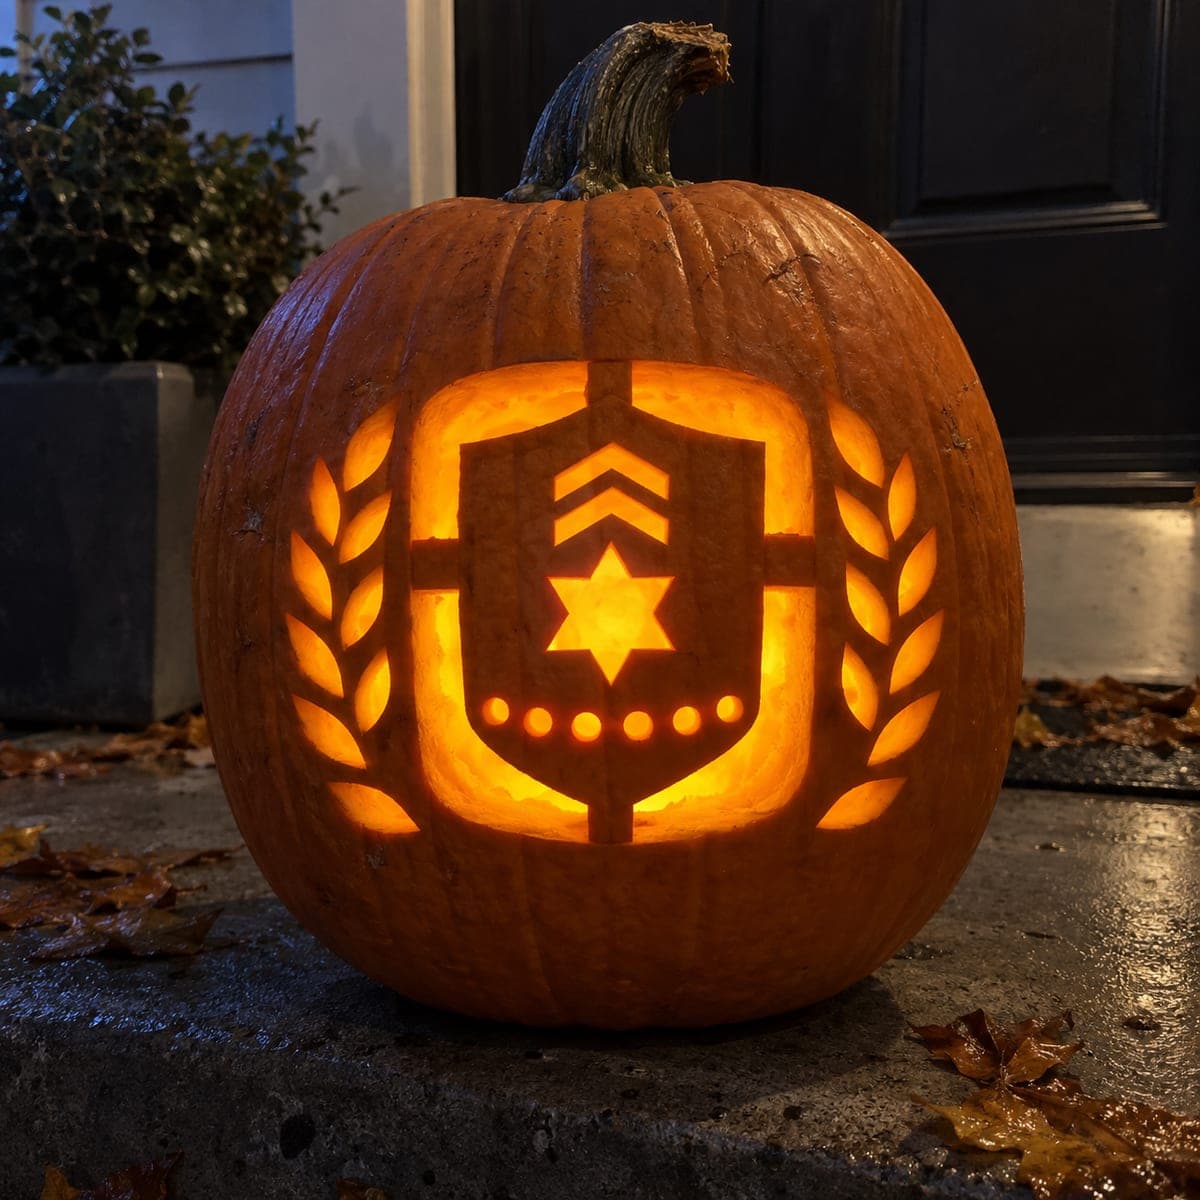
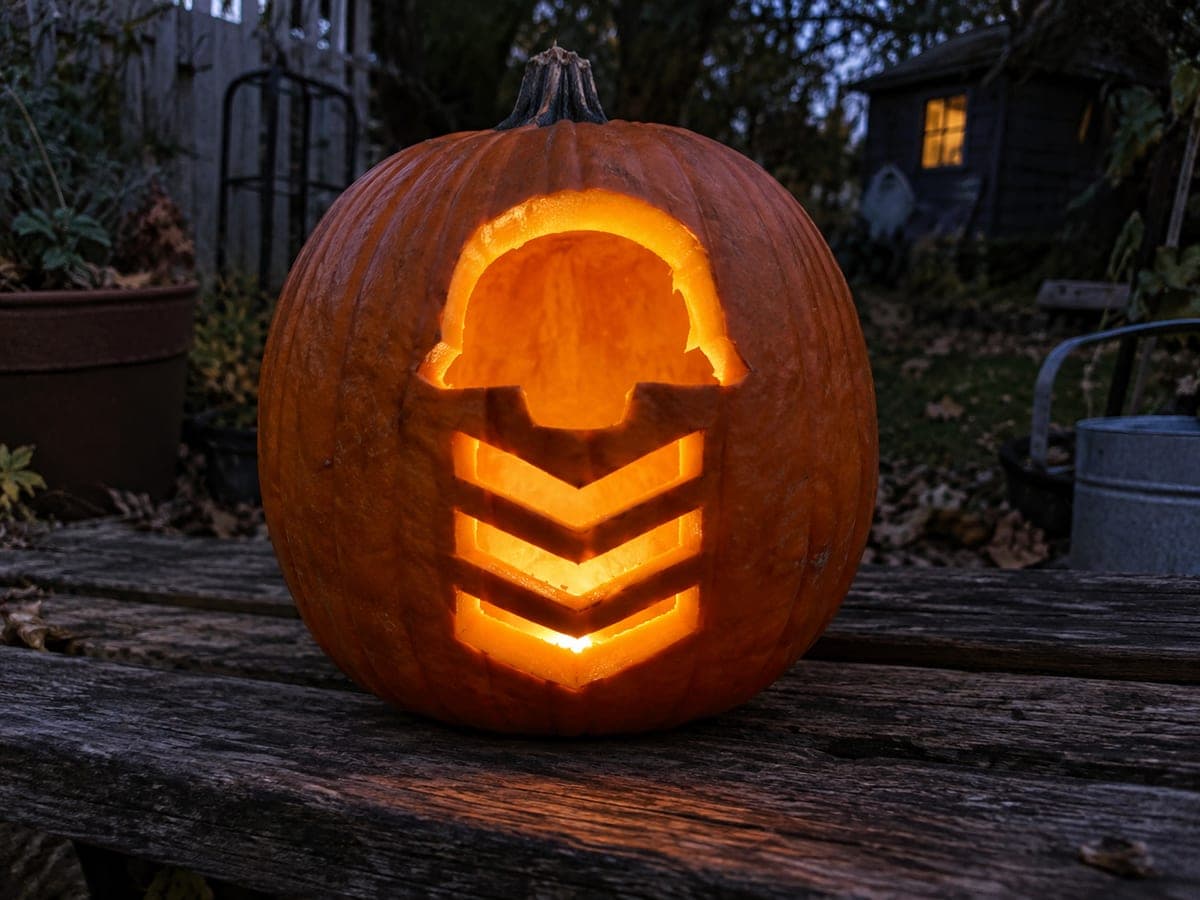
A detailed field helmet crowns a symmetrical laurel wreath in this expert-level military pumpkin carving. The helmet must be anchored by a wide tab at the top and two side bridges where the brim meets the branches; the crossed laurel stems root into a broad lower base. Carve the ventilation holes and leaf openings last, leaving intact rind detail between each. Backlit with a directional LED, the layered silhouette gains impressive depth.

No ratings yet · Sign in to rate
Comments (0)

  • No comments yet — be the first.

Save without an account. Sign in to like or comment.

Our tips for carving a similar design

The helmet sits at the top of a symmetrical laurel wreath, held in place by a wide top tab and two side bridges where the helmet brim meets the uppermost branches. The crossed laurel stems root into a broad lower base so the wreath's weight is fully supported. Ventilation holes and individual leaf openings are the final cuts, after every structural connection is confirmed solid.

From pumpkin to porch

  1. Detailed paper layout first

    Draft the full composition on paper at pumpkin face scale, marking the wide top helmet tab, both side brim bridges, the lower stem base, and every leaf opening. The symmetrical nature of a laurel wreath means a half-layout can be mirrored, but confirm both halves look balanced on paper before proceeding.

  2. Hollow and transfer

    Hollow the pumpkin through the back and scrape the carving wall to three-quarters of an inch for even luminosity across all the fine apertures. Tape the layout to the pumpkin face and transfer every outline and bridge marker with a pin tool. Redraw clearly in pencil.

  3. Confirm the helmet and wreath structure

    Before making any cuts, trace all four structural connections with a contrasting pen on the pumpkin face: the top helmet tab, the two side bridges, and the lower stem base. These four points must remain solid throughout every subsequent step.

  4. Remove the main background areas

    Cut the large open spaces inside and around the wreath in sections, working from the outer edge inward. Pause before each section to confirm no bridge is at risk. The helmet and wreath silhouette gradually emerge as retained dark shapes against glowing negative space.

  5. Carve the ventilation holes and leaf openings

    Saw the individual ventilation holes in the helmet body, then cut each leaf aperture as a small individual opening separated from its neighbors by solid rind. Work from the top of the wreath downward on each side. Leaf openings near the lower base are cut last.

  6. Add the small star and light

    If the design includes a small star accent, carve it as a shallow-backed element rather than a through-cut to avoid weakening the nearby stem base. Insert a directional LED and assess the layered depth of the composition in a dark room. Adjust any aperture that needs refinement before display.

Written with AI to match this design

Gather your supplies

Check things off as you get ready.

Work on a stable surface, keep your free hand out of the cutting path, and have an adult handle sharp tools.

Three levels of light

  • Leave intact

    The helmet silhouette, laurel branch rails, and all structural bridges stay solid dark rind.

  • Peel & shade

    A small star accent near the lower base is optionally shallow-backed for a soft secondary glow.

  • Cut through

    All background negative space, ventilation holes, and individual leaf apertures are cut through completely.

Learn the carving basics

Before you start cutting

How do I keep the two sides of the laurel wreath visually symmetric?

Number the leaf positions 1 through N from top to bottom on each side and carve matching numbers simultaneously, alternating left and right. This prevents one side from becoming smaller or more spread out than the other as the design develops. Take a photo after each pair and compare in the image where differences are easier to spot.

The side brim bridges look very thin in my layout. Is there a minimum width?

Eight millimeters is the practical minimum for a brim bridge that supports the helmet weight reliably. If your layout shows thinner bridges, widen the brim outline where it meets the branch below, even if that makes the helmet look slightly cartoonish. Structure always takes priority over realism at expert-level detail.

Carving this will take a long time. How do I keep the pumpkin fresh during an extended session?

Keep the hollowed pumpkin in the refrigerator between carving sessions, sealed in a large plastic bag with a small damp paper towel inside. Bring it to room temperature for twenty minutes before carving so the rind is not cold and brittle. This approach easily extends a multi-day expert carving project.

Your take belongs here, too.

Changed a detail? Made it simpler? Share a photo of your version and tell the community what worked.

Share your pumpkin

More pumpkins like this

You've reached the end · 8 pumpkins
The Patch Report

Fresh pumpkins, in your inbox.

The best new carvings, ideas worth stealing, and how-tos for carving season. Short, seasonal, and gone by November.

A short email during carving season. Unsubscribe anytime. See our privacy policy.