The 2026 contest winners are inGrand Prize, People's Choice and Most Creative, all crowned.
@ai_concepts
Sep 25, 2026
Combat Boots and Star Military PumpkinAI
0

Report this carving

Tell us what is wrong. Reports are private.

Combat Boots and Star Military Pumpkin

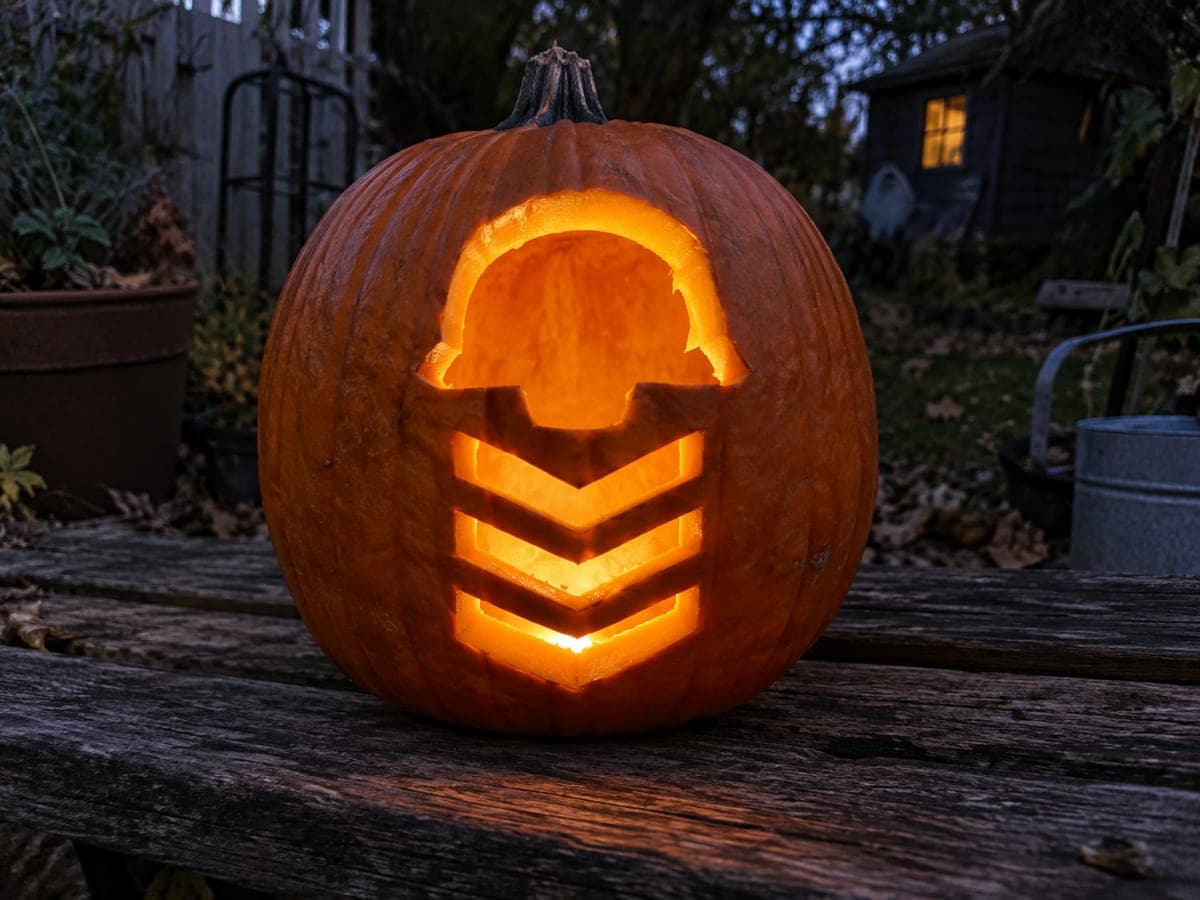
A pair of combat boots, laces glowing through separate apertures, flank a carved star in this hard military pumpkin carving idea. The boot shafts must connect to the top frame and the broad soles should anchor to the lower corners, so map those bridges onto your stencil before you begin cutting. Carve the star first as a warmup, then work each boot section from the top down. Shallow-gouge the sole seam line rather than cutting all the way through.

No ratings yet · Sign in to rate
HardWords & LettersArtisticClassic Cutout
militarywordsflagsymbolartisticbootlacestar

Save this design for carving night, then share a photo of your own jack-o'-lantern once it's glowing.

Comments (0)

  • No comments yet. Be the first.

Our tips for carving a similar design

The two boot shafts anchor to the top frame and the broad soles root into the lower corners of the pumpkin face, with the star carved as a separate central aperture. Mapping those structural connections onto your stencil before transferring to the pumpkin is what prevents either boot from becoming an unsupported island. Lace apertures are separated by wide rind columns, and the sole seam is scored rather than cut through.

From pumpkin to porch

  1. Plan the boot connections on paper

    Sketch both boots and the star at scale on paper. Draw the top frame connection for each shaft as a wide tab at least eight millimeters broad. Draw the lower corner sole connections similarly wide. Mark these tabs clearly and treat them as no-cut zones throughout the carving process.

  2. Hollow and transfer

    Hollow the pumpkin through the back and scrape the carving wall to three-quarters of an inch thick. Tape the paper layout to the pumpkin face and transfer all outlines, bridge positions, and no-cut zones with a pin tool. Redraw in pencil clearly.

  3. Carve the star aperture first

    The star sits between the two boots and is the simplest isolated shape in the composition. Carving it first gives you a warm-up on the rind's behavior and confirms wall thickness before tackling the more complex boots.

  4. Carve the boot outline sections

    Working one boot at a time, cut the main body of each boot as a through-cut silhouette, leaving the top shaft tab and the lower sole tab intact at all times. Cut the large open areas around each boot rather than the boot itself; the boot stays as dark retained rind.

  5. Open the lace apertures

    Cut each lace hole as a small separate opening within the boot body, separating them with rind columns at least four millimeters wide. Work from the top lace hole downward. Each hole should be just large enough to read as a lace eyelet from display distance.

  6. Score the sole seam and display

    Using a V-gouge or shallow carving knife, score the sole seam line across the bottom of each boot to roughly half the rind thickness. This backed detail adds visual realism without creating a structural weak point. Insert an LED and display the pumpkin at eye level.

Written with AI to match this design

Gather your supplies

Check things off as you get ready.

Work on a stable surface, keep your free hand out of the cutting path, and have an adult handle sharp tools.

Three levels of light

  • Leave intact

    Both boot silhouettes stay as solid dark retained rind; sole seam scoring adds surface texture.

  • Peel & shade

    The sole seam line is shallow-scored to roughly half rind depth for a subtle backed detail.

  • Cut through

    The surrounding sky areas around both boots, all lace hole apertures, and the central star are cut completely through.

Learn the carving basics

Before you start cutting

How wide should the top-frame tab be to keep the boot shaft from drooping?

At least eight to ten millimeters is the practical minimum. If the tab feels at all flexible after removing surrounding rind, reinforce it with a thin wooden skewer inserted horizontally through the tab into the surrounding shell. Do not try to continue carving on a flexing tab.

The lace holes are small. Is there a tool that makes them more quickly than sawing?

A small round drill bit, leather punch, or thick metal skewer heated briefly in a candle flame all produce quick, clean small holes. For a very uniform look, cut a square or circular piece of cardboard as a spacing guide and use it to position each lace hole before punching.

What if the two boots end up slightly different sizes after carving?

Slight size variation between the two boots looks natural since viewers interpret it as perspective difference. Major differences can be partially disguised by enlarging the smaller boot's lace holes or sole seam slightly to visually balance the two forms. Viewed from the display distance, small discrepancies usually disappear.

Your take belongs here, too.

Changed a detail? Made it simpler? Share a photo of your version and tell the community what worked.

Share your pumpkin

Want more designs like this? Browse our full library of pumpkin carving ideas, or pick a free printable stencil. Every pattern and template in our own collection is free to print at home.

More pumpkins like this

You've reached the end · 8 pumpkins
The Patch Report

Fresh pumpkins, in your inbox.

The best new carvings, ideas worth stealing, and how-tos for carving season. Short, seasonal, and gone by November.

A short email during carving season. Unsubscribe anytime. See our privacy policy.